First Floor Bathroom Renovation in 1886 Historic Home
At the beginning of this year I embarked on a first chance at a full bathroom remodel. I’m attempting to show the many steps traversed to arrive at the current state, which is unfinished, but the elements are starting to coalesce into a unified vision.
The home wherein the bathroom is contained was built in 1886 and no original bathroom fixtures are extant. The bathroom undergoing a complete re-imagining is an amalgam of fixtures spanning several different decades which together as a whole were crude and distasteful. It was discovered during demolition that the location of this first floor bathroom was actually a second back entryway of the home, leading into the servants’ quarters. This was an exciting discovery and I would have loved to restore this room as a back entryway however it is necessary to have a first floor full bathroom and there was not another location that would work as well as this one.
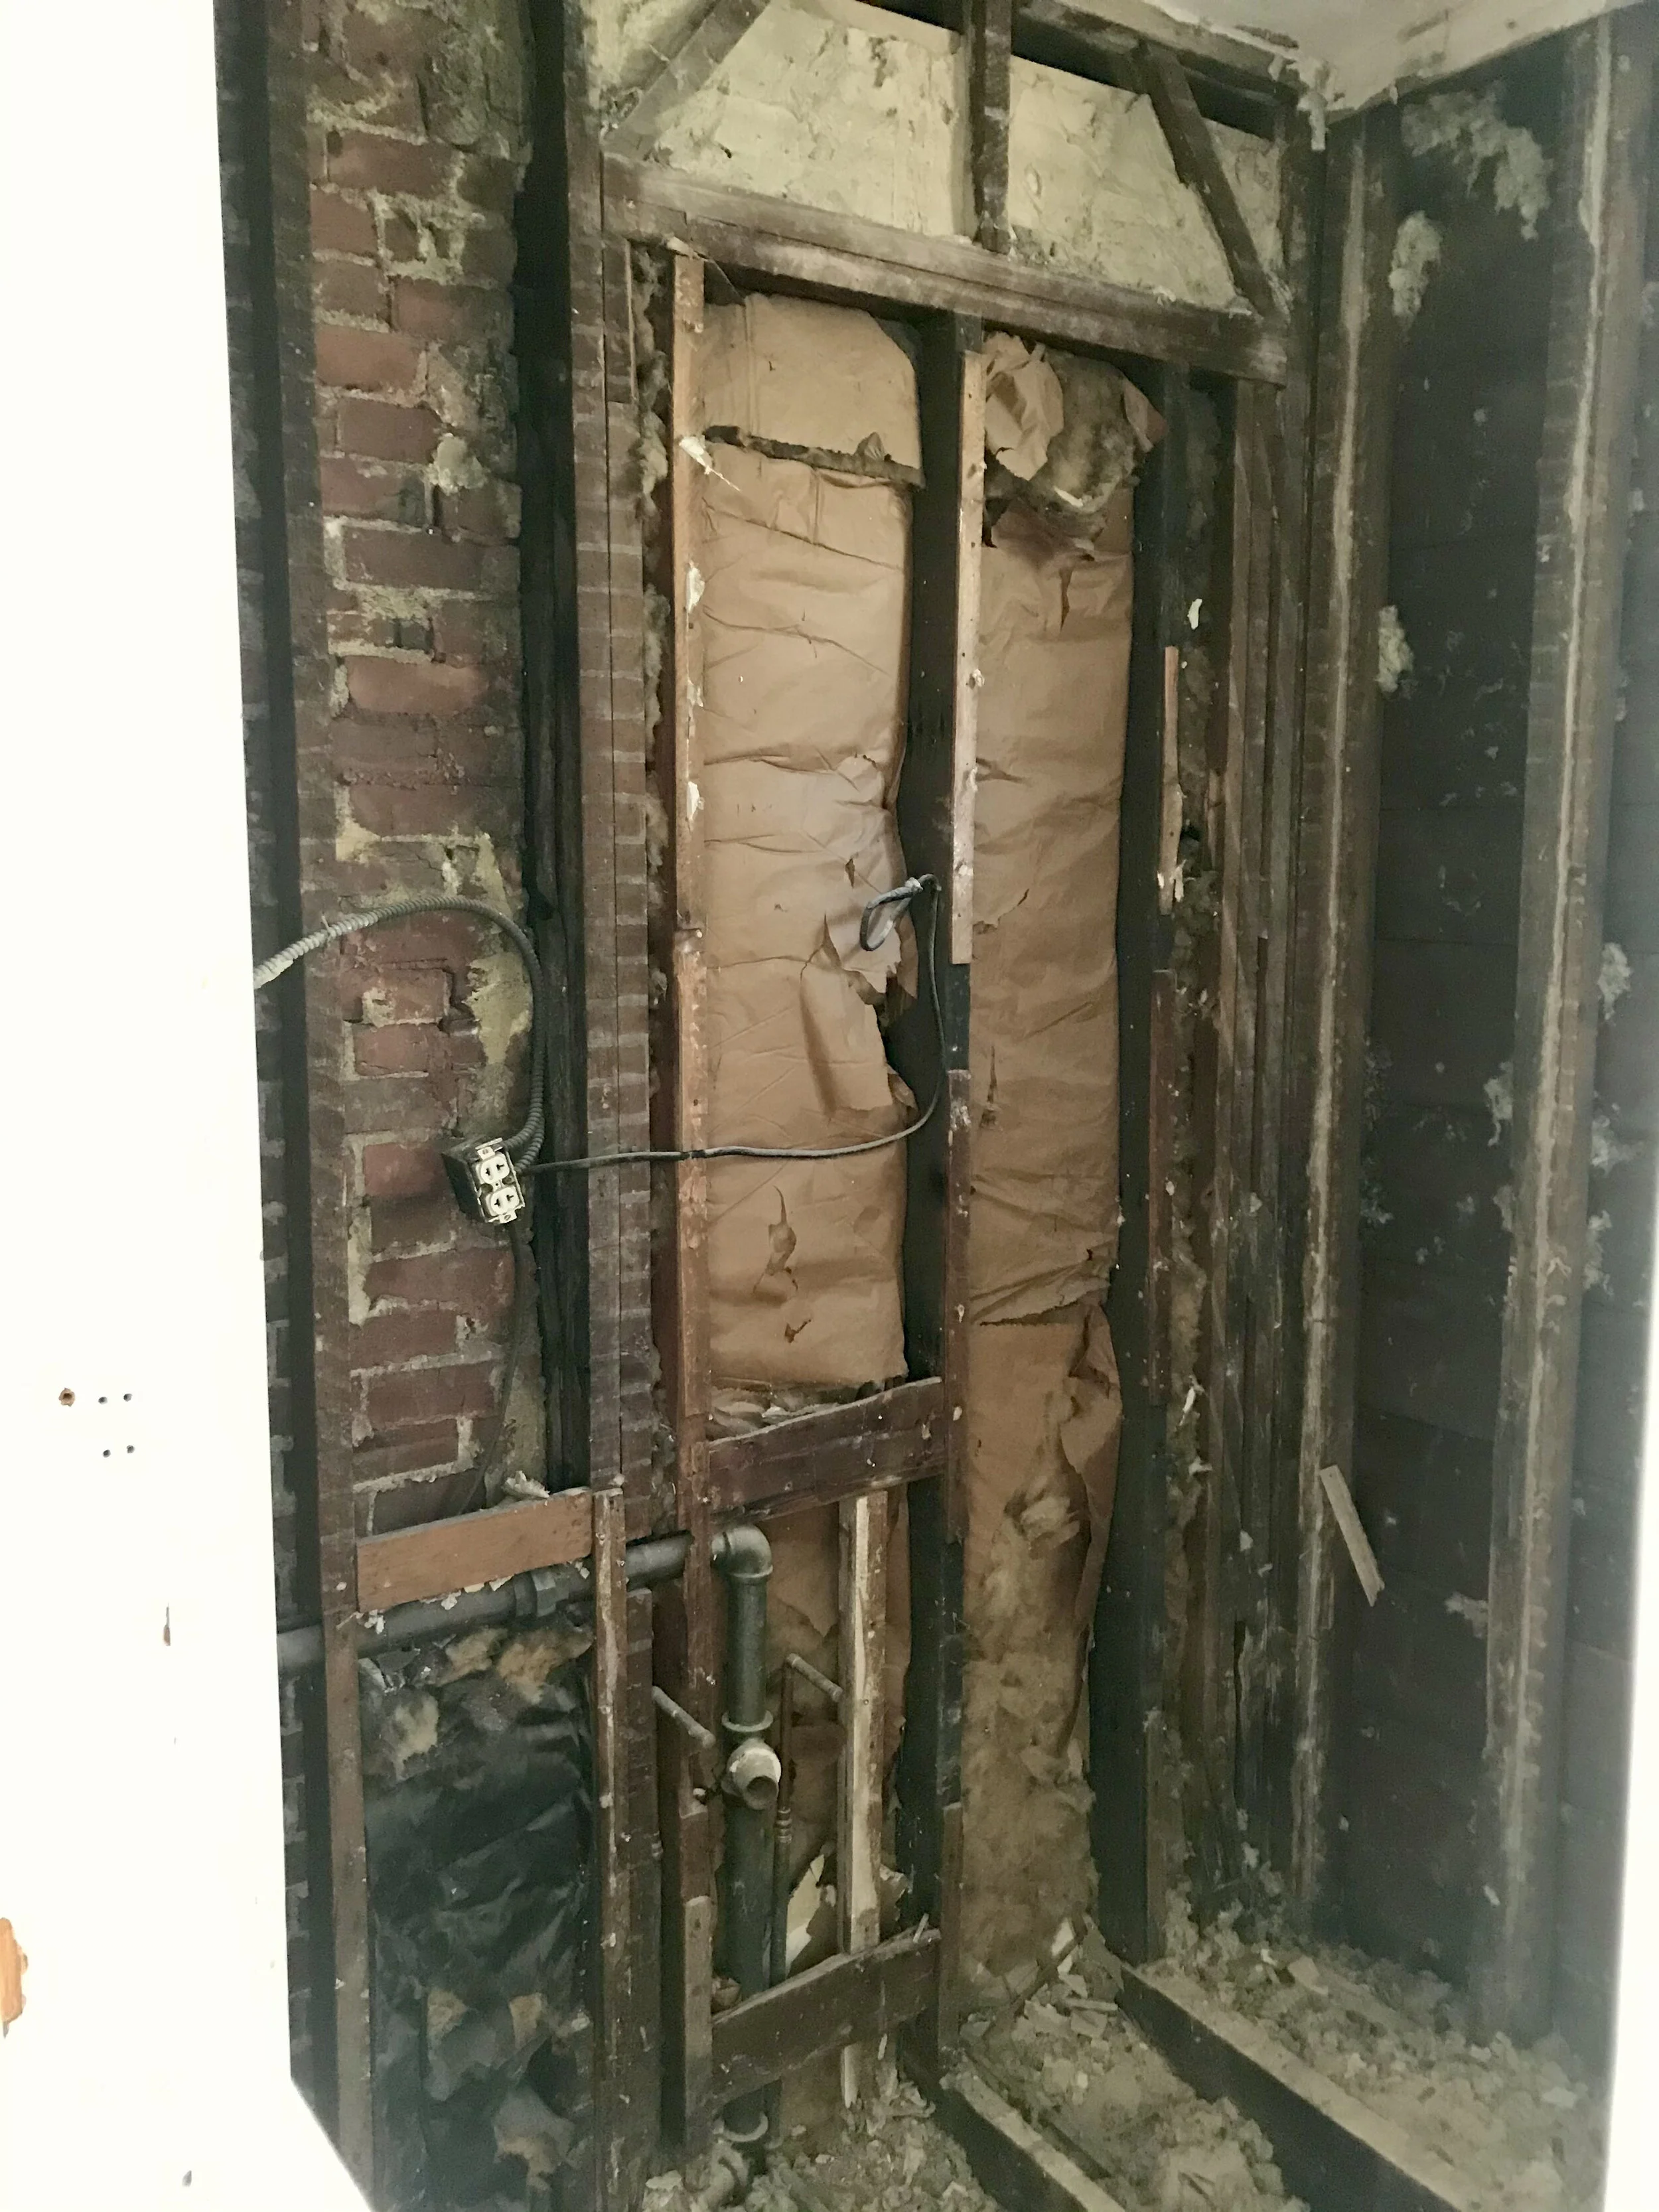
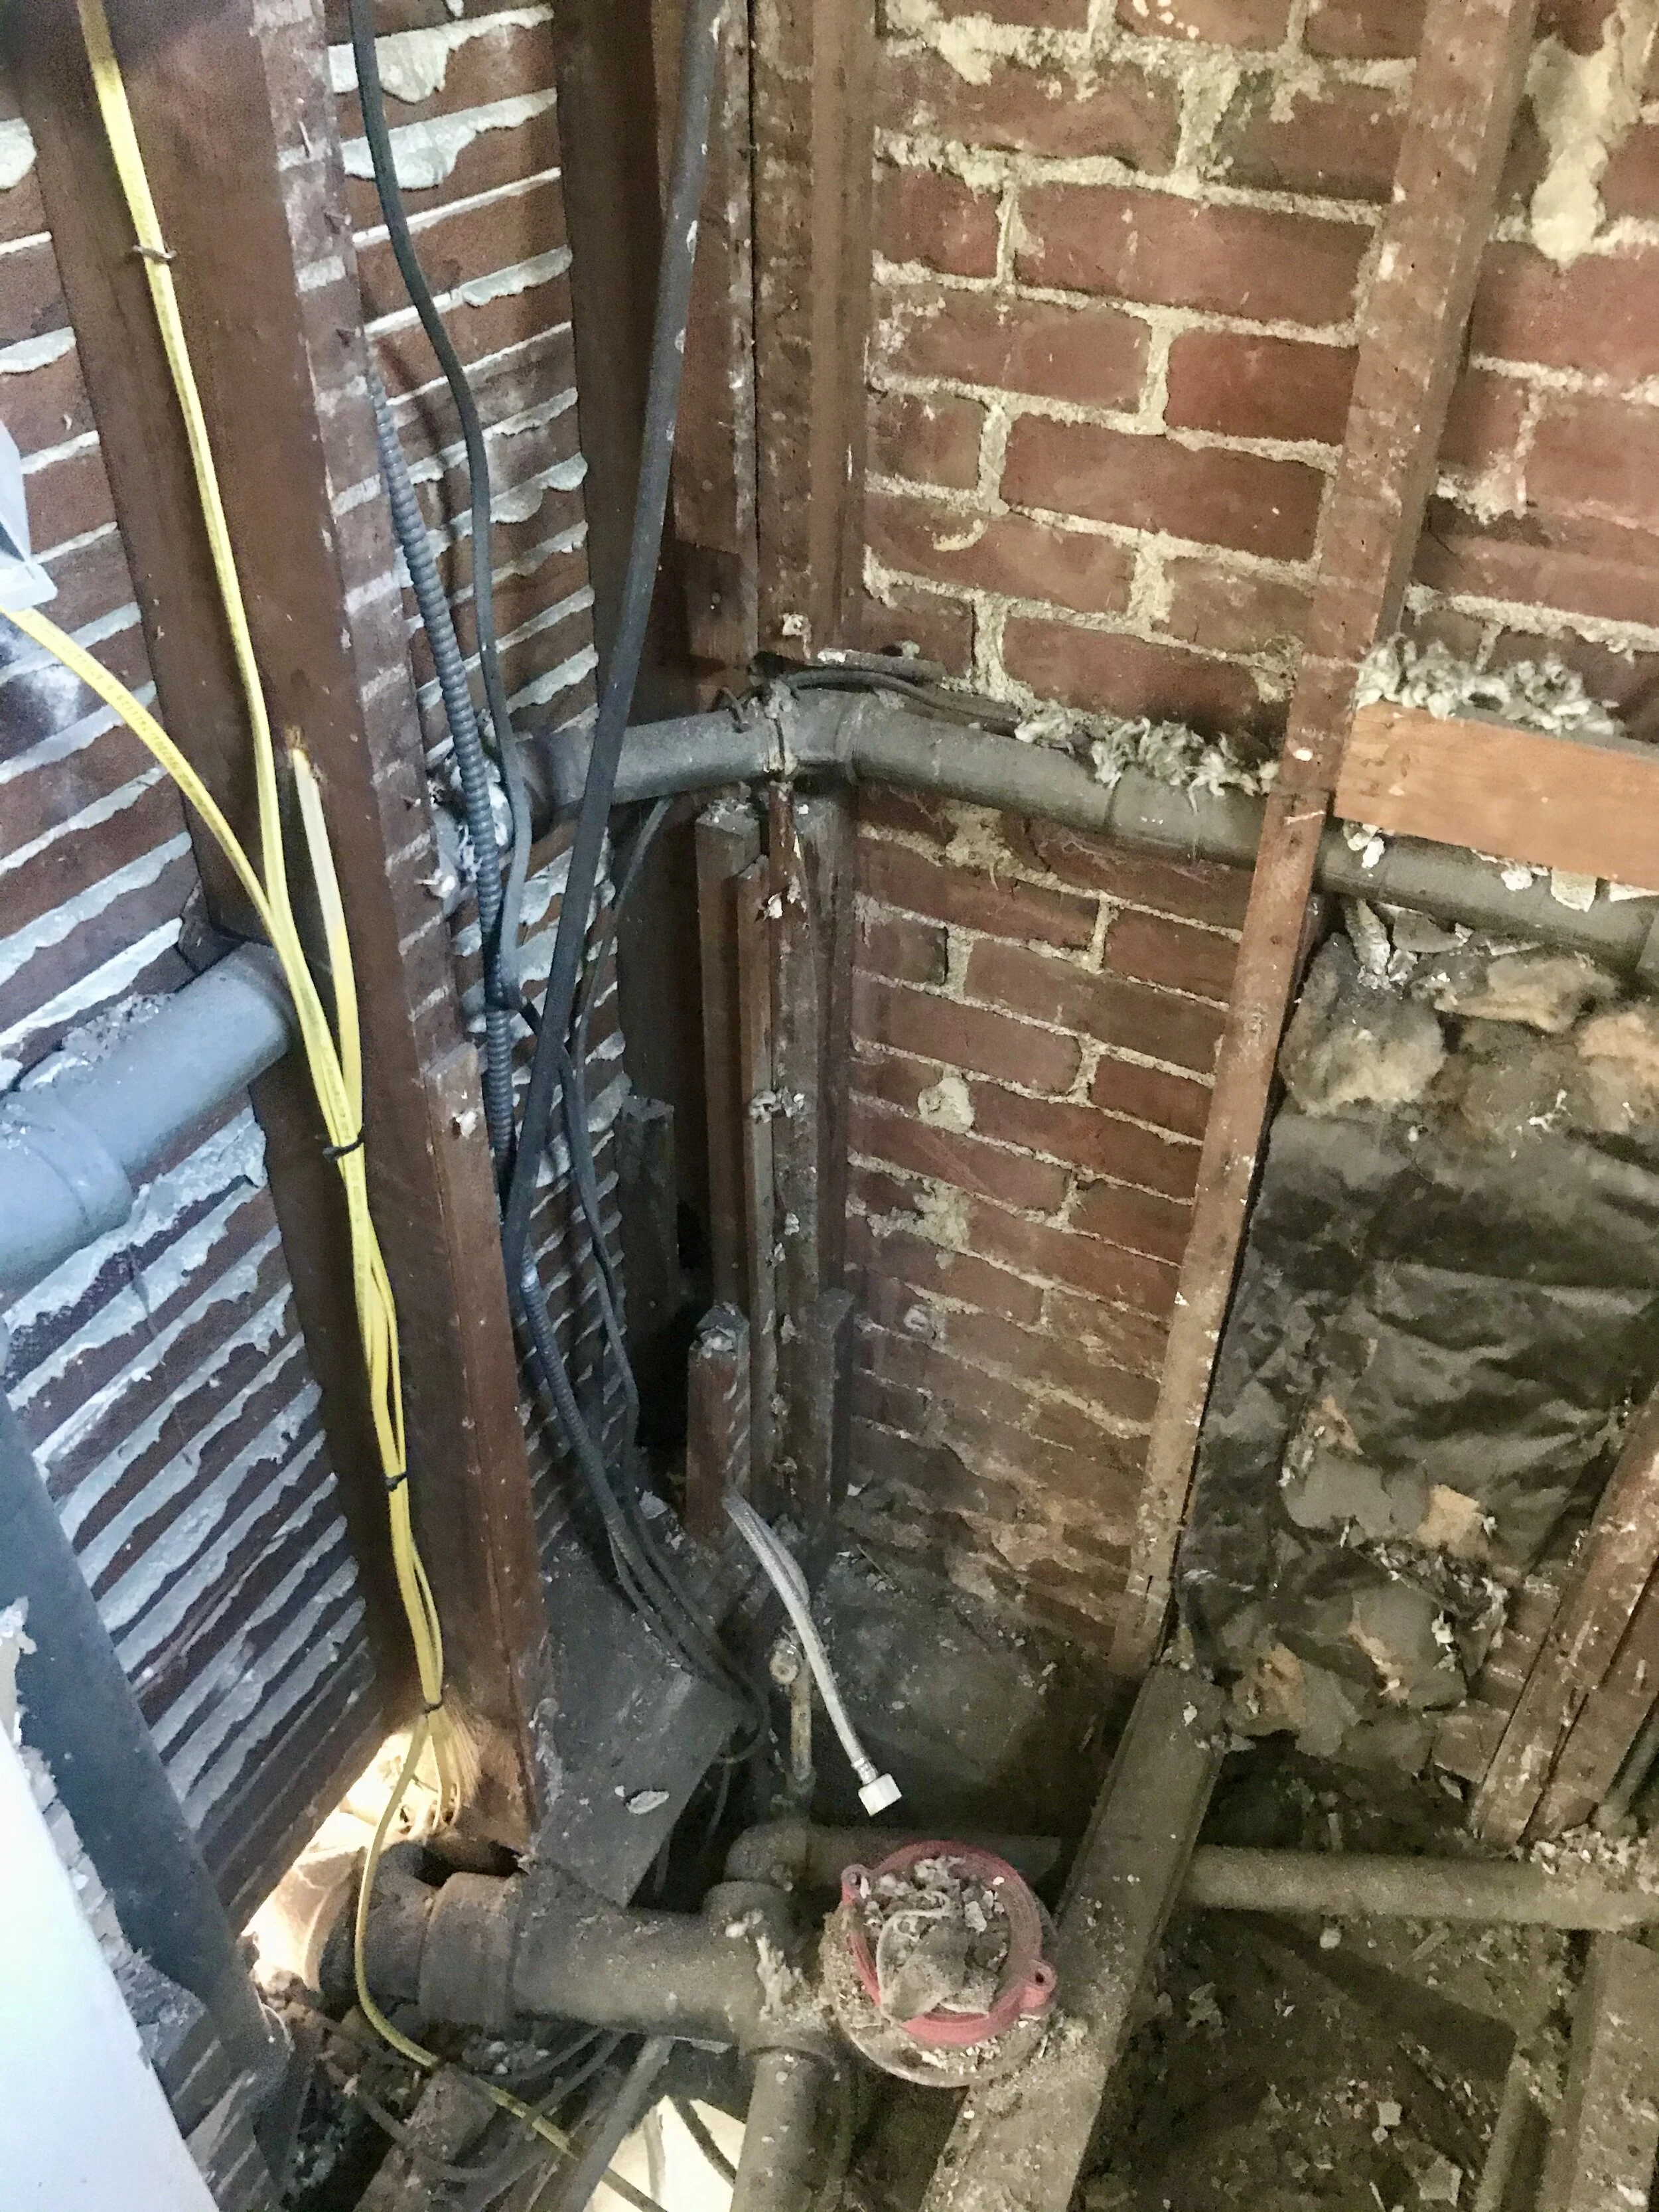
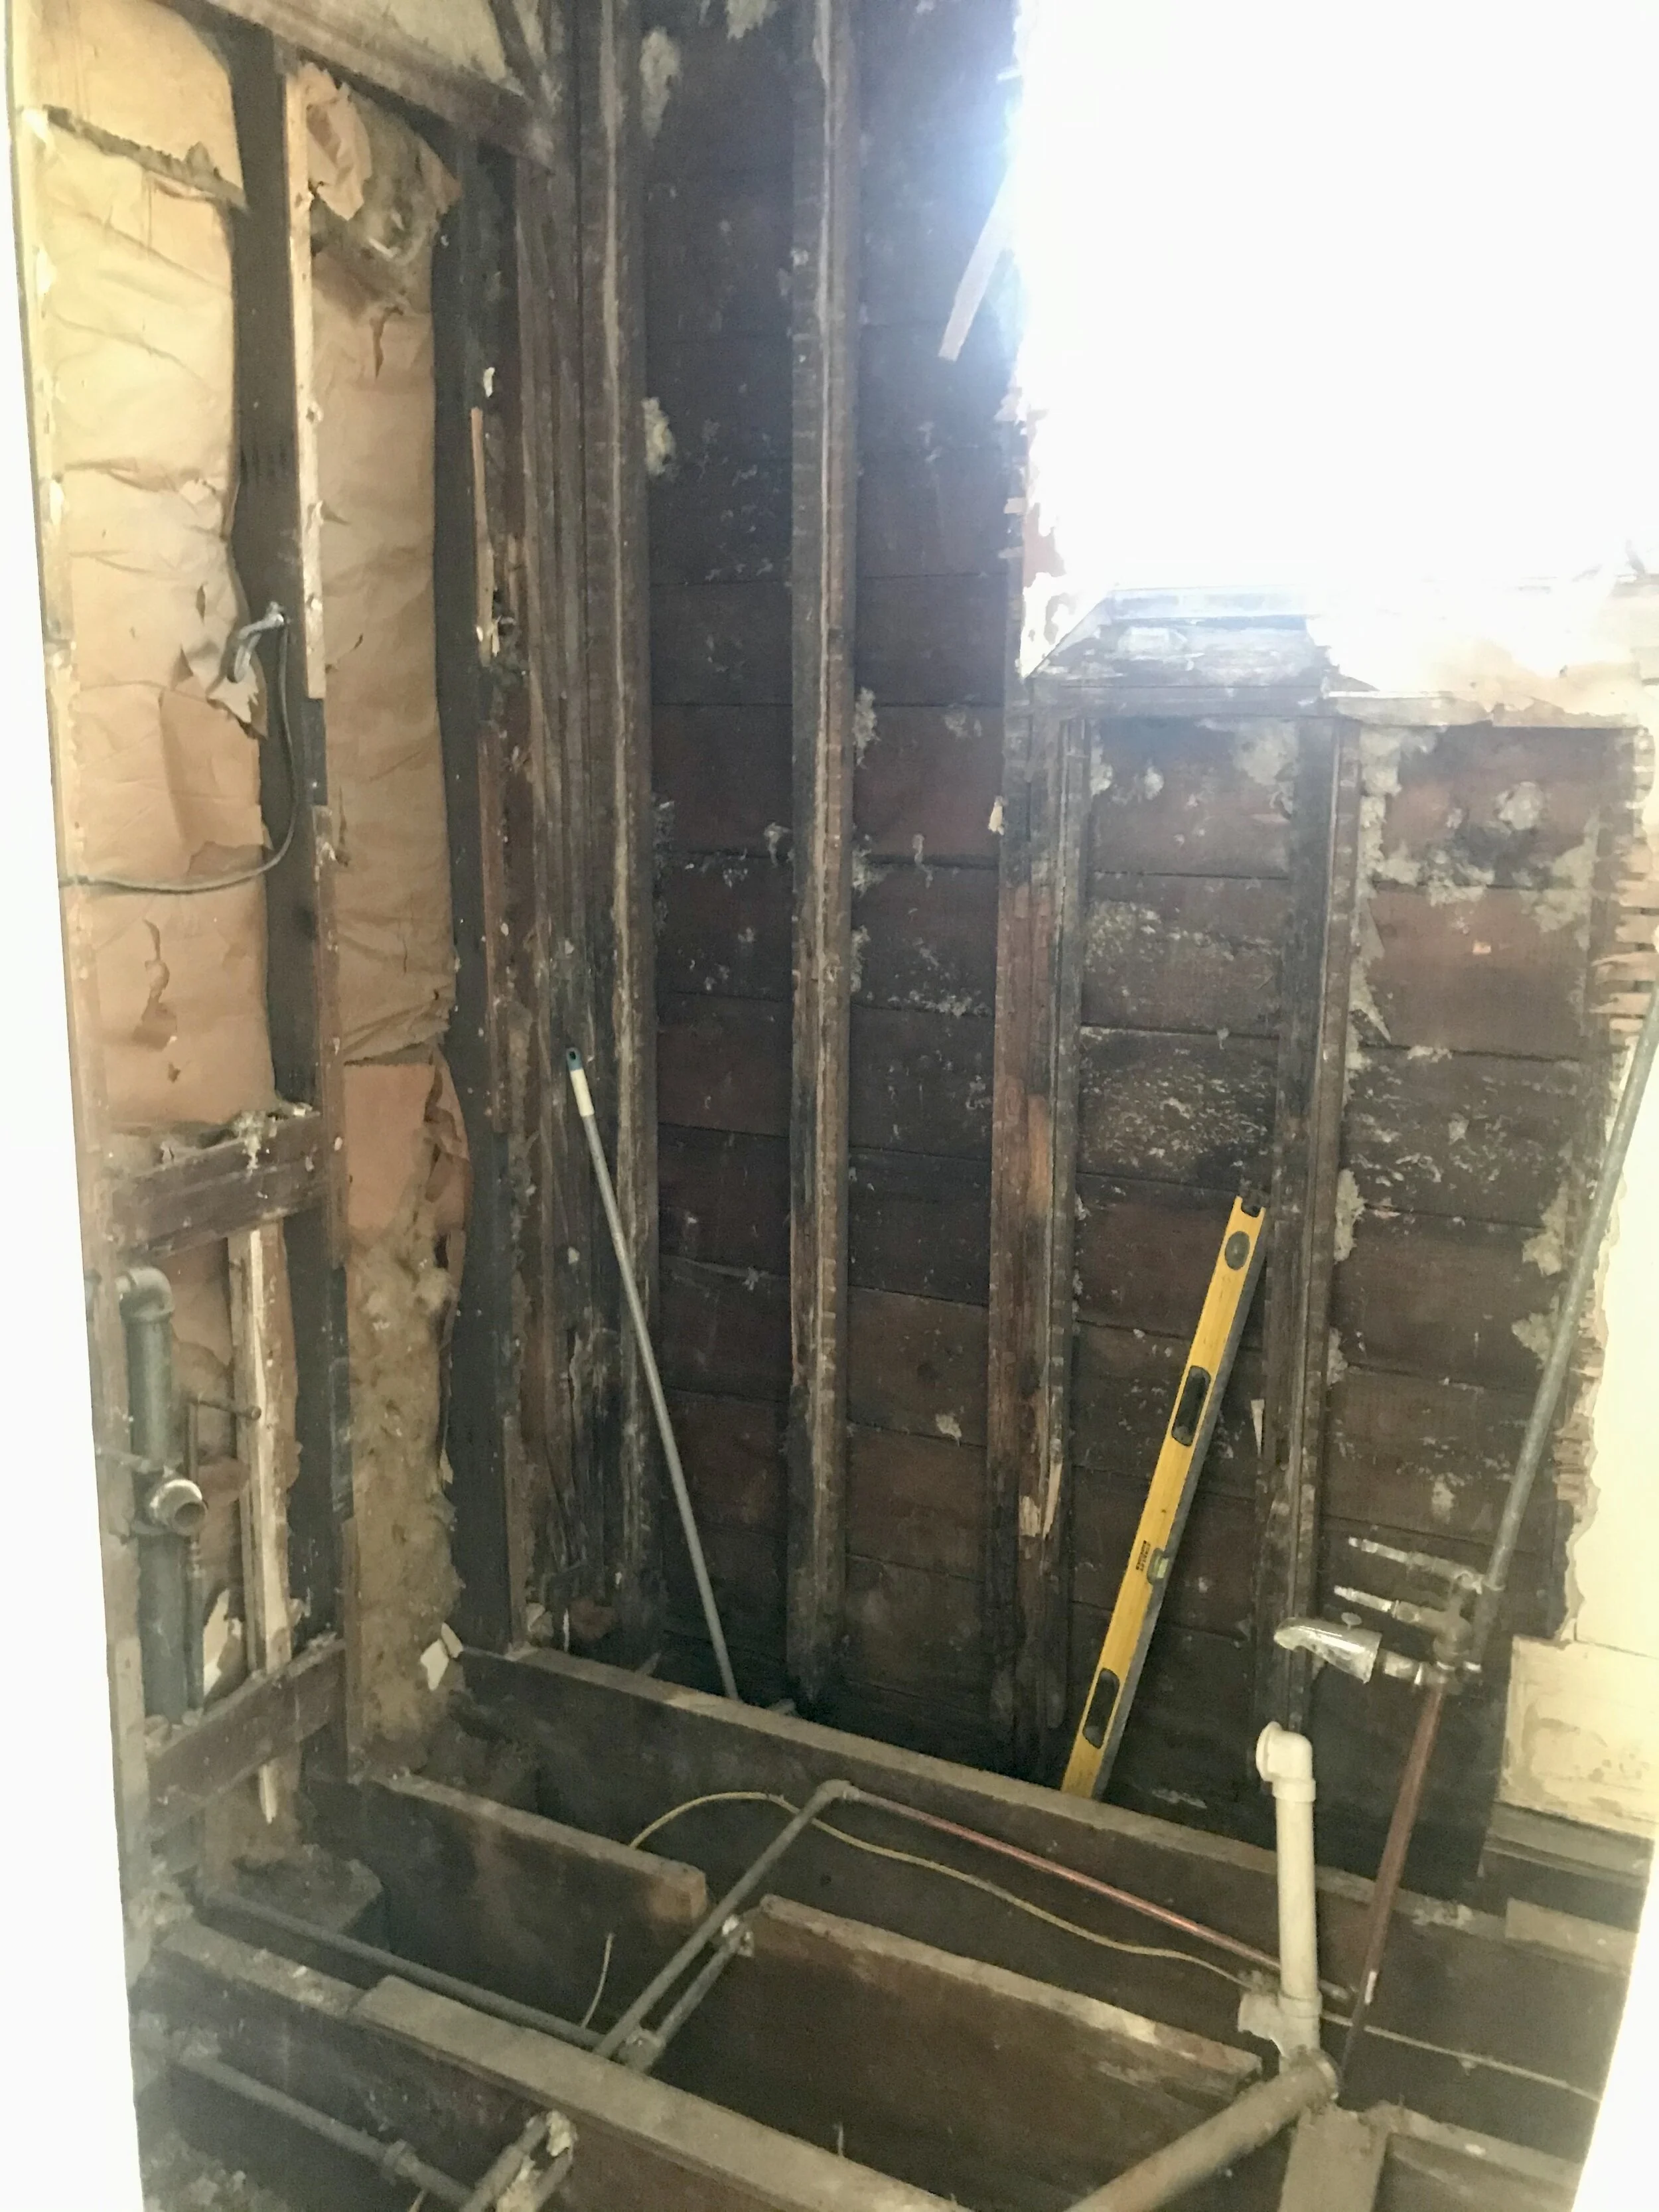
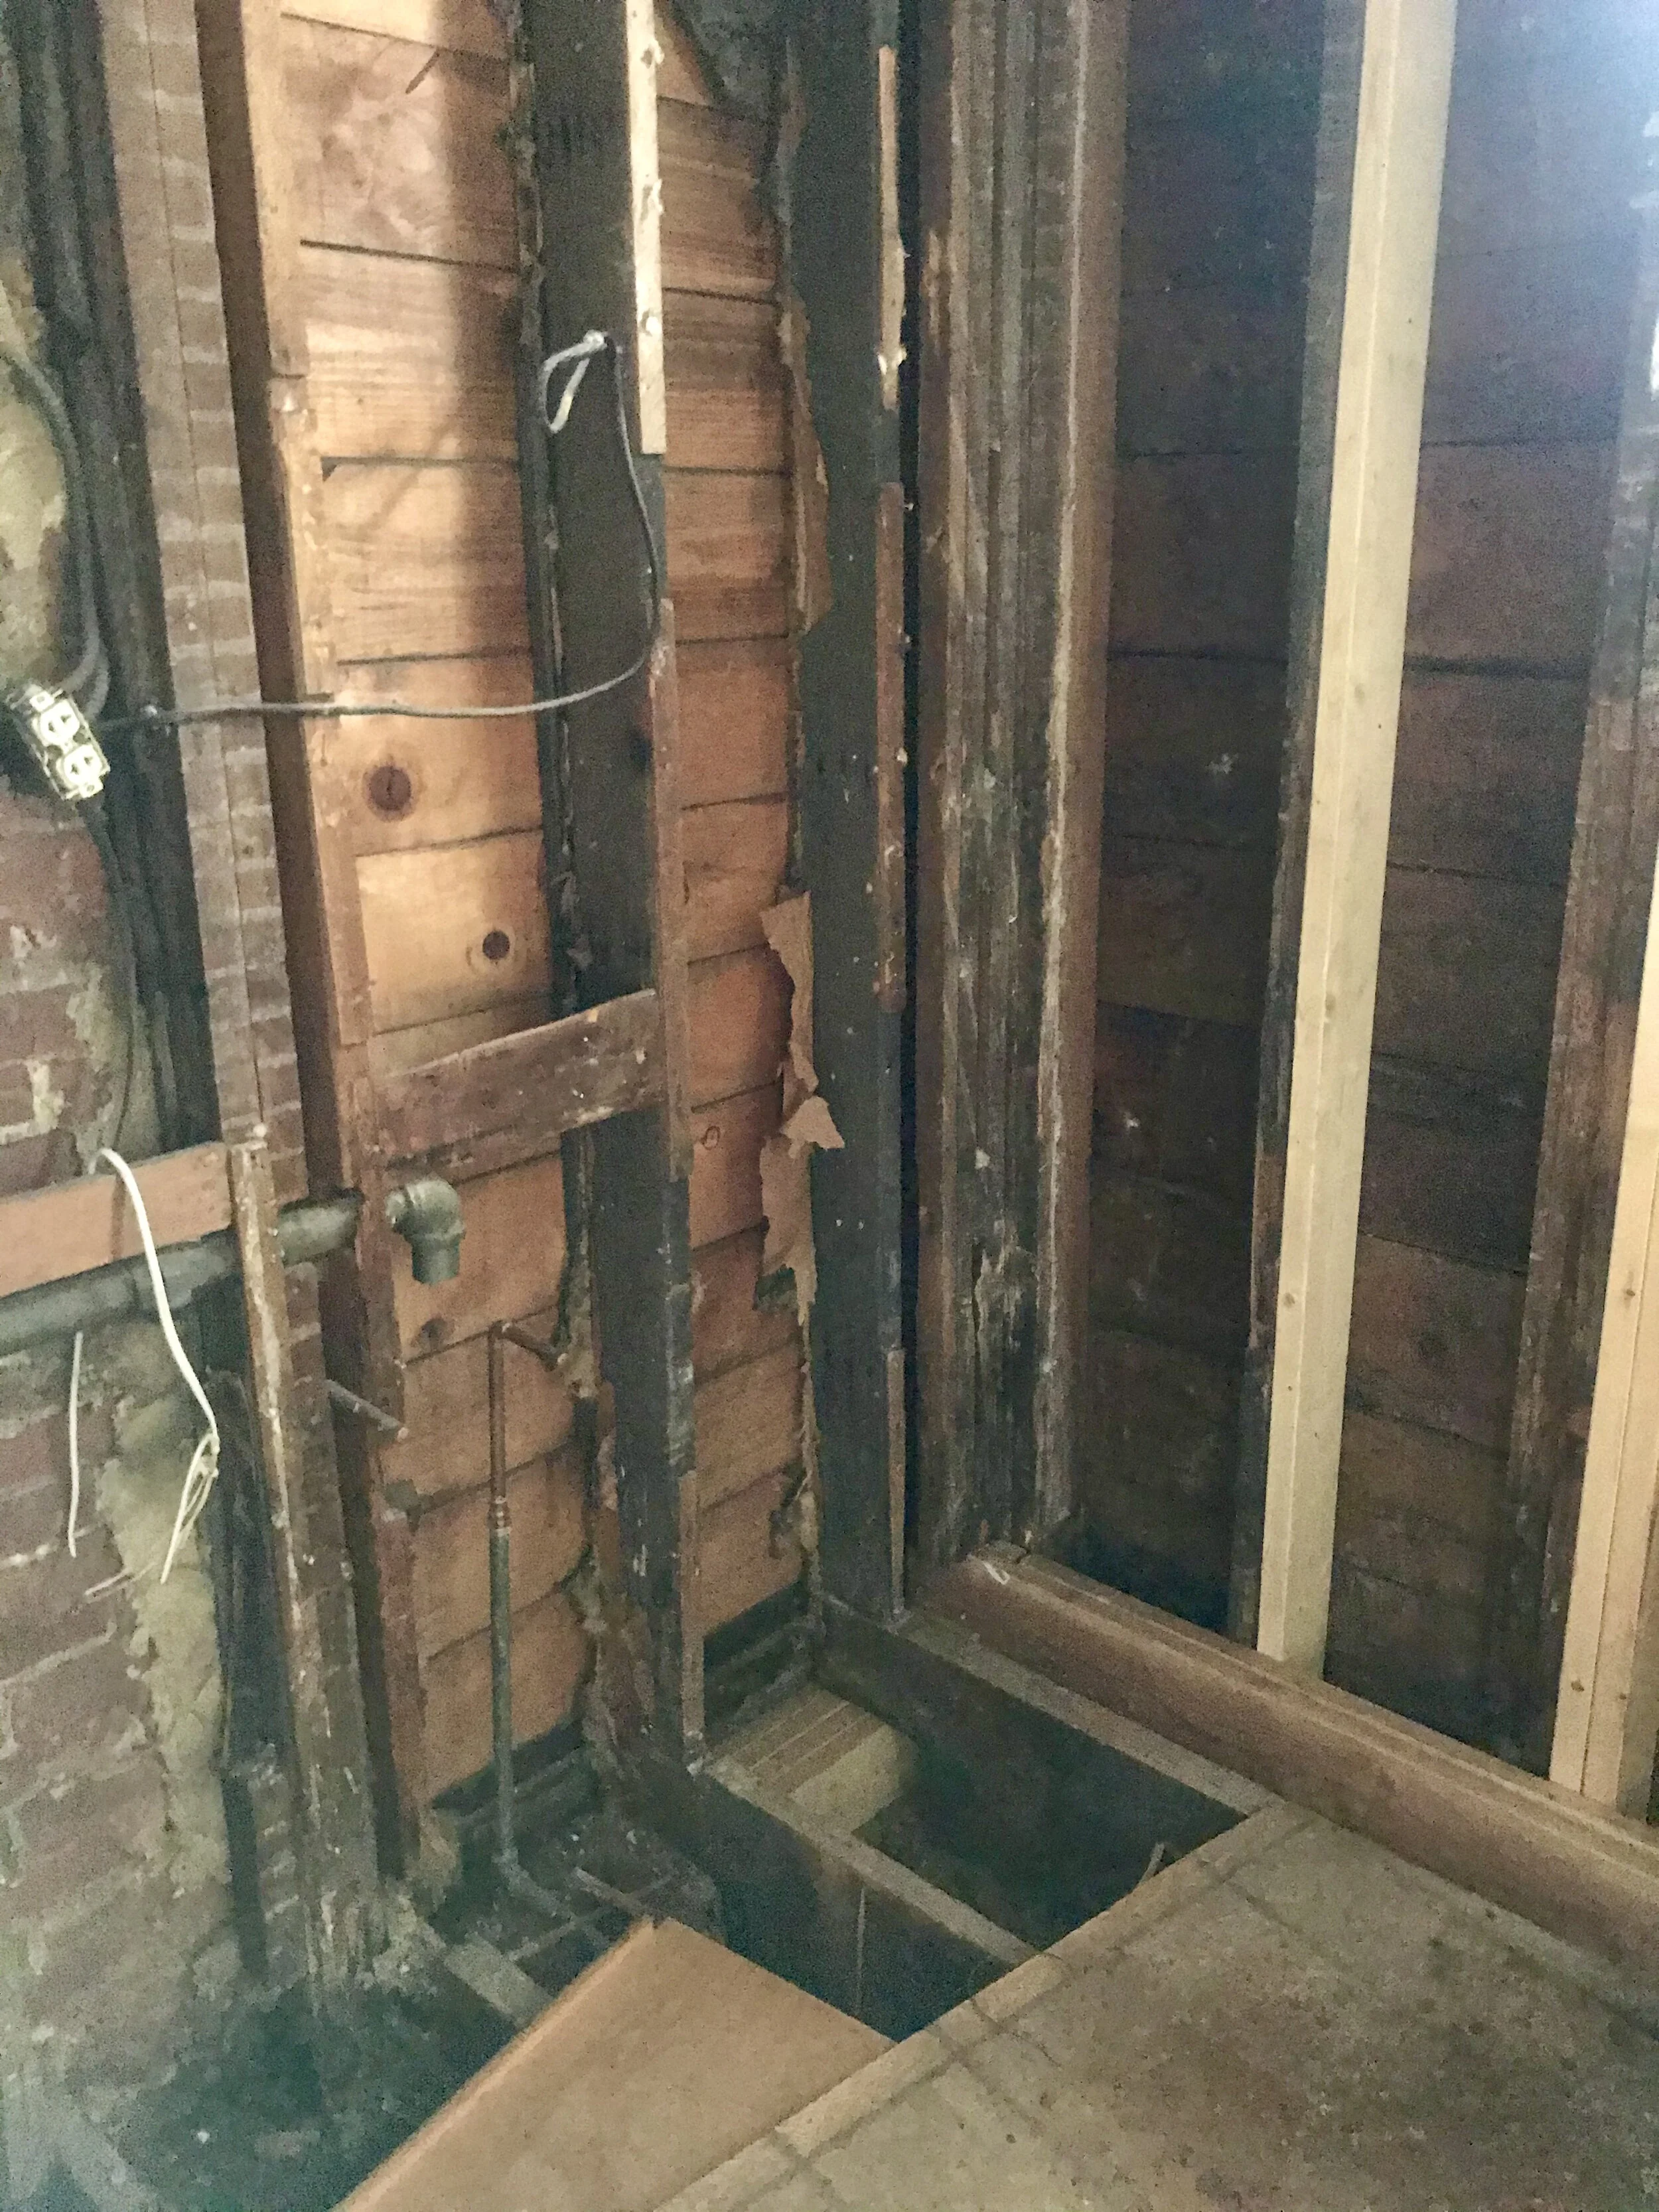
In bathroom building most of the arduous work is the preparation and hidden behind the walls or ‘neath the floor. The comfort in installing your own bathroom is that you know everything is done correctly and exceeds municipal building code. When exposing the structure behind a formerly suspect bathroom one expects to be greeted by decay and mold. This bathroom ended up being much worse behind the walls than I could have conjectured. We discovered structural beams and framing that were crumbled and rotted voids. This is the damage that results when what is thought to be waterproof flooring and shower walls were in fact either never properly waterproofed in their inception or were waterproofed but have since failed.
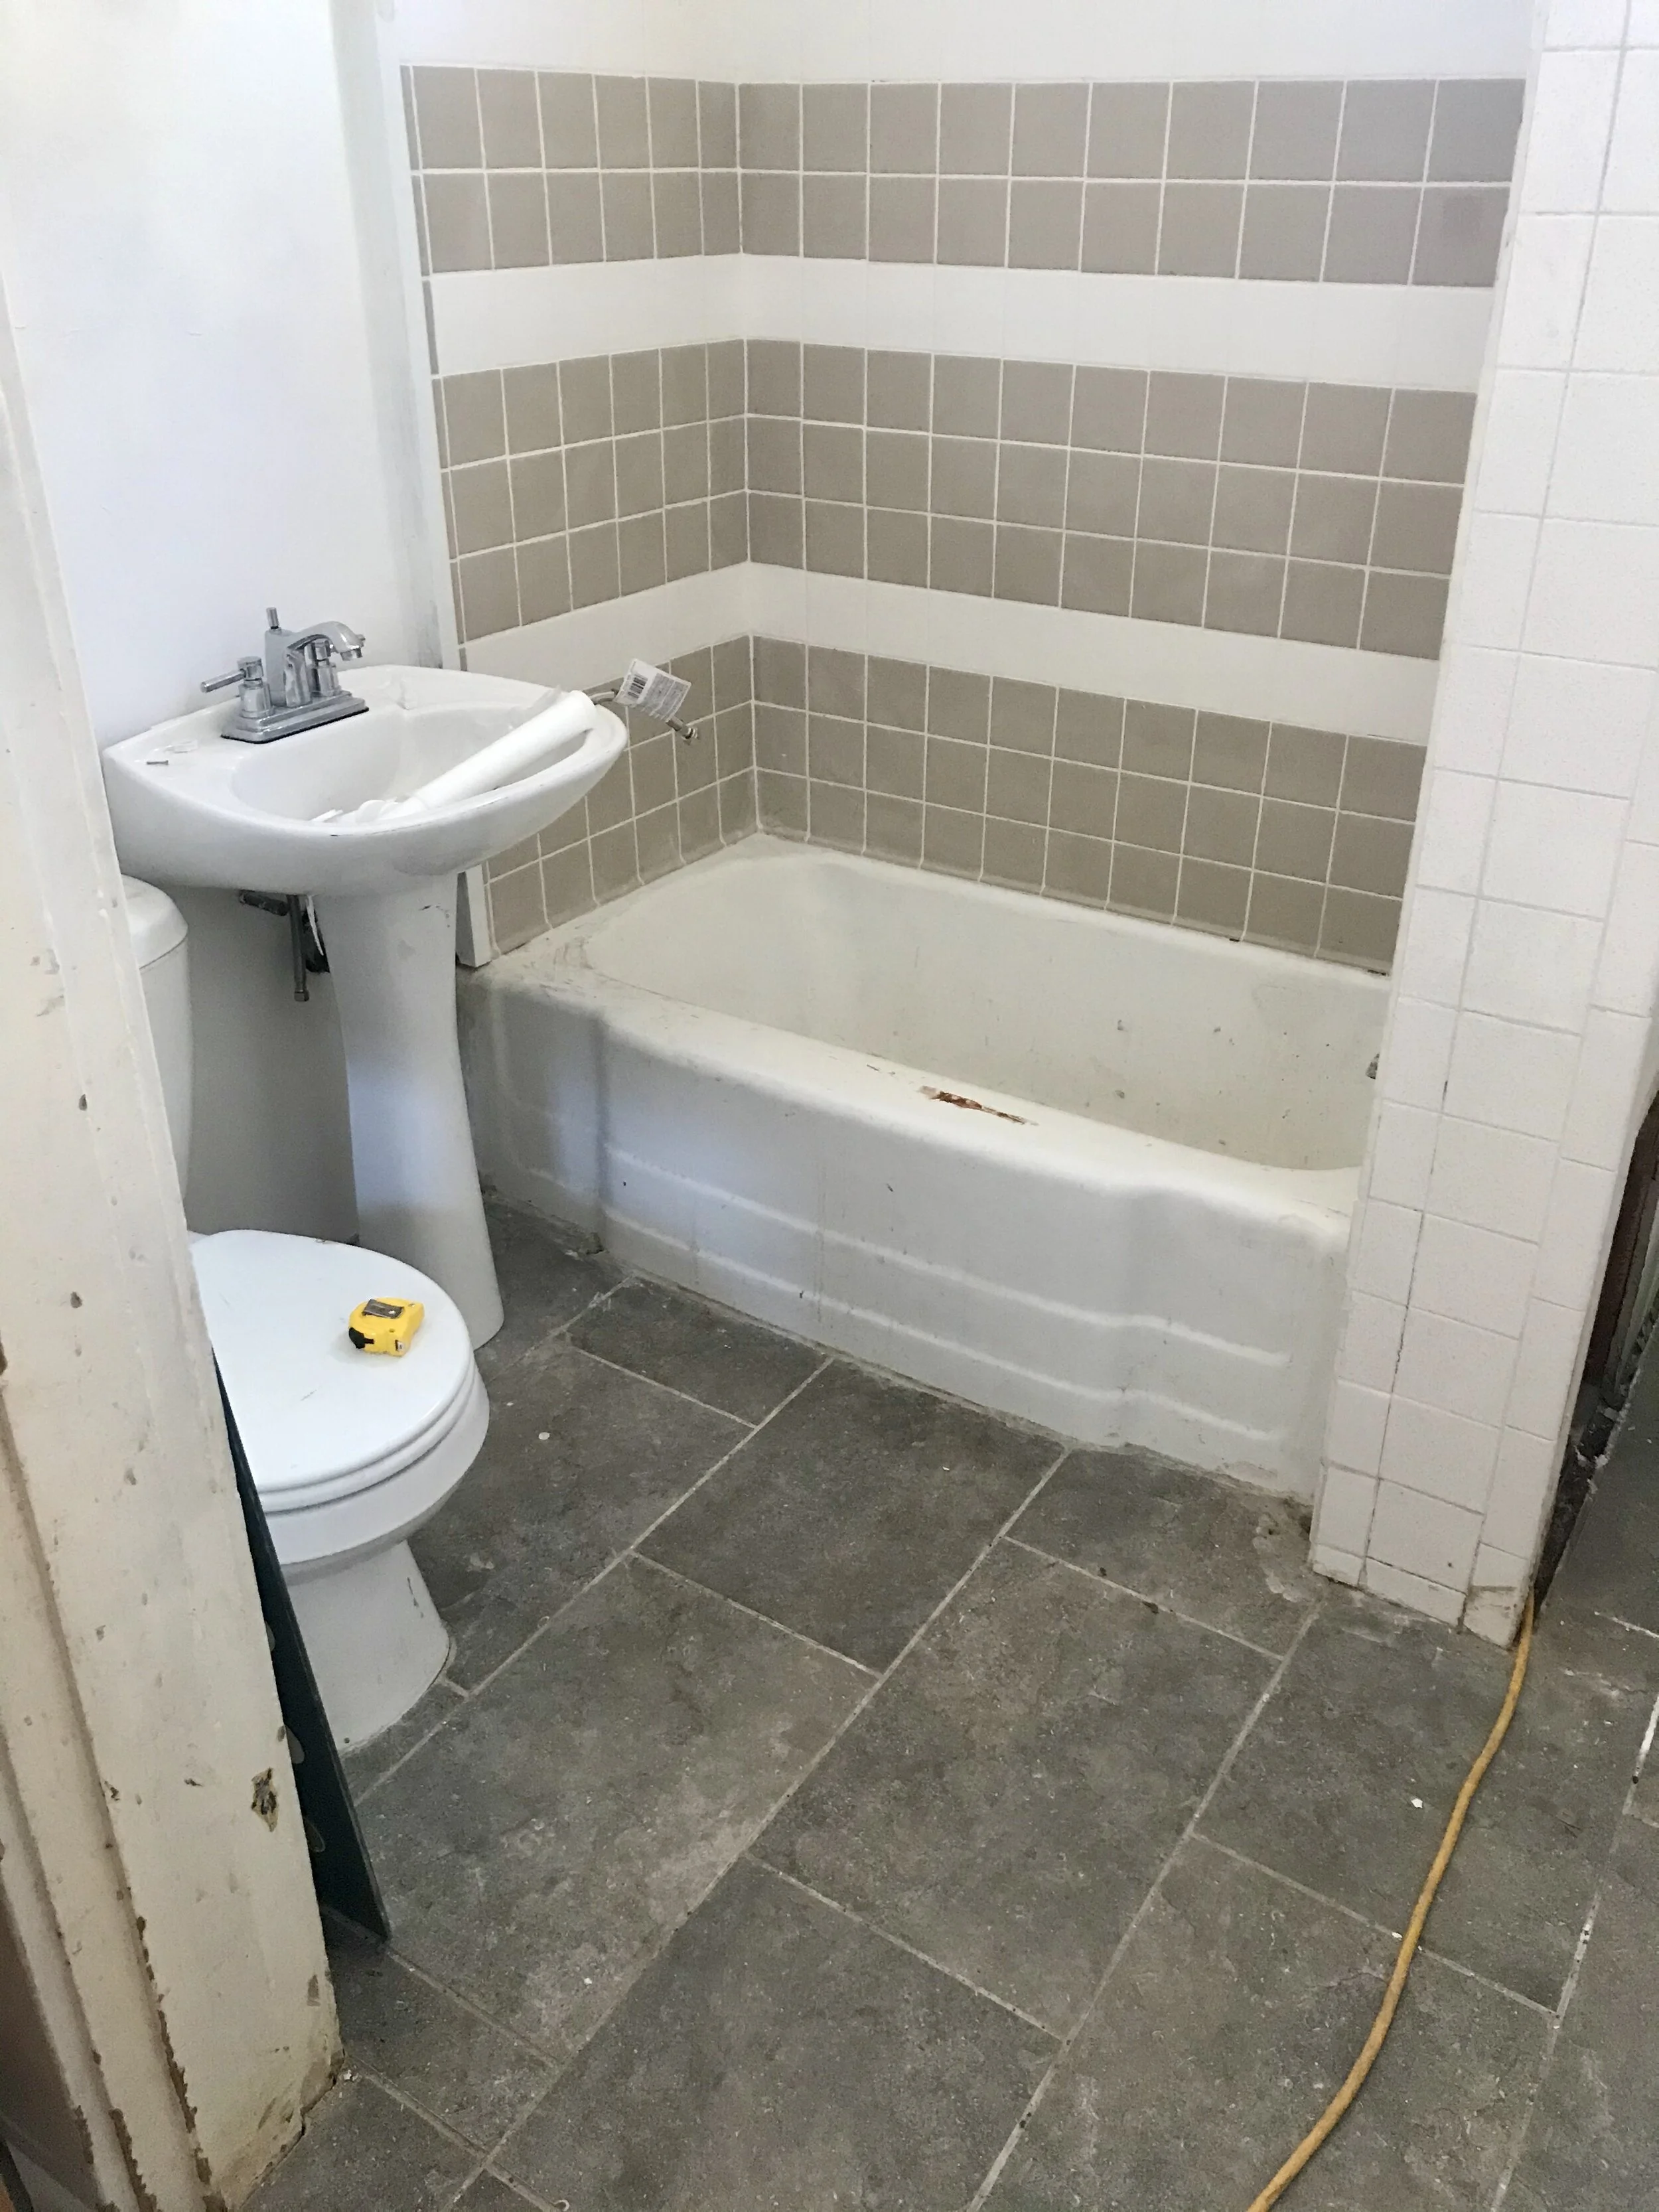
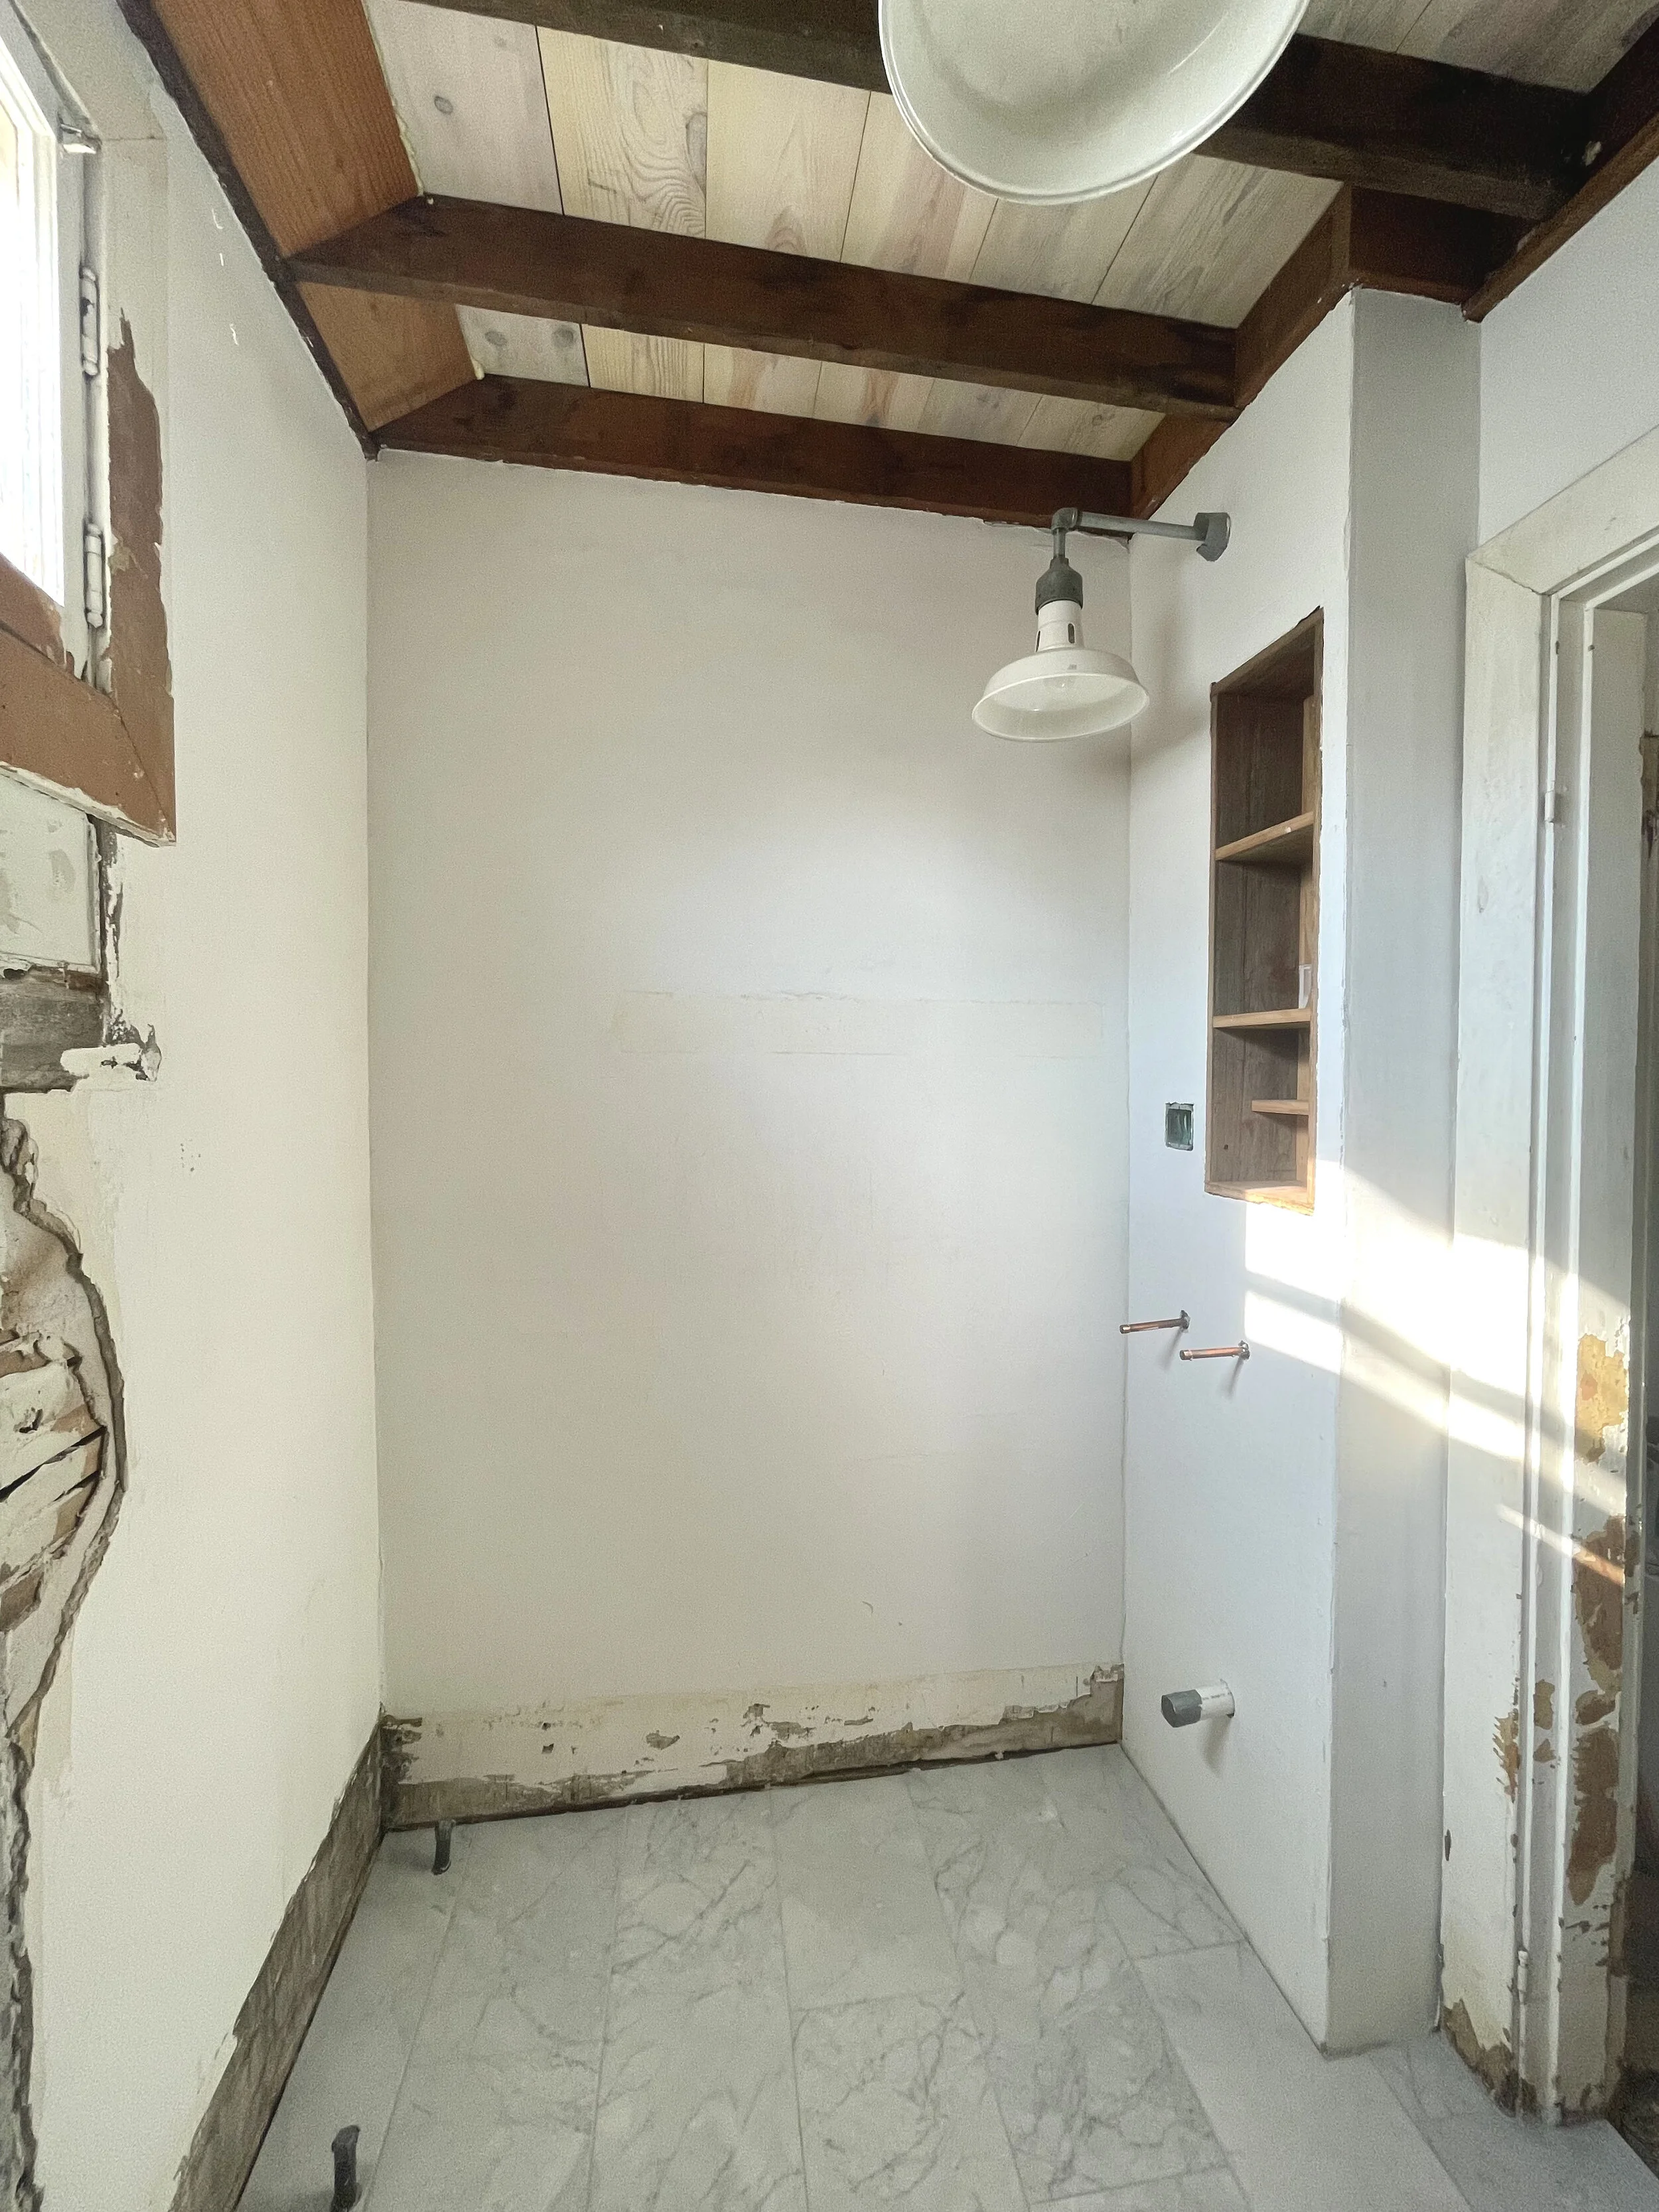
The beginning state of things:

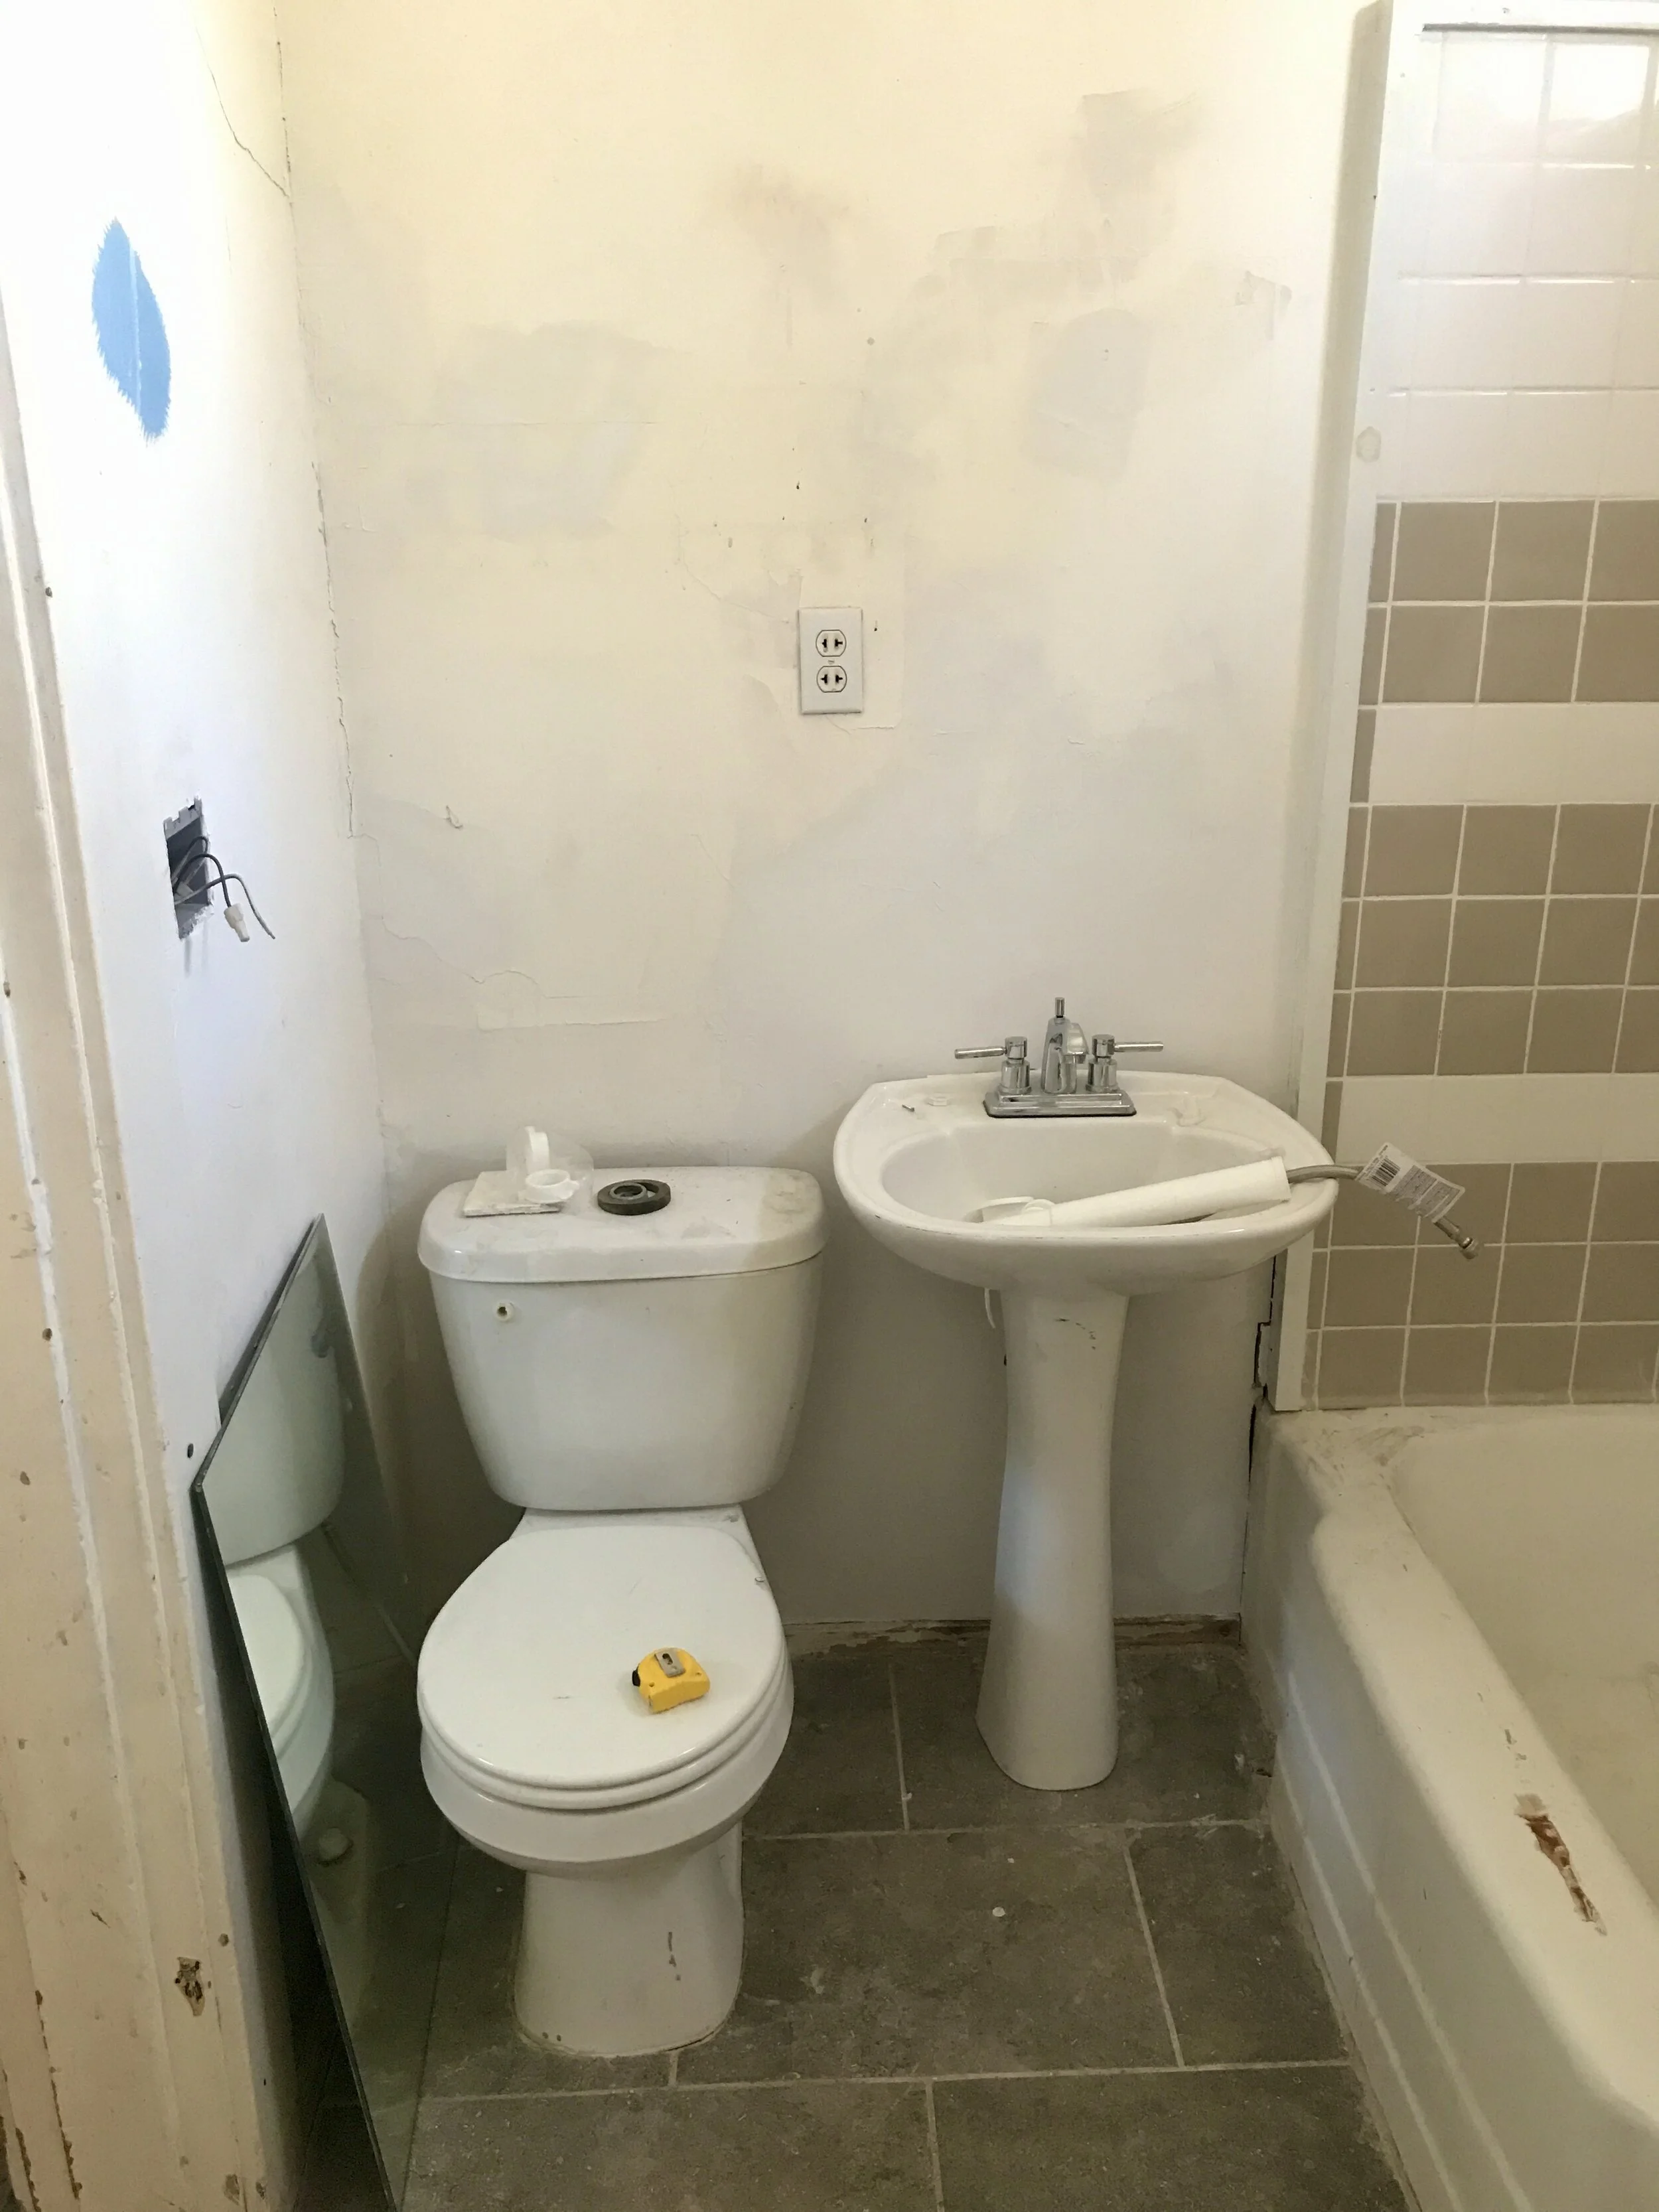
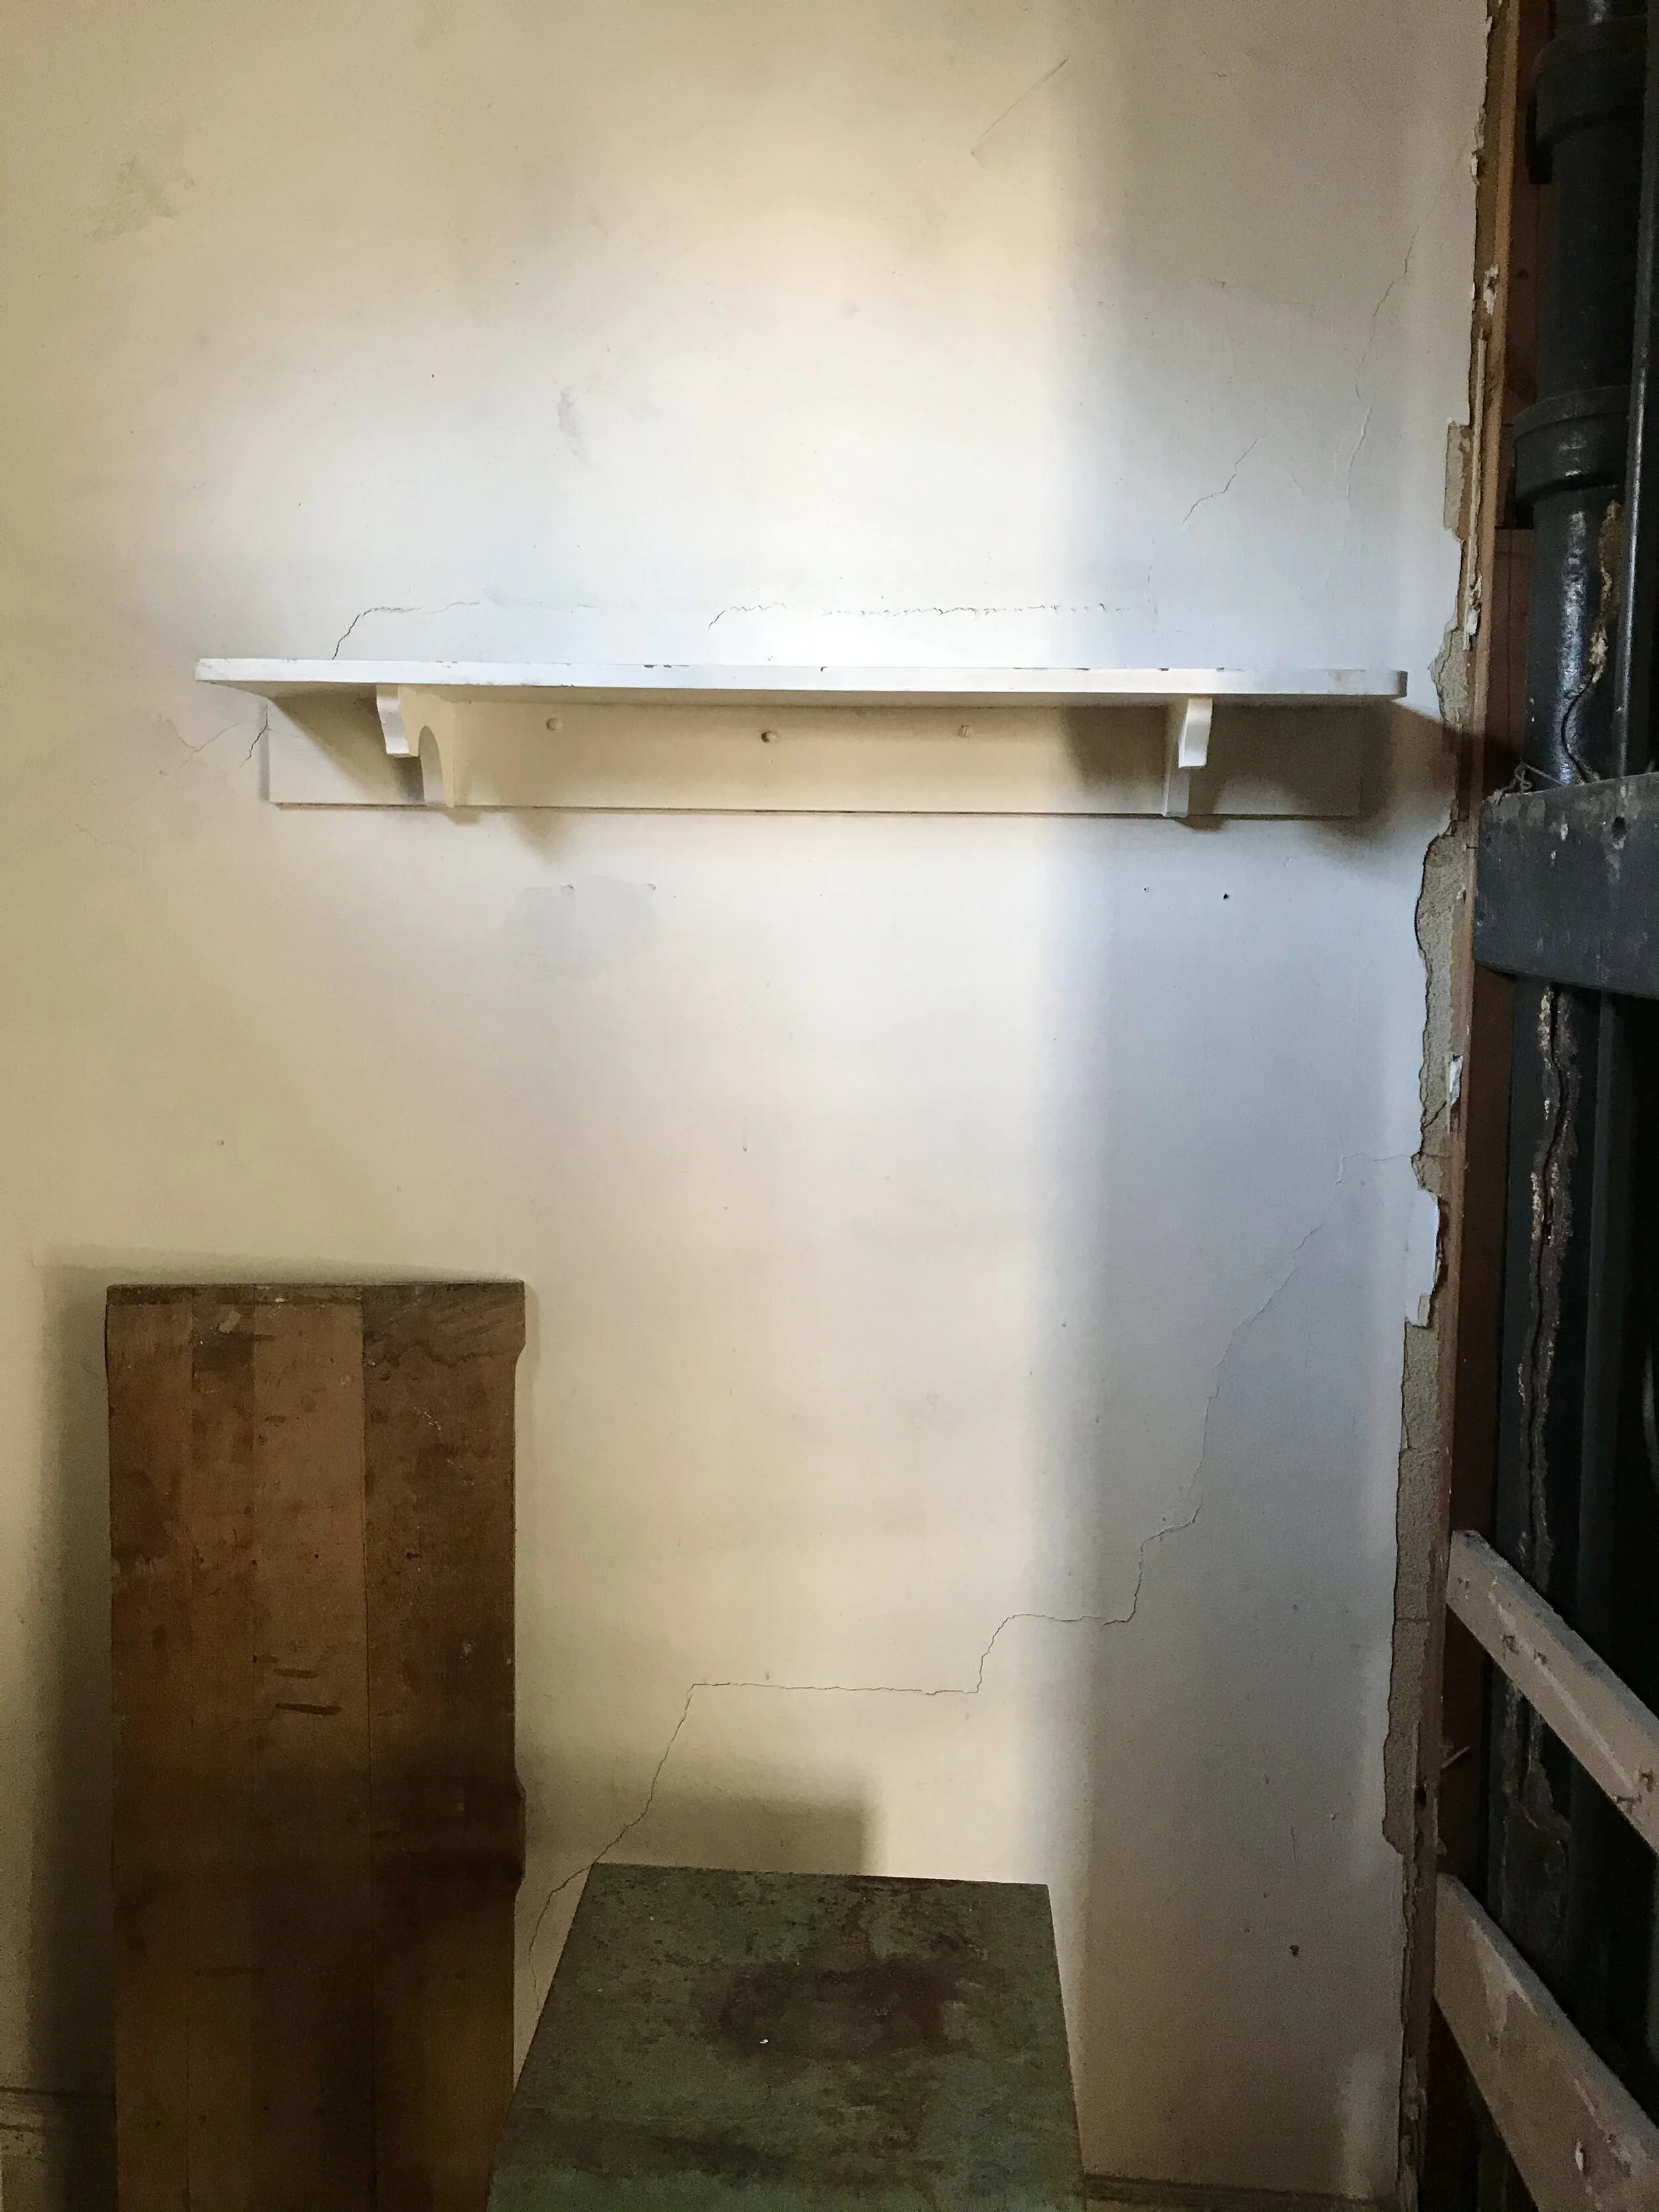
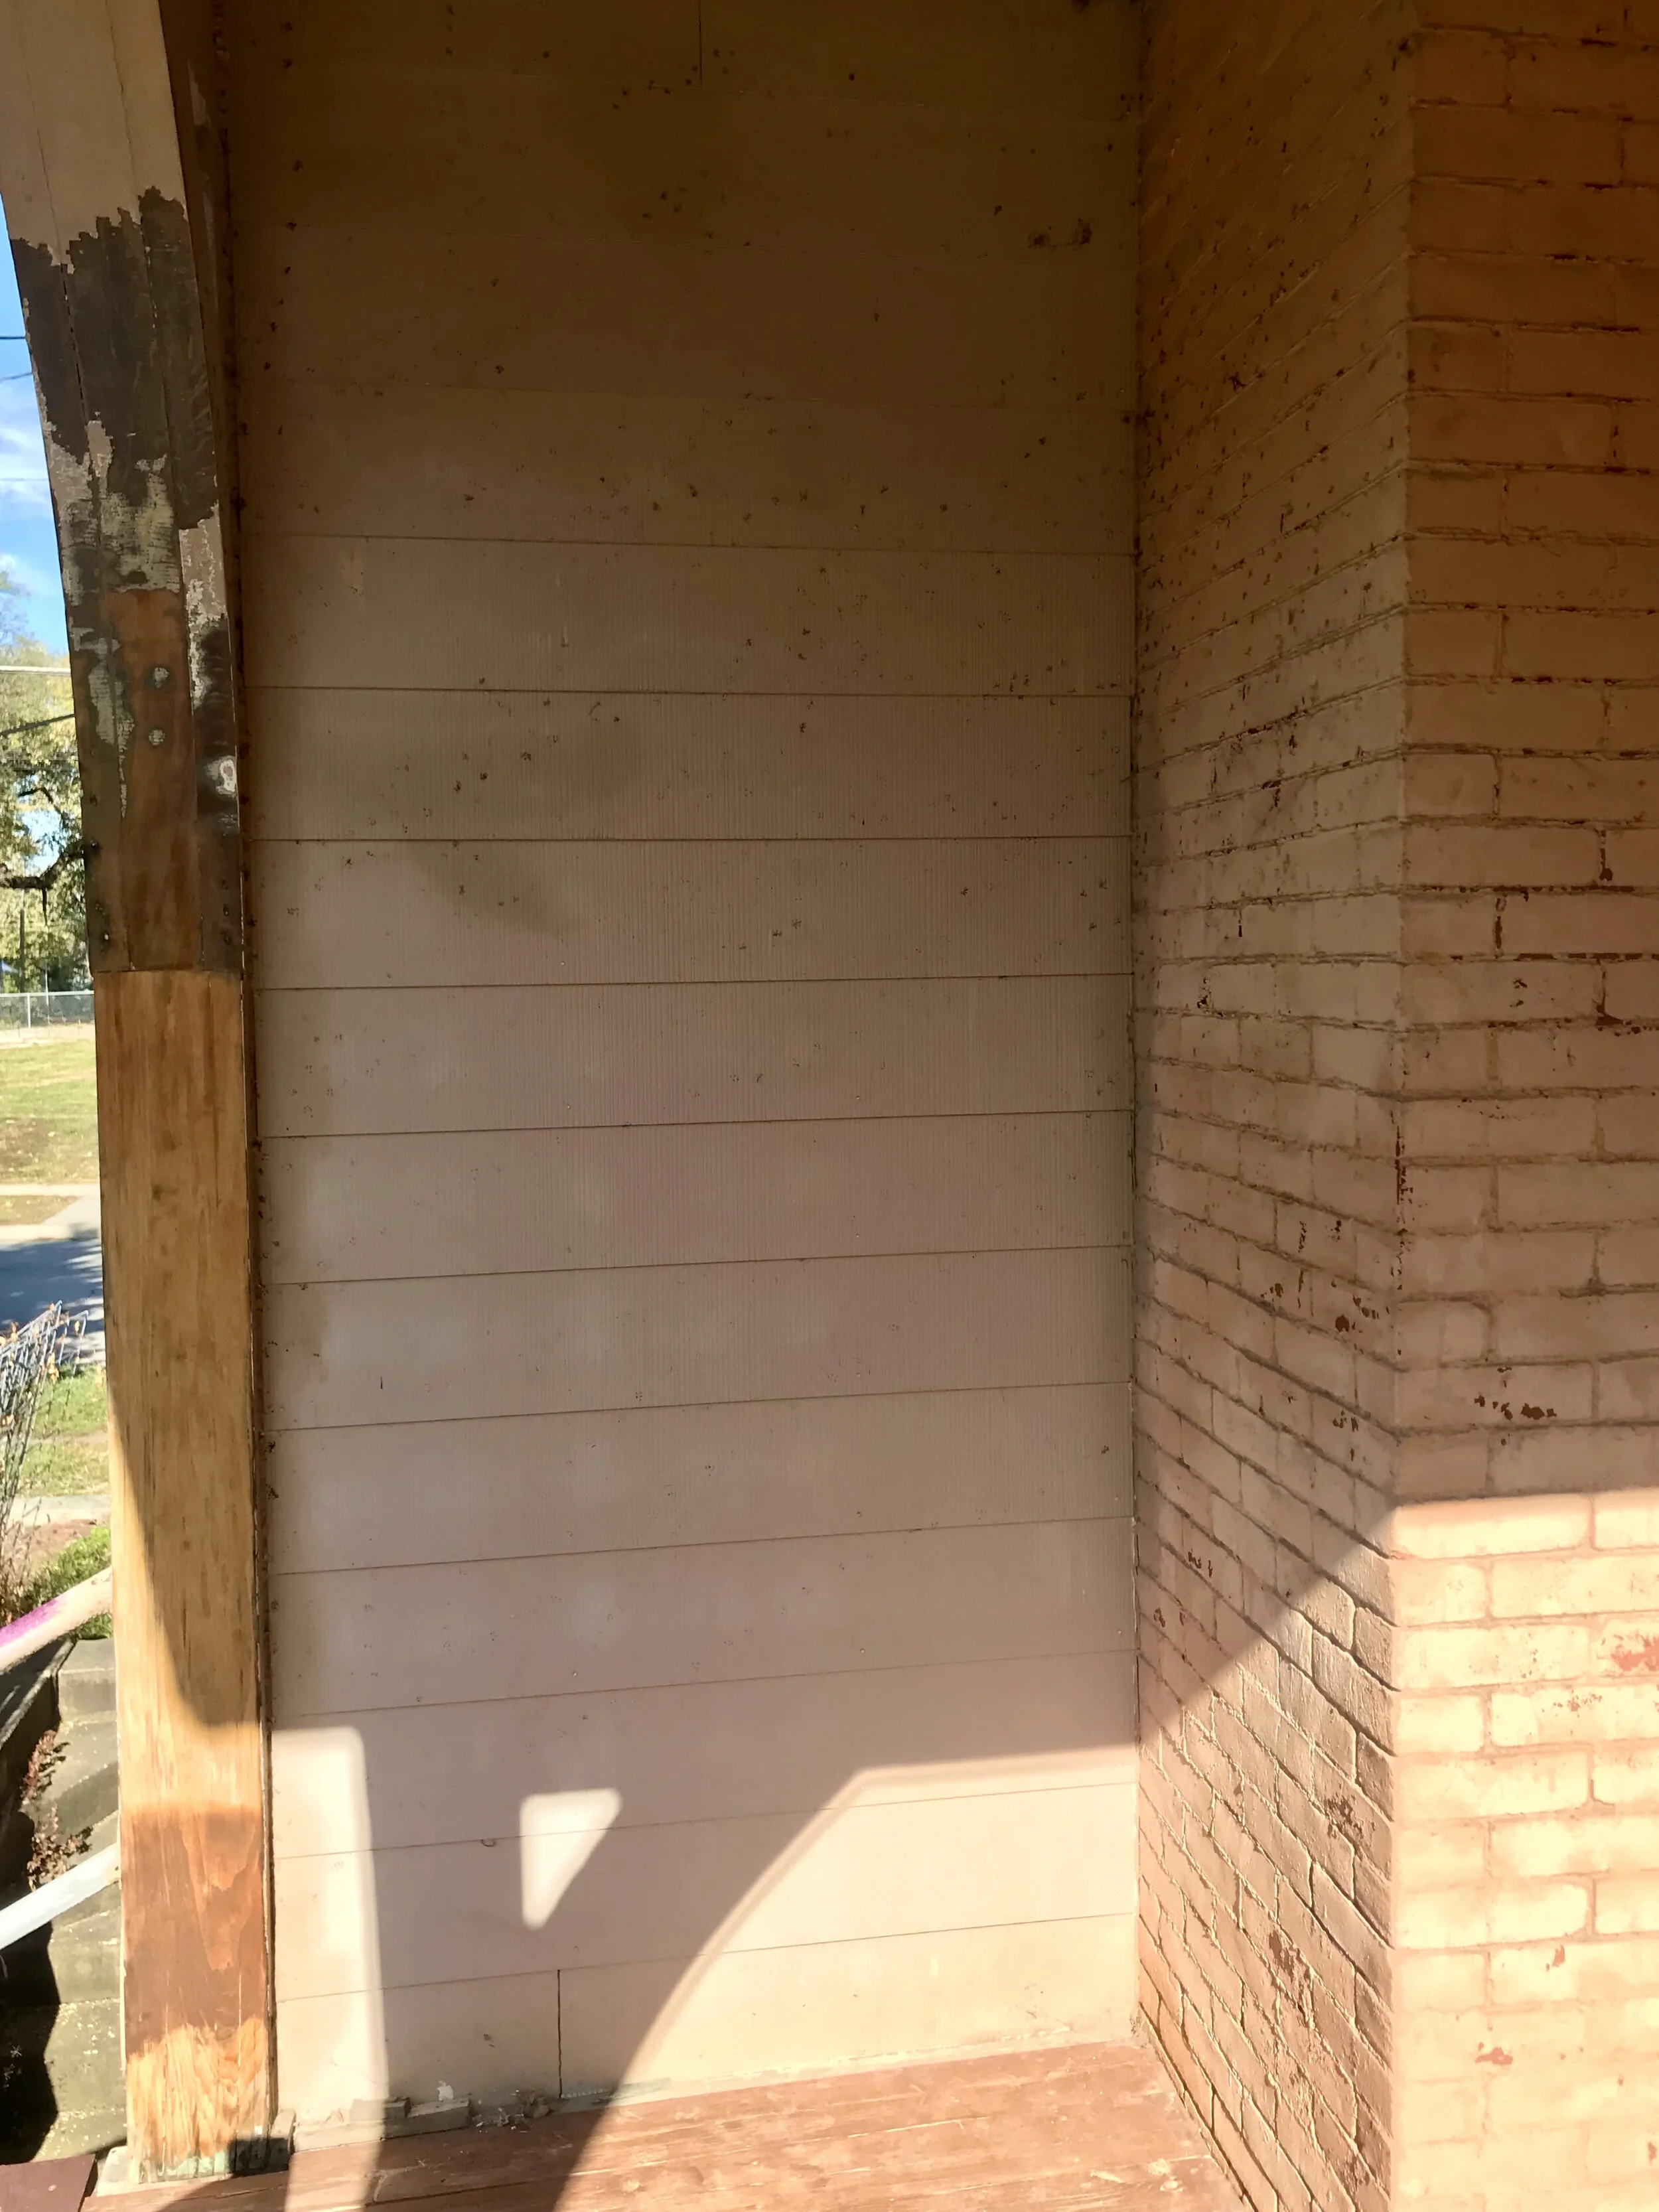
These are photos I snapped when I walked through the house before making an offer on it.


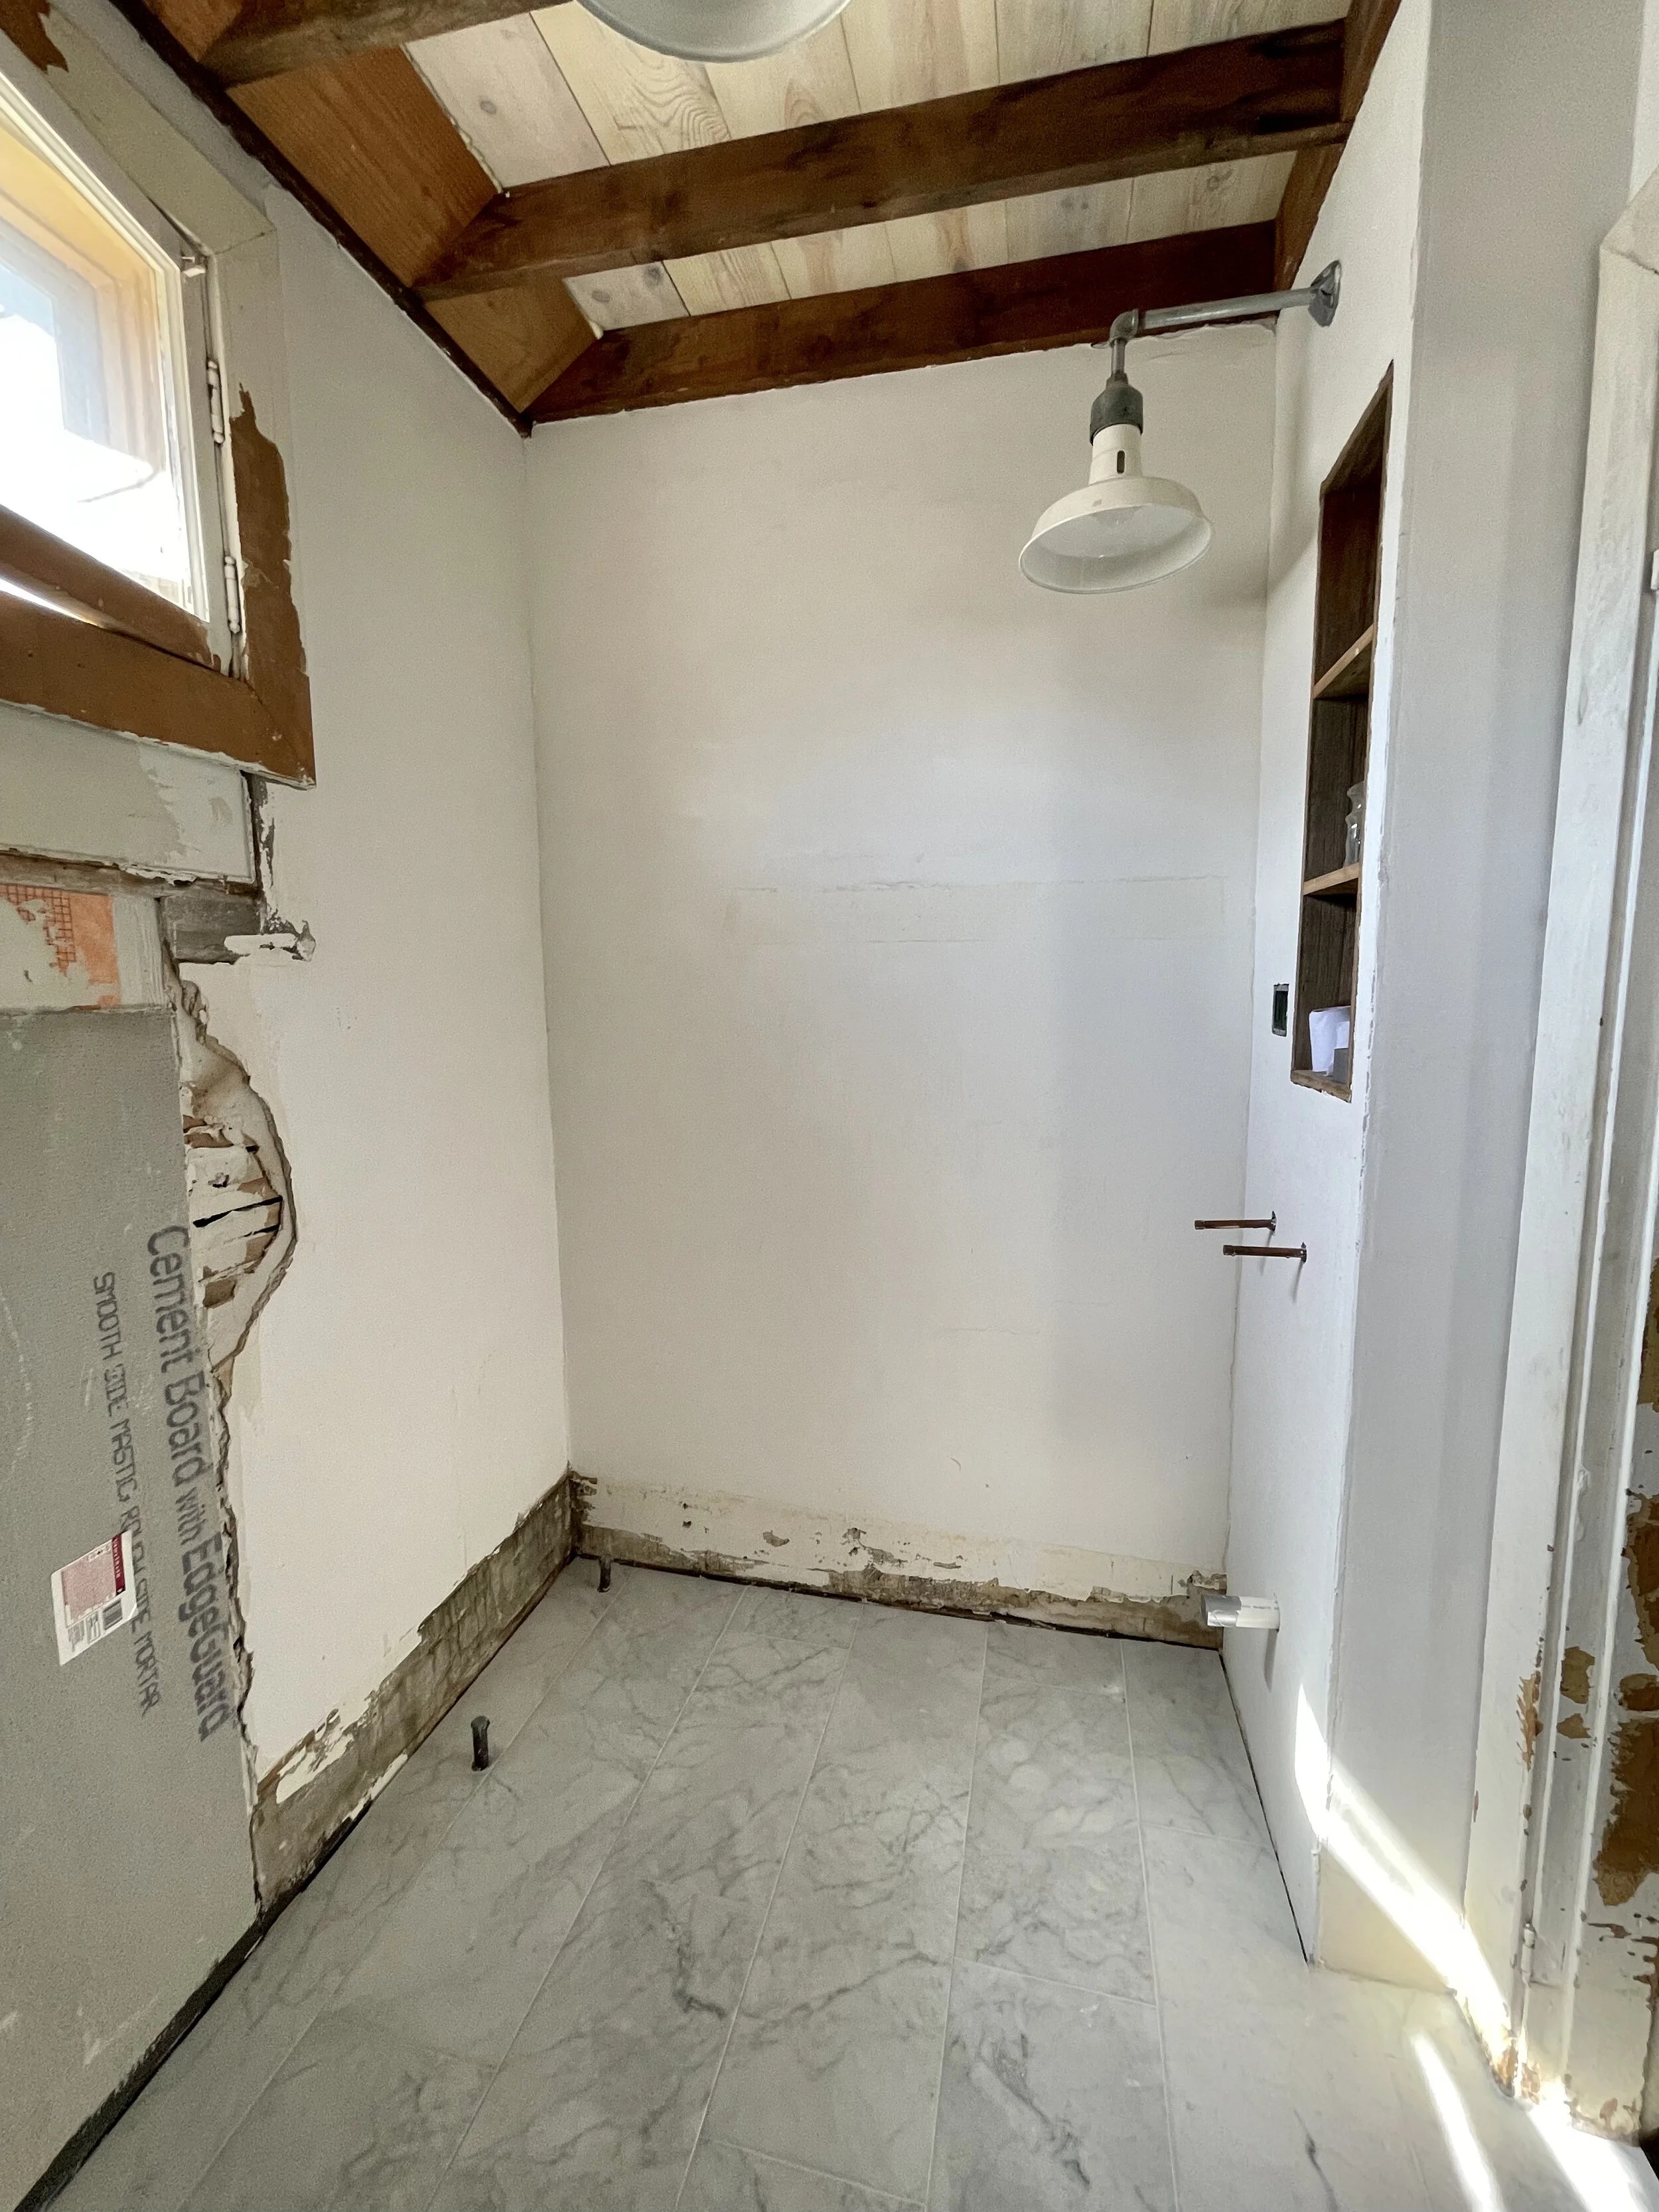
Bathroom after a thorough scrubbing. I had the sink and wall heater removed, the former was falling off the wall and the latter was deemed unsafe by an HVAC professional.
2/16/2020
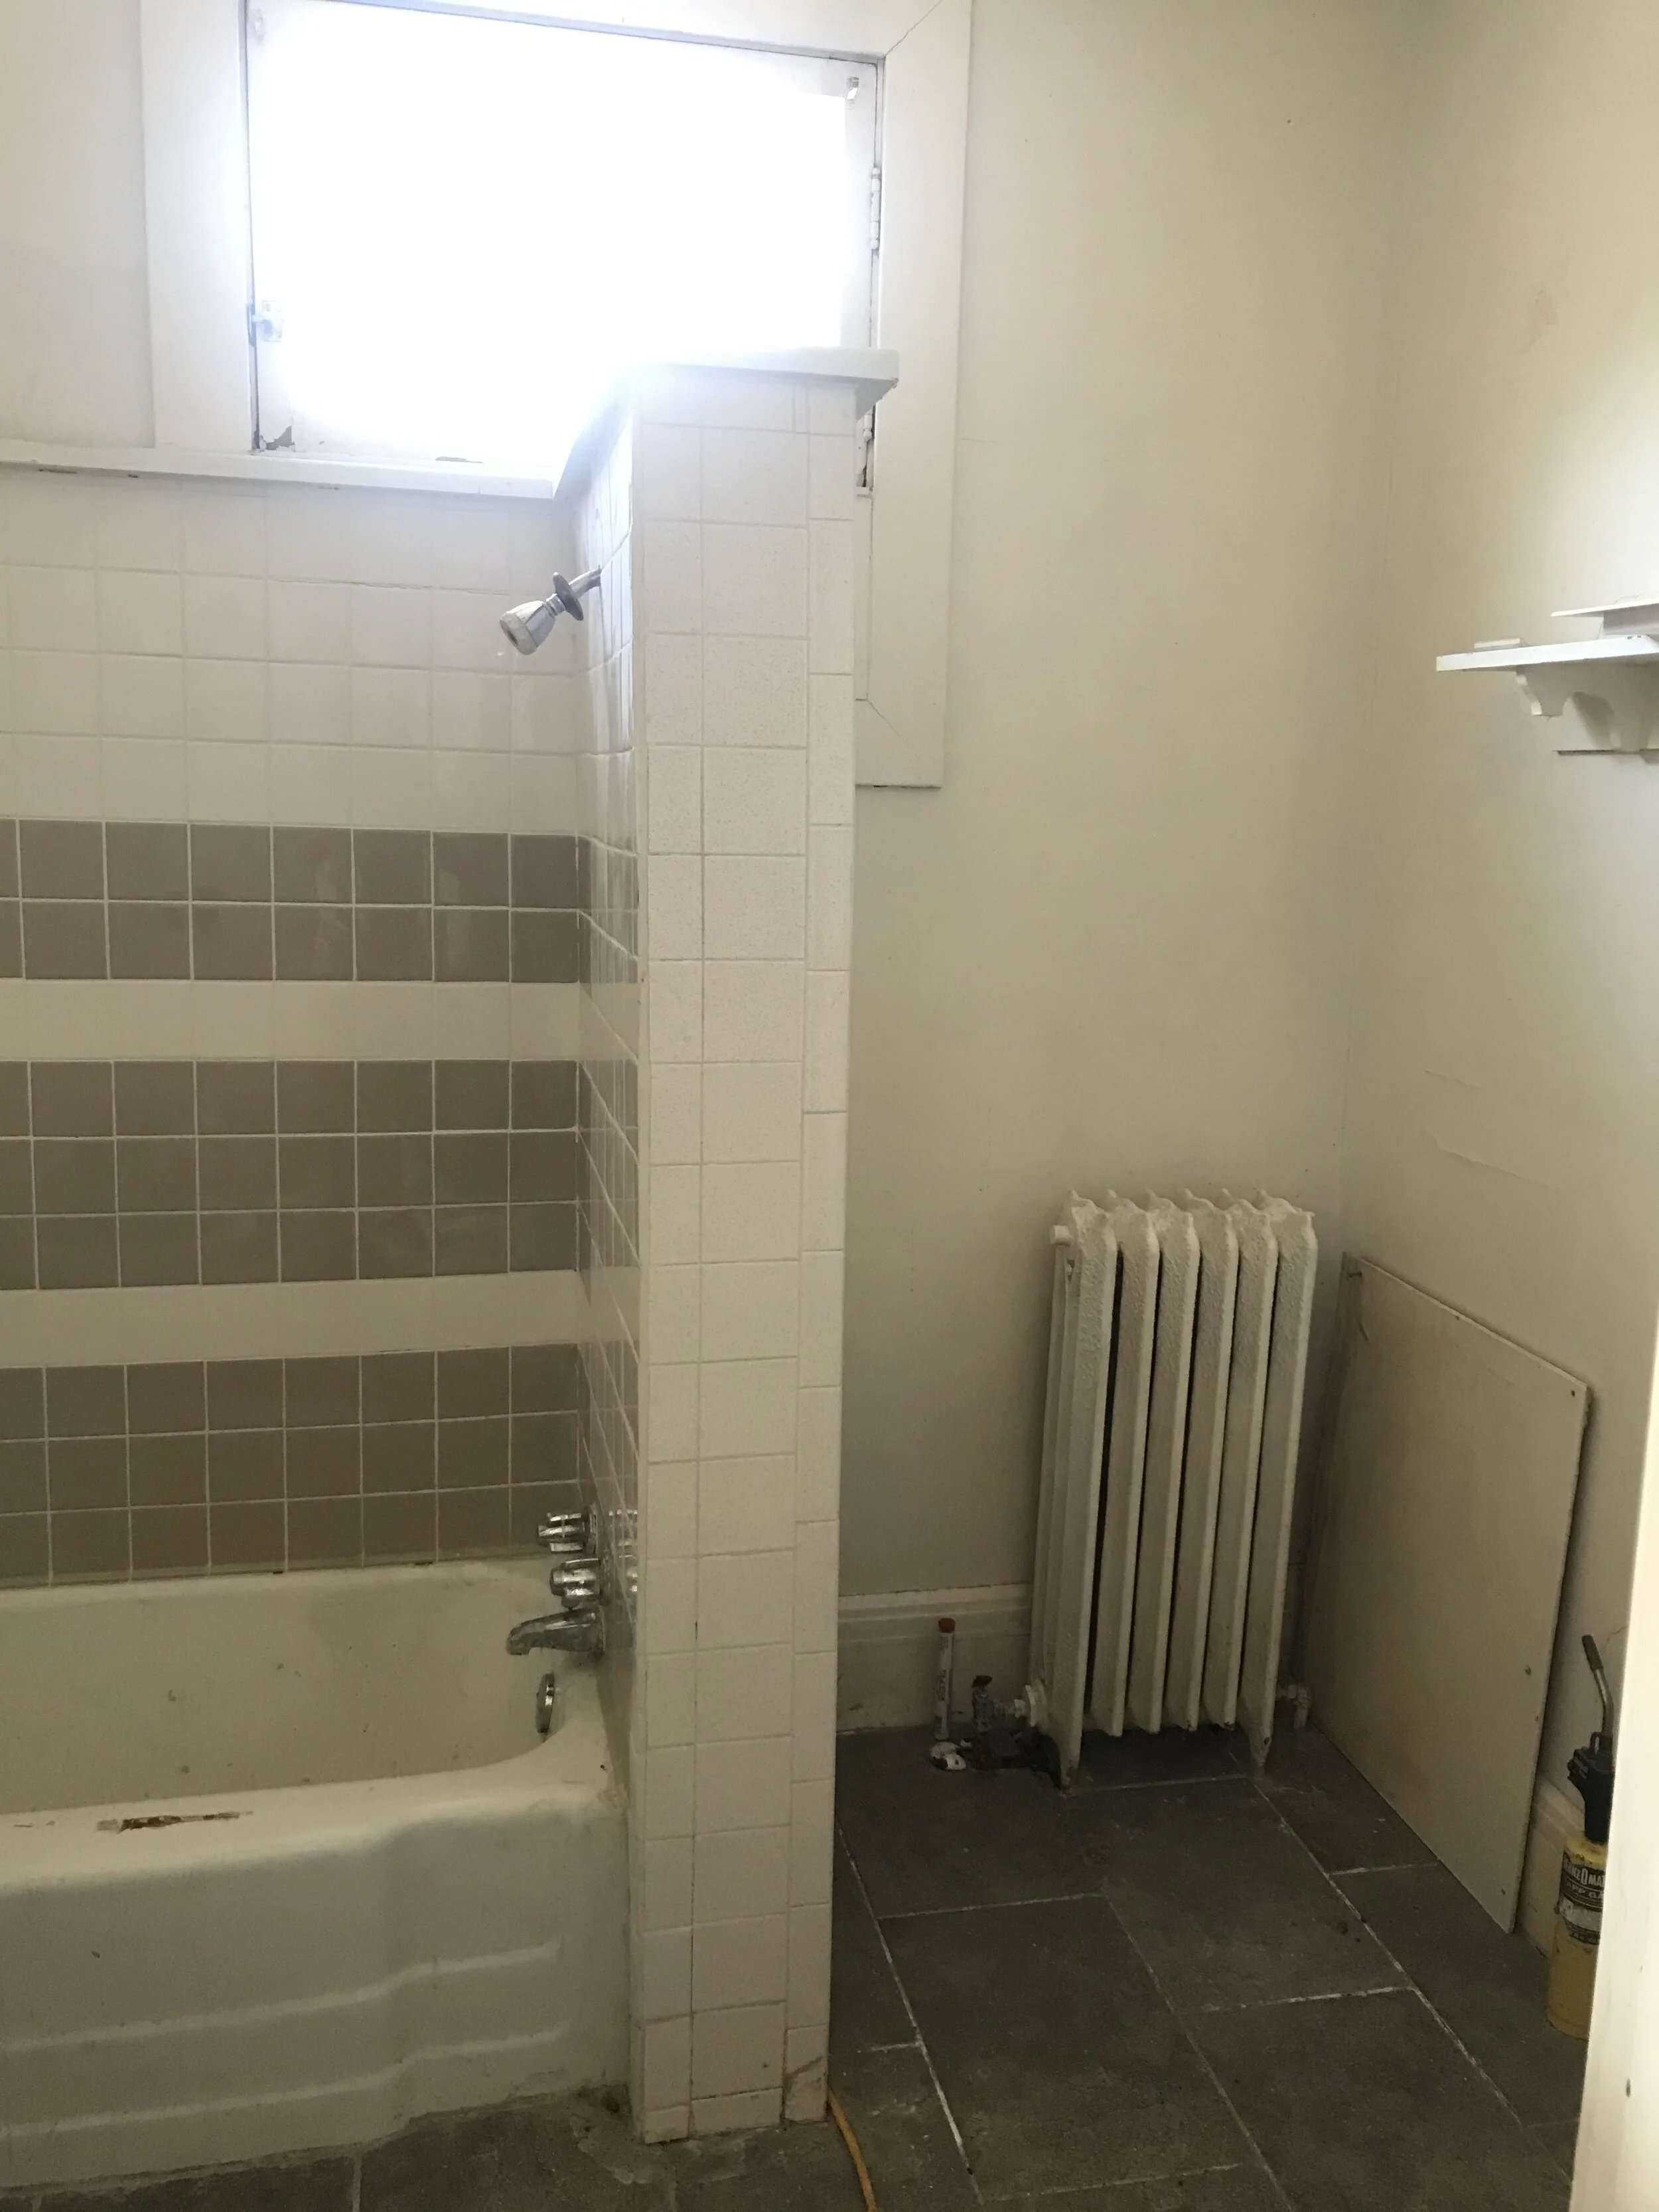

The shower was extremely short.
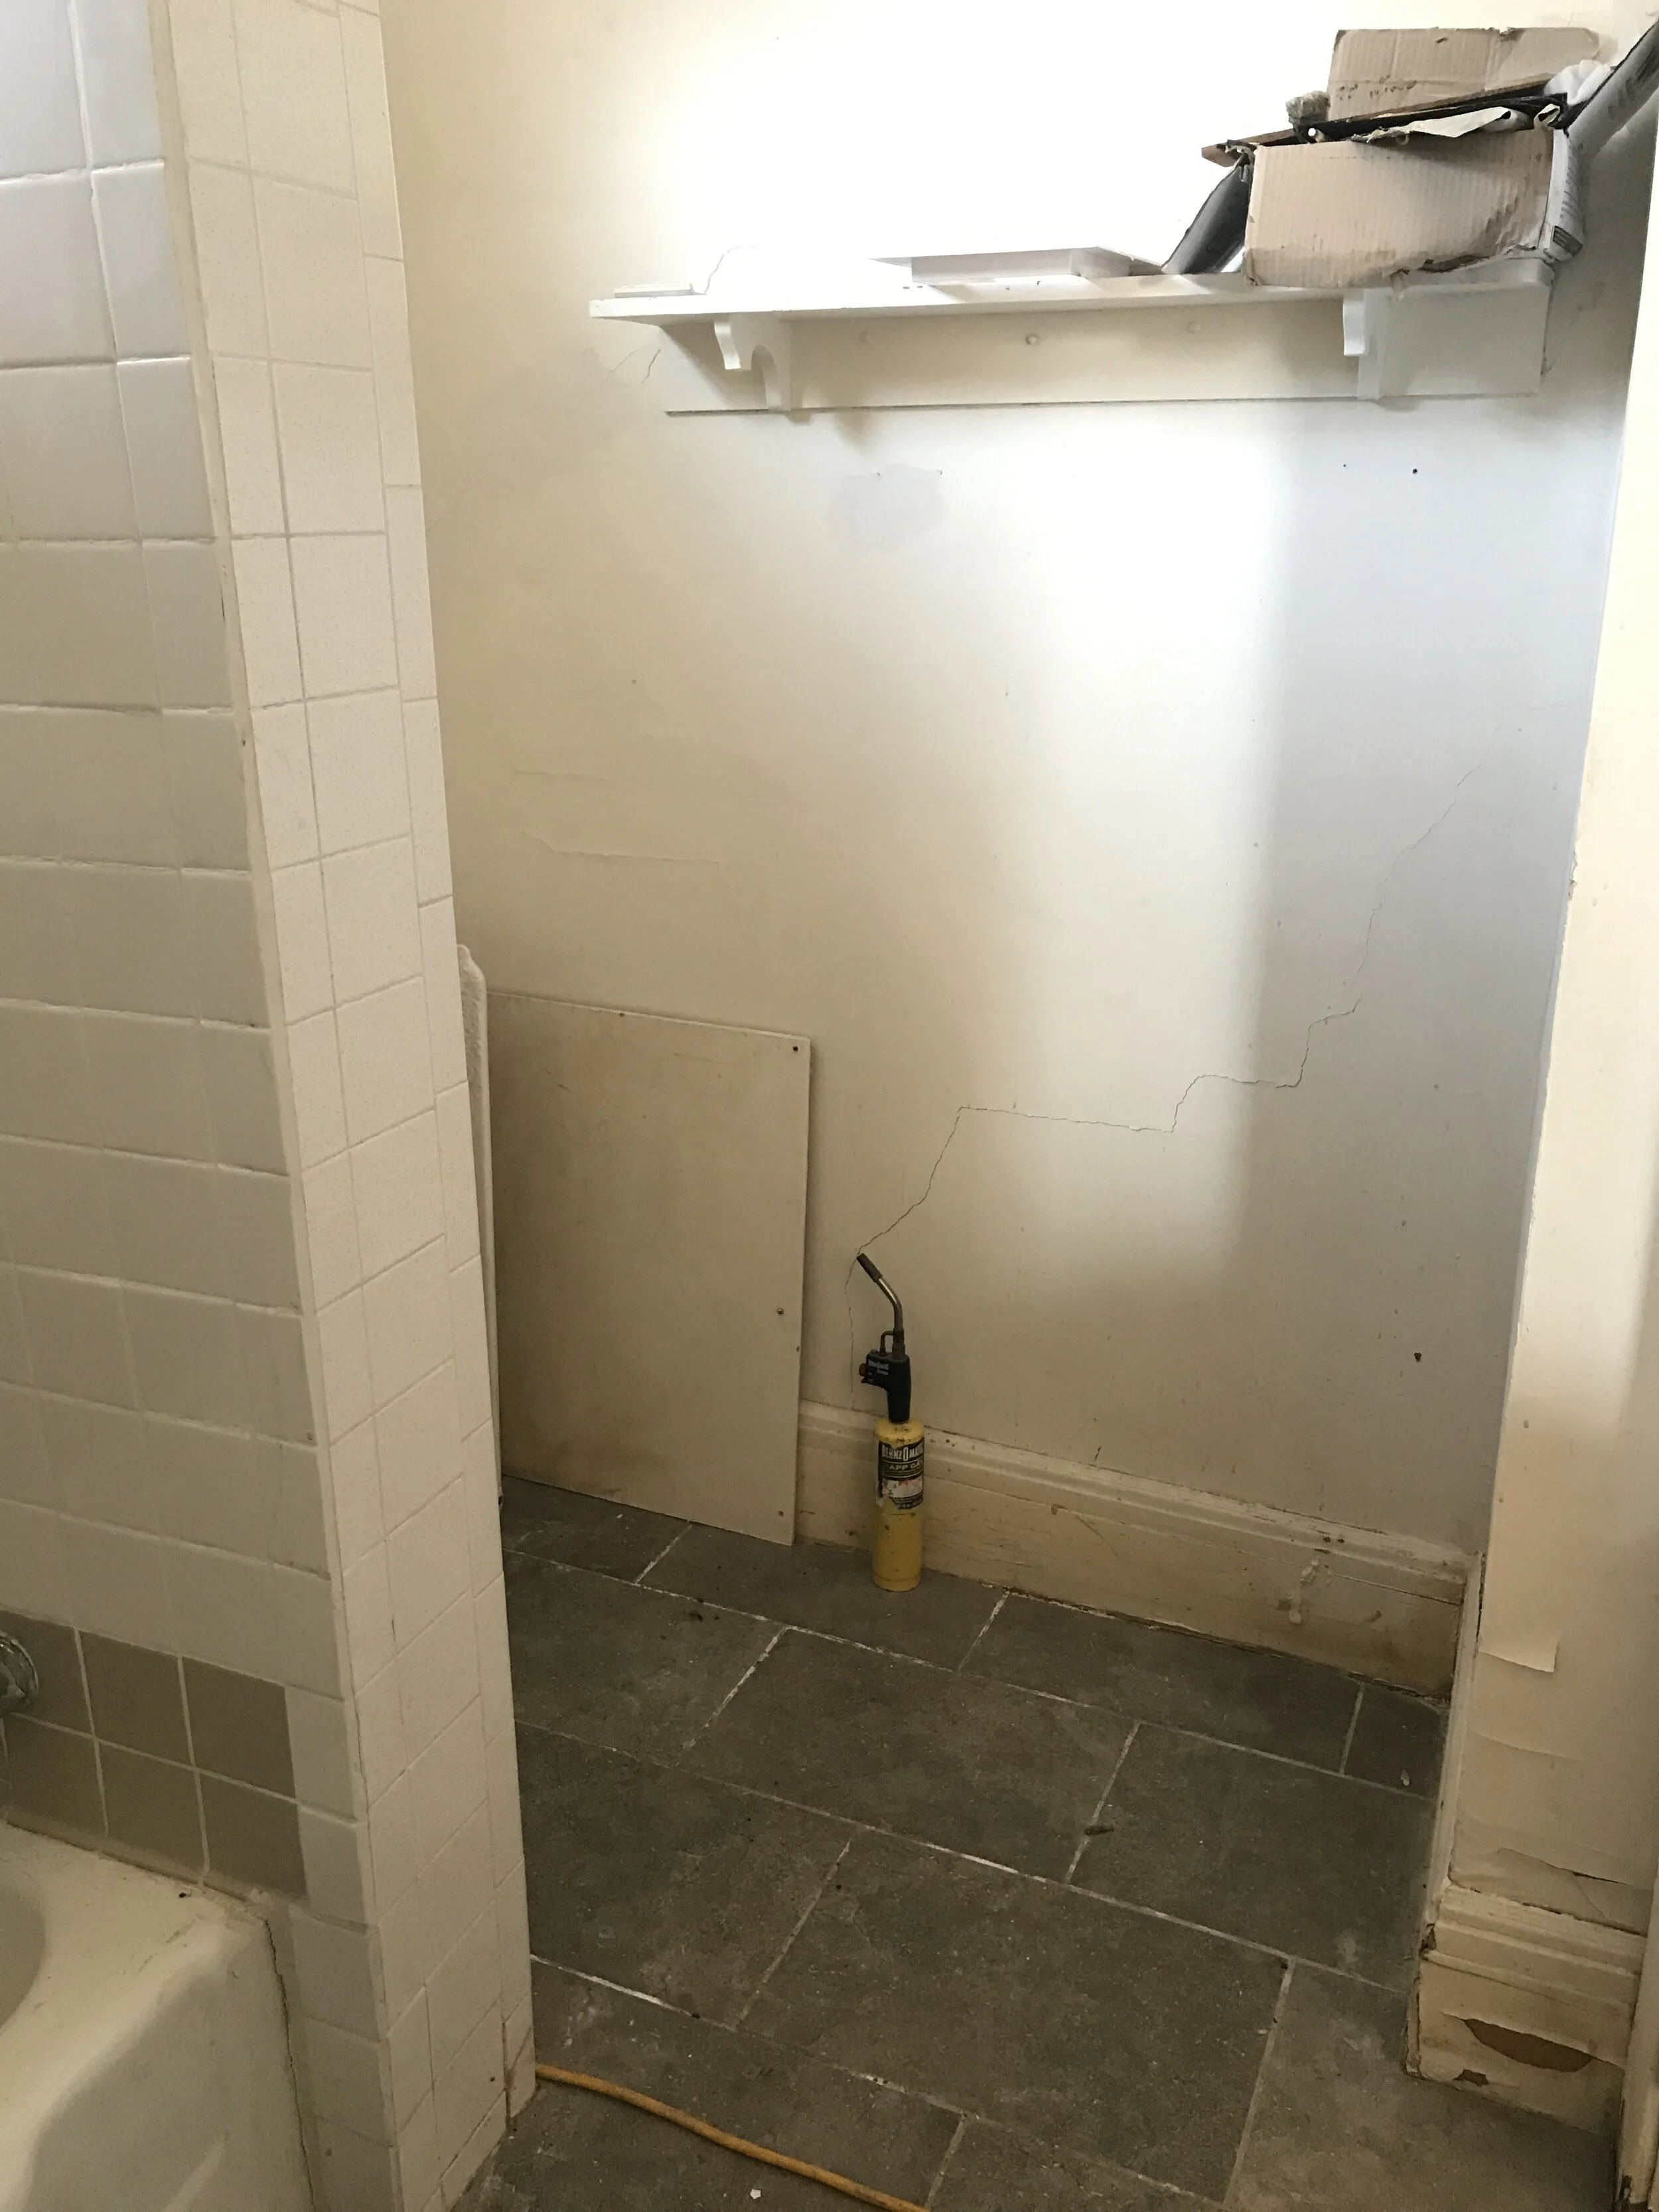
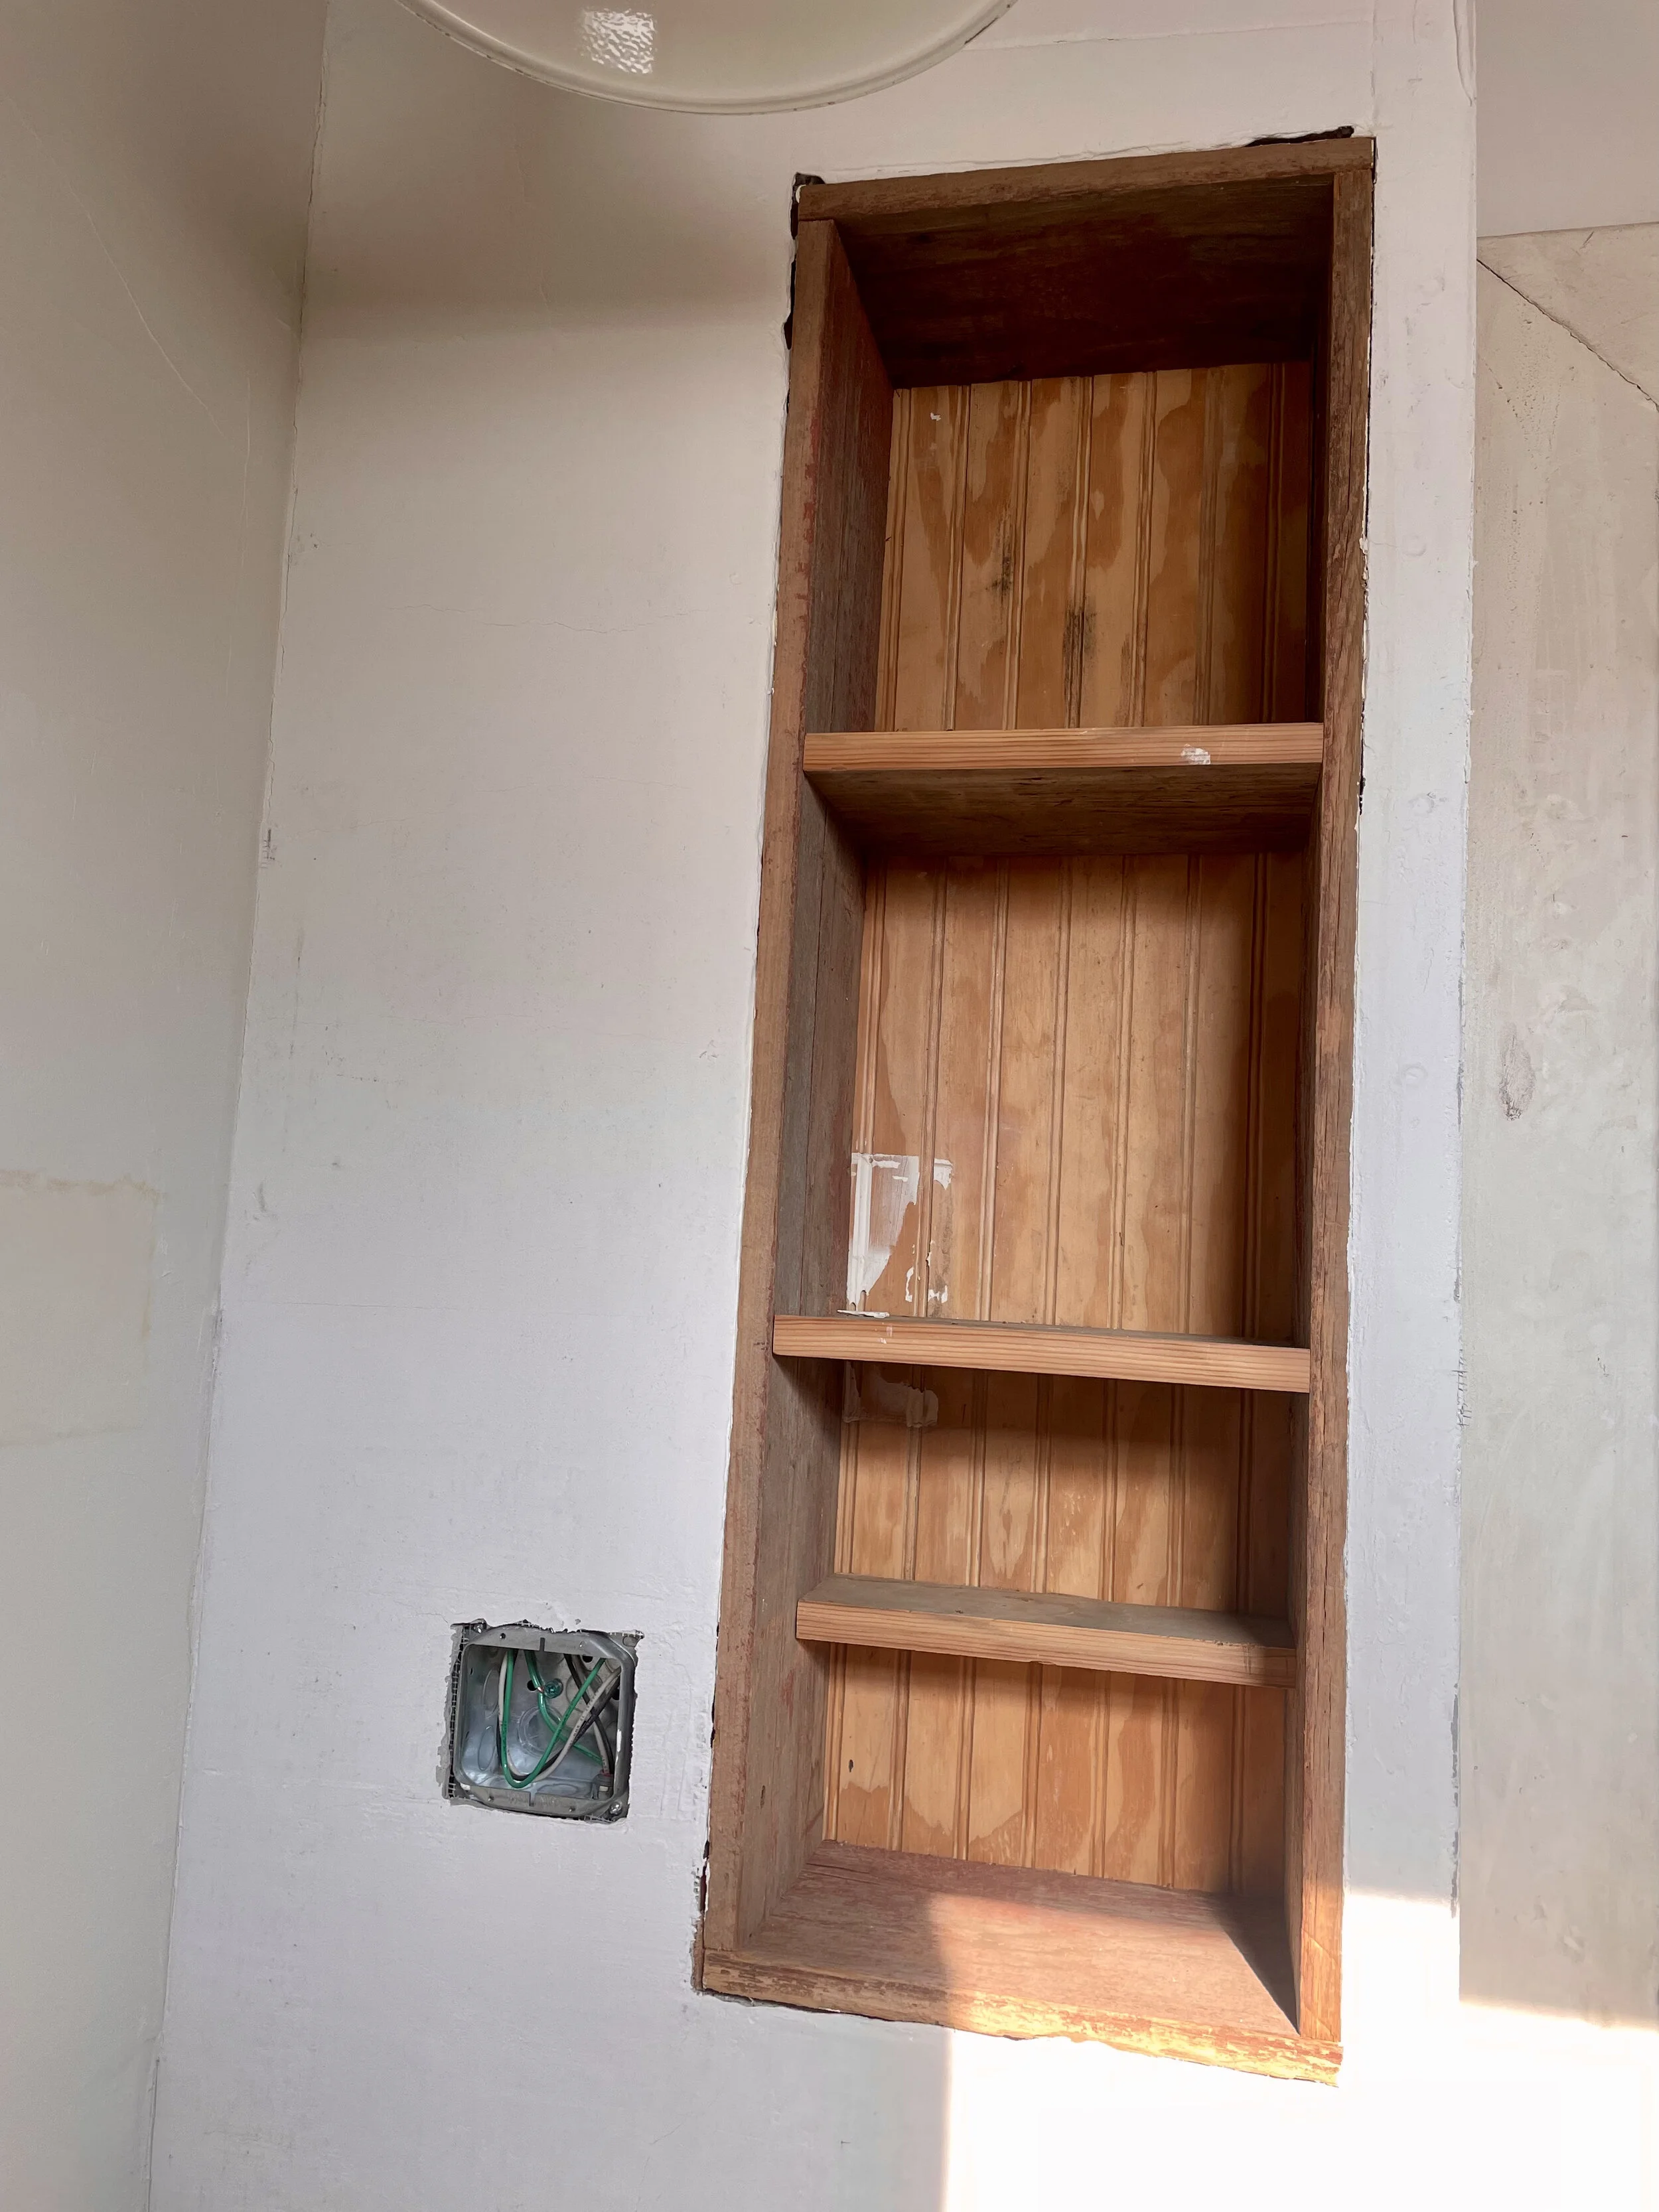
The wooden wall shelf appears old and possibly original to the manse. It has been saved to be restored and re-installed somewhere in the house. Original wall paint colour in this room appears to have been a yellow ochre.
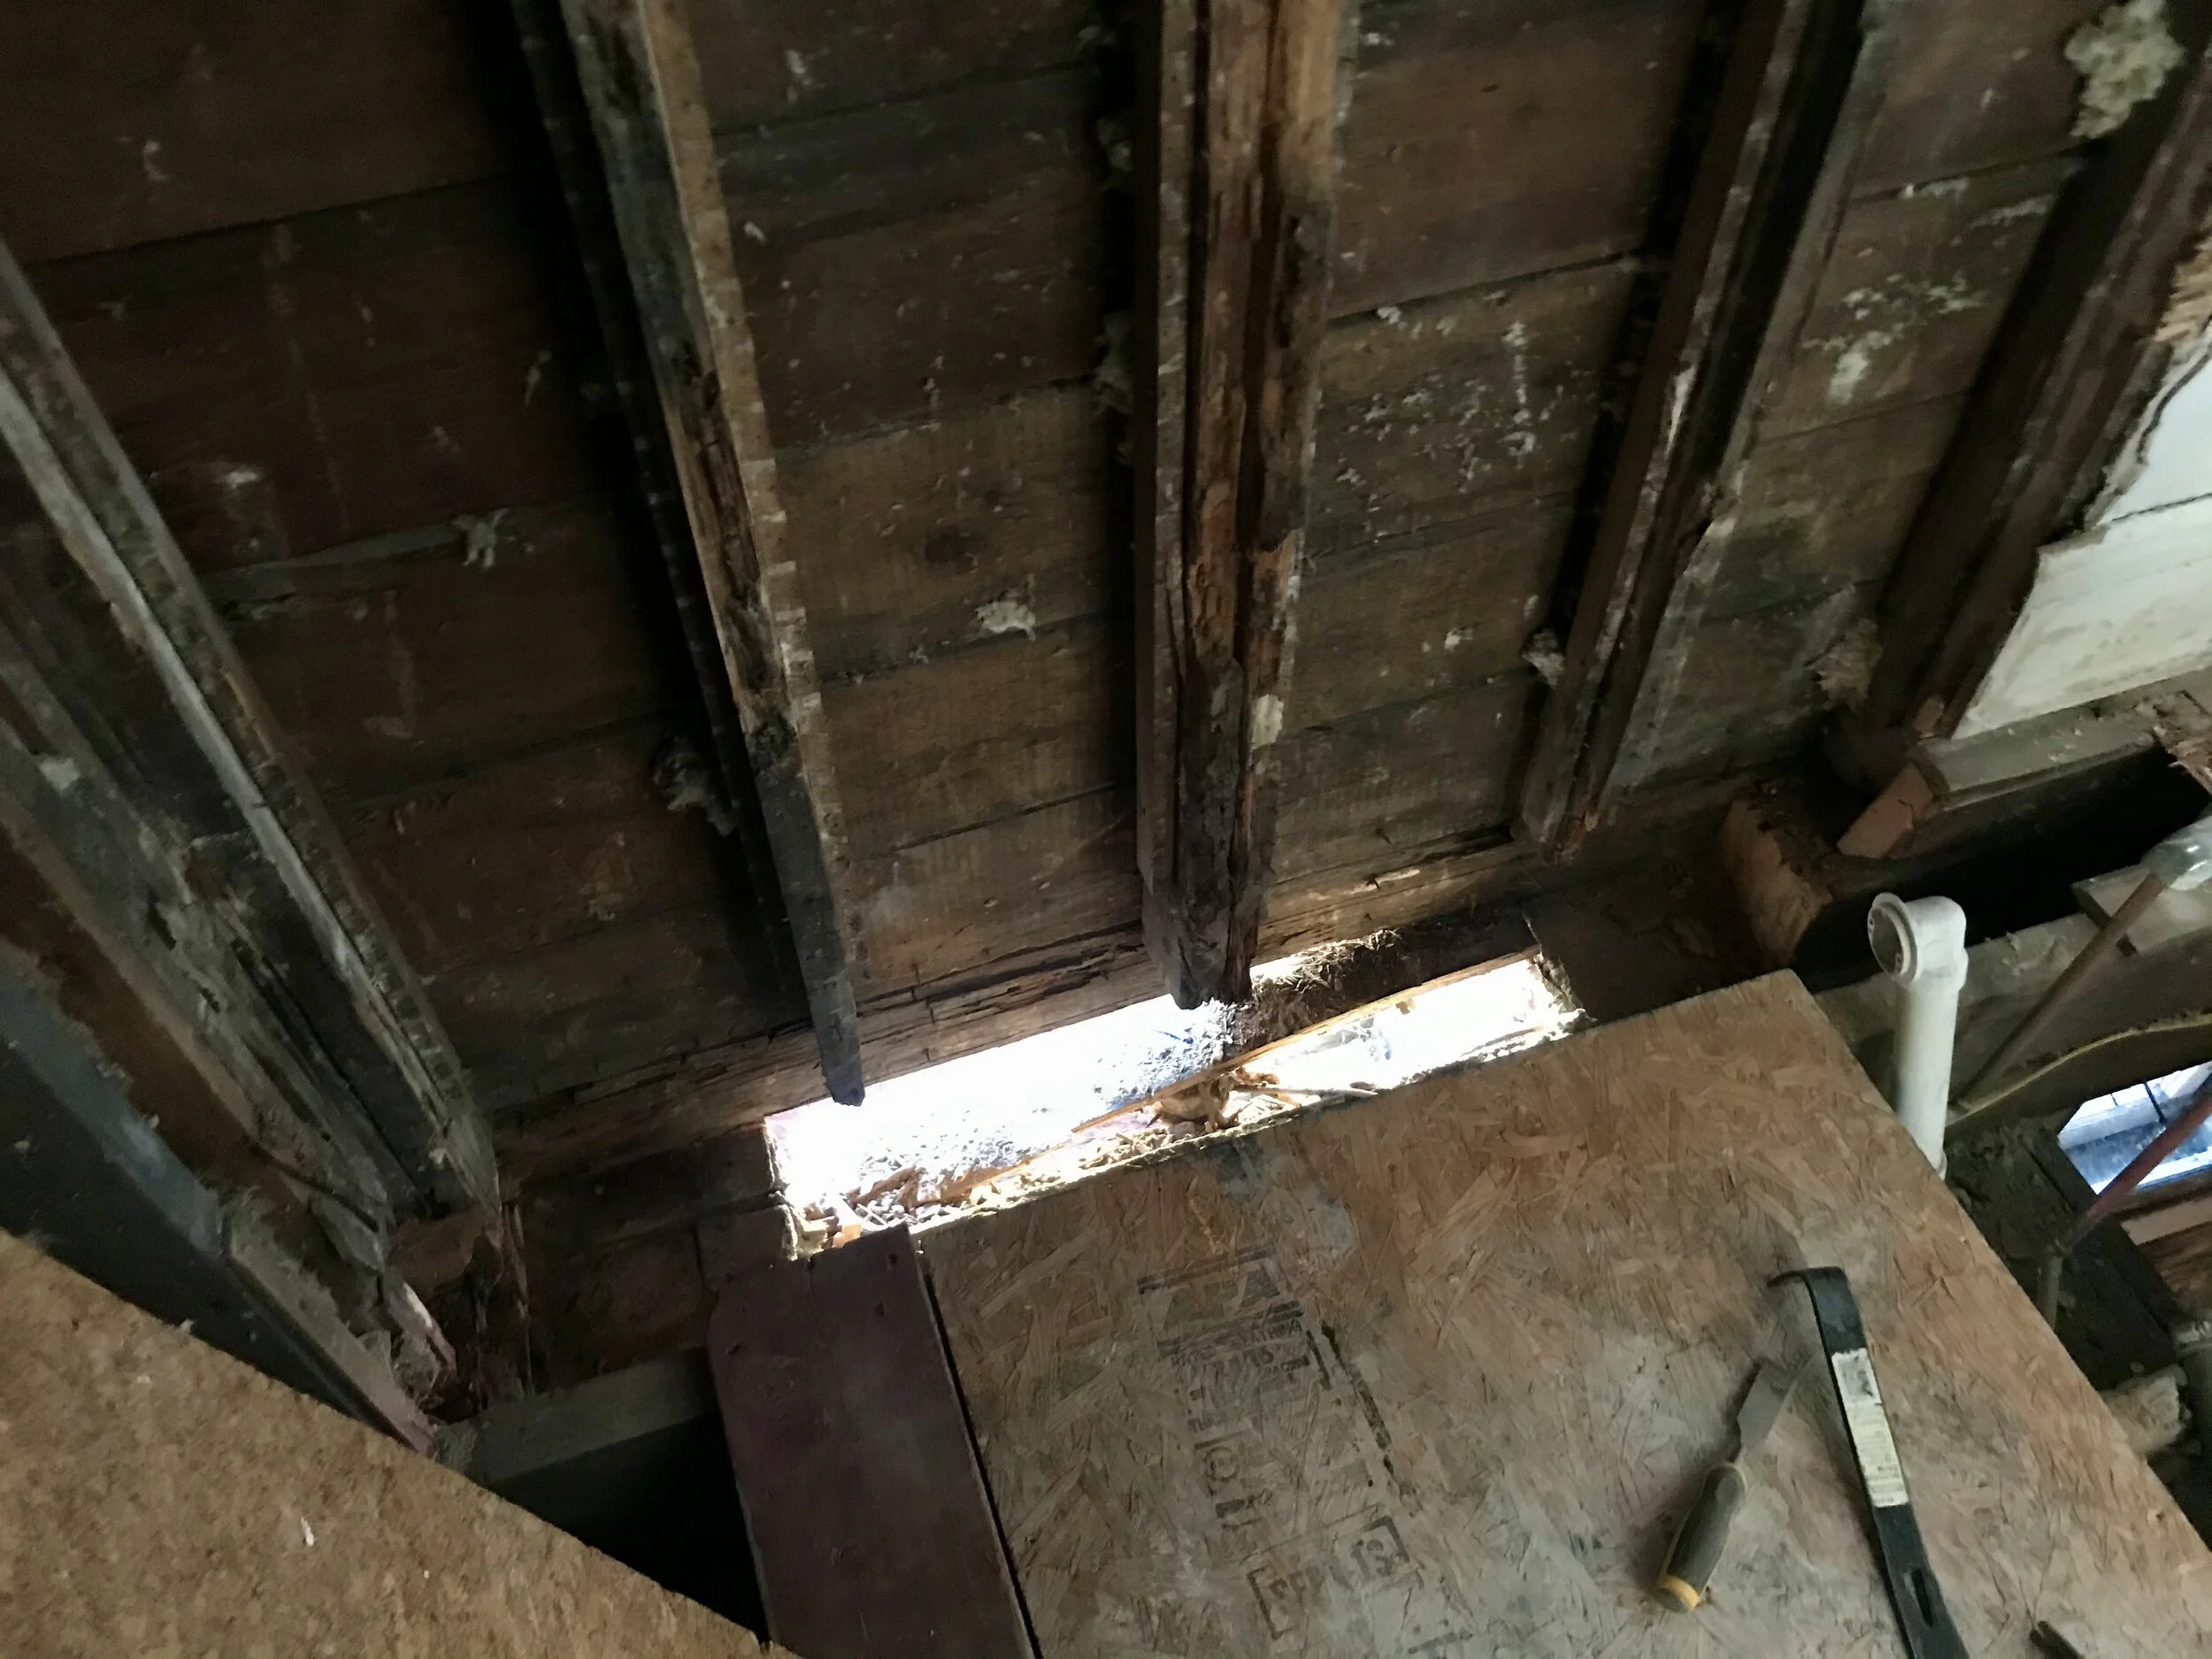
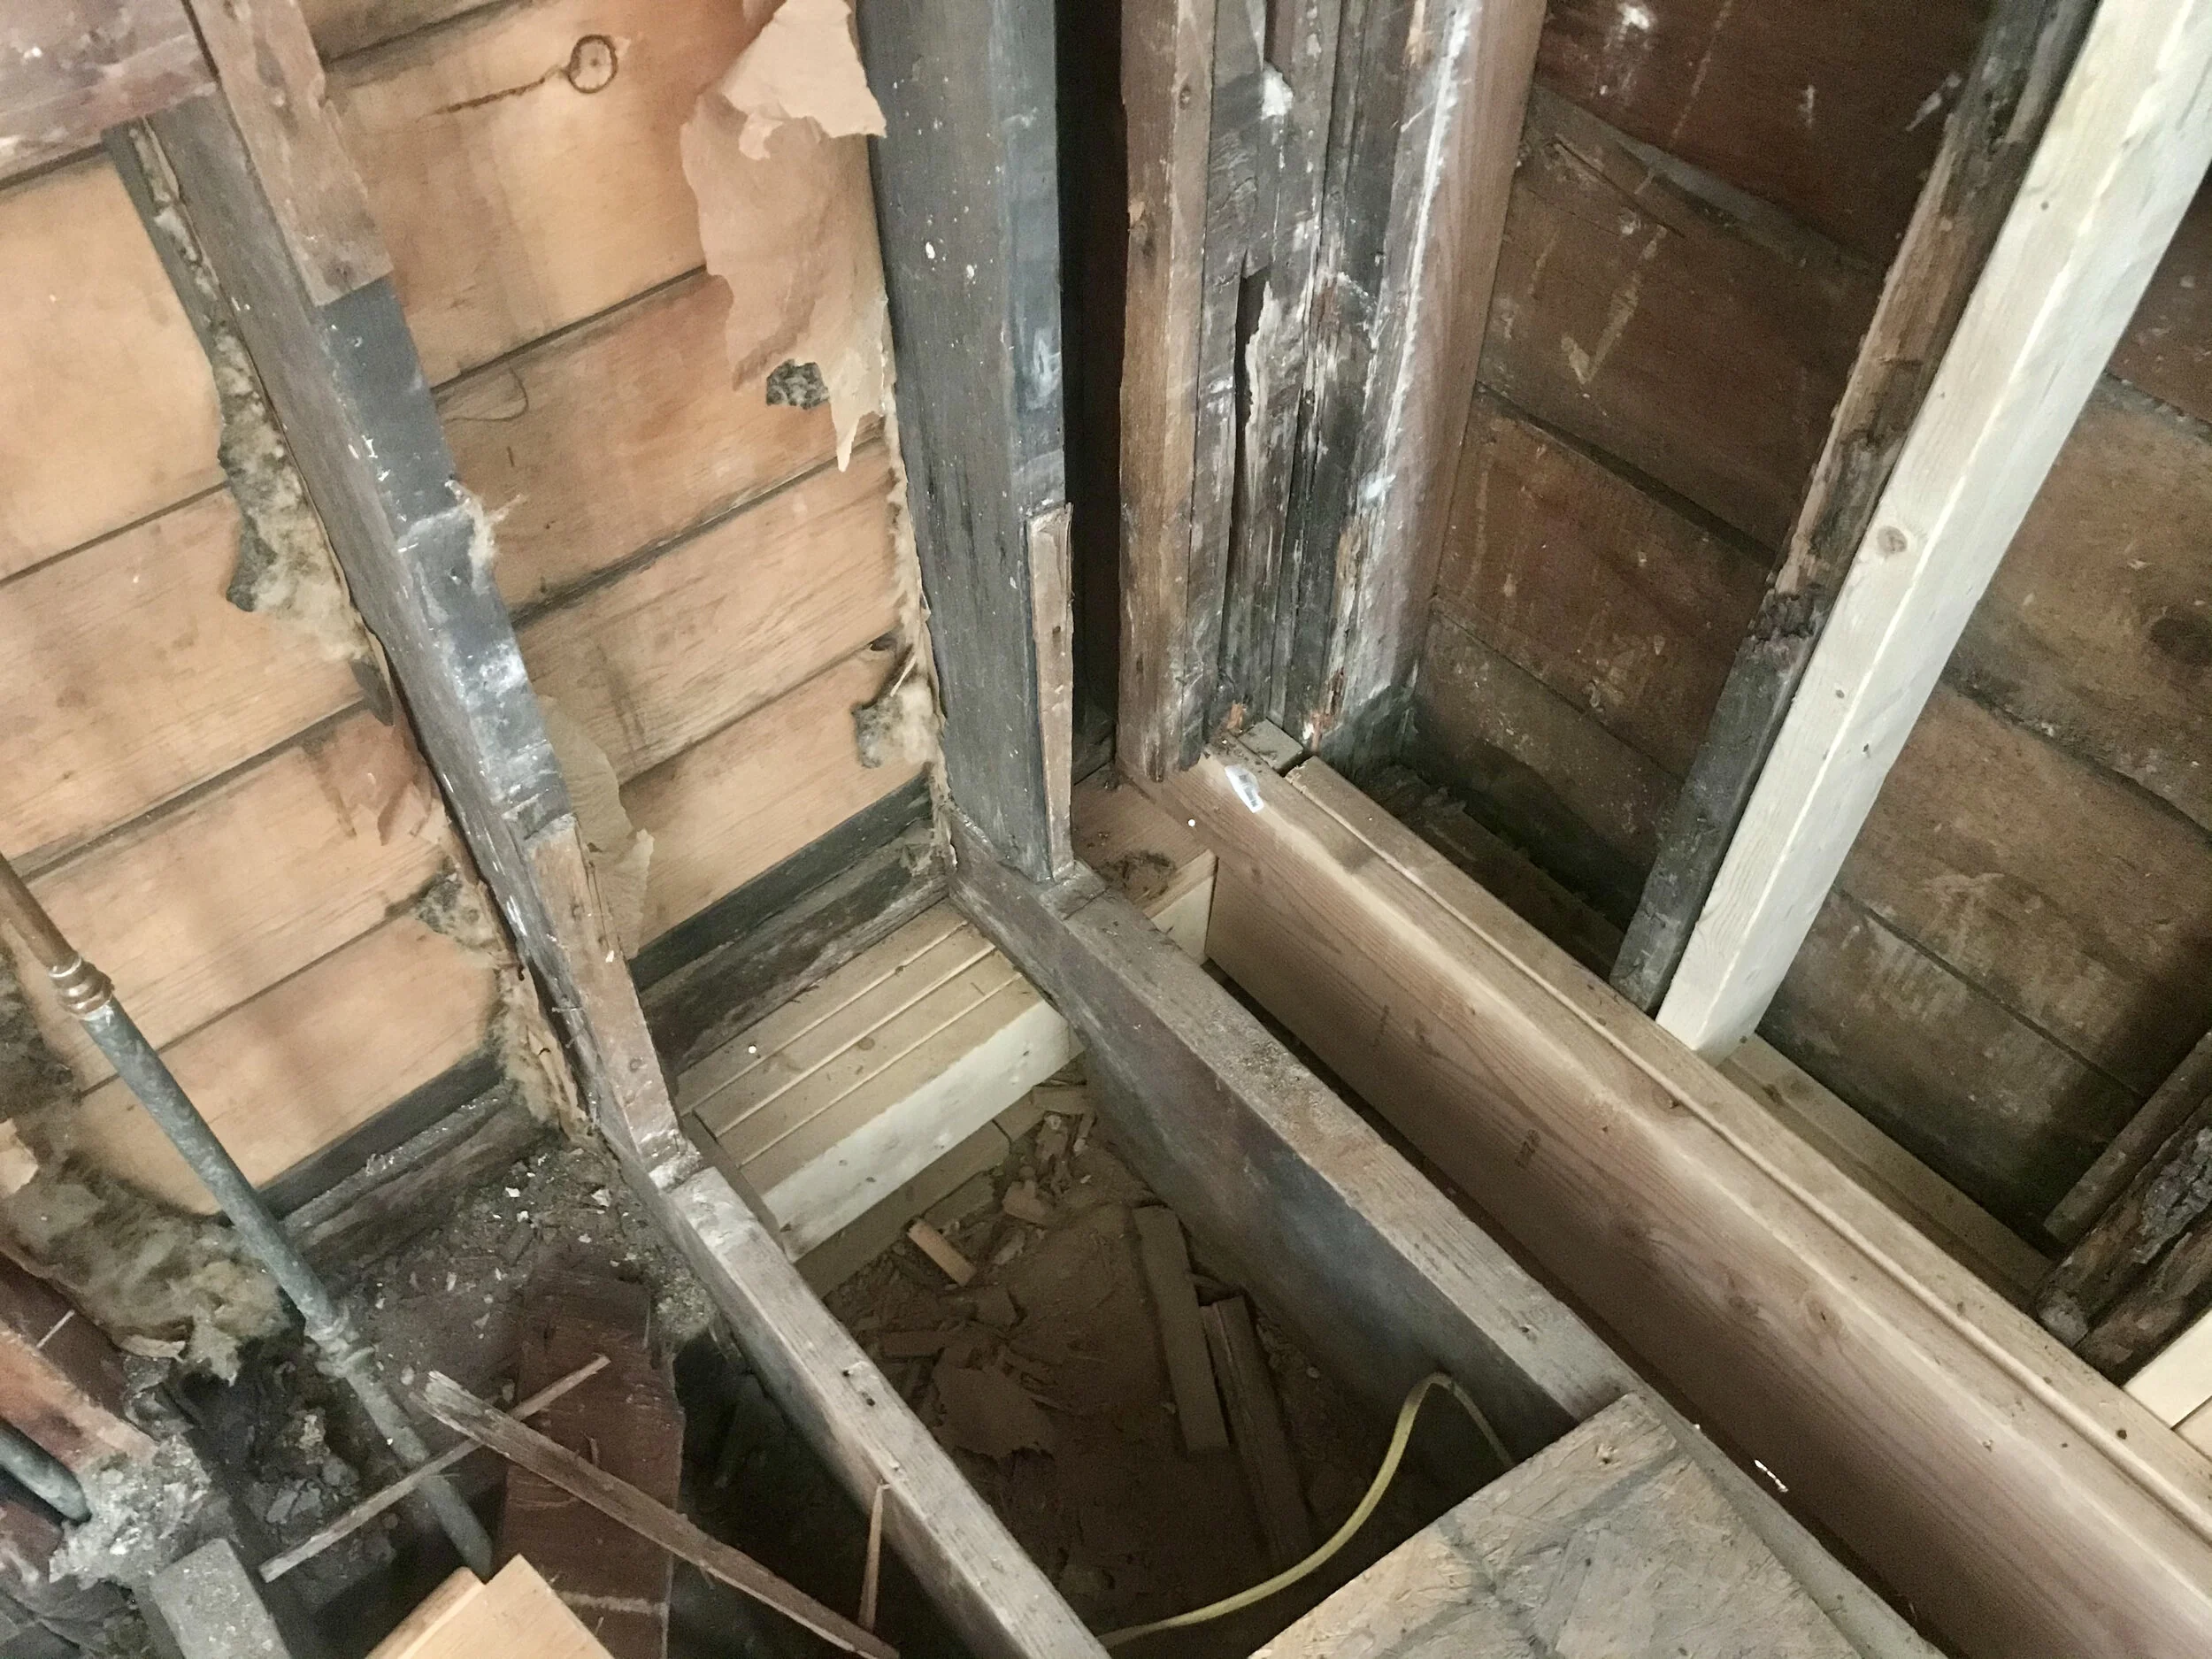
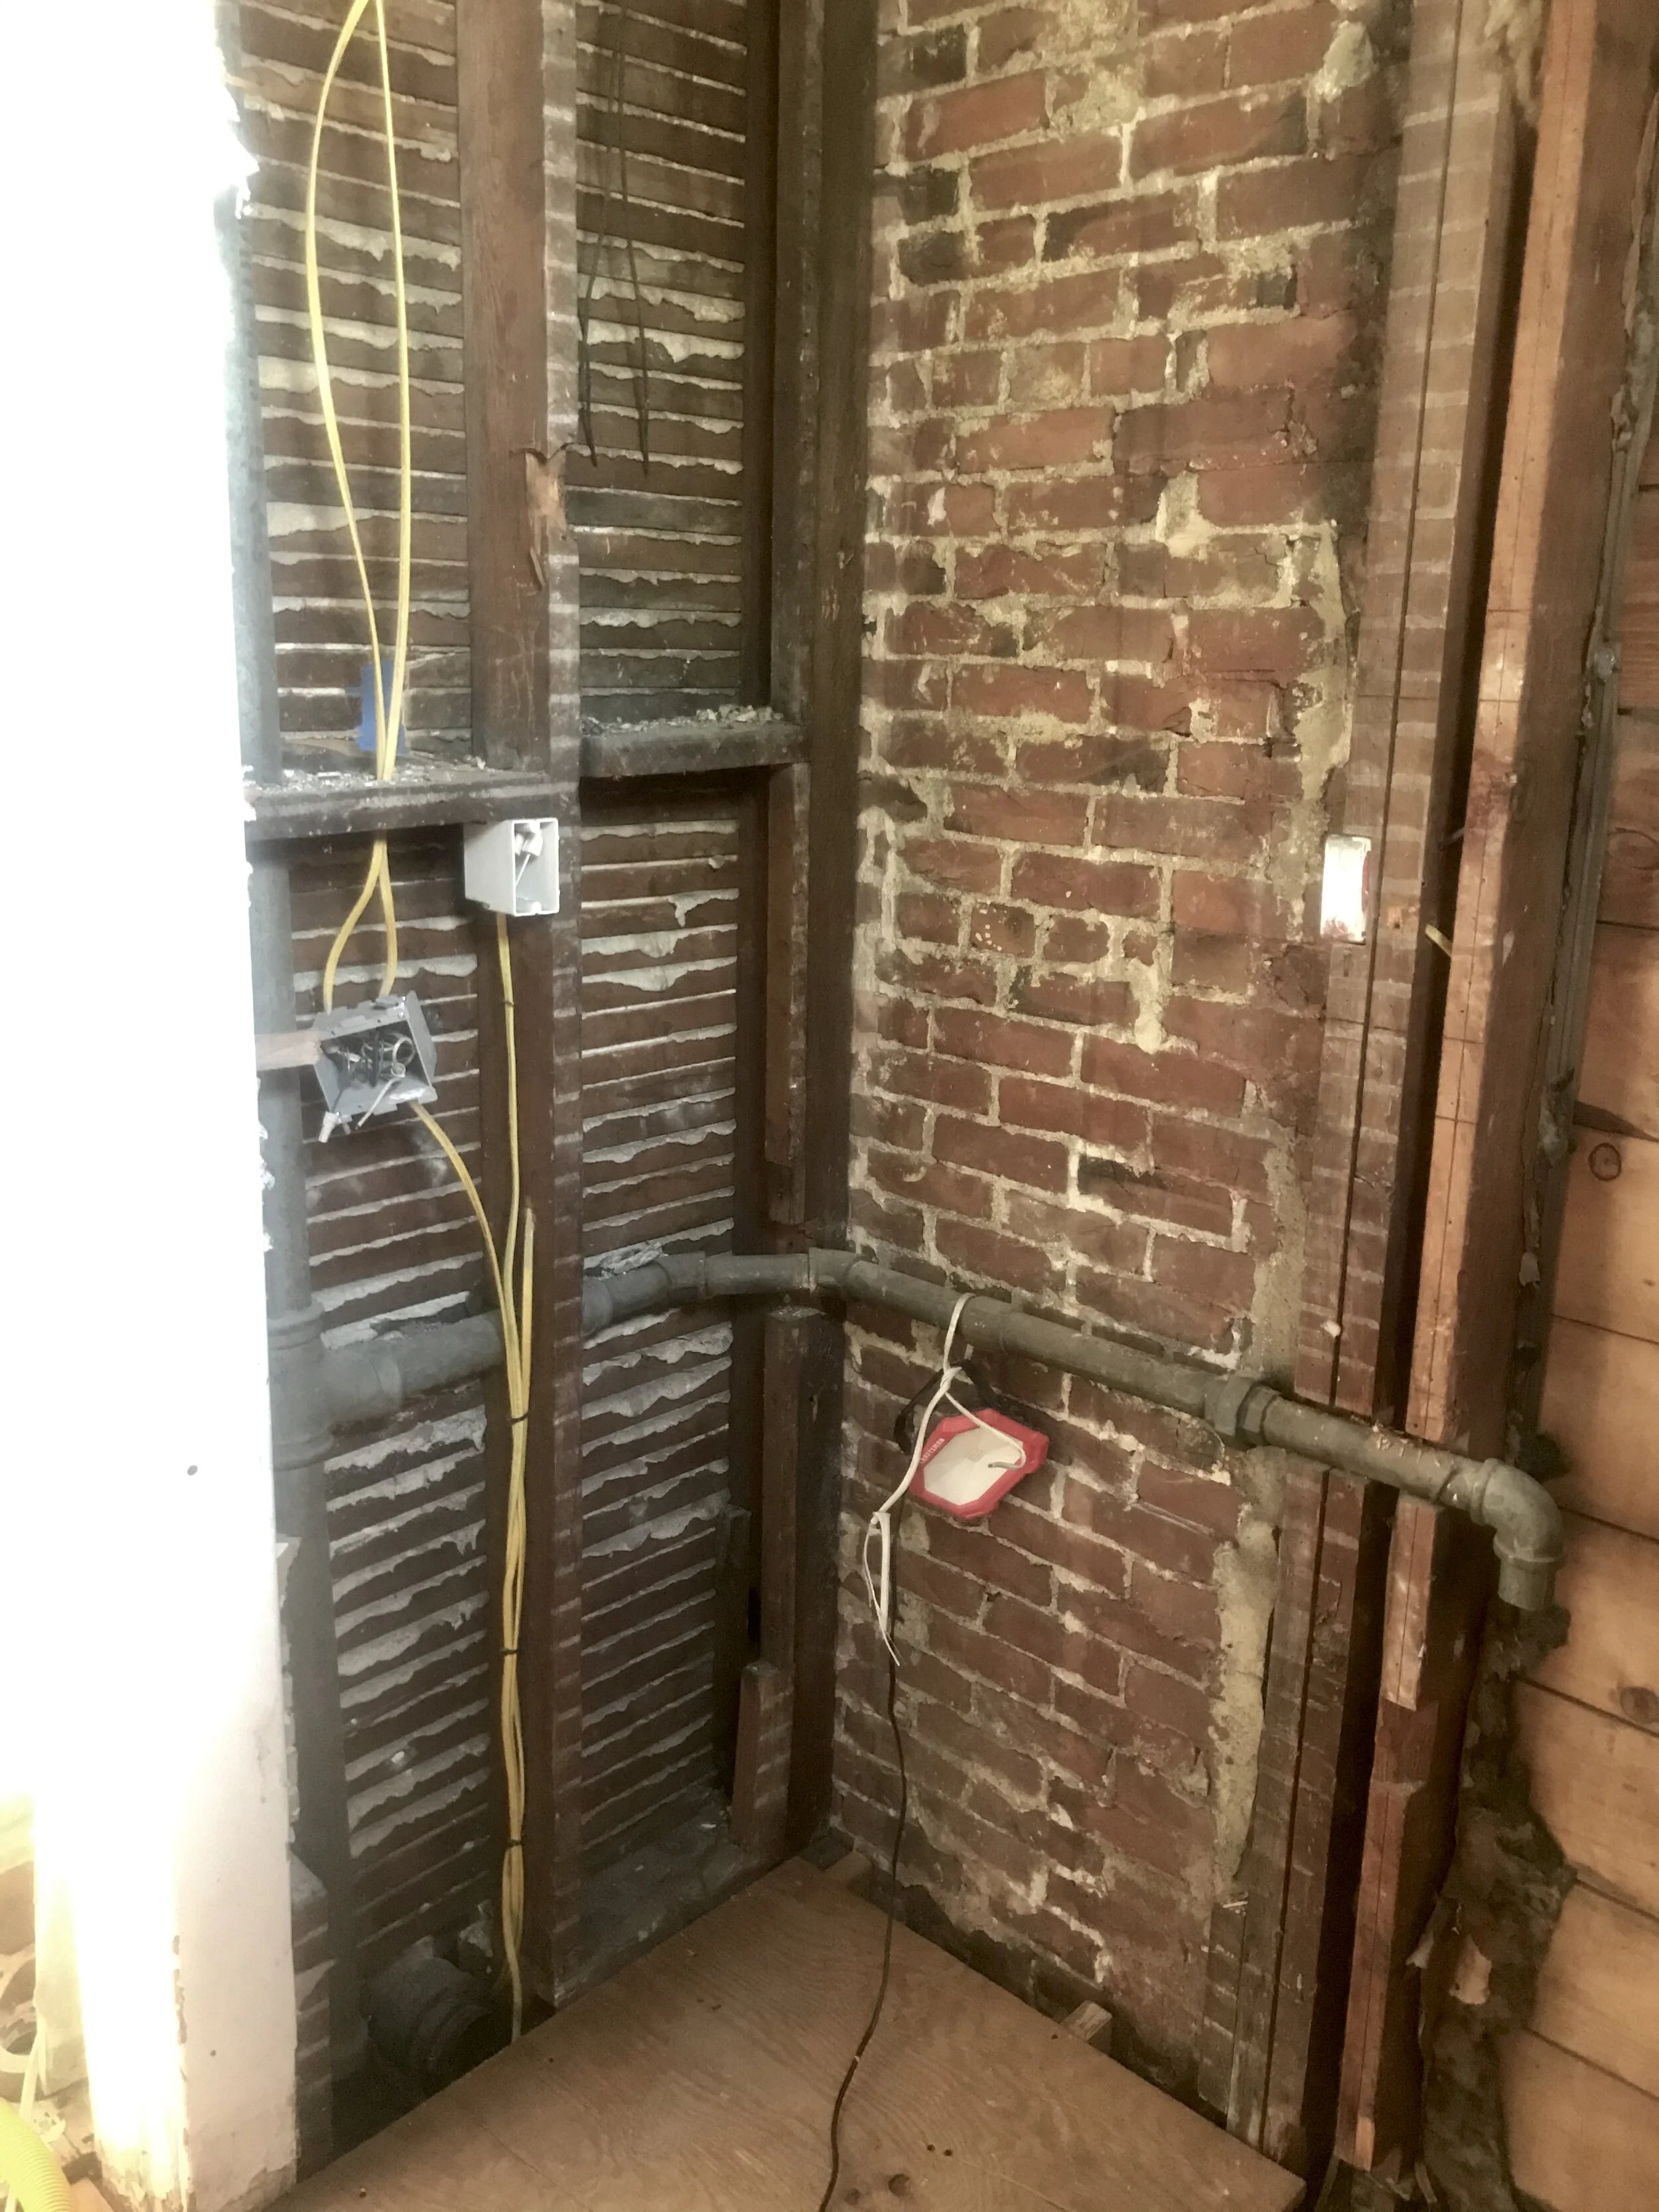
Sunlight entering through decayed void. Formerly an 8”x8” old growth beam.
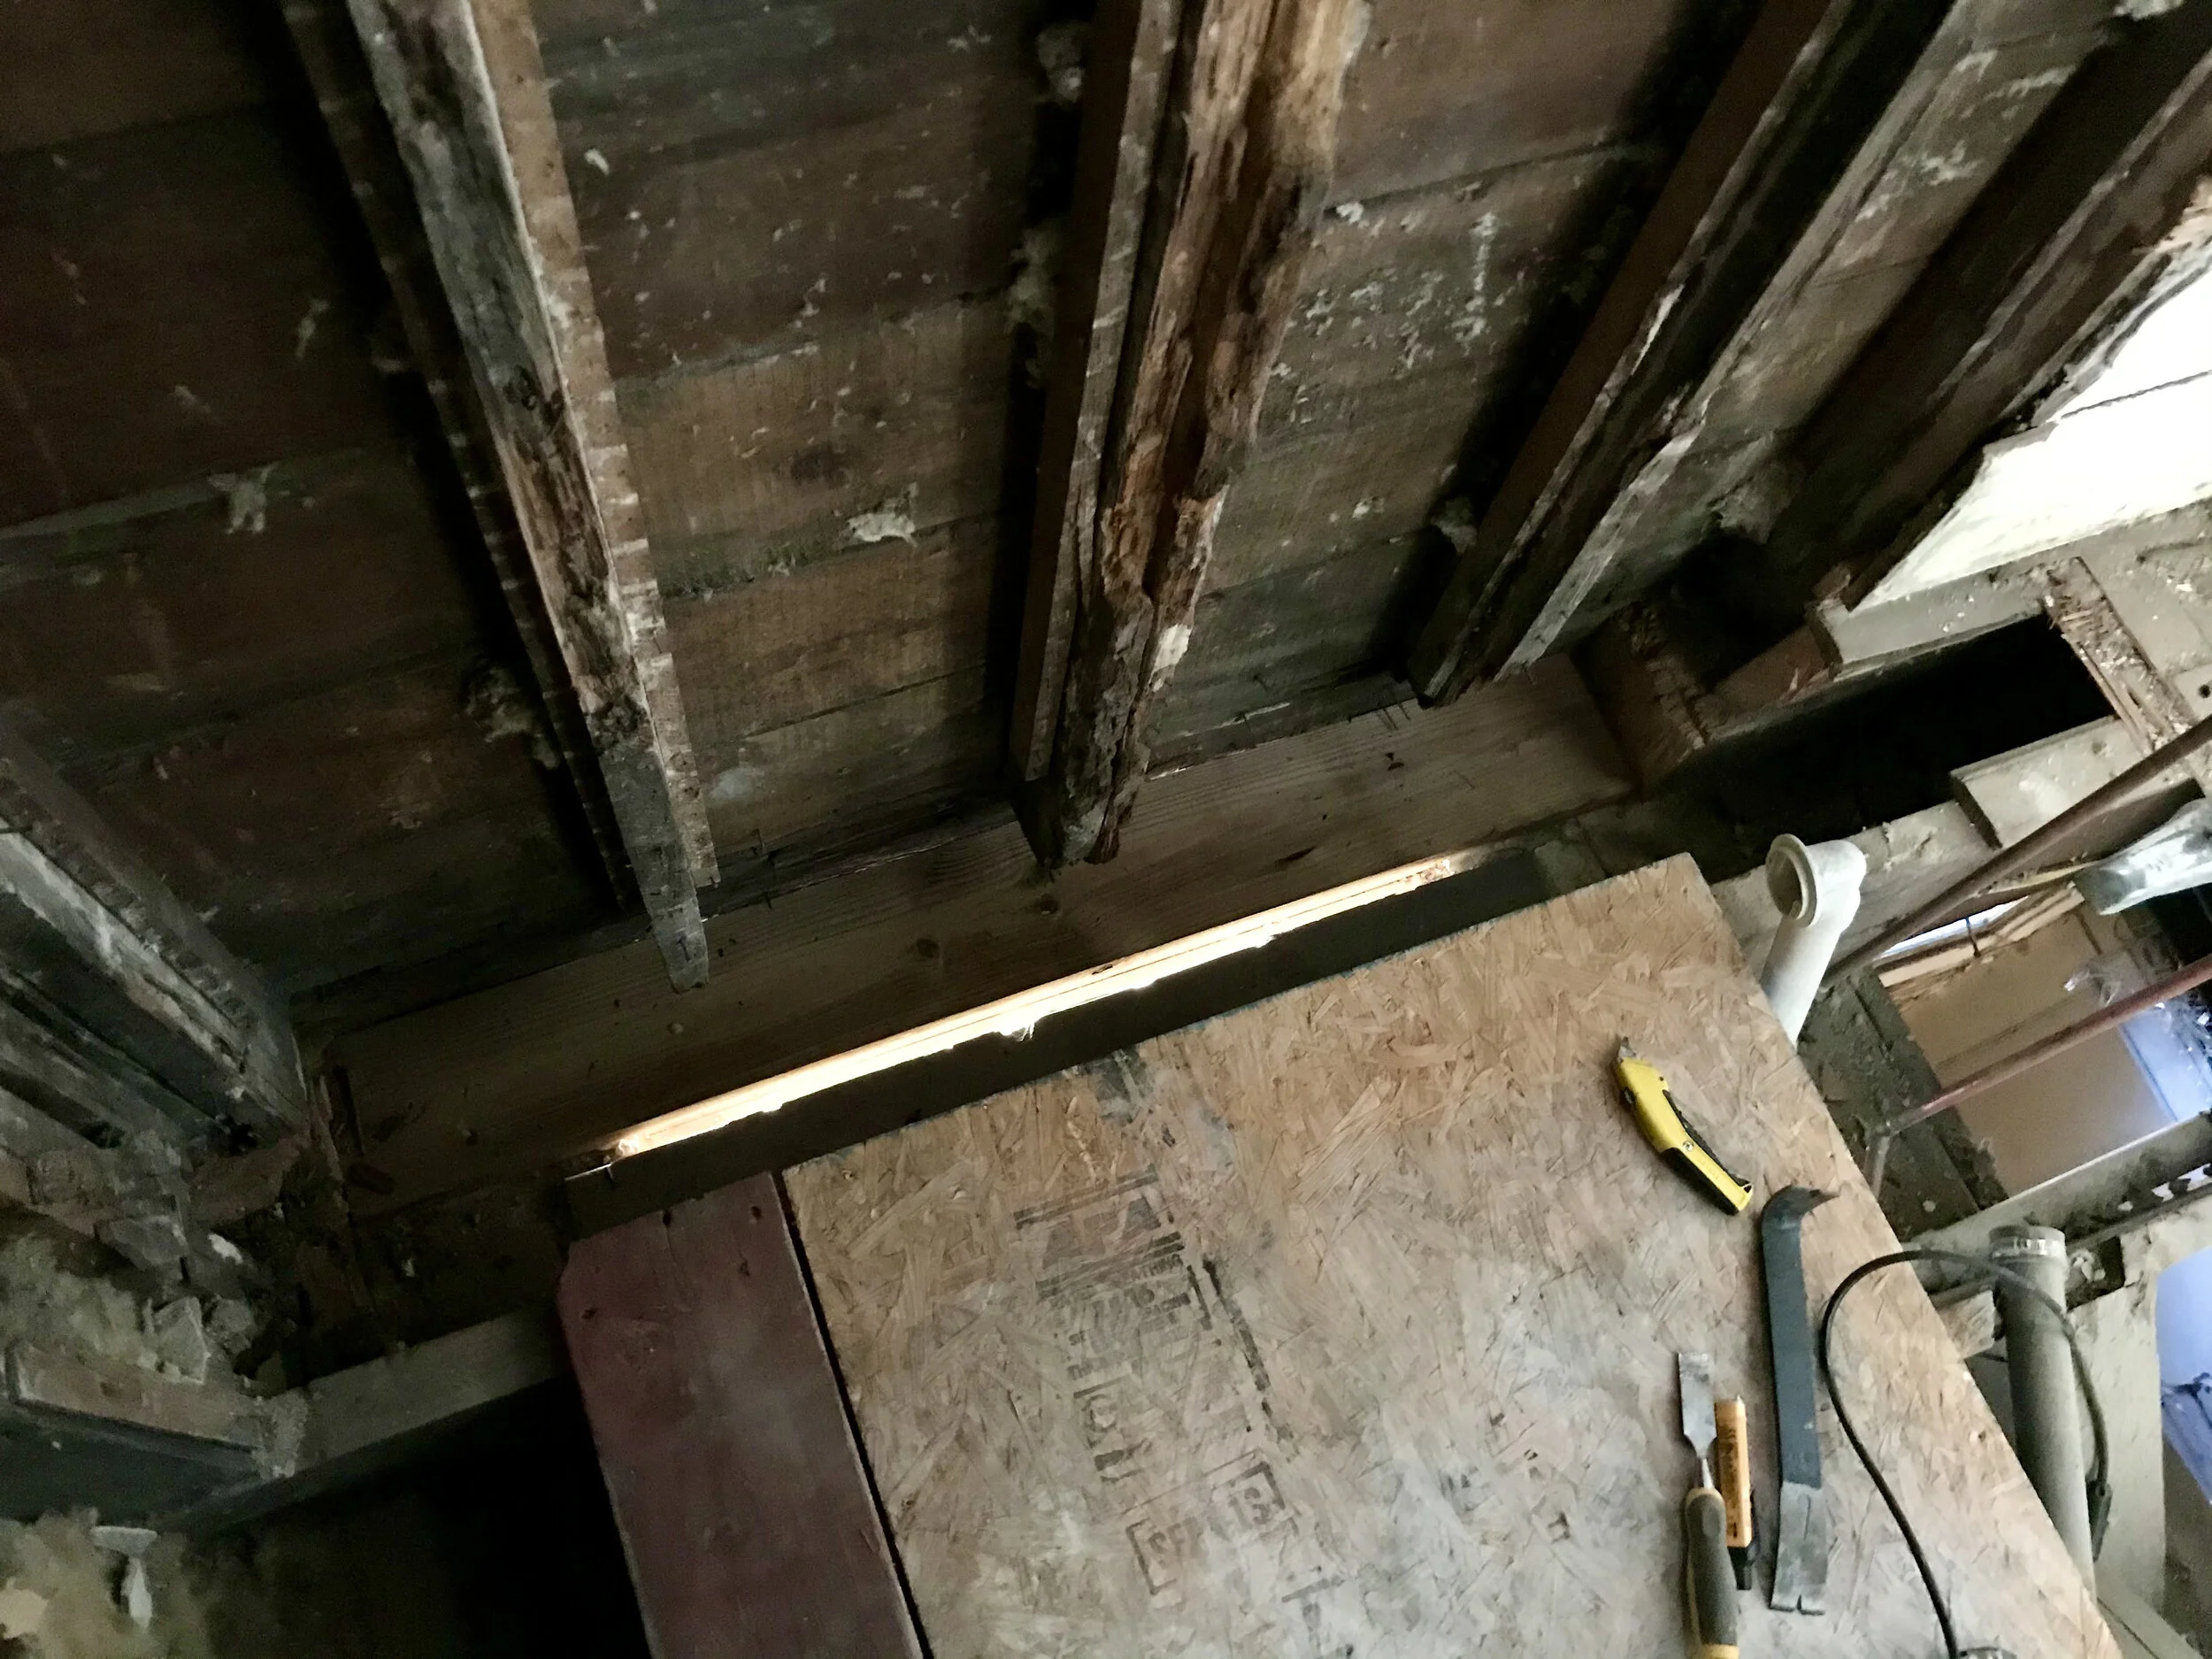
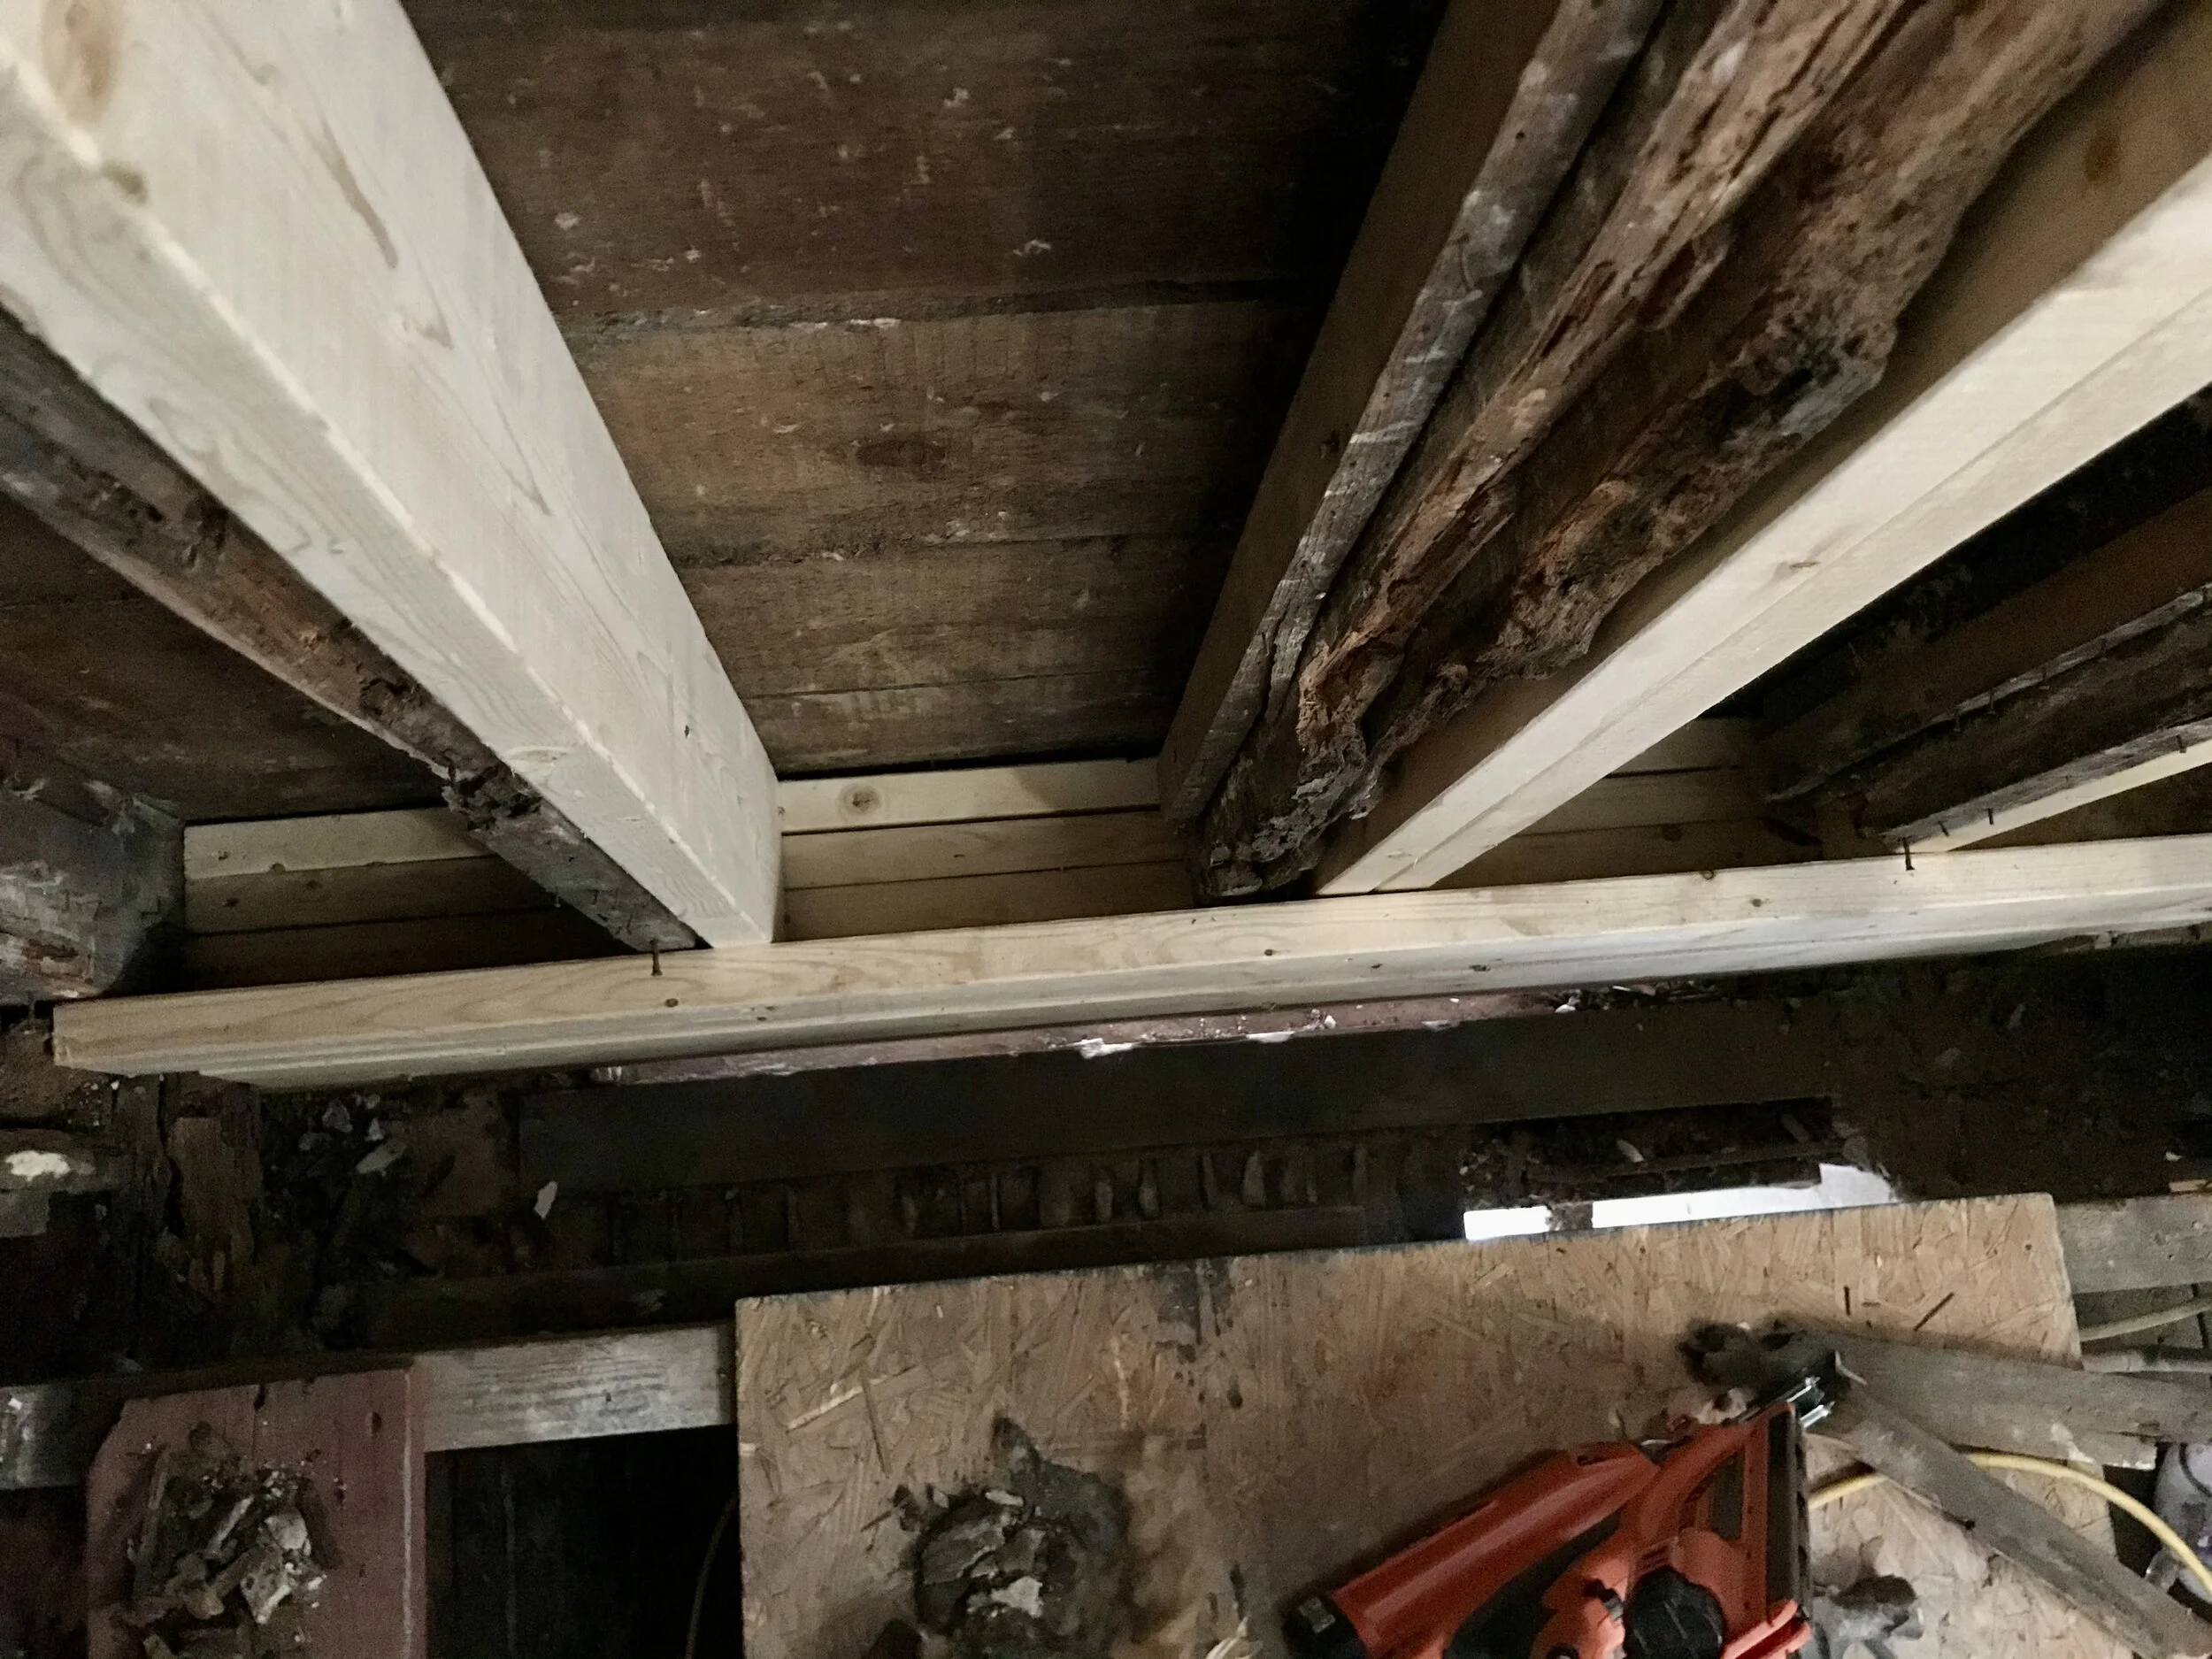
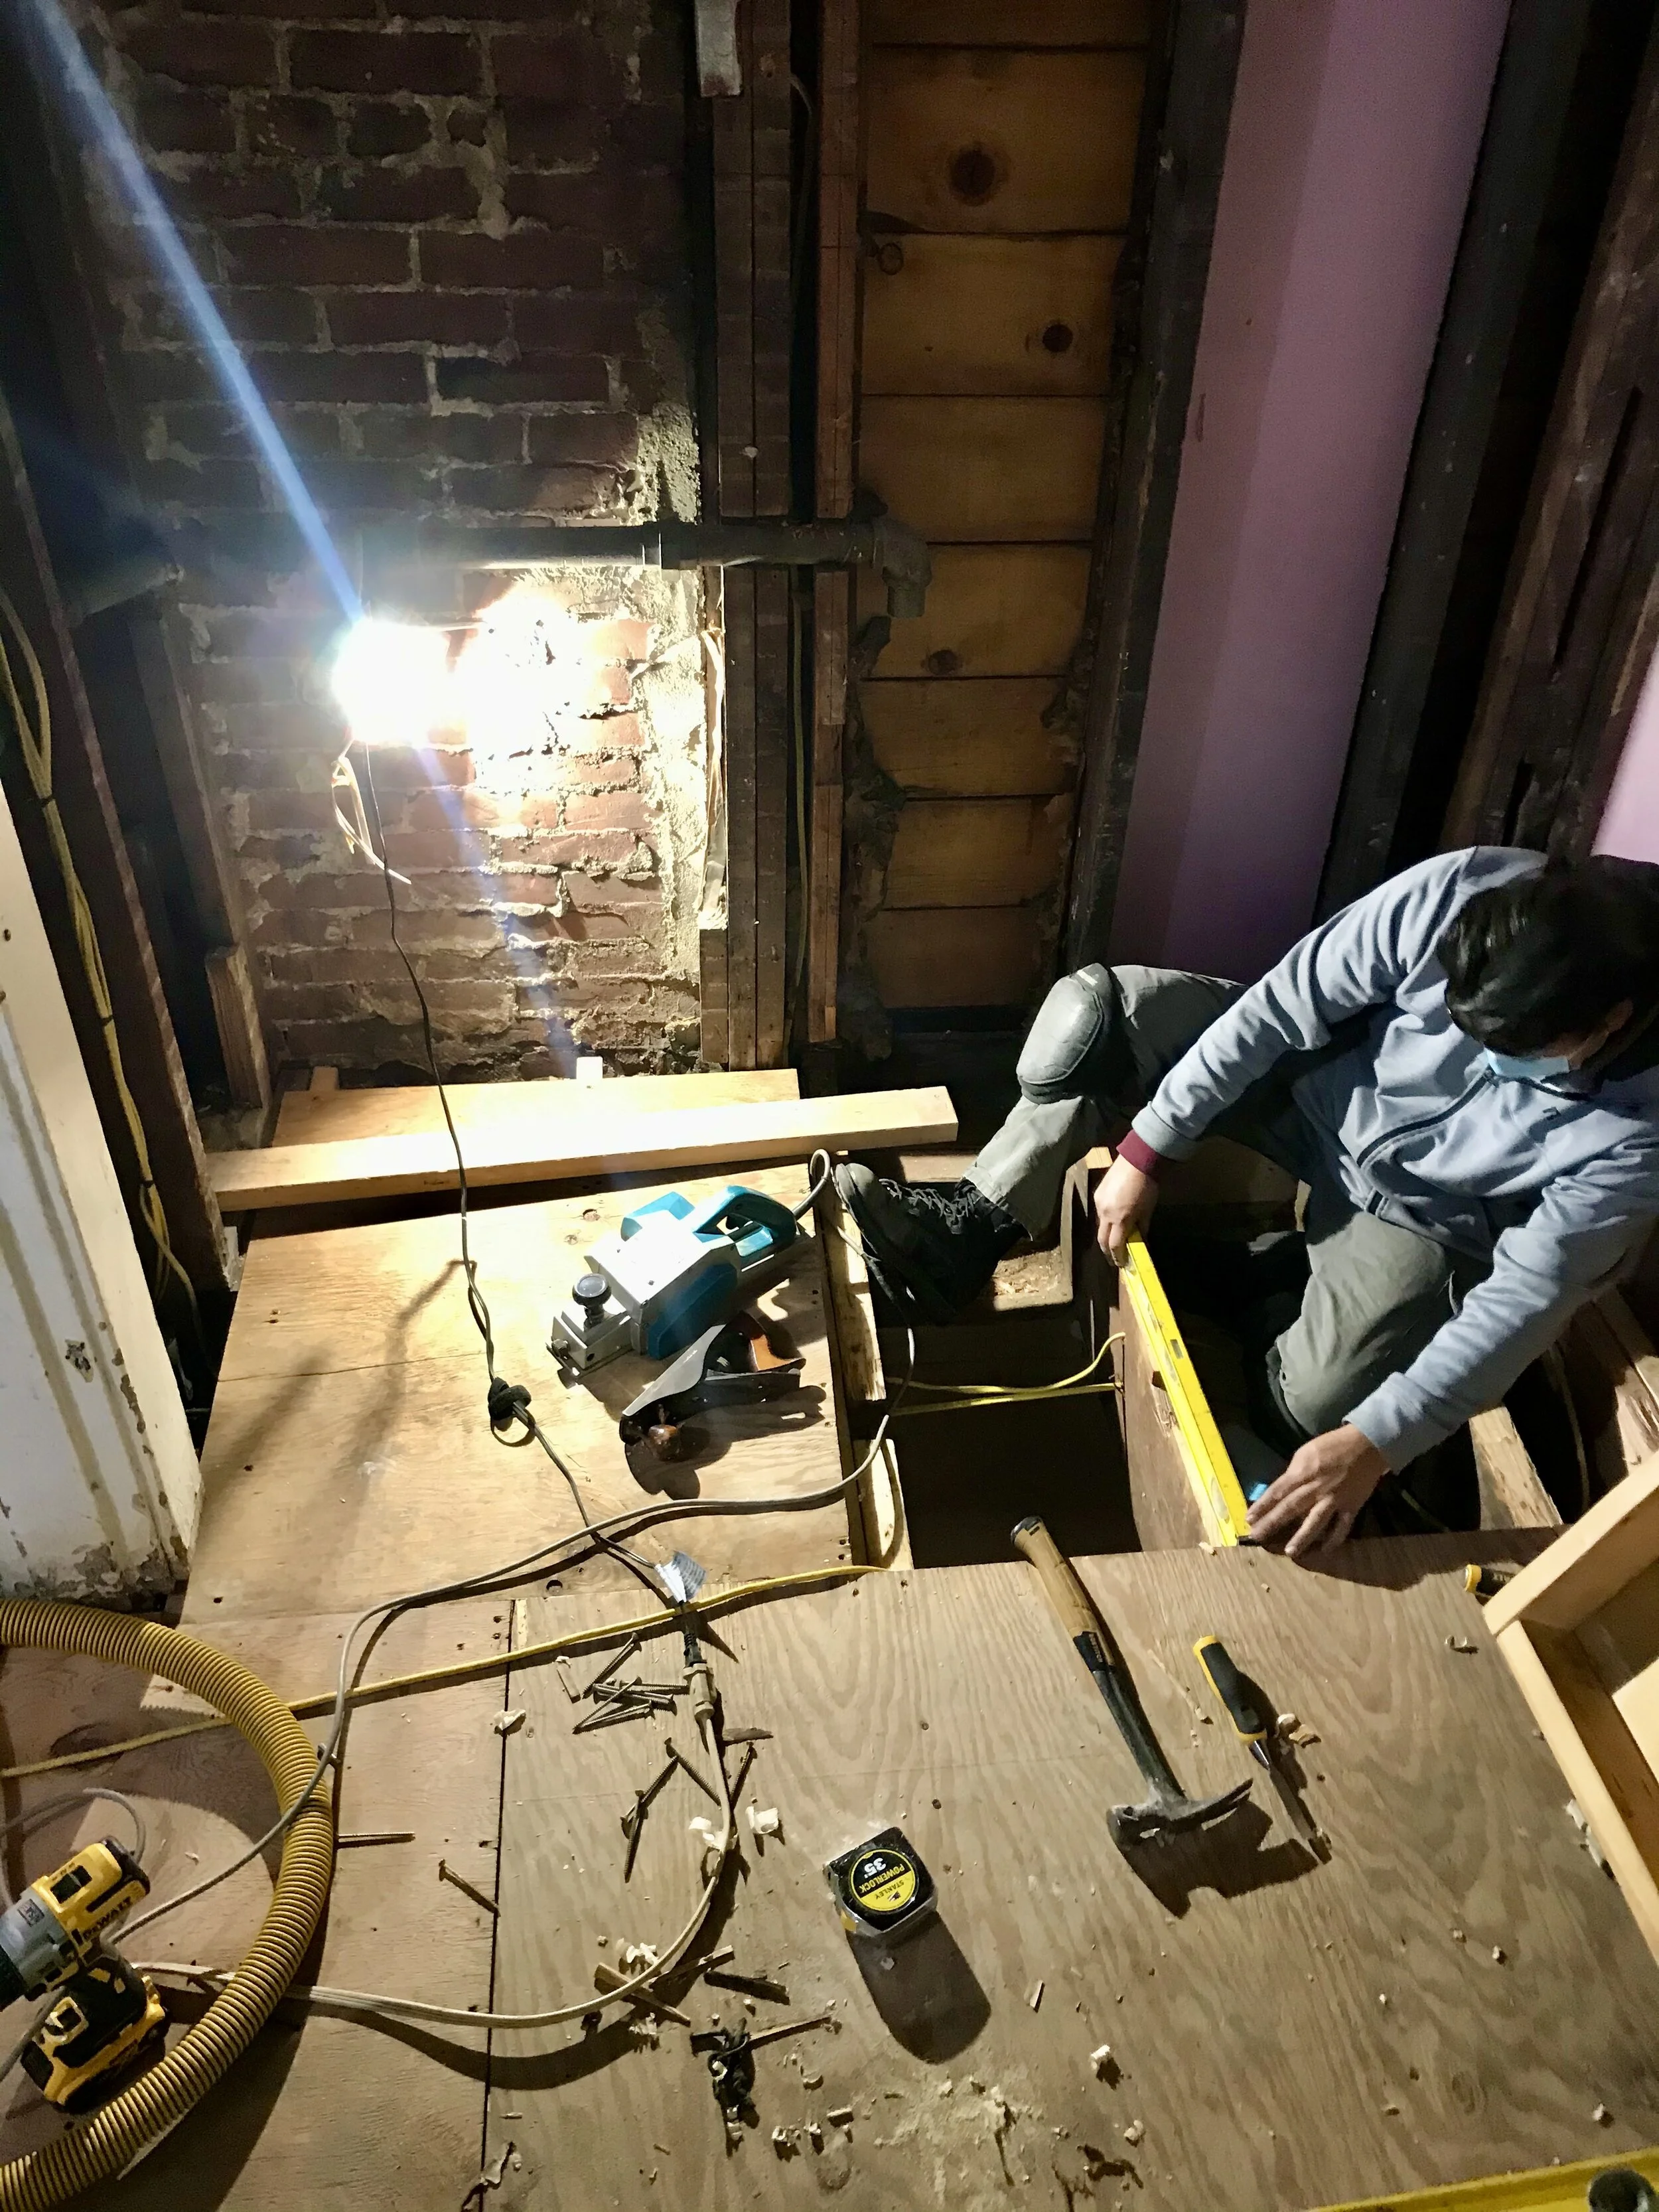
Beginning to rebuild after removing decay.
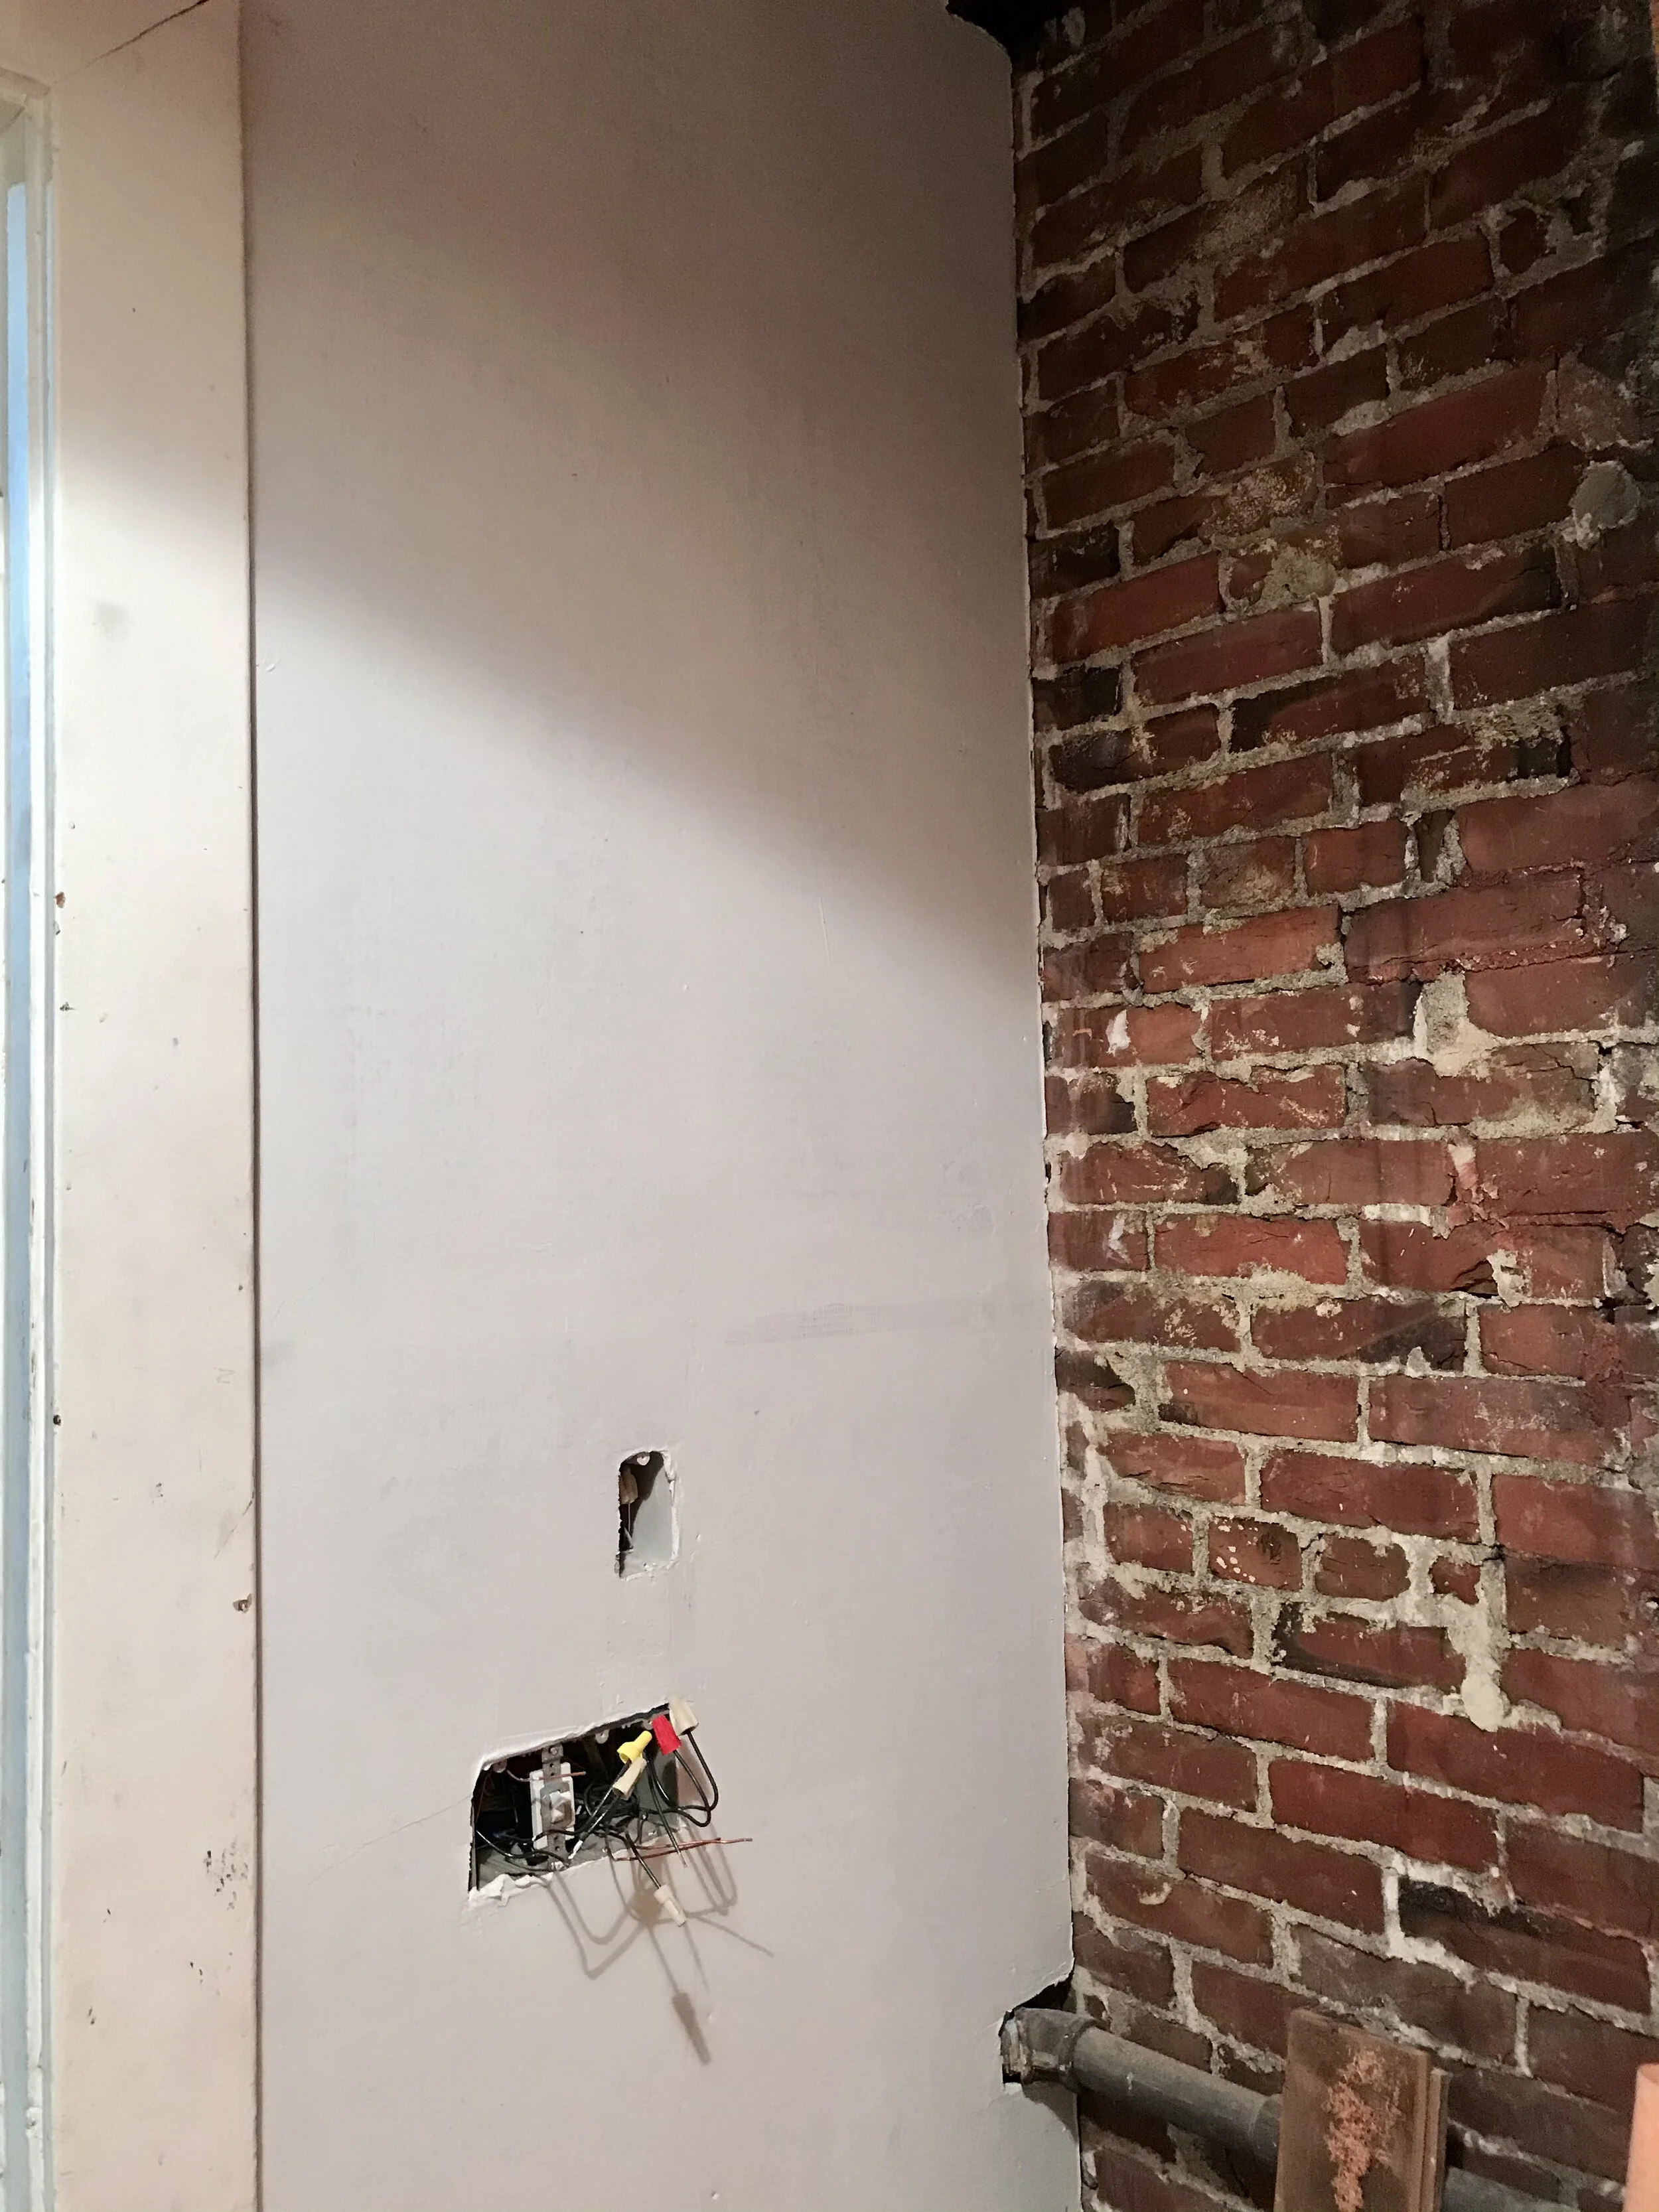
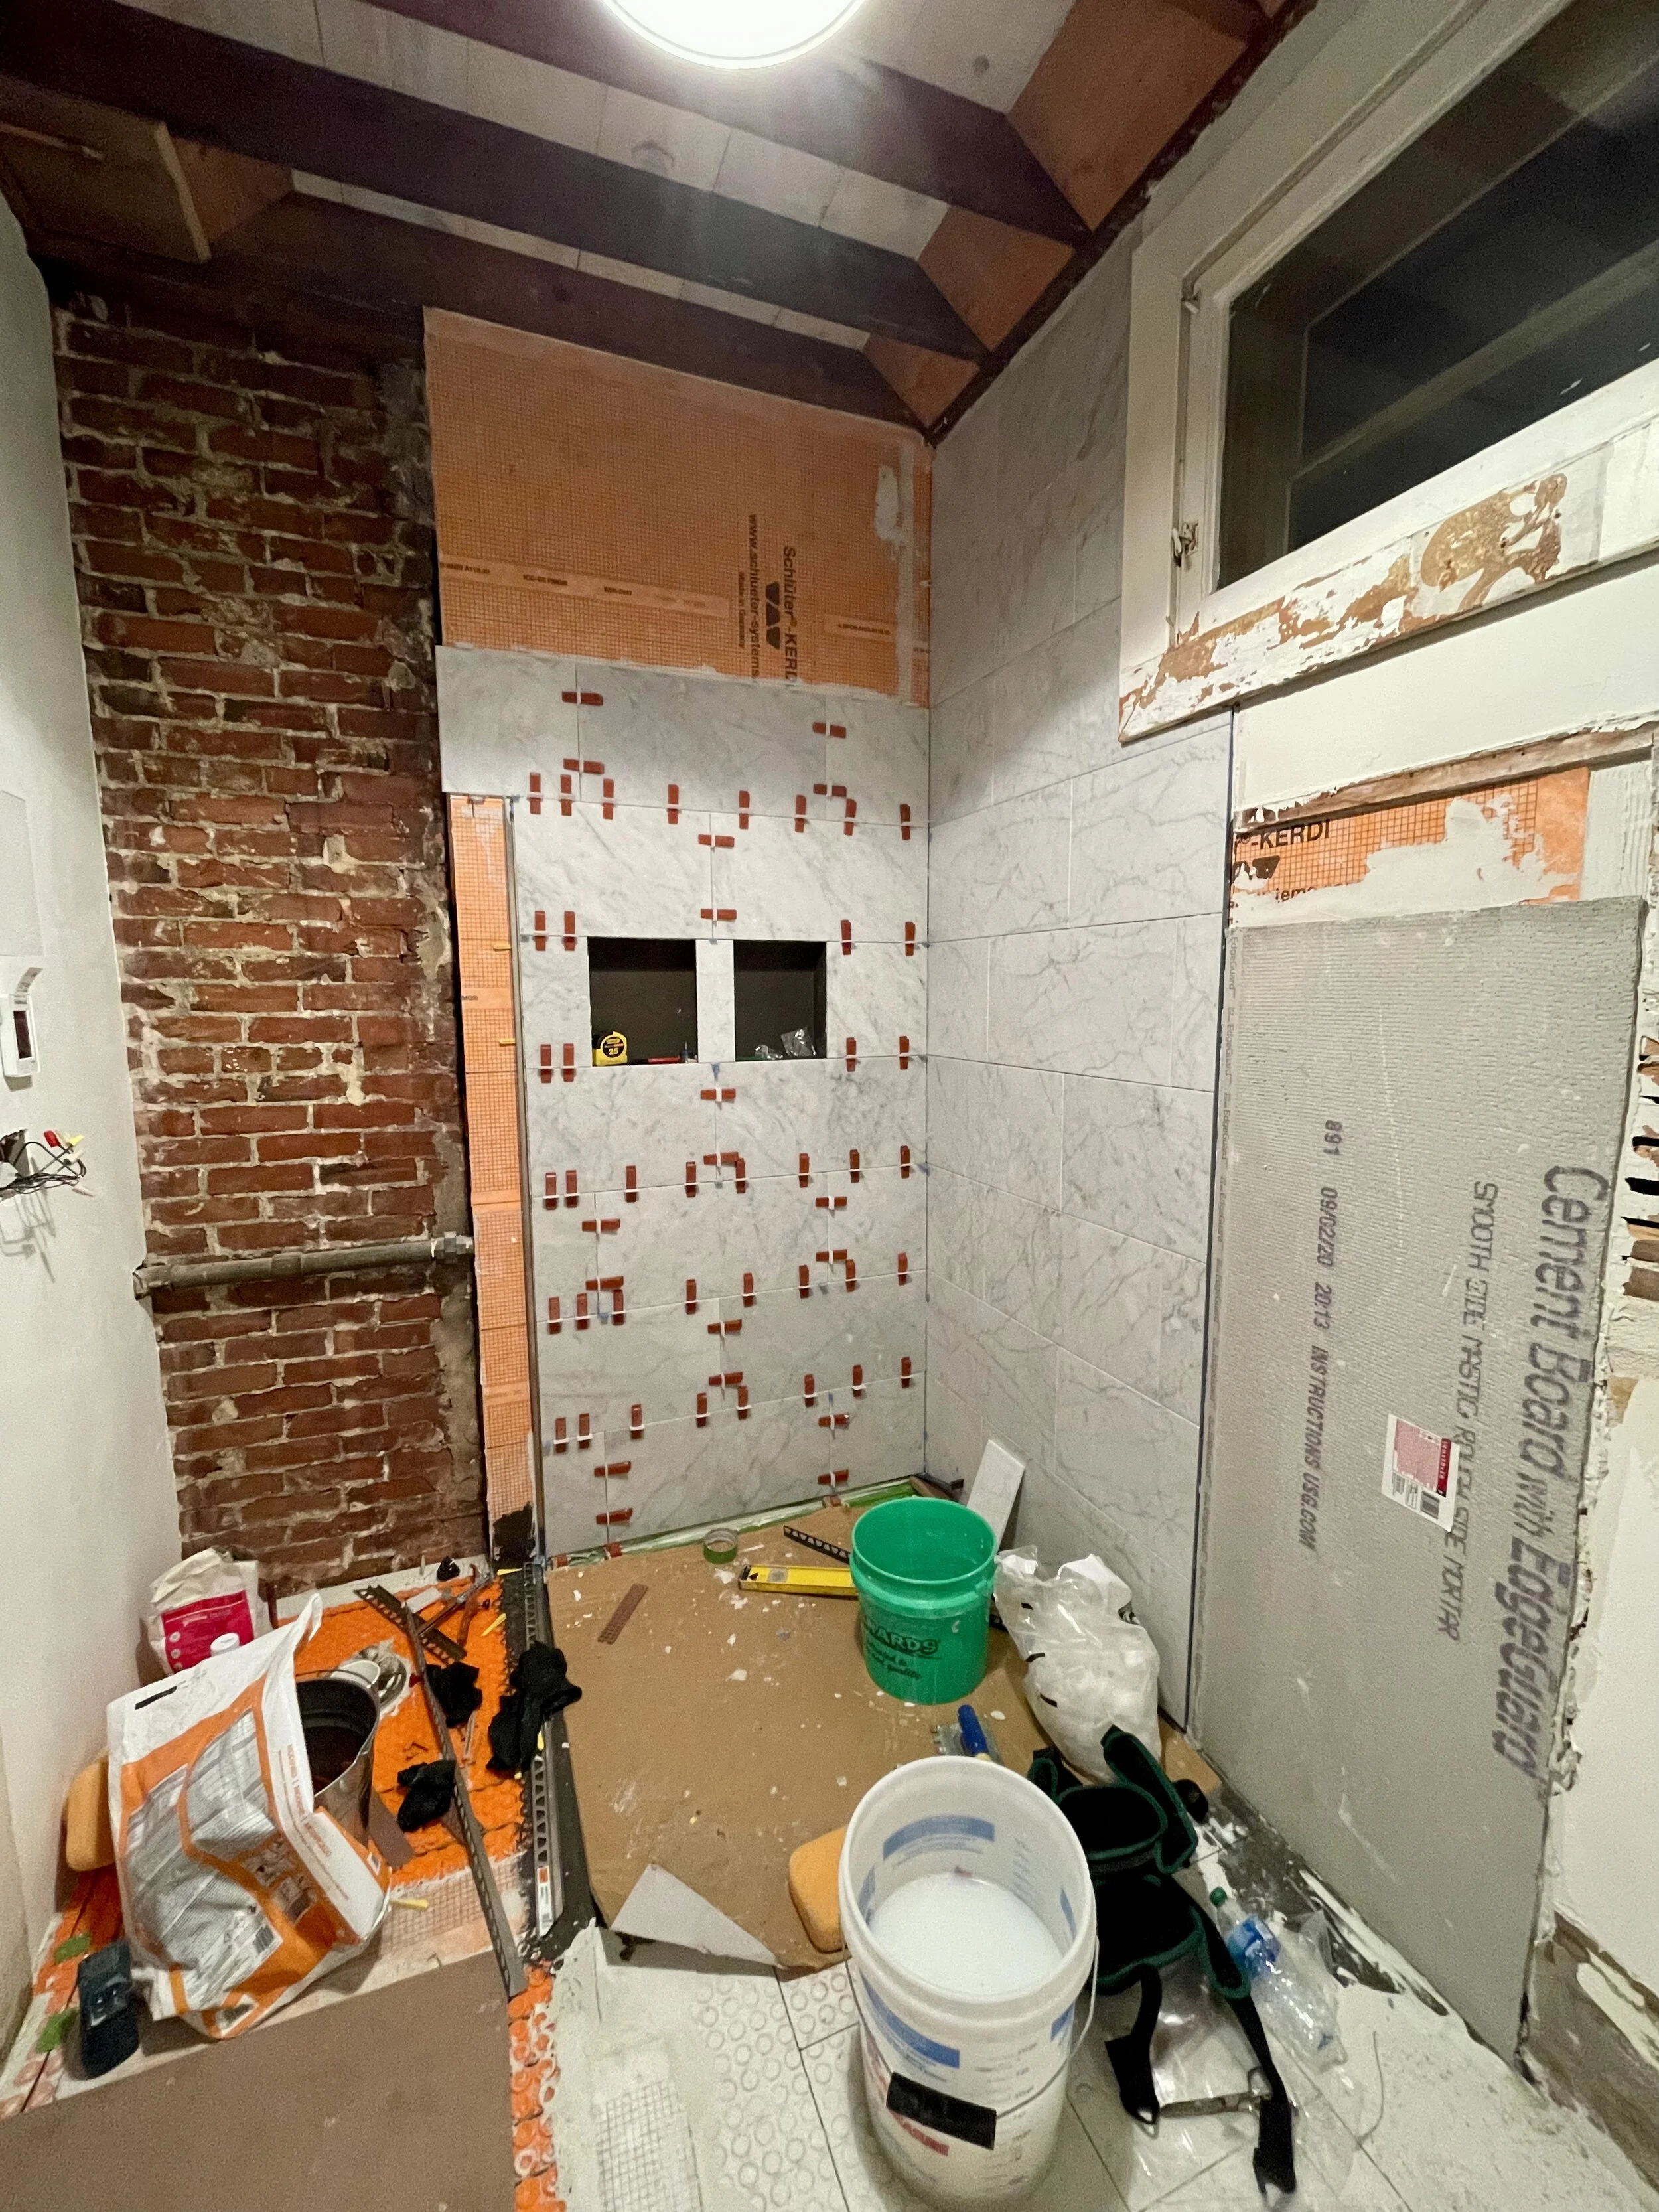
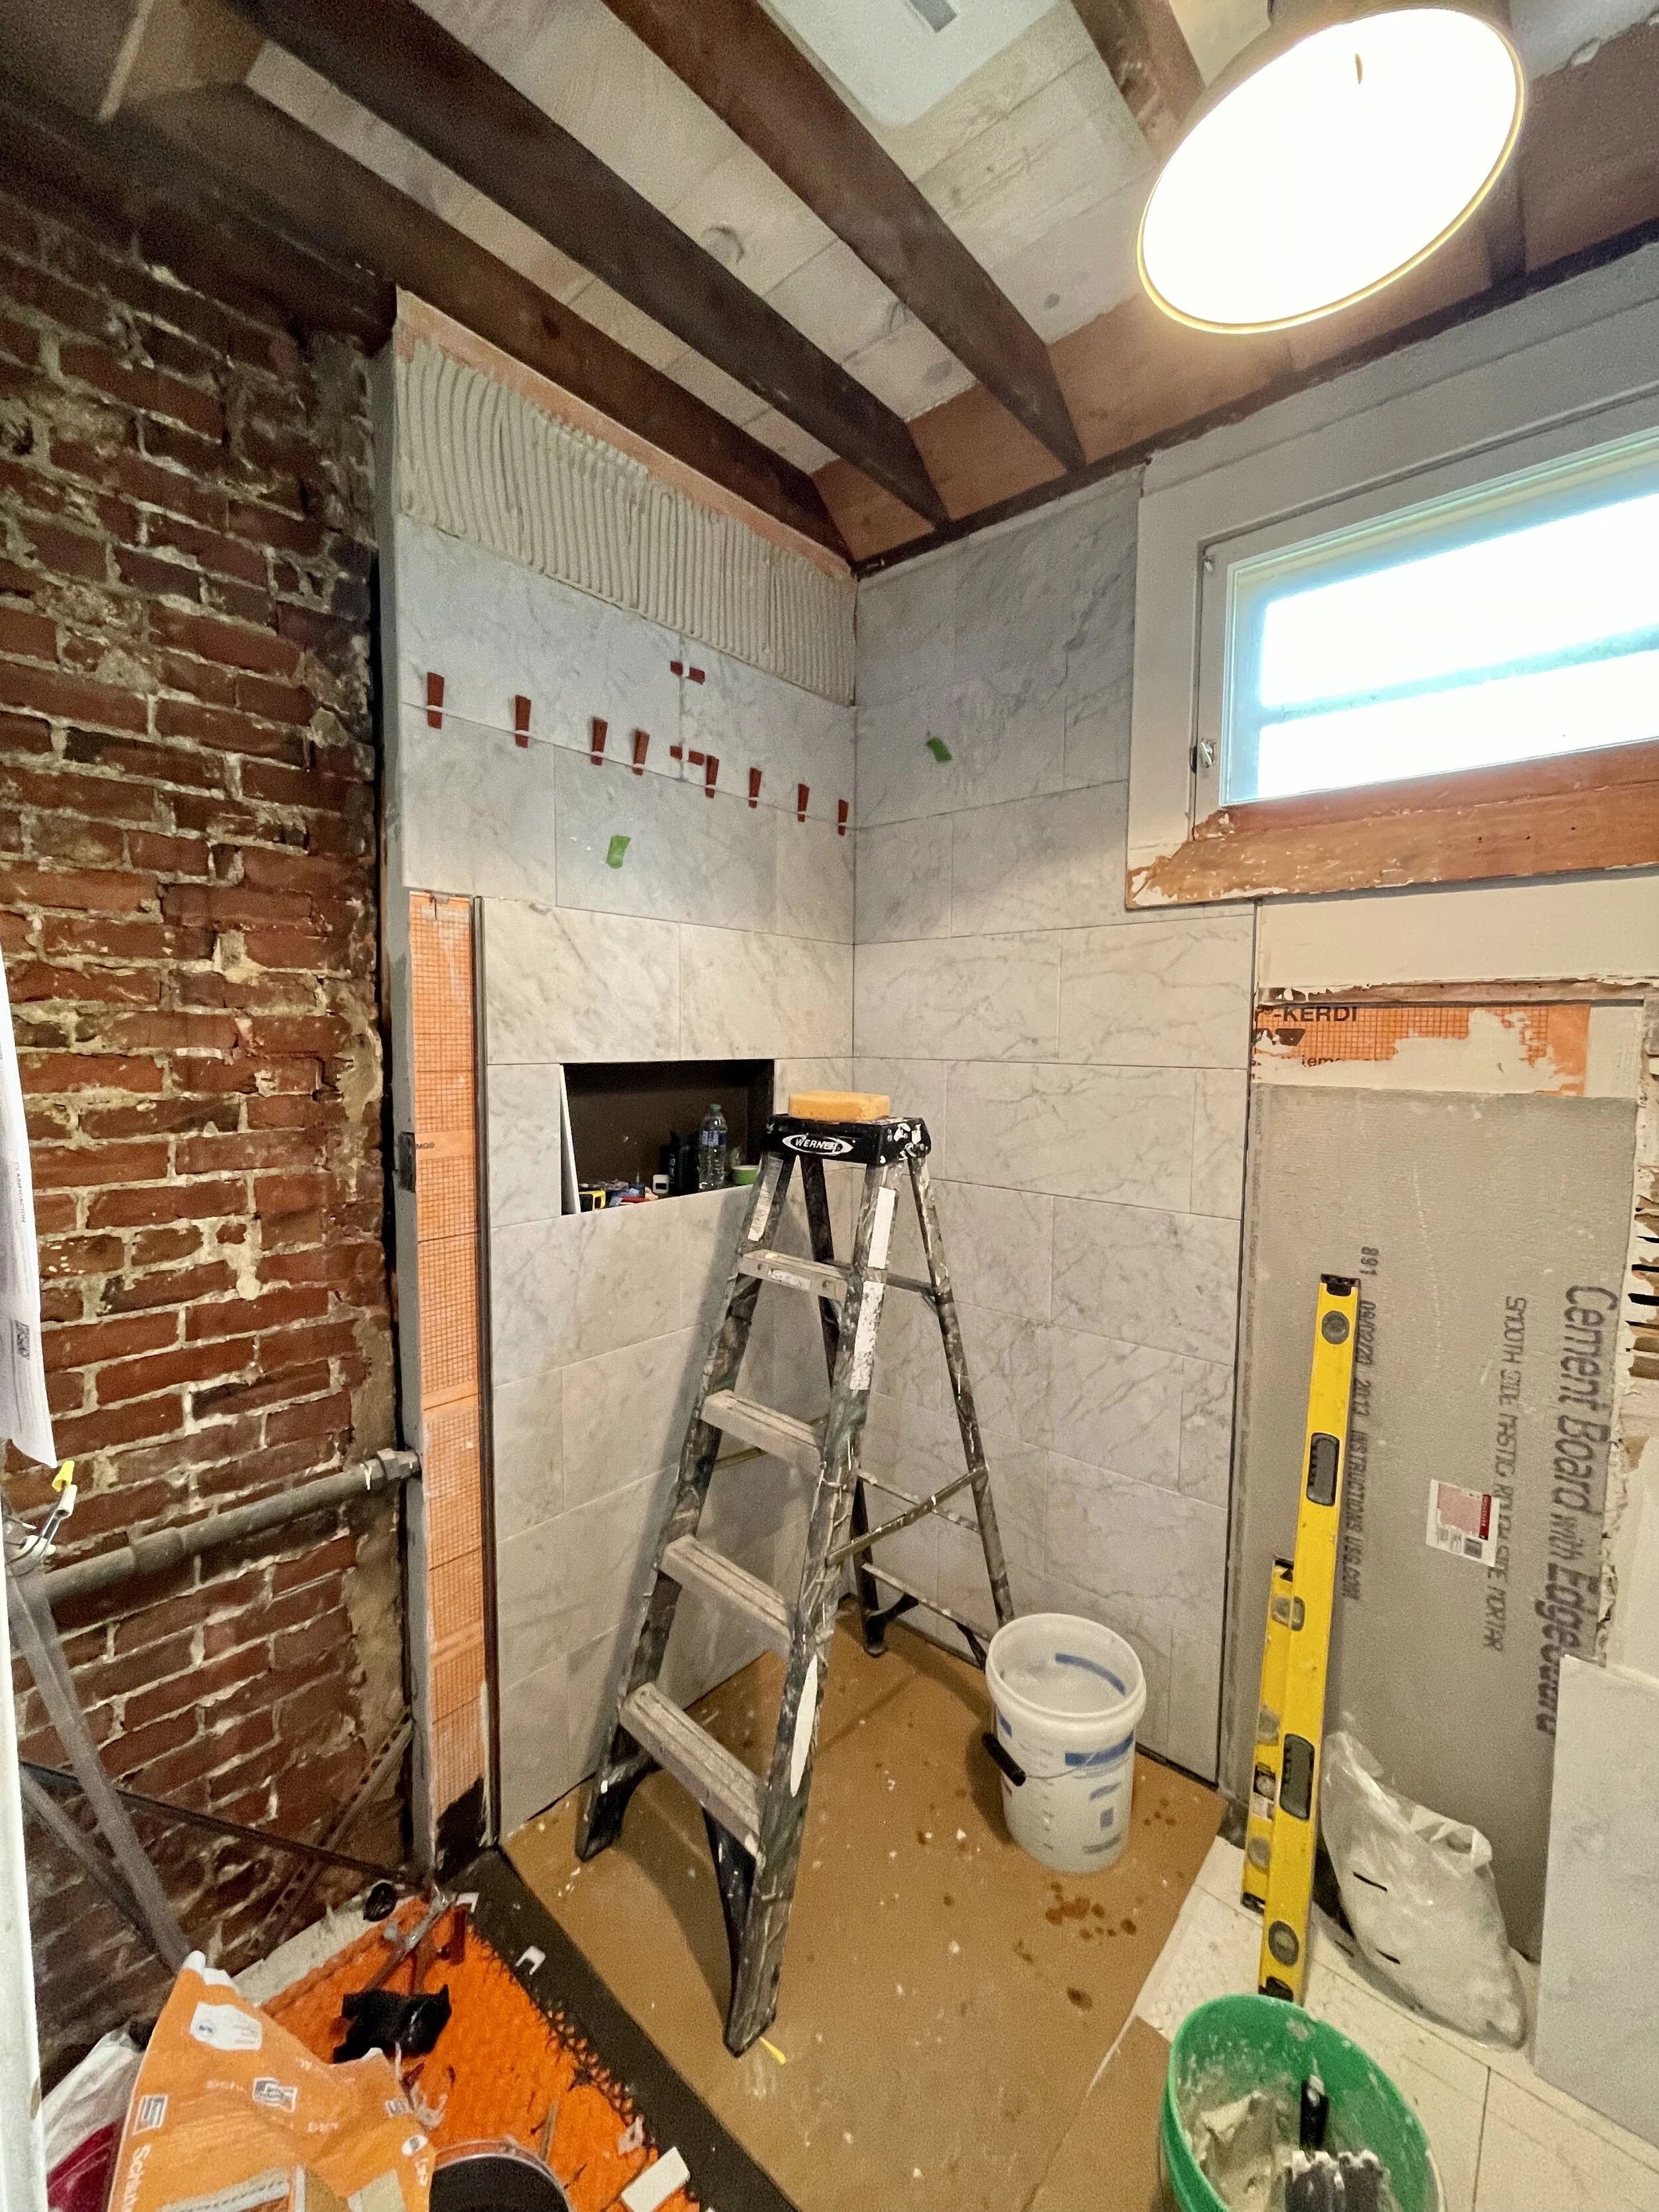
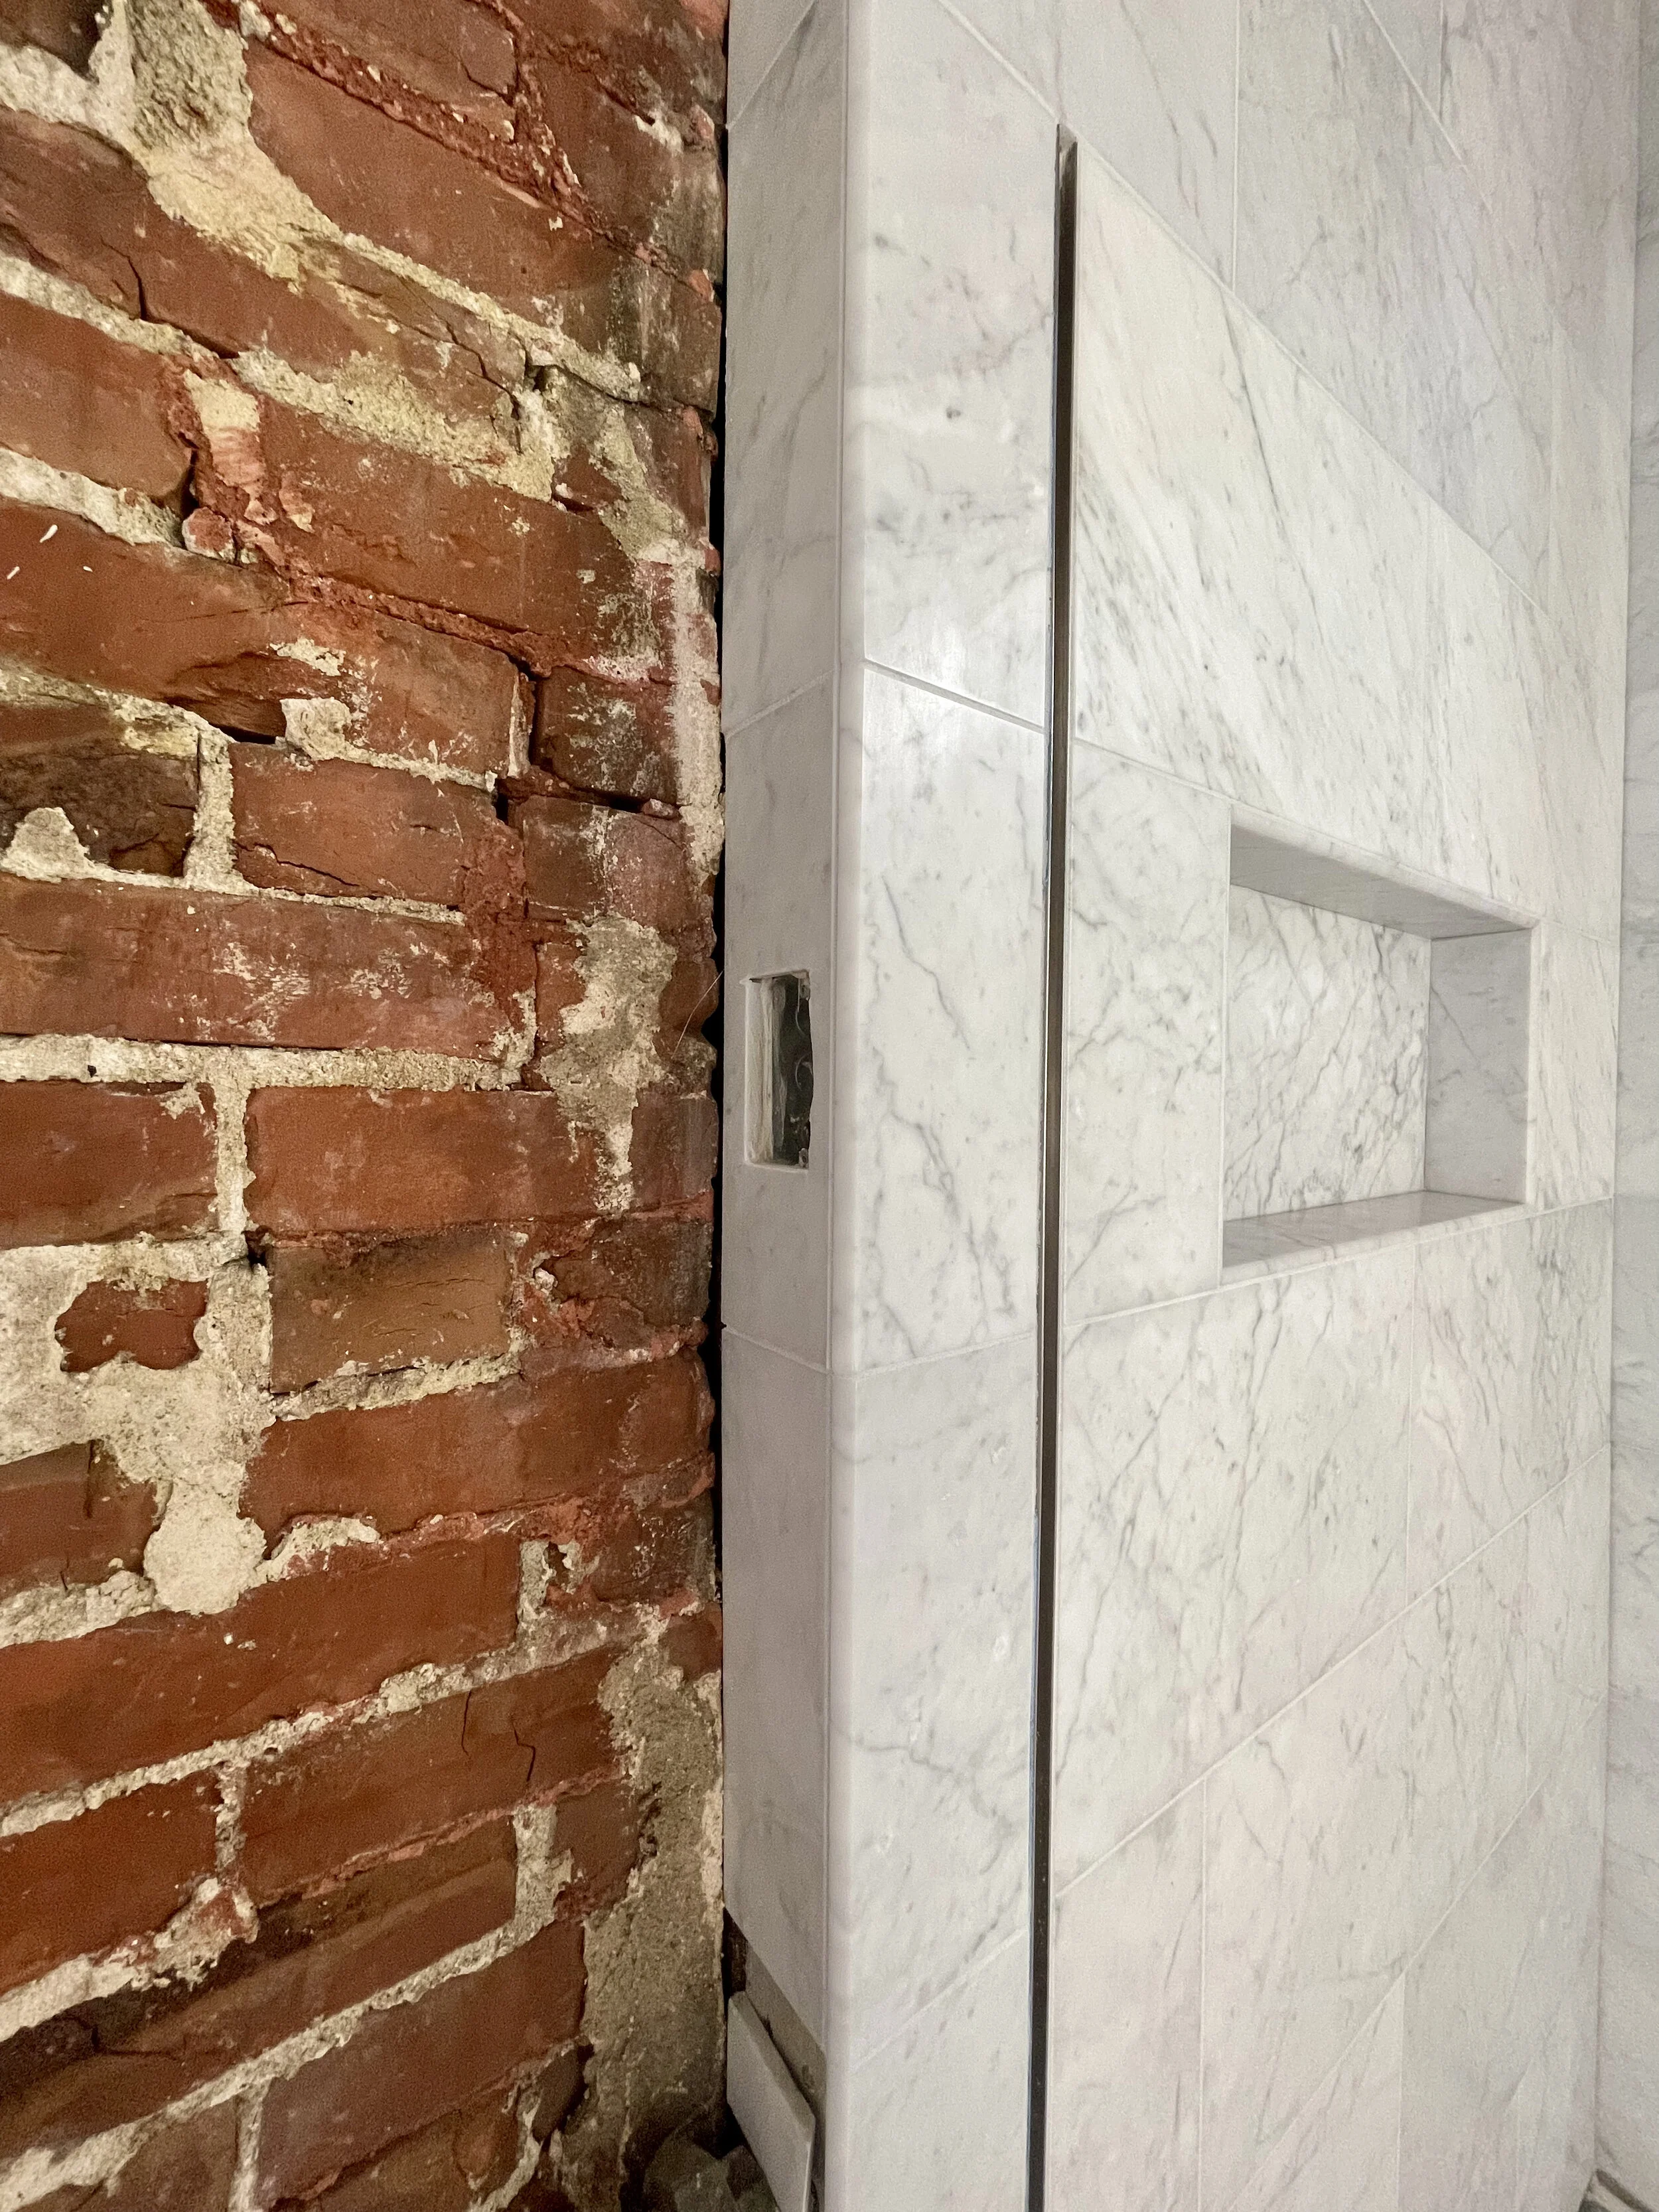
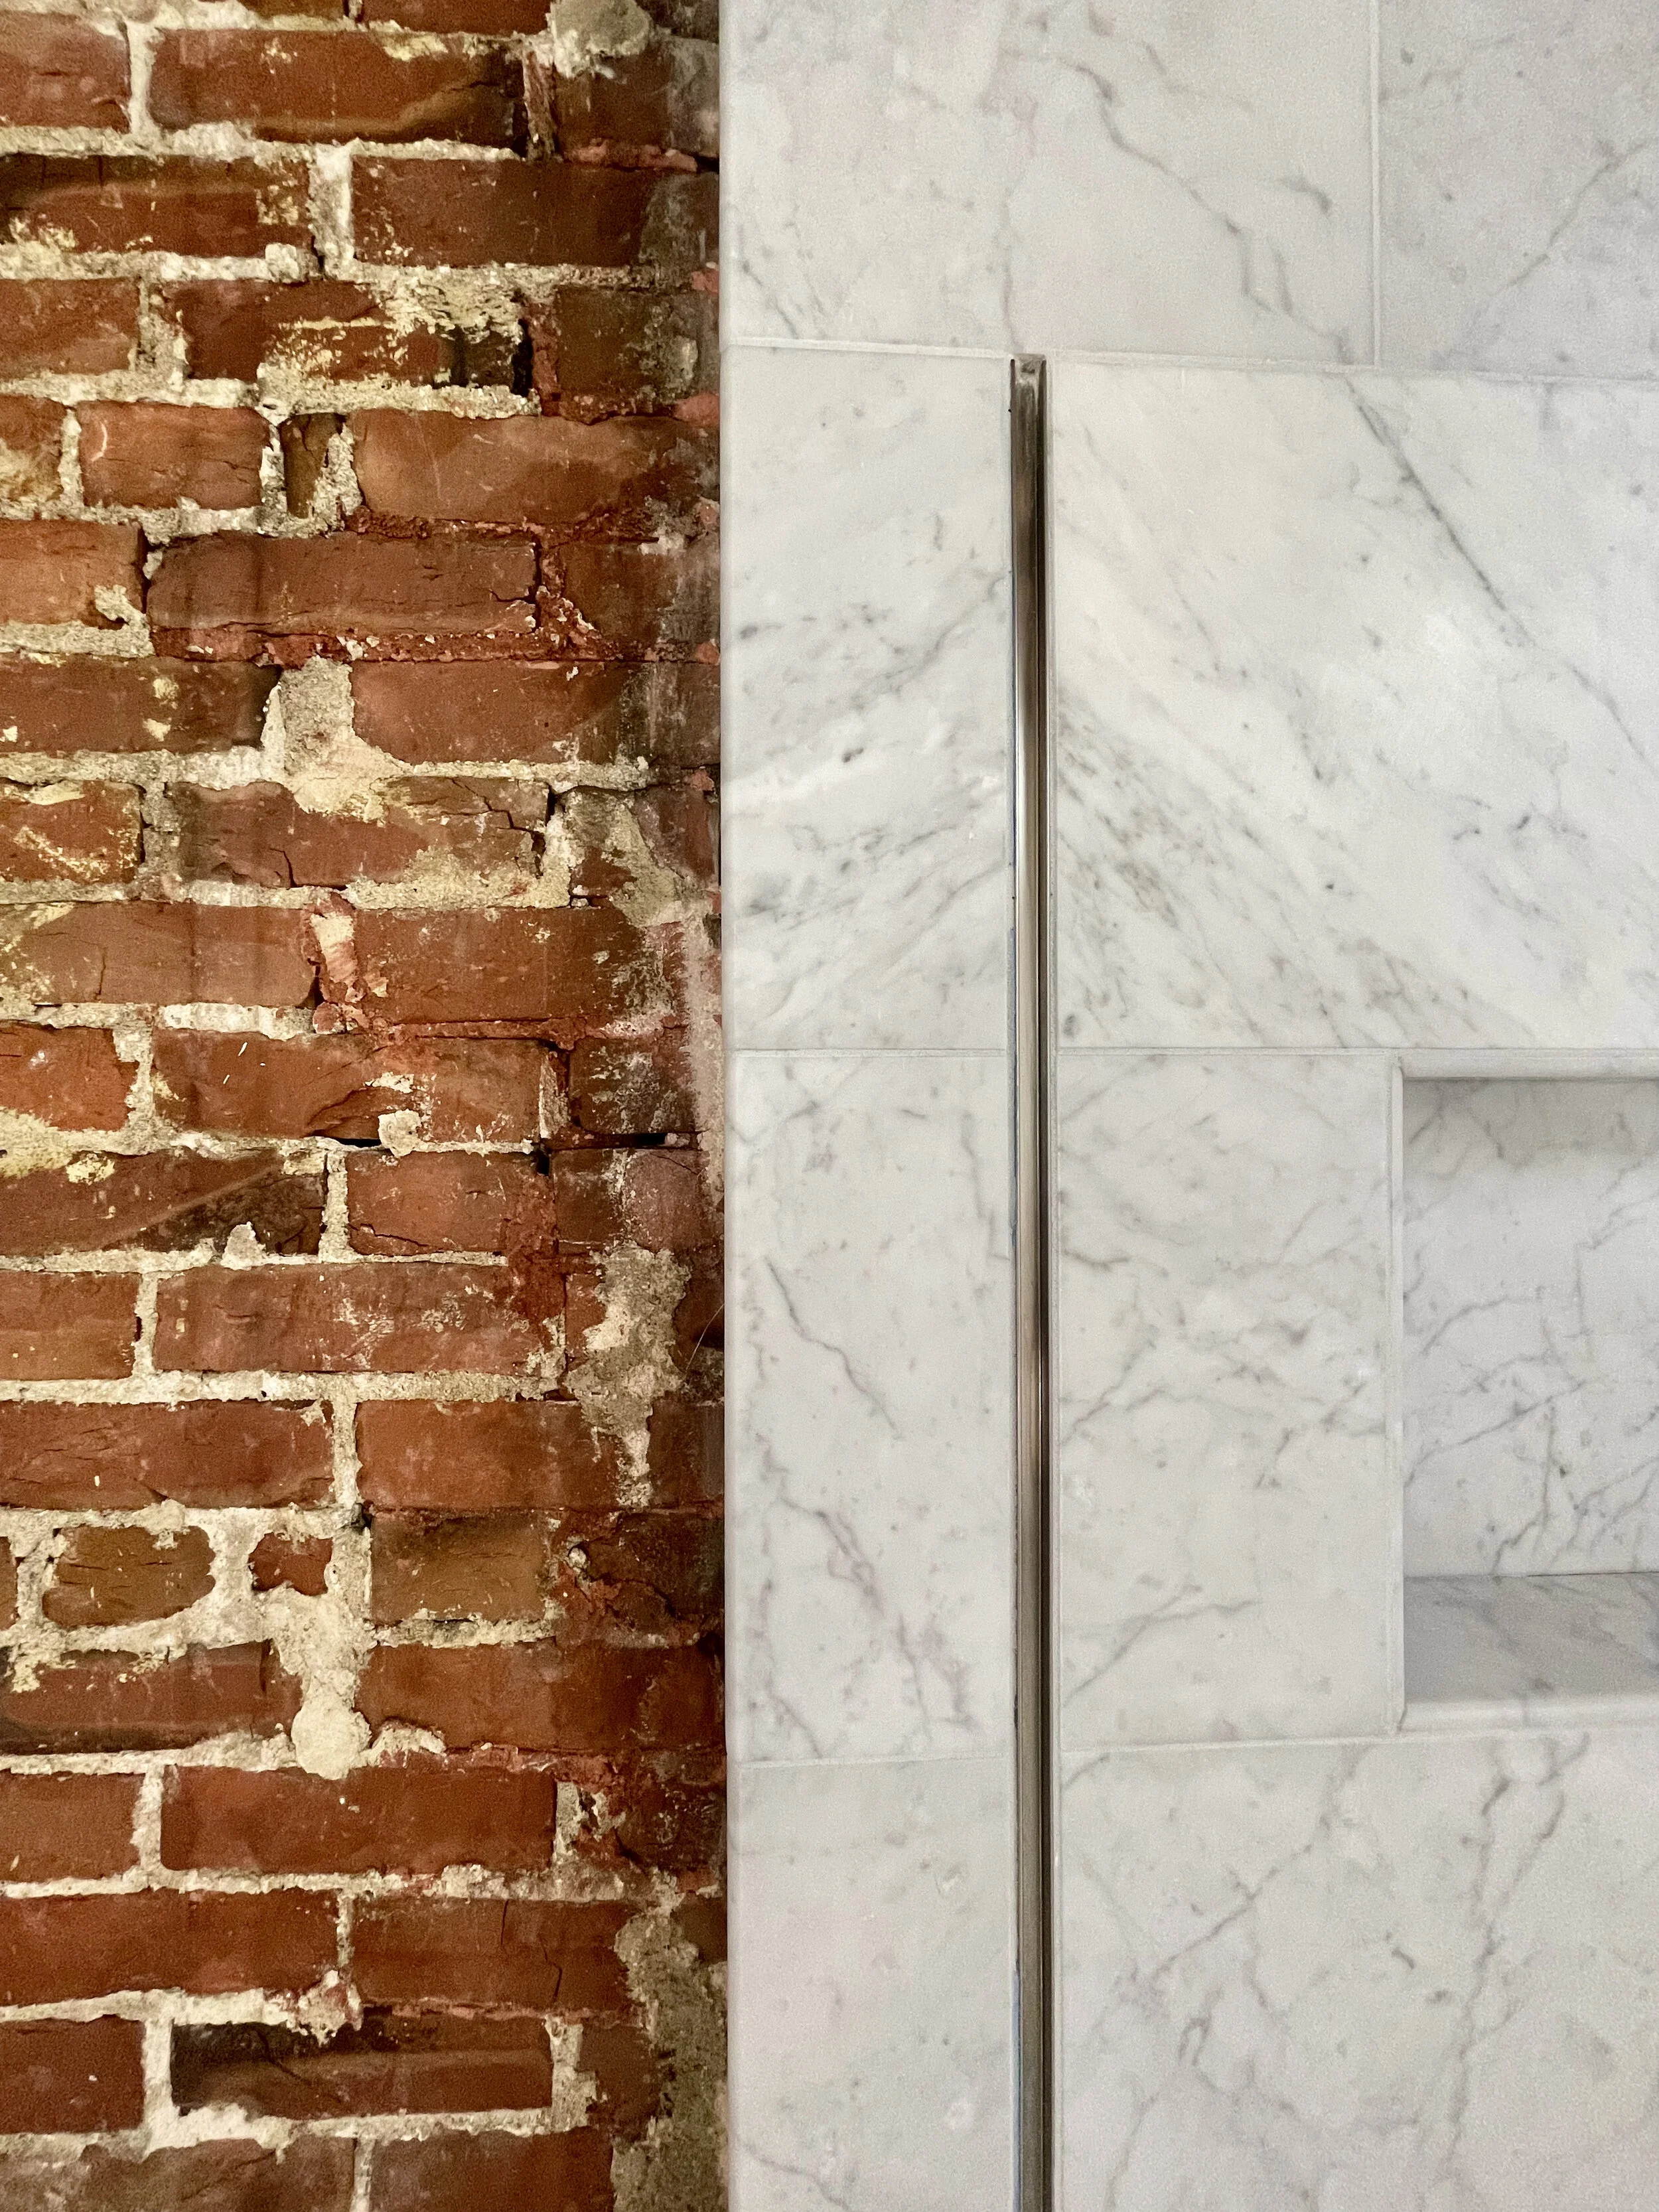
Brick chimney exposed.

Sistering in new treated 2”x6”s and 2”x8”s.

Sistering continues.
Sistering continues.

It took 4 2”x8”s to replace the void that was an 8”x8” old growth beam.
Many sisters.
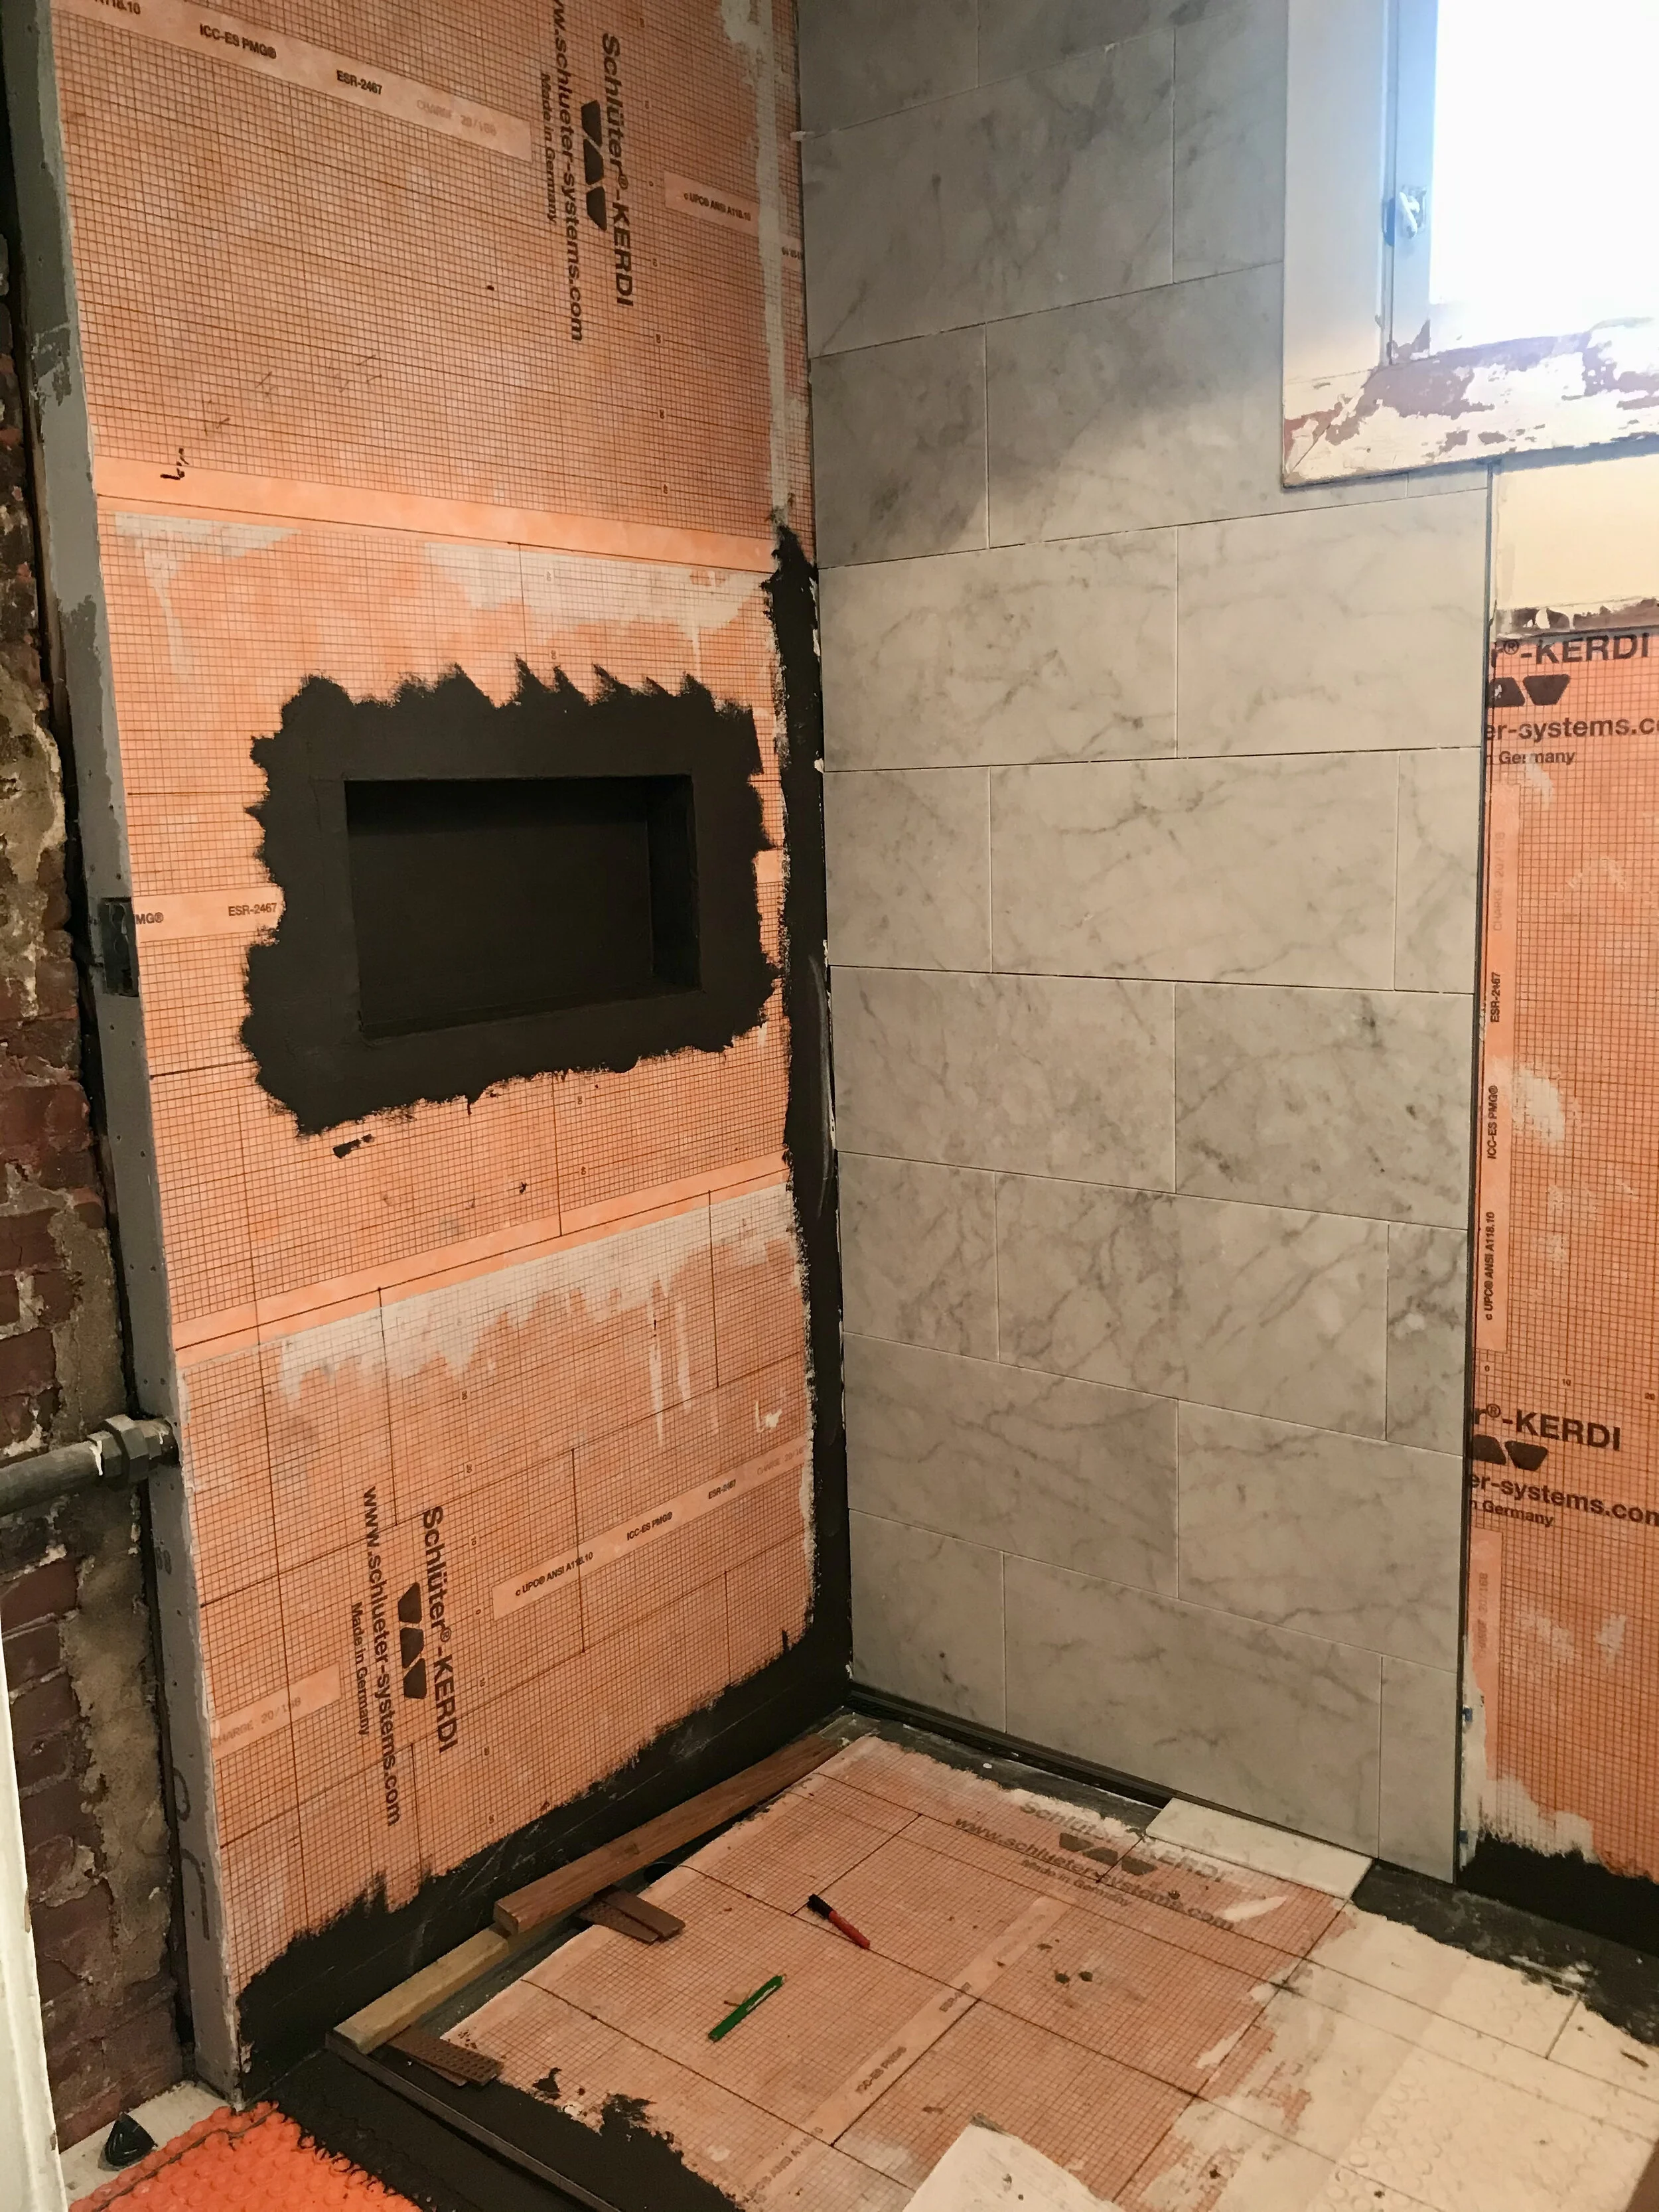
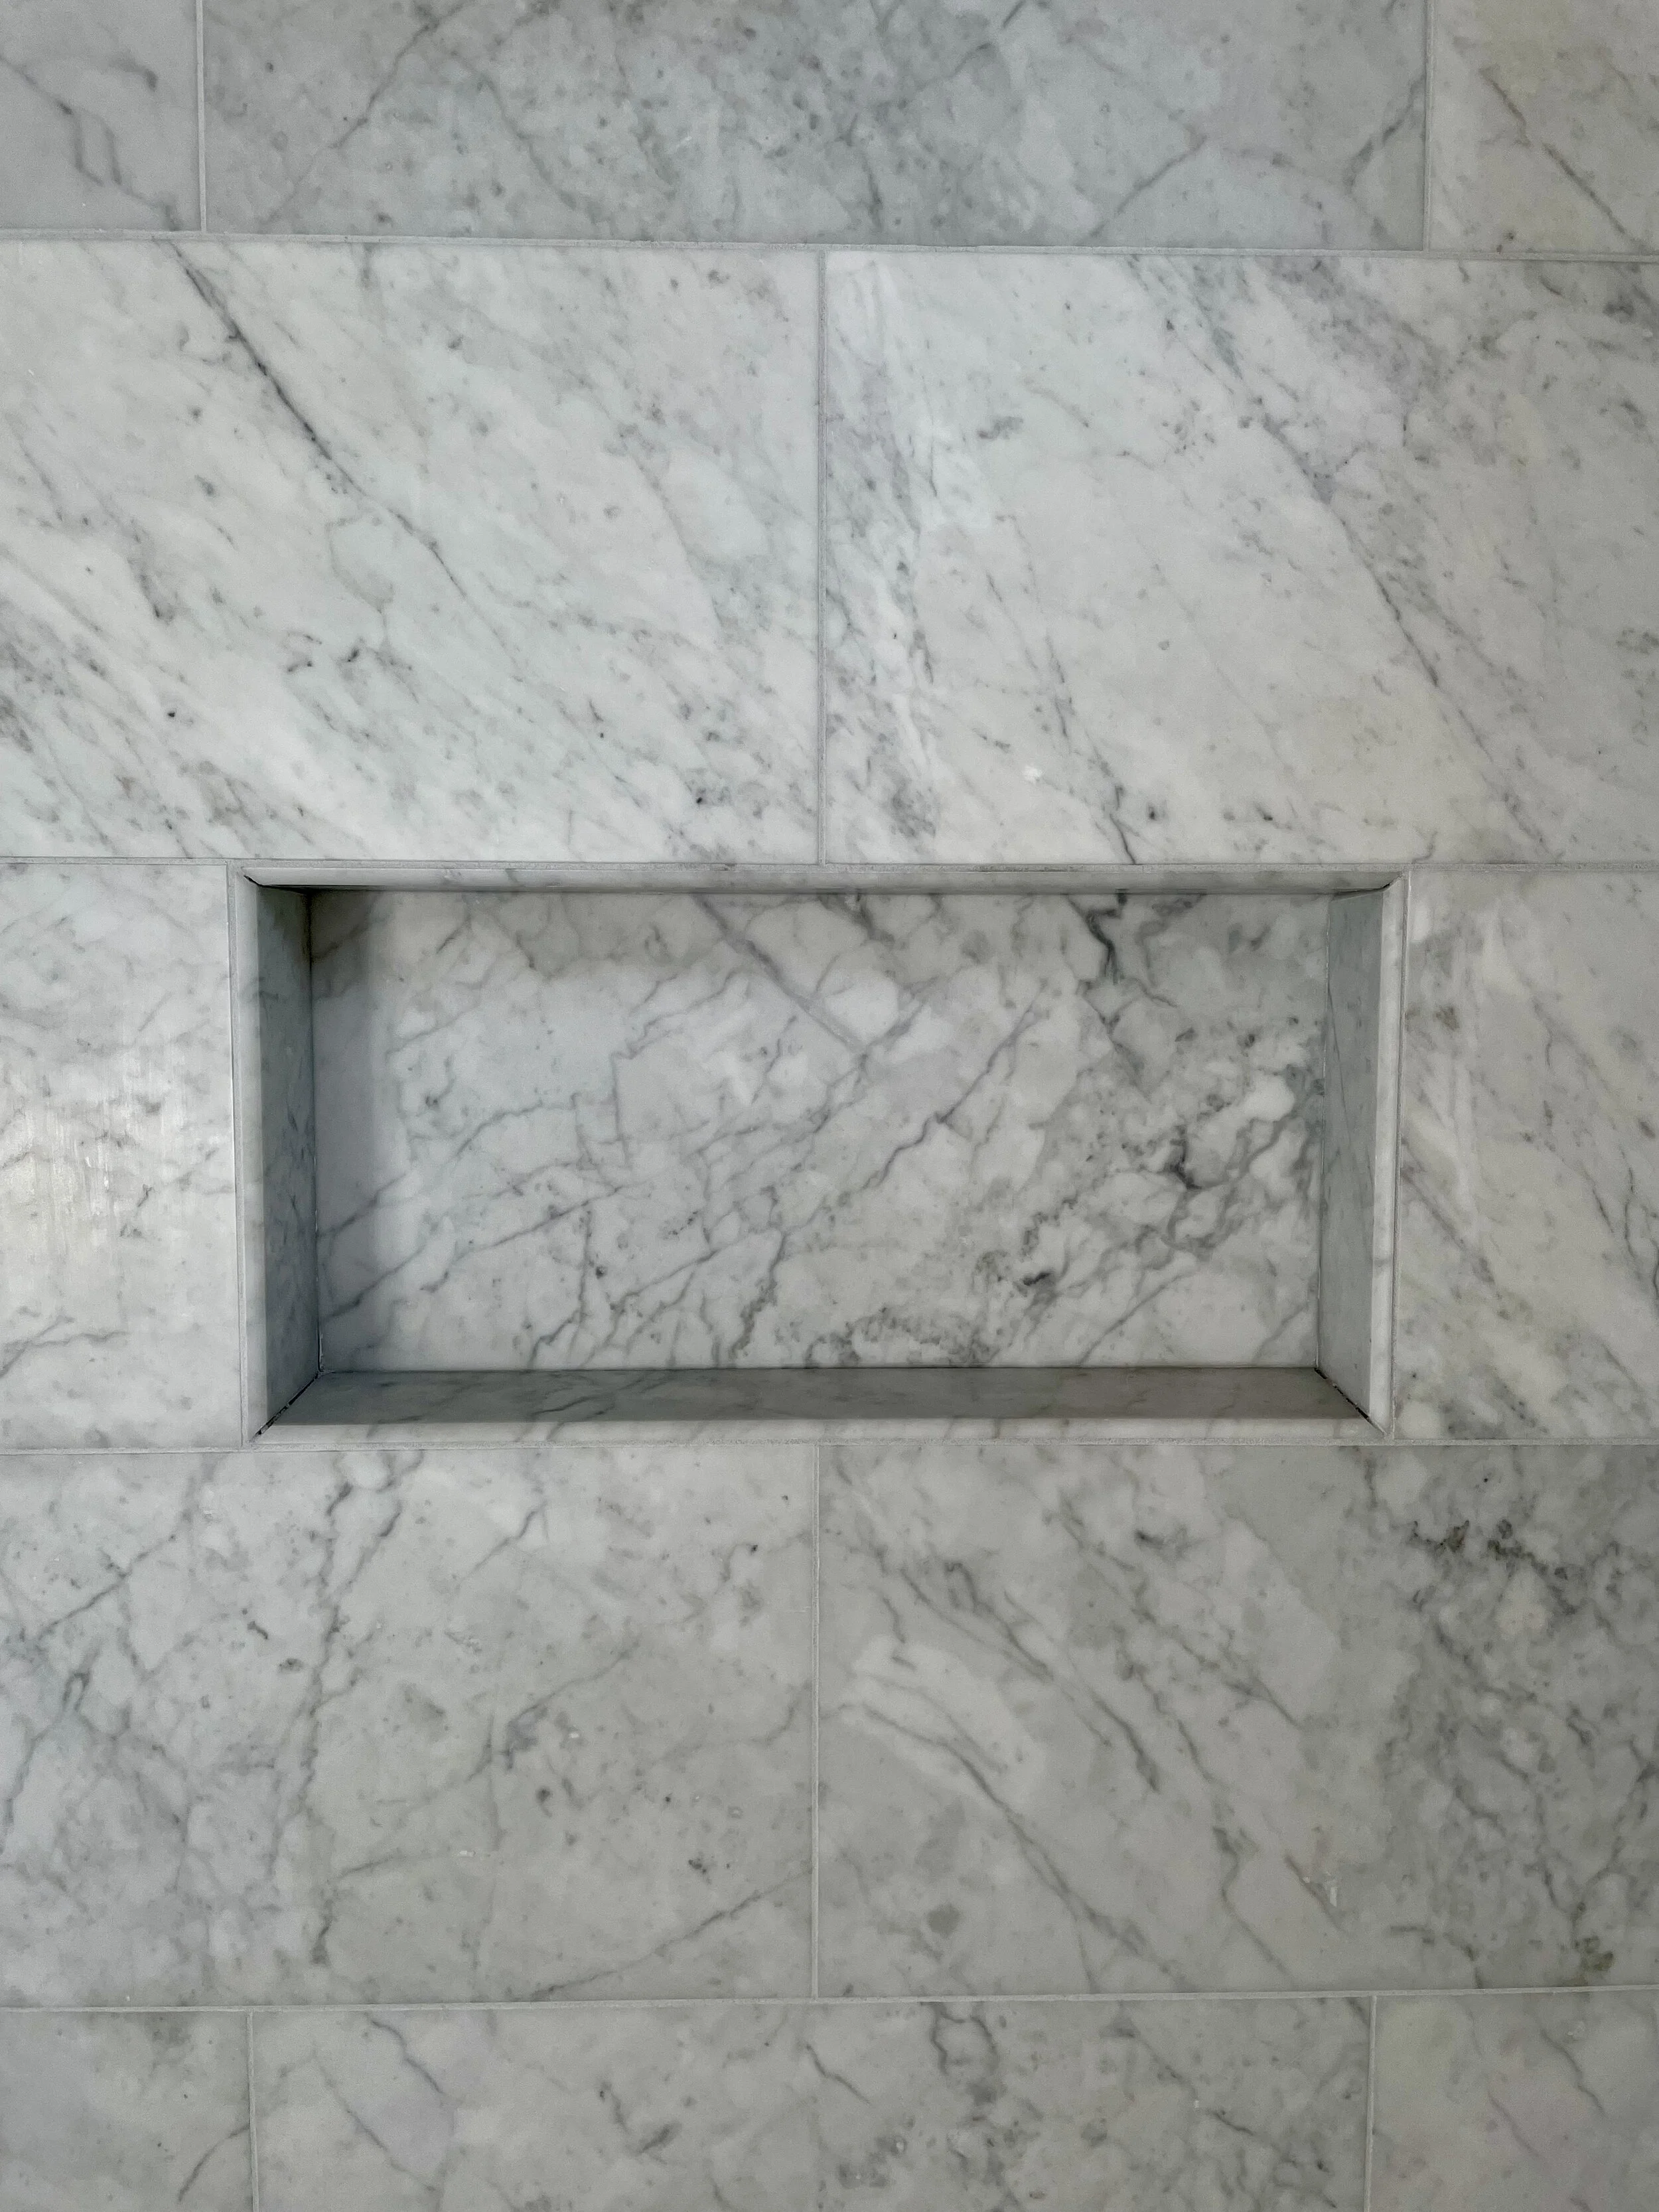
Header and framing for original servants’ entry mentioned. It is to become a shower wall with niche.
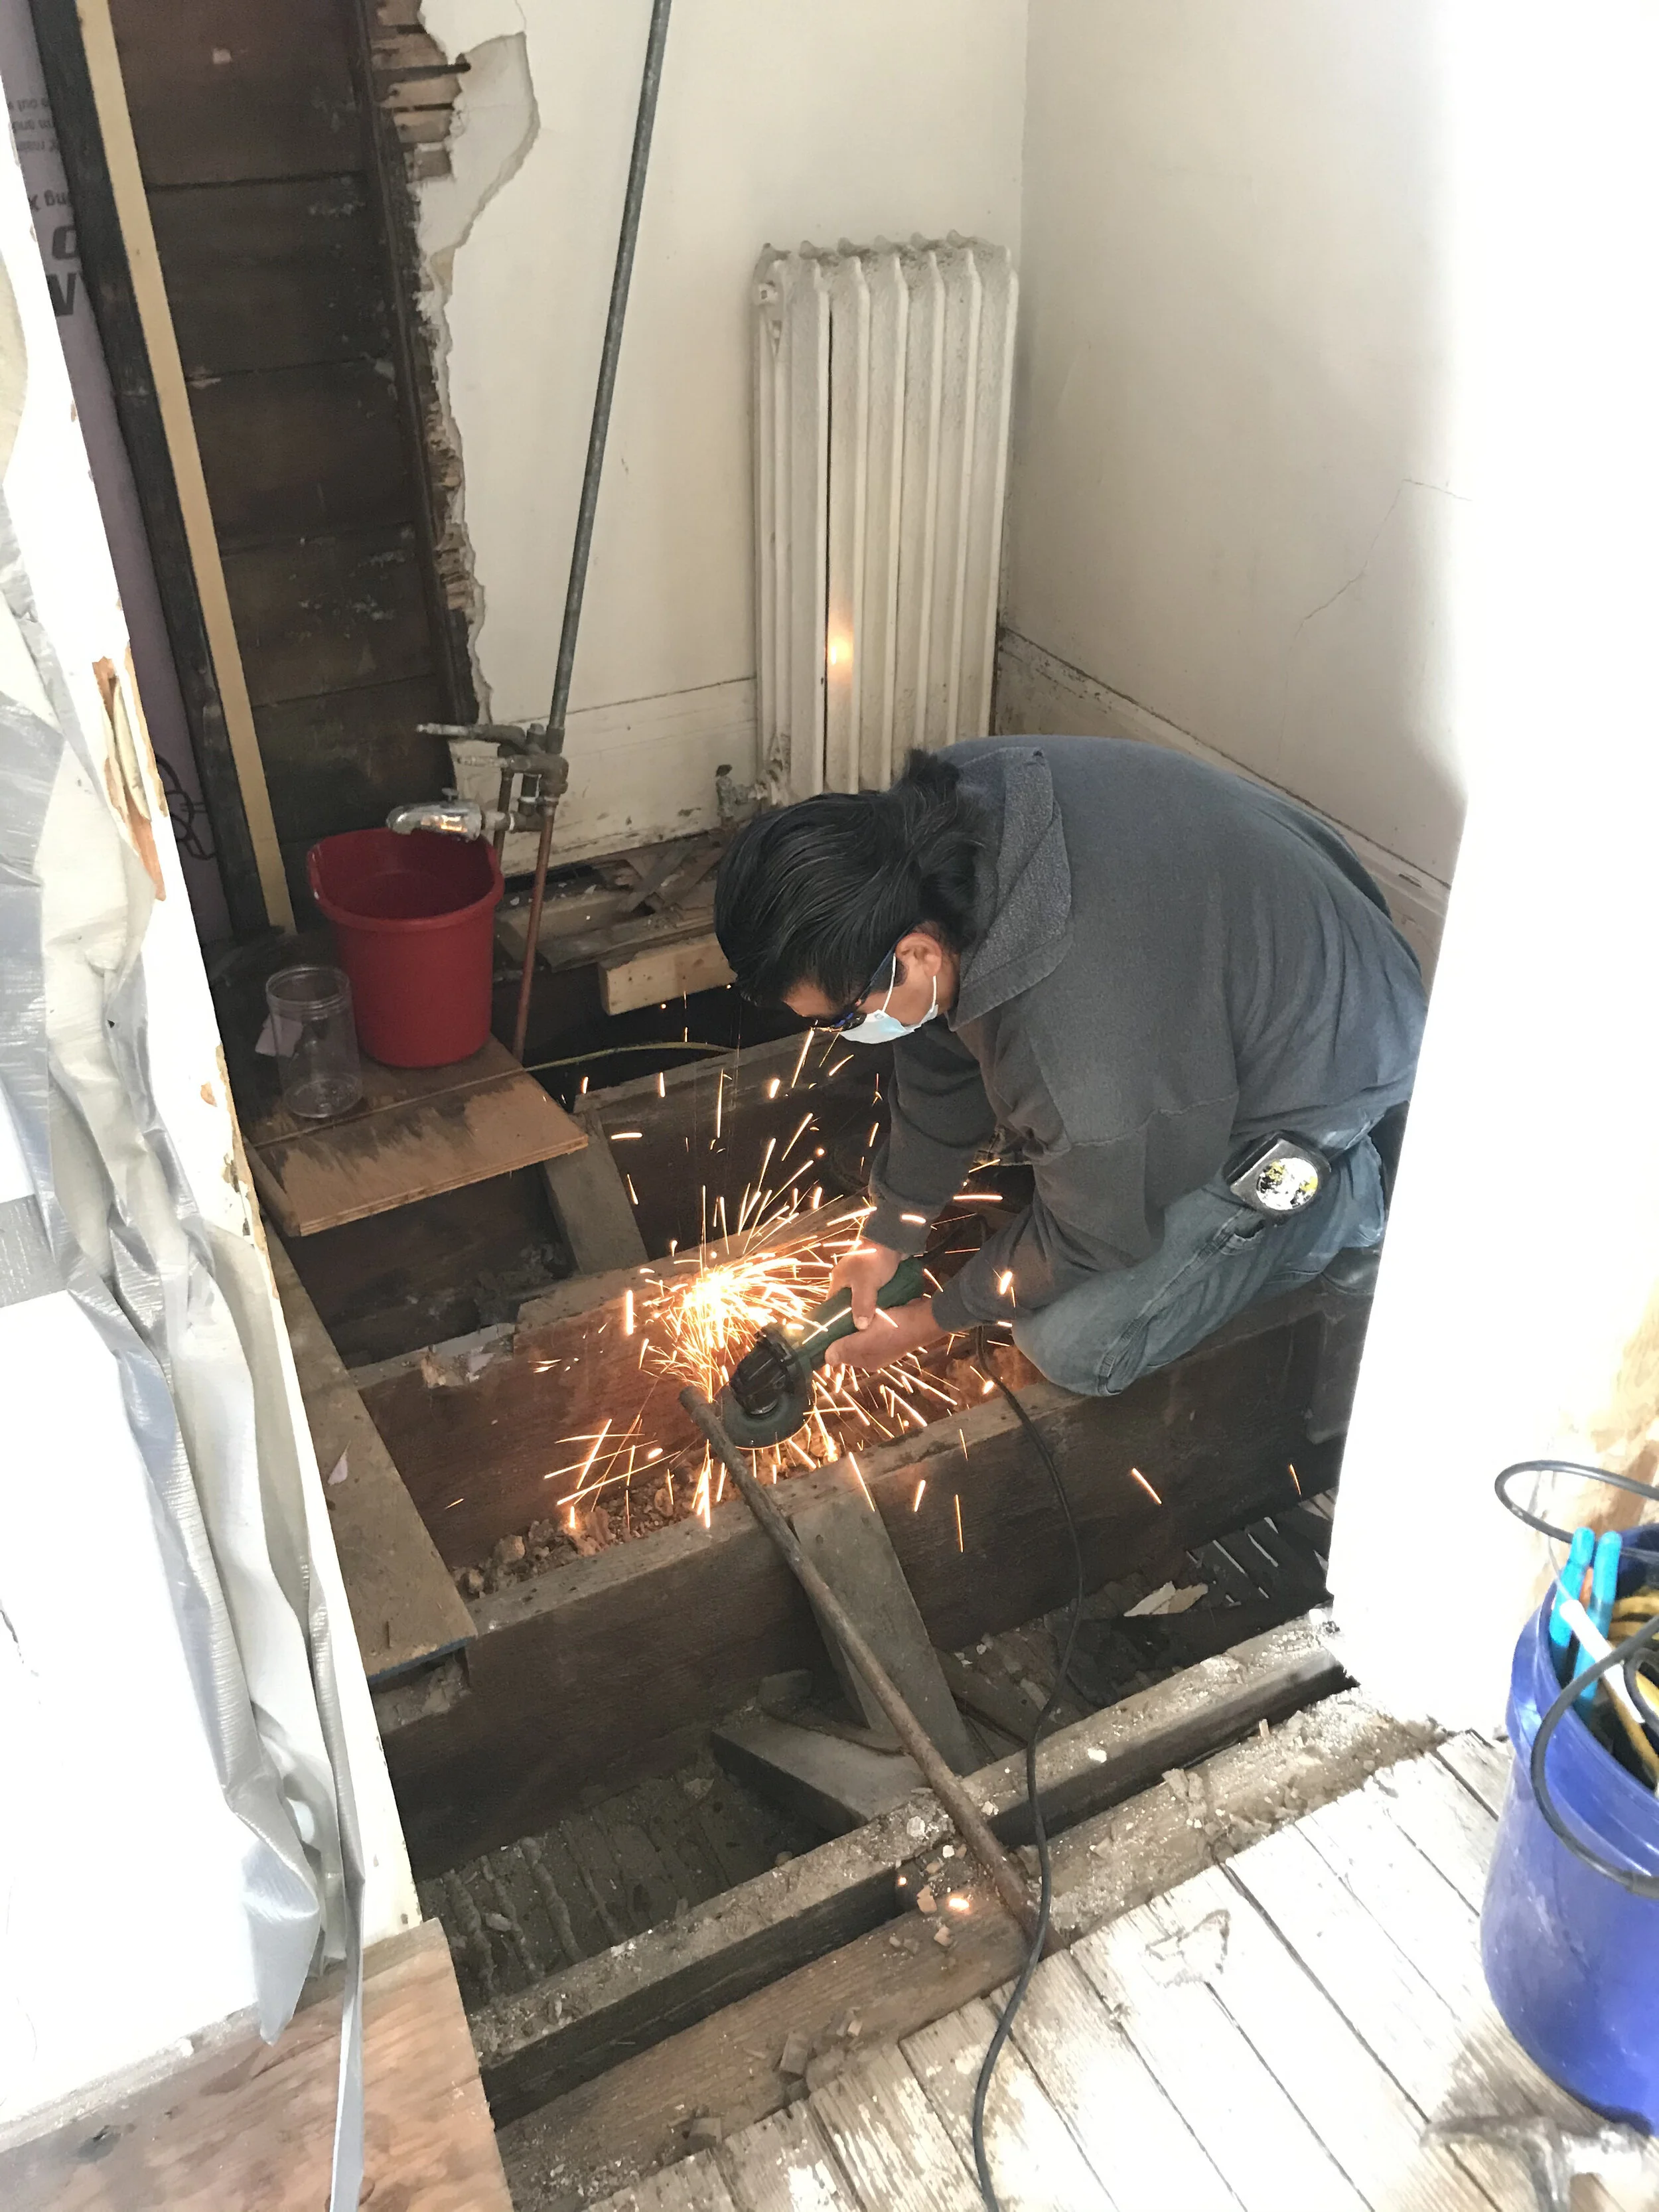
Cutting away old gas lamp pipe in order to lay new subfloor. The manse and coach house originally had gas lamps throughout.
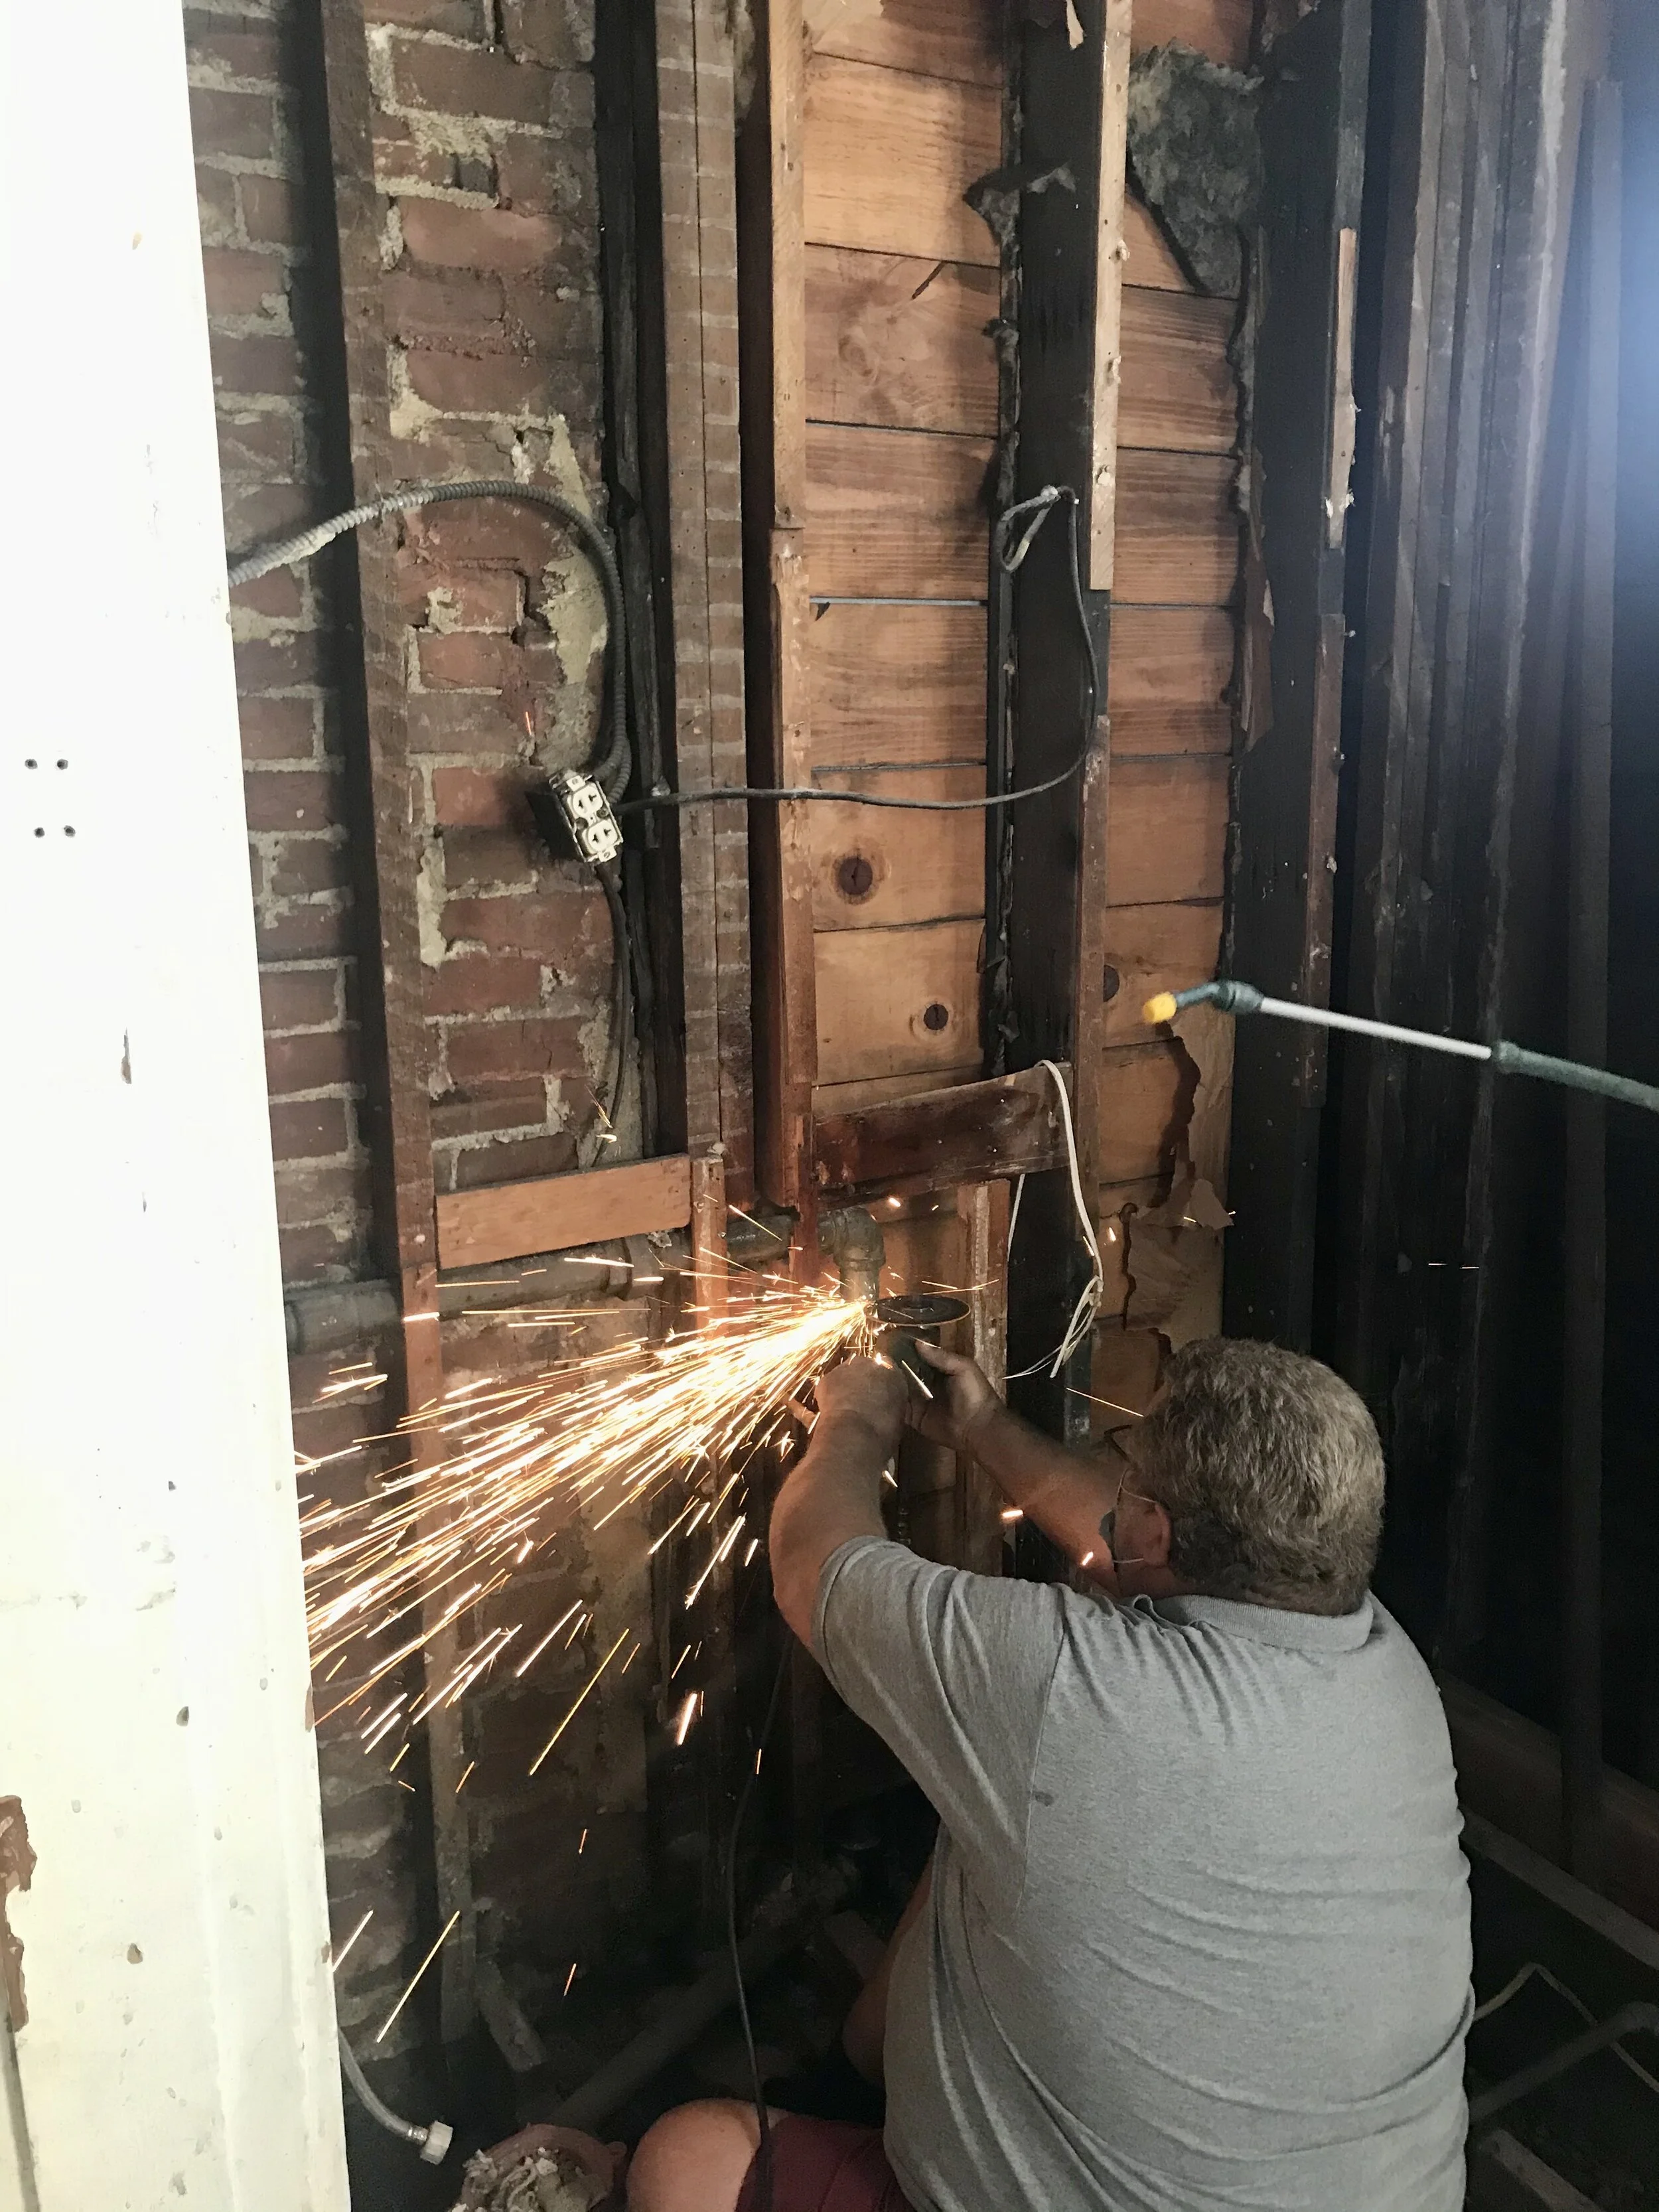
Plumber Don cutting the cast iron shower vent.
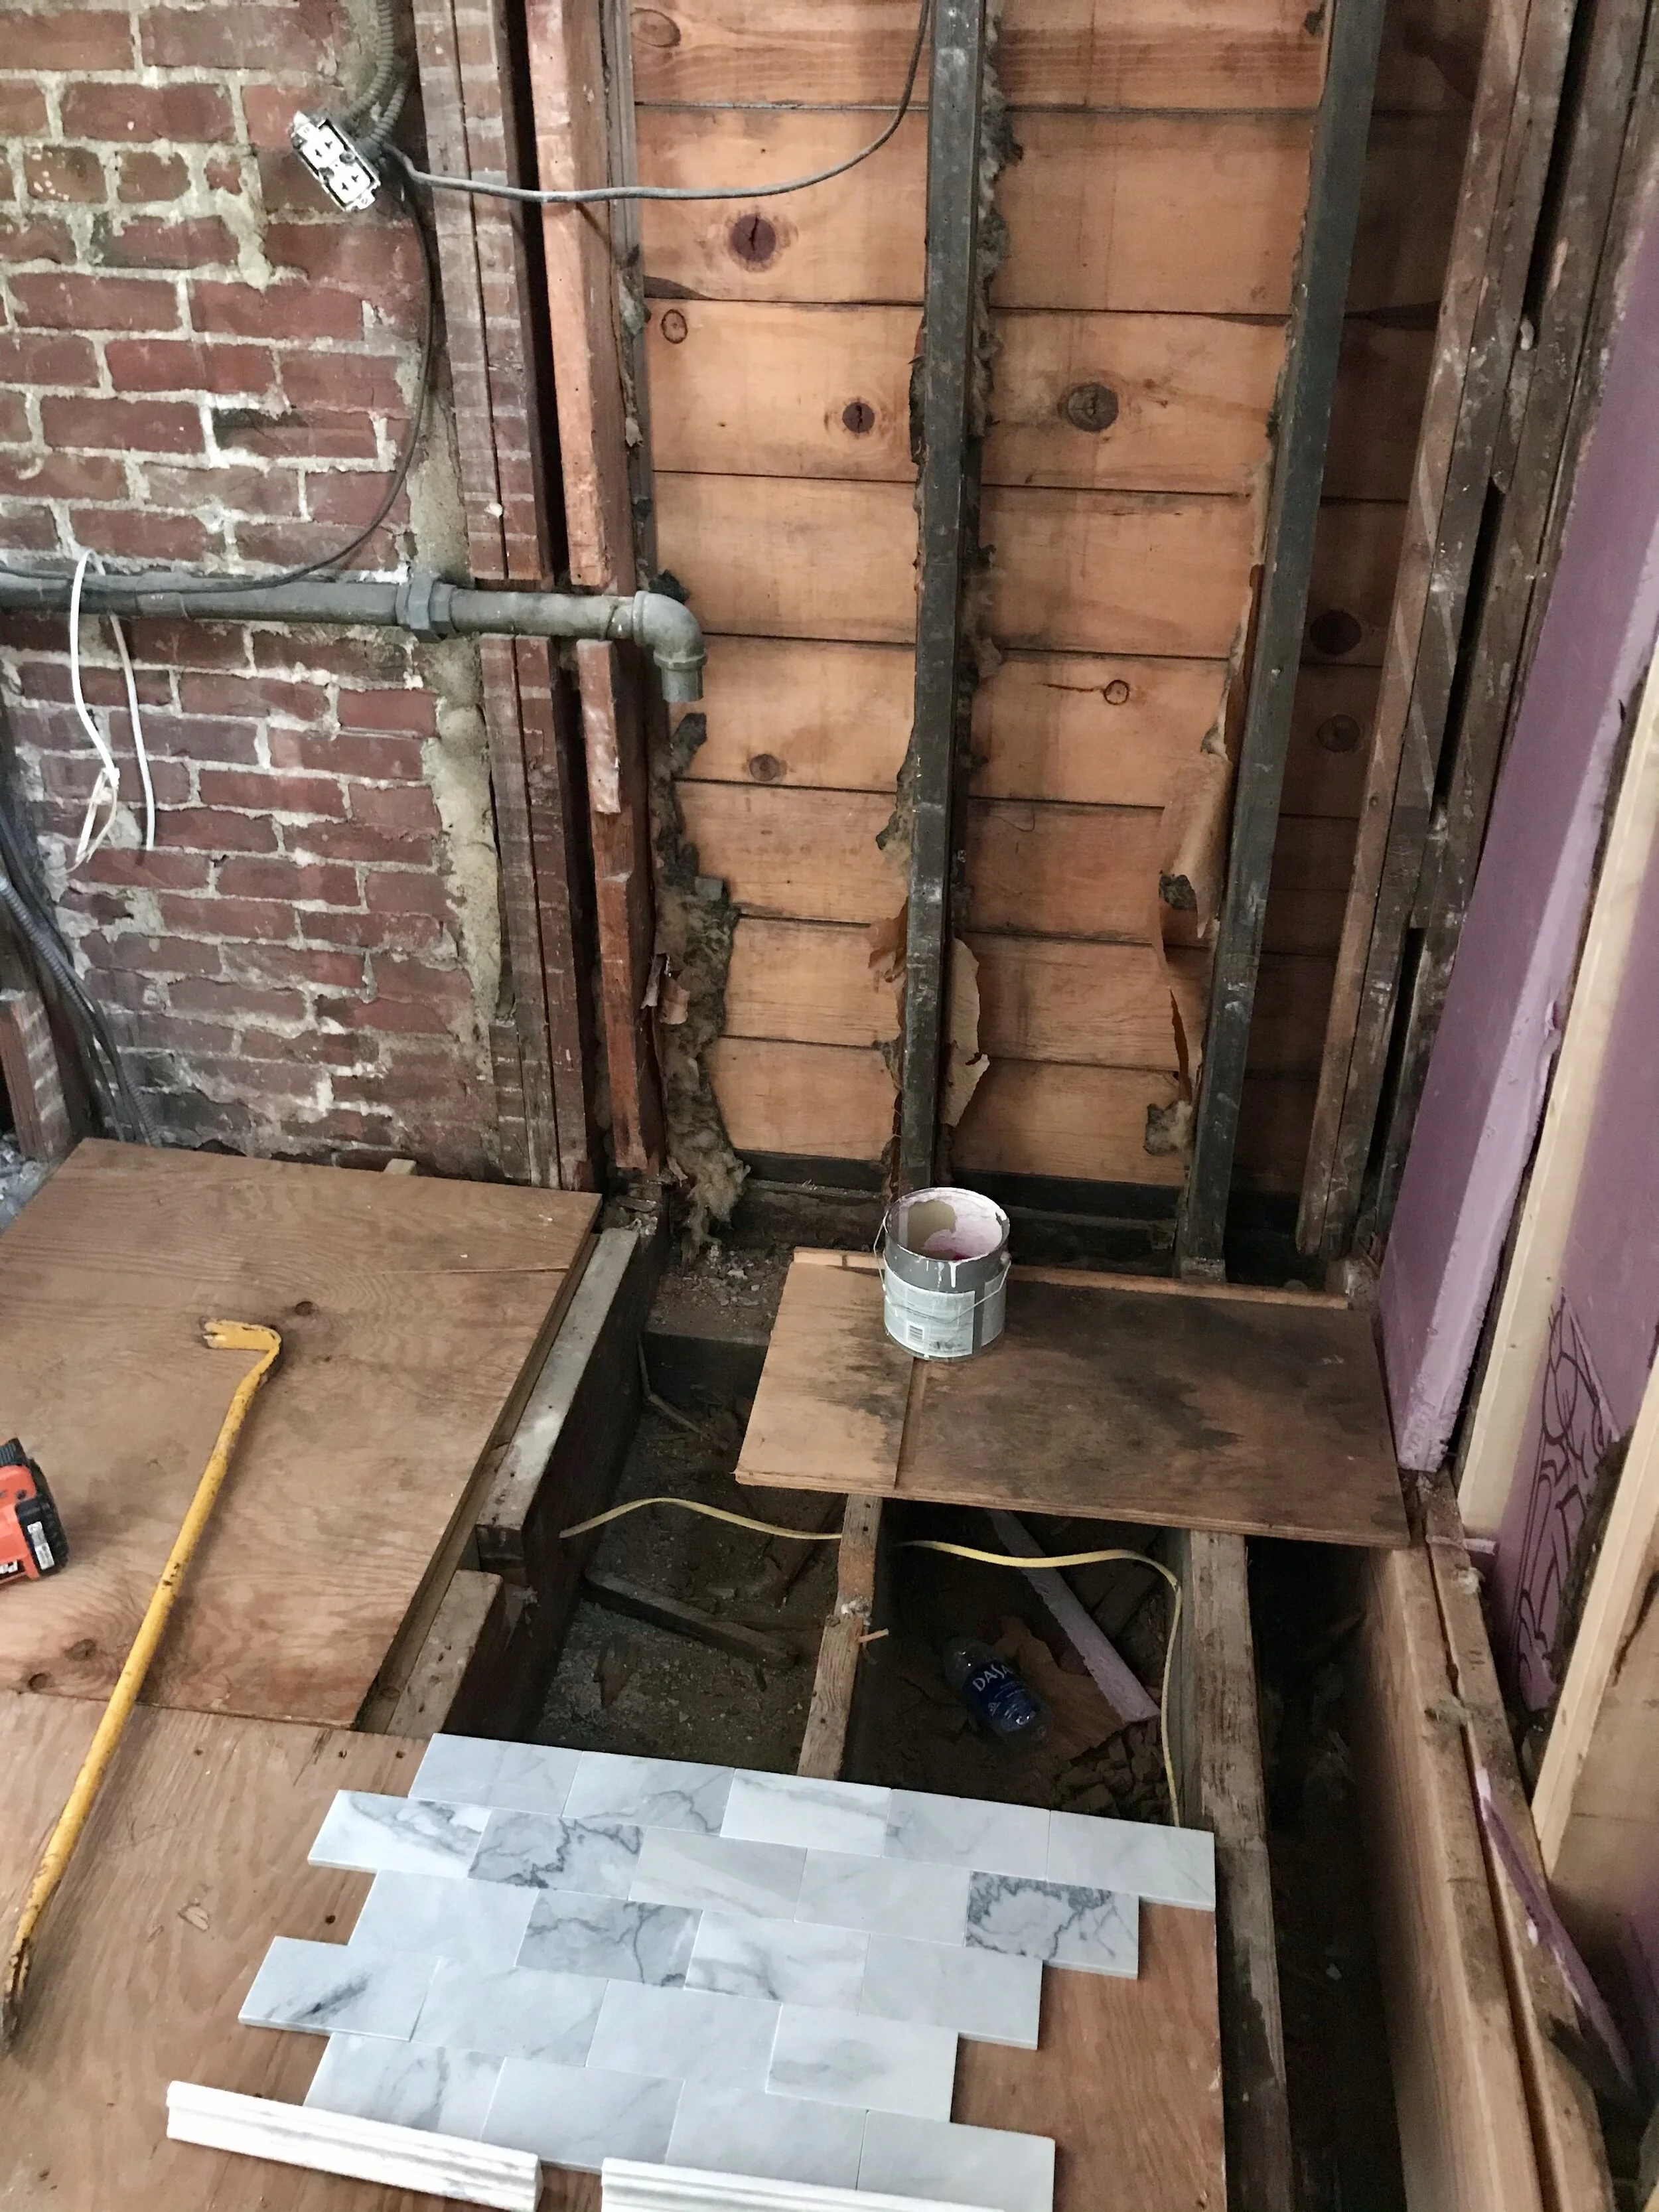
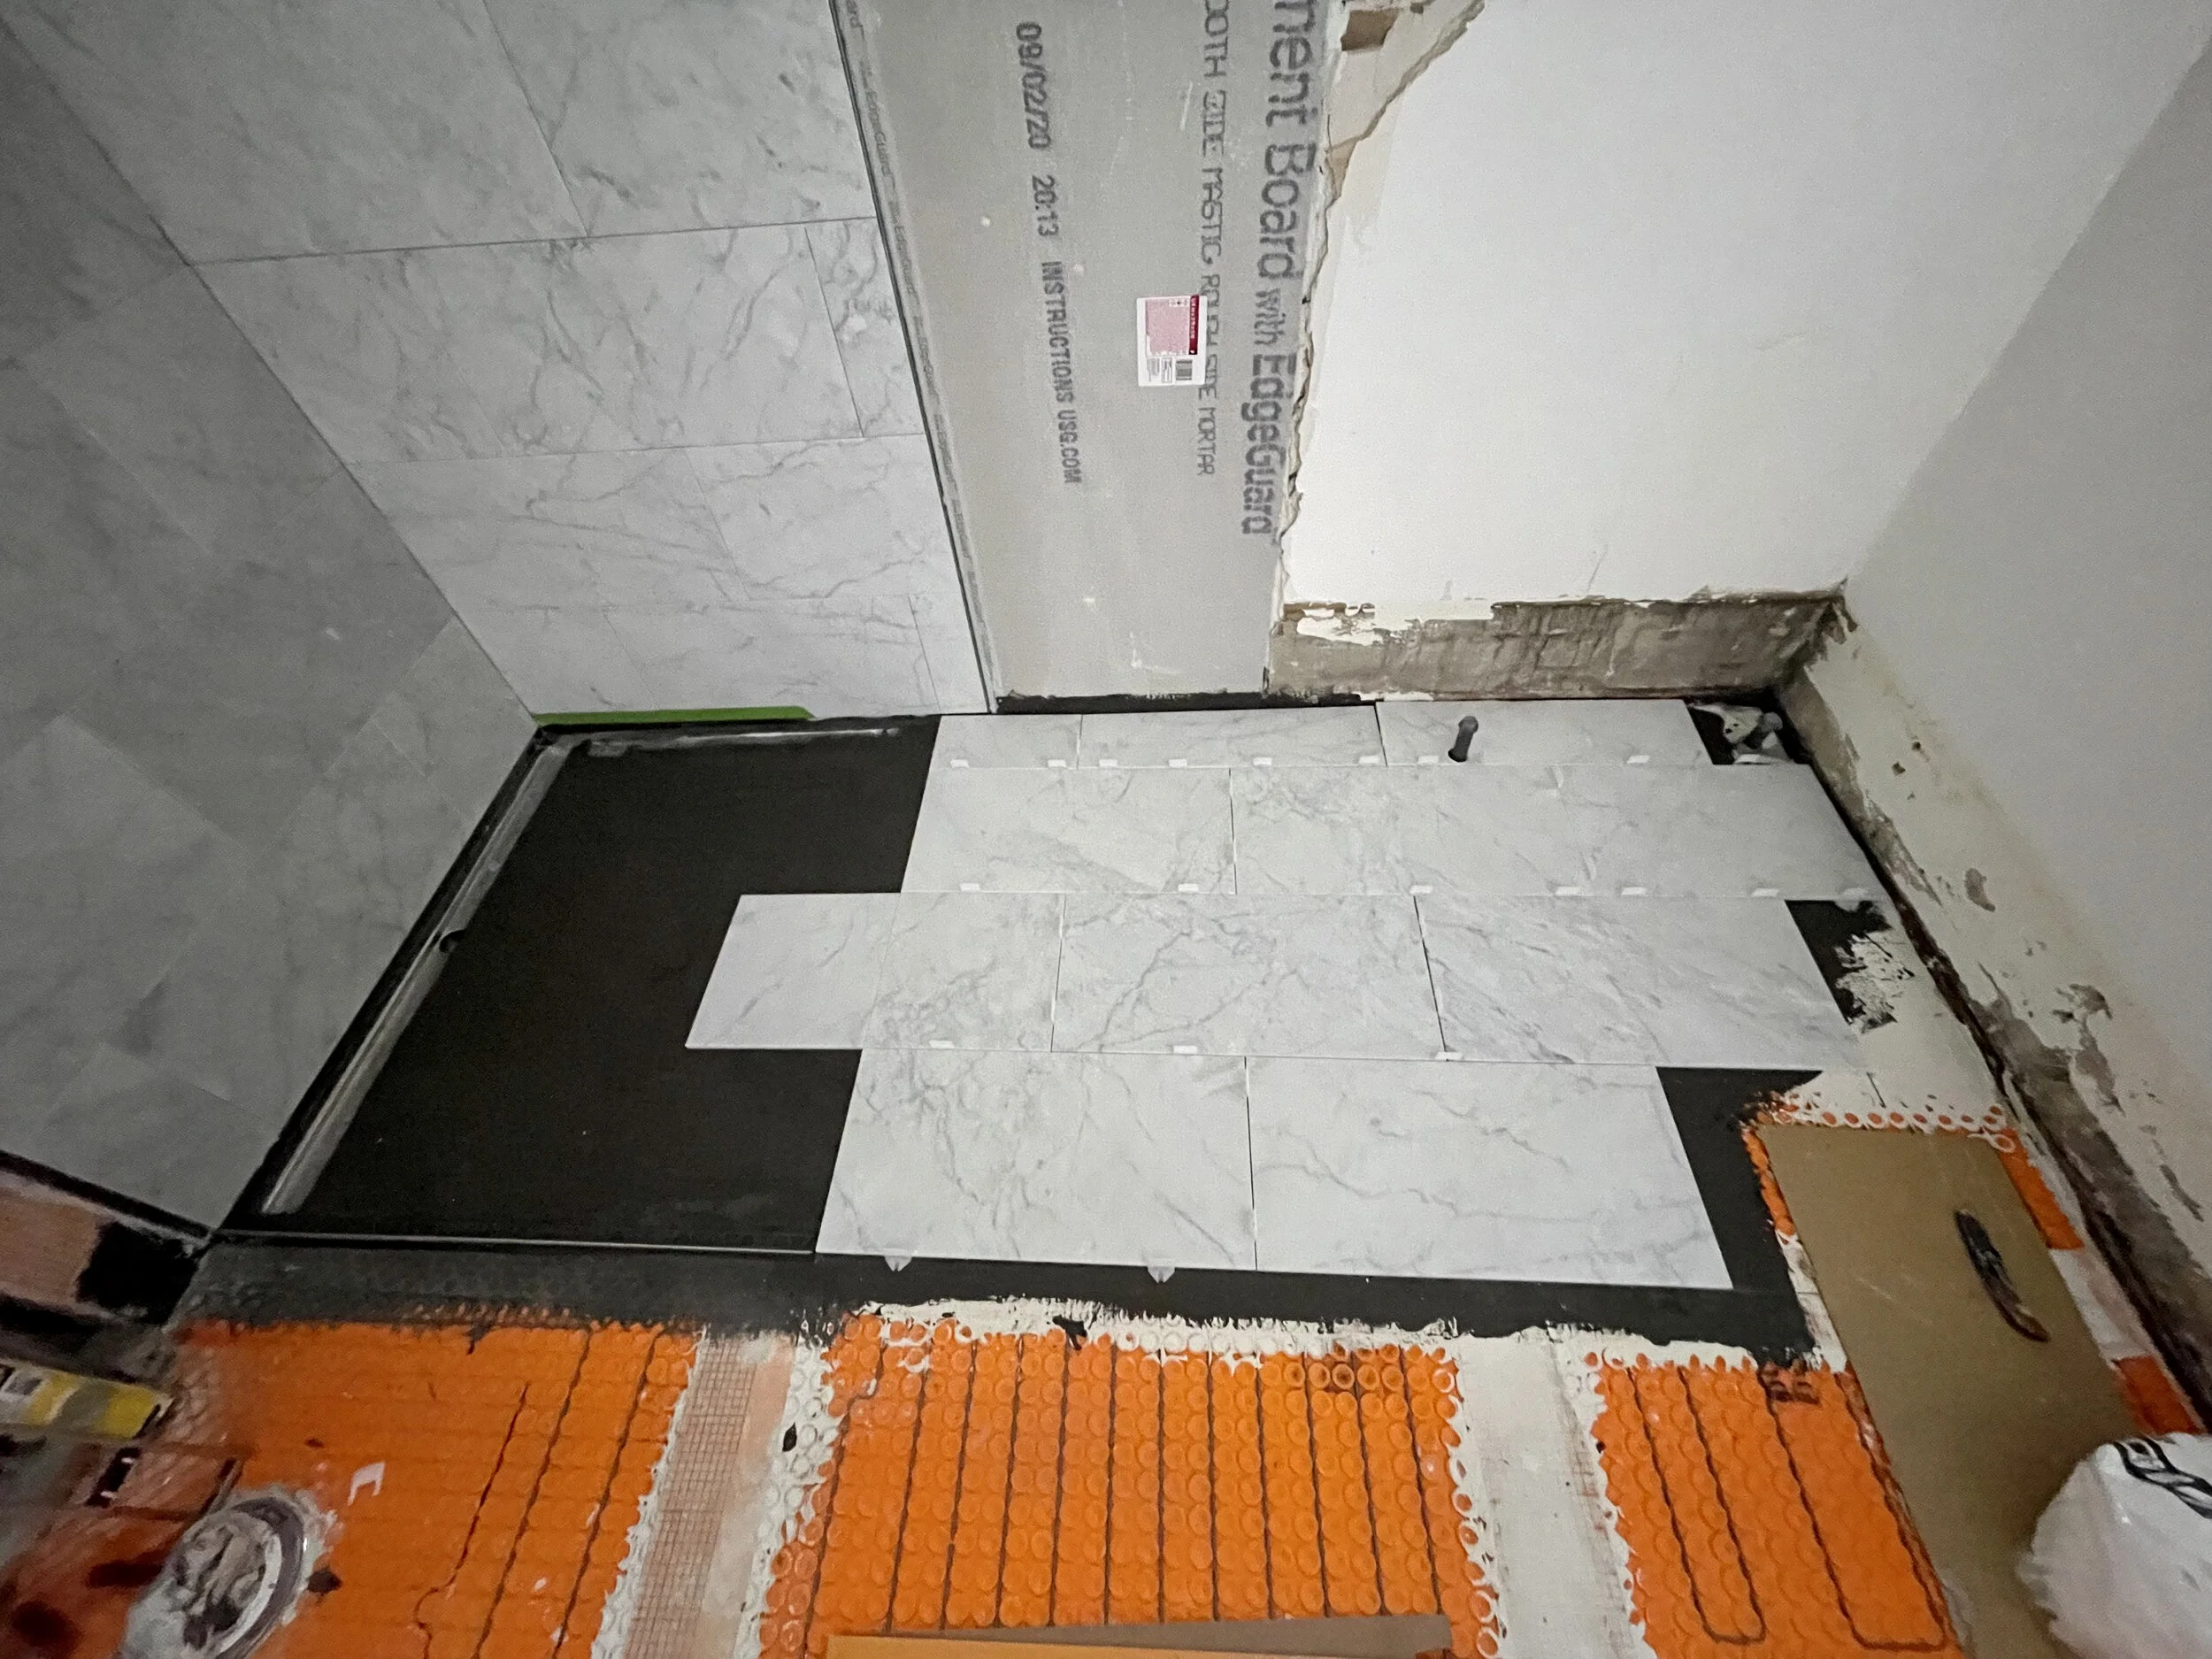
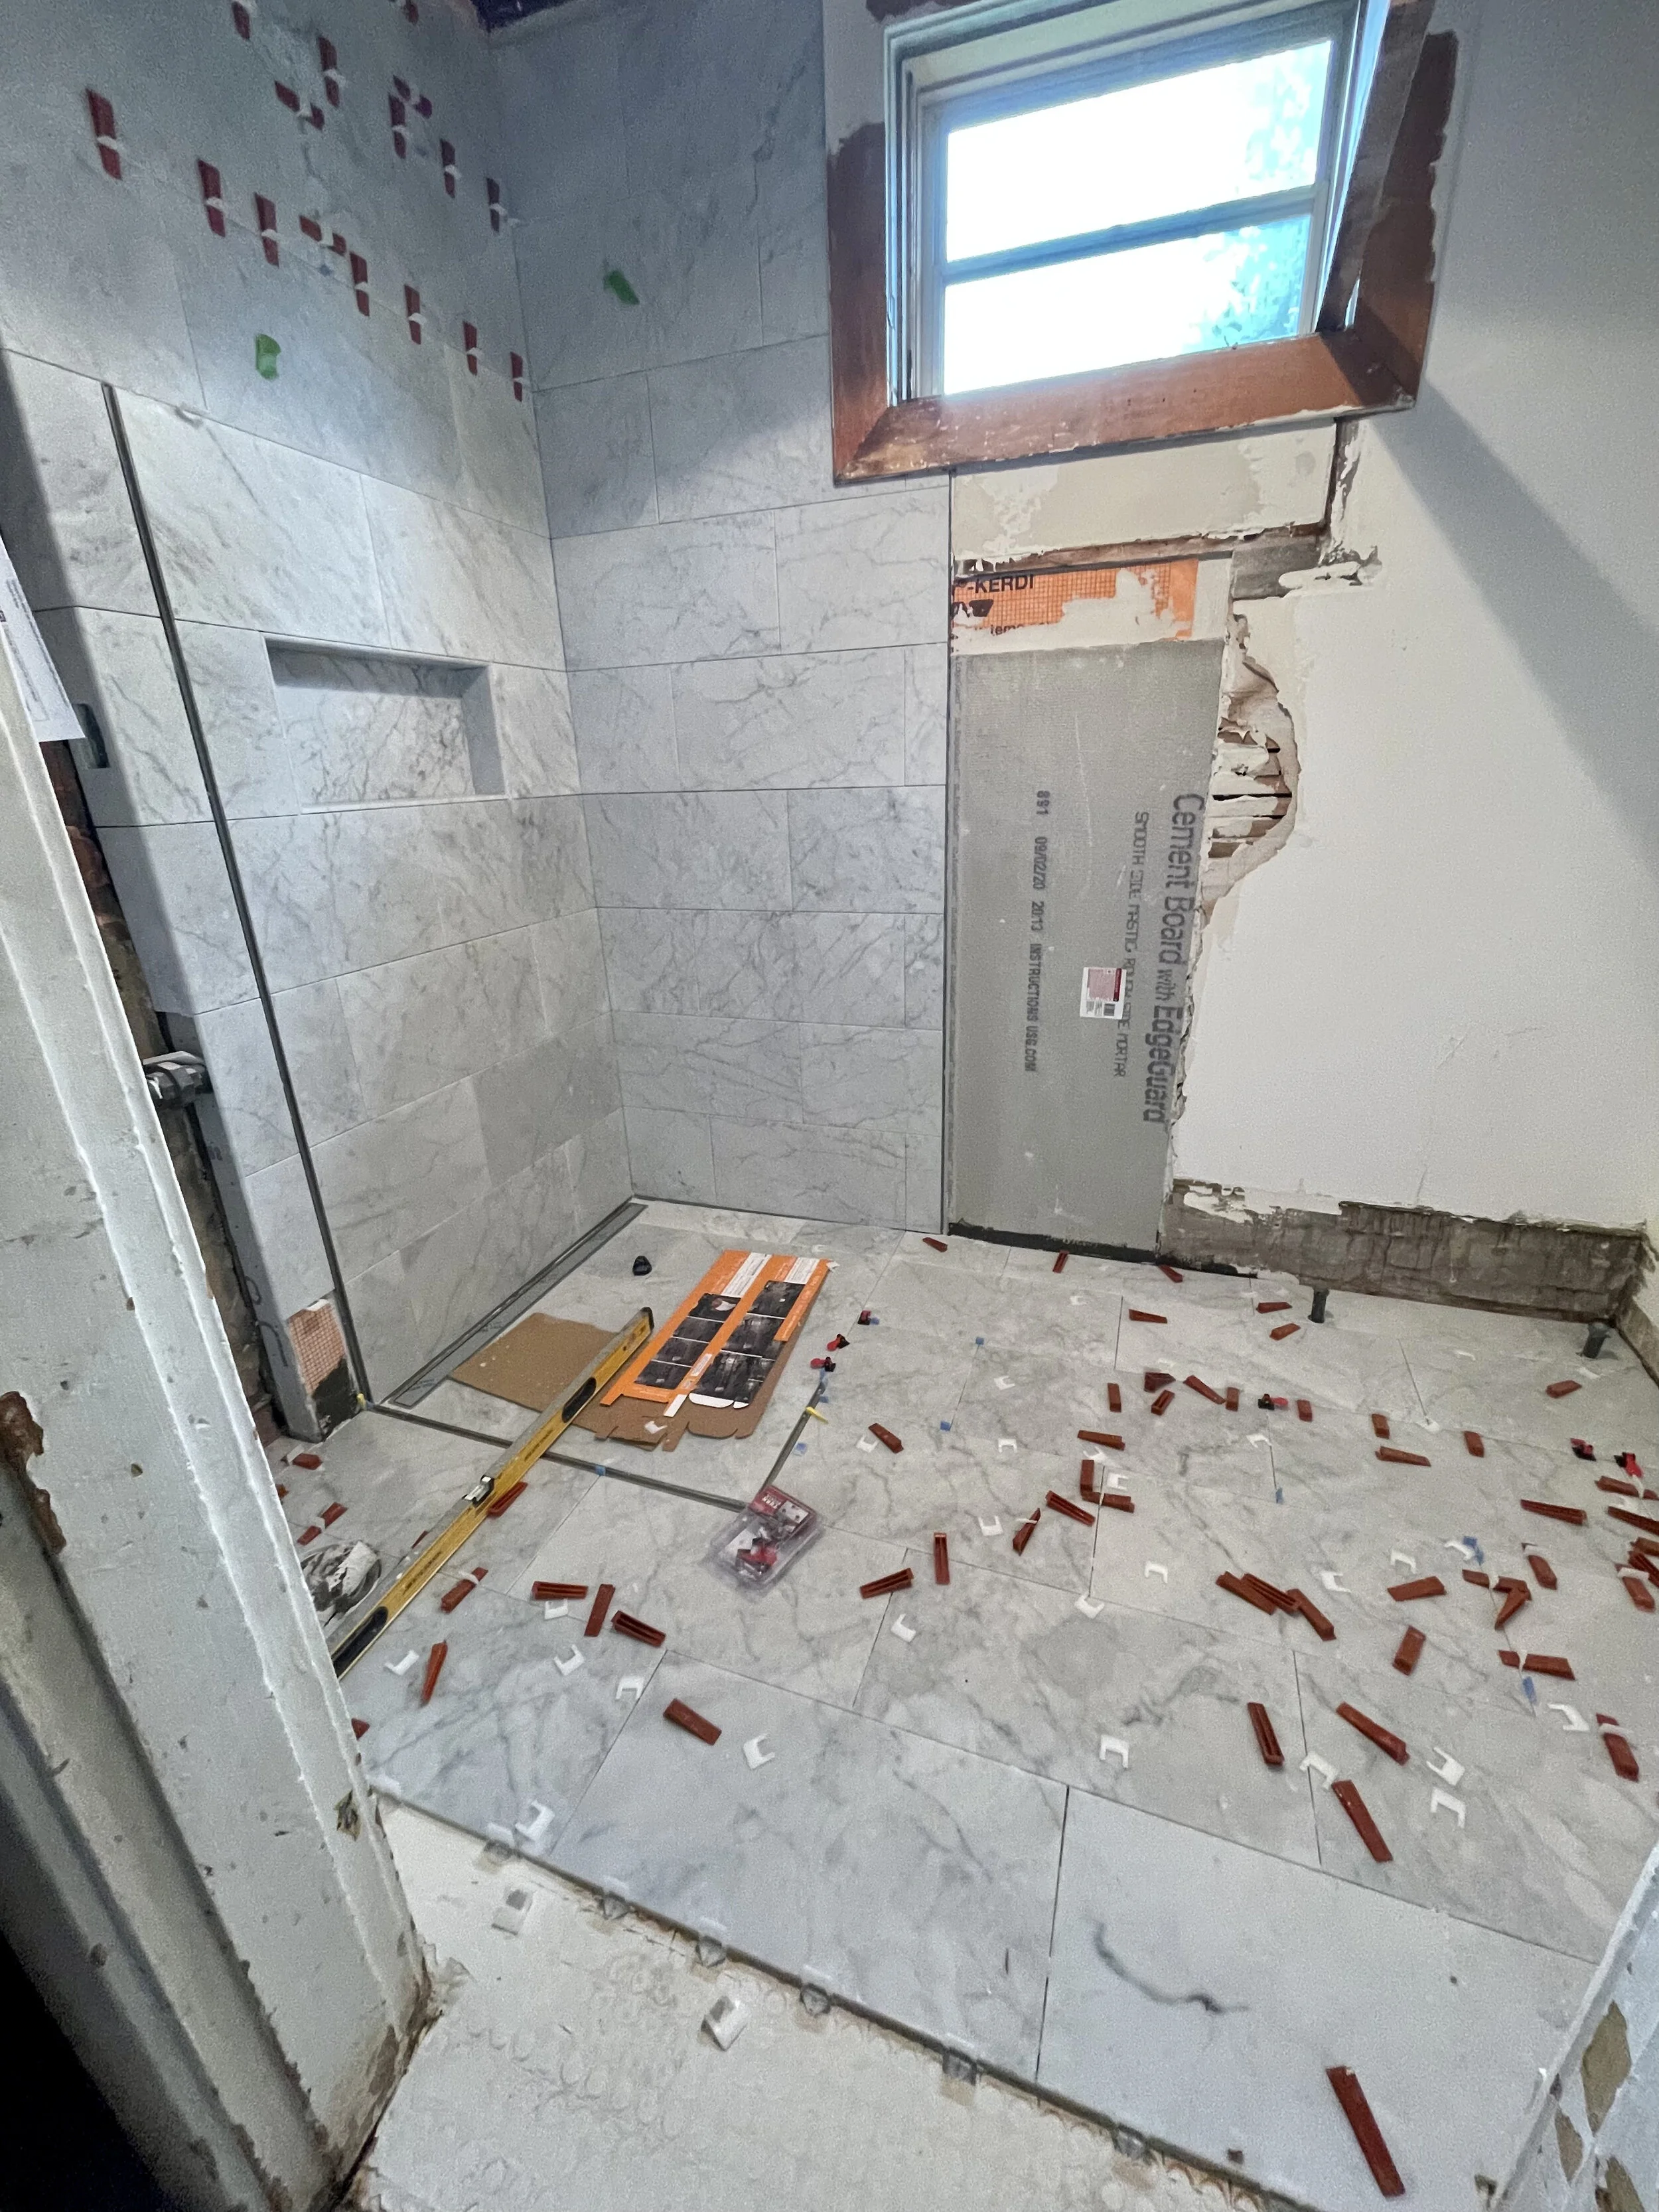
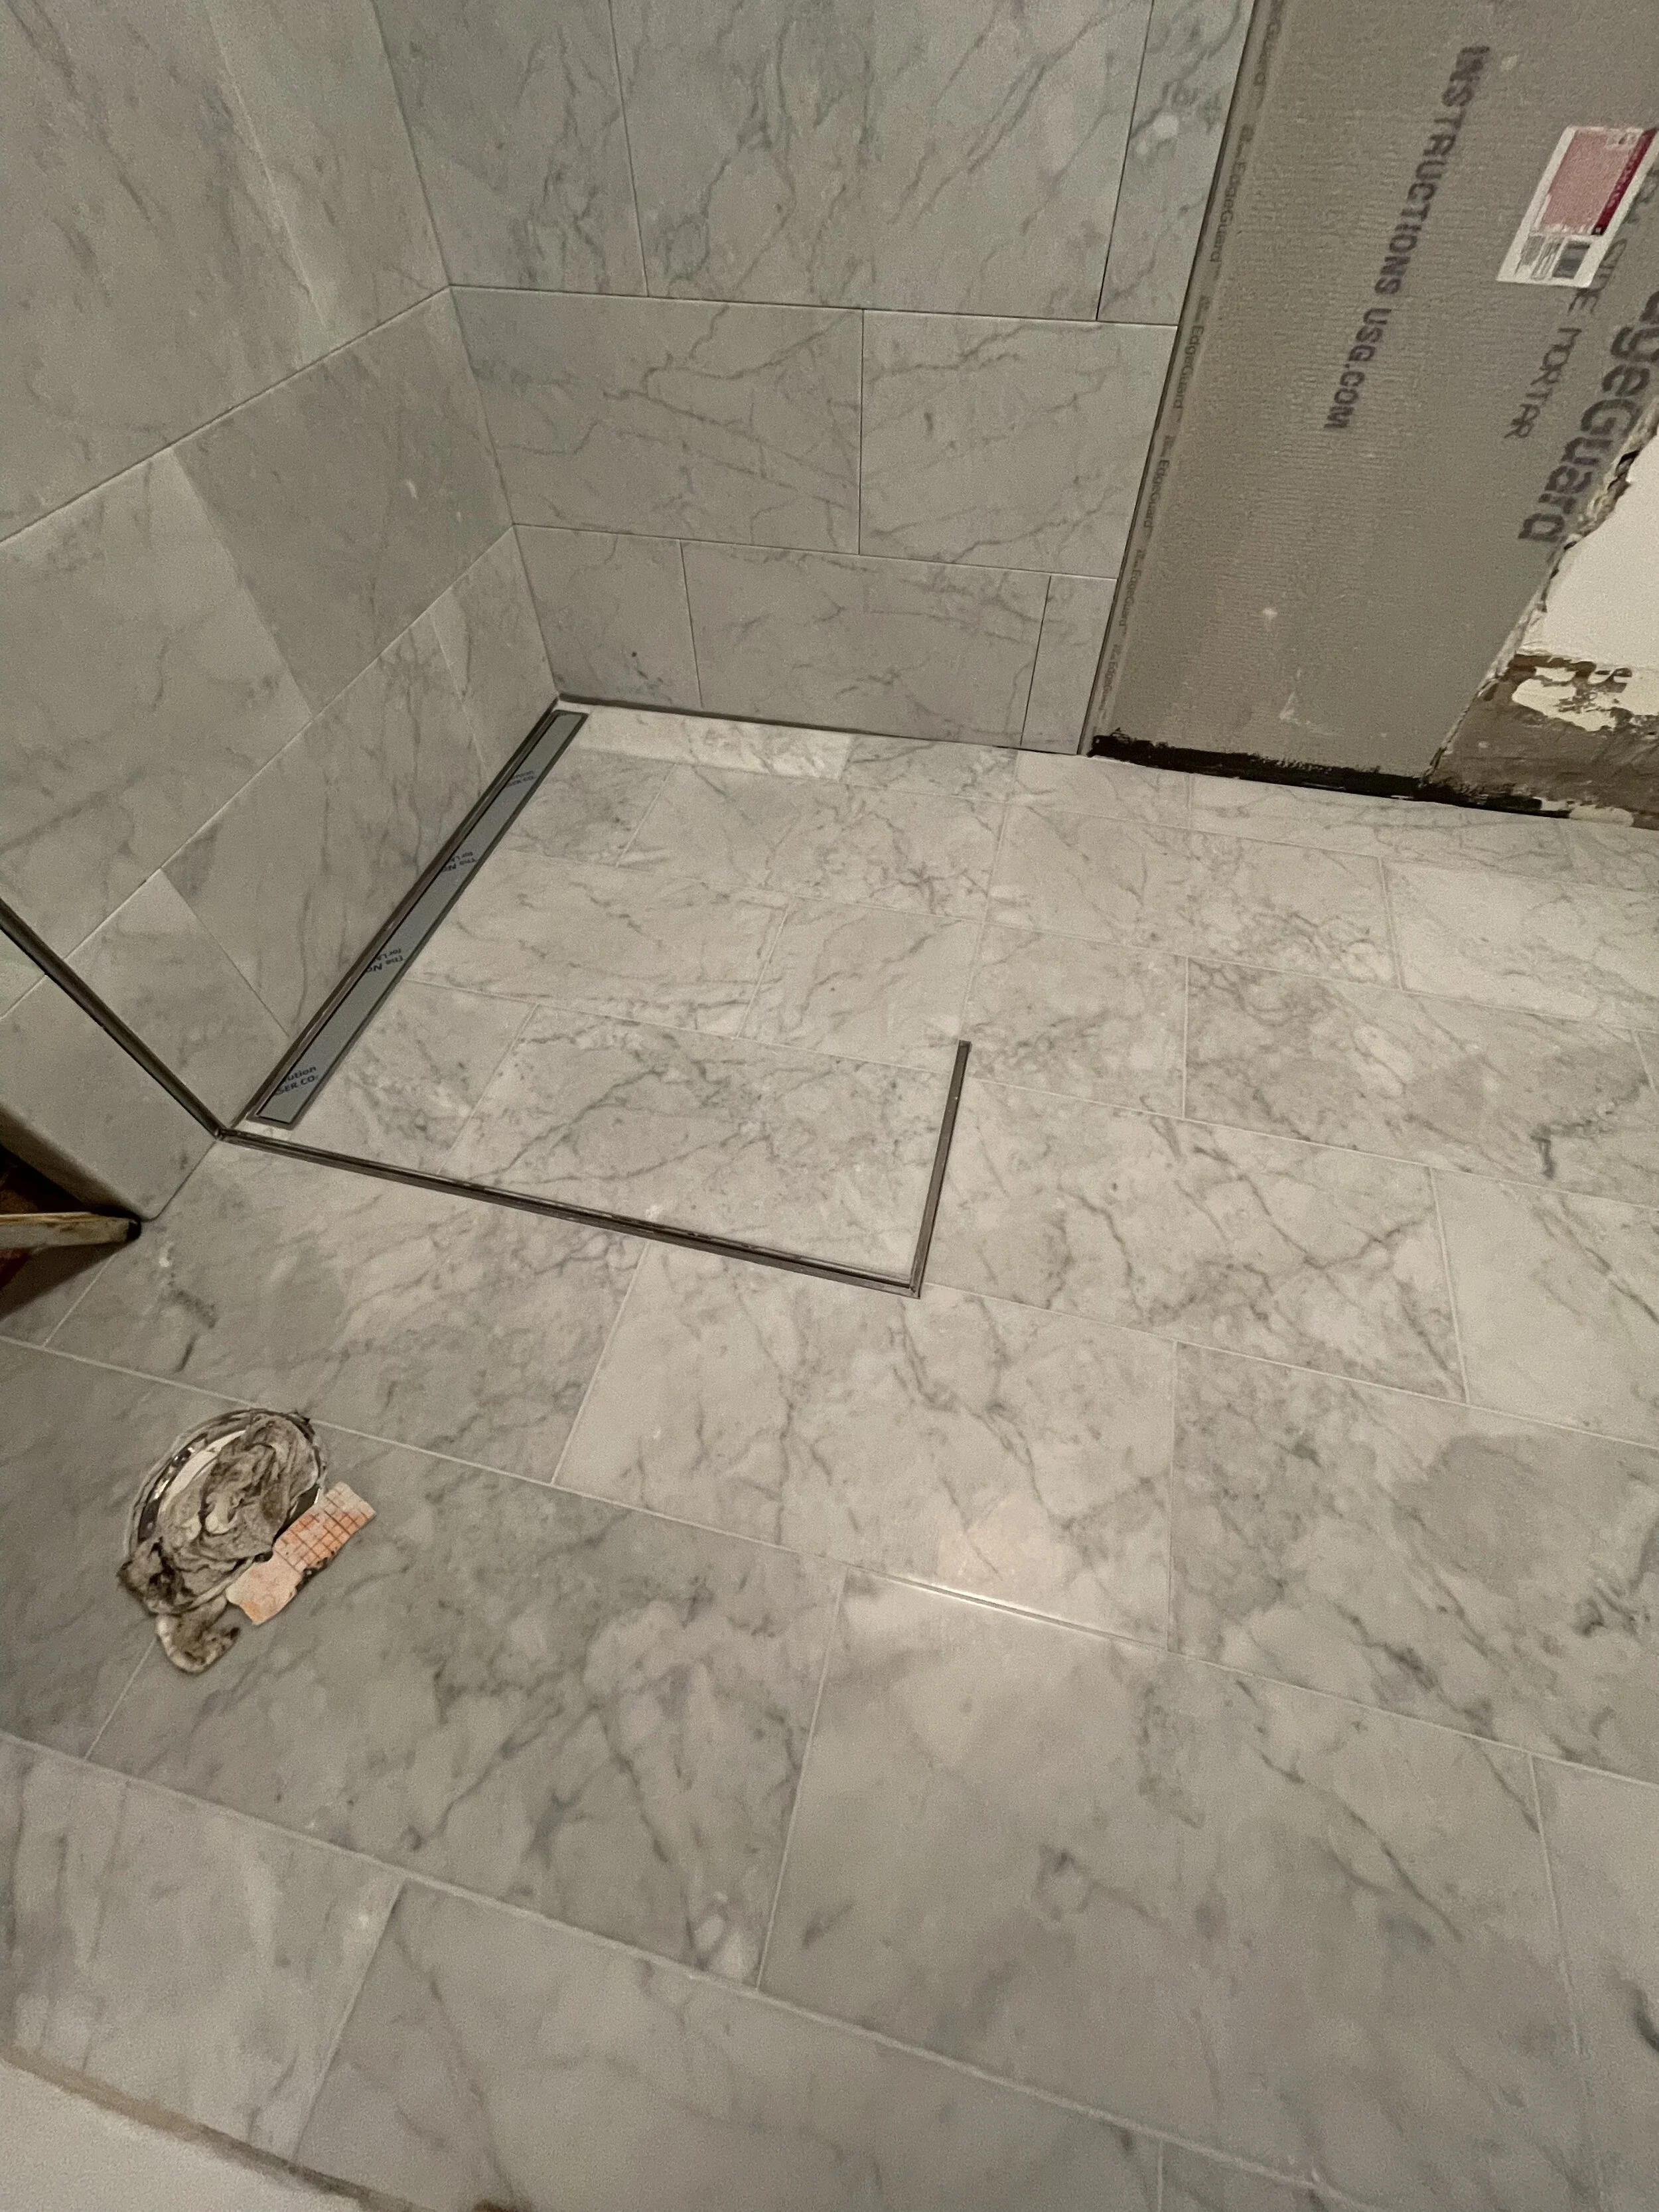
Considered honed marble mosaic tile for shower floor at one point but found 12” x 24” honed Bianco Carrara to be more pleasing.
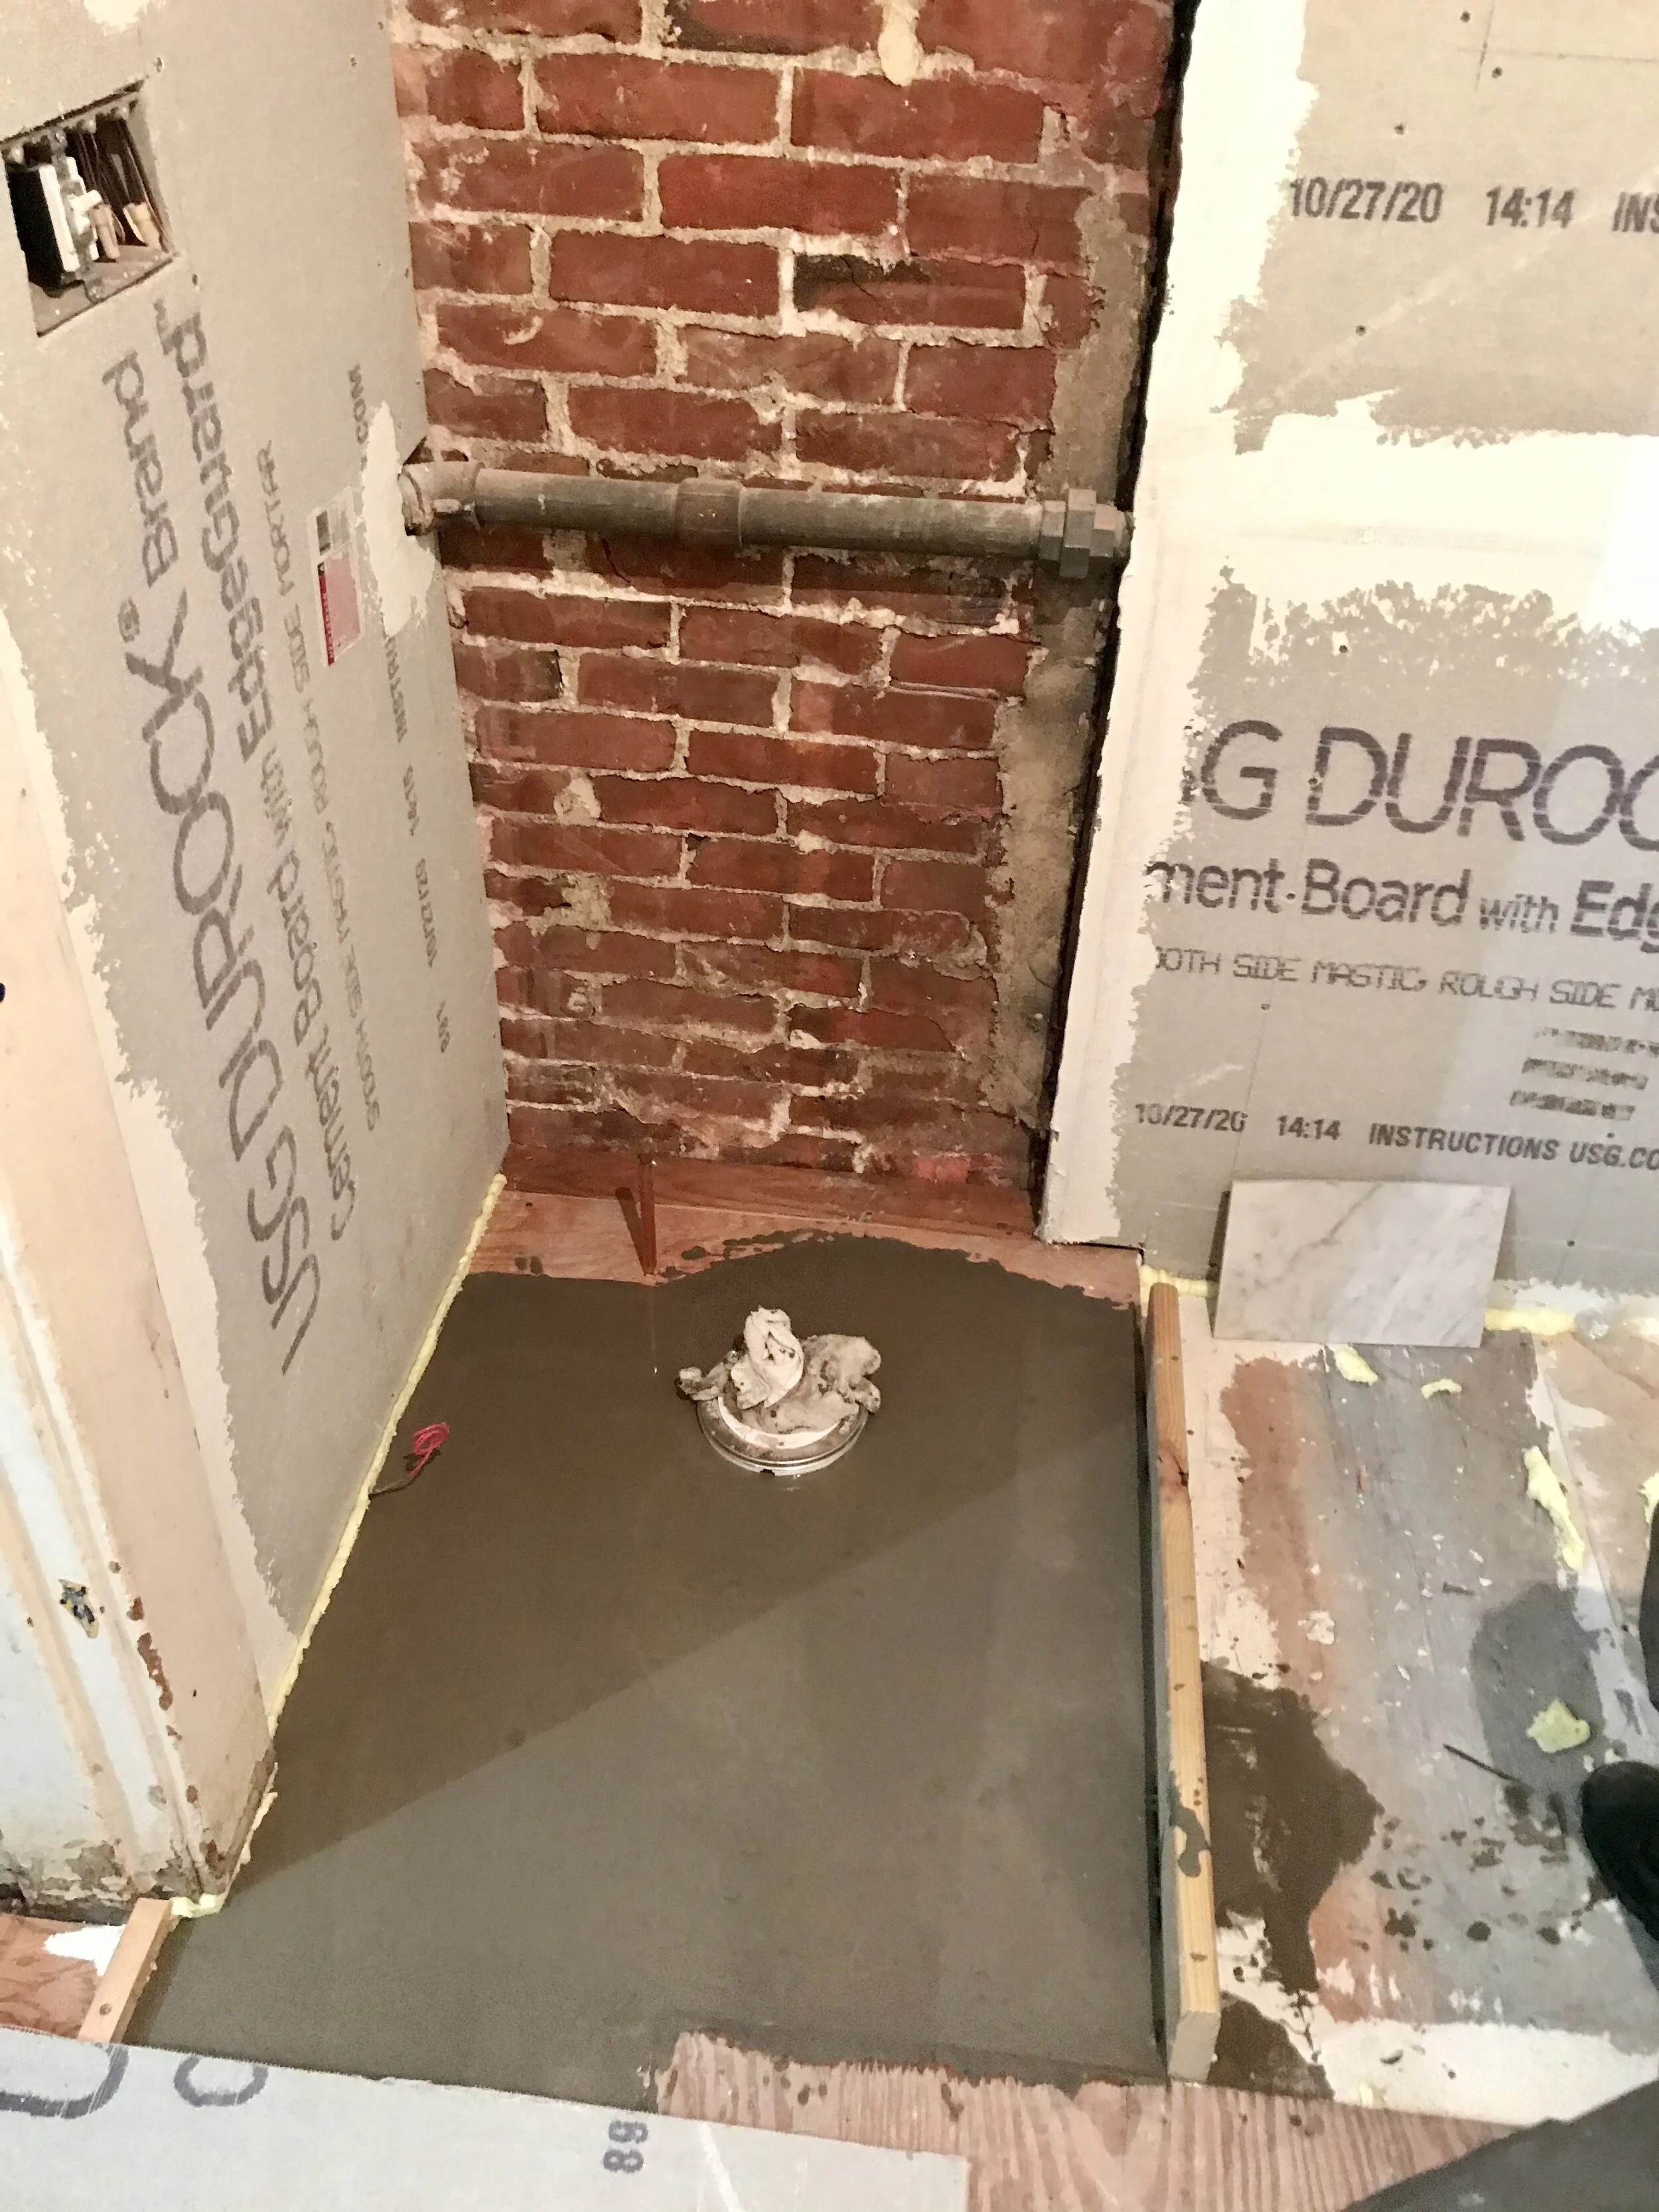
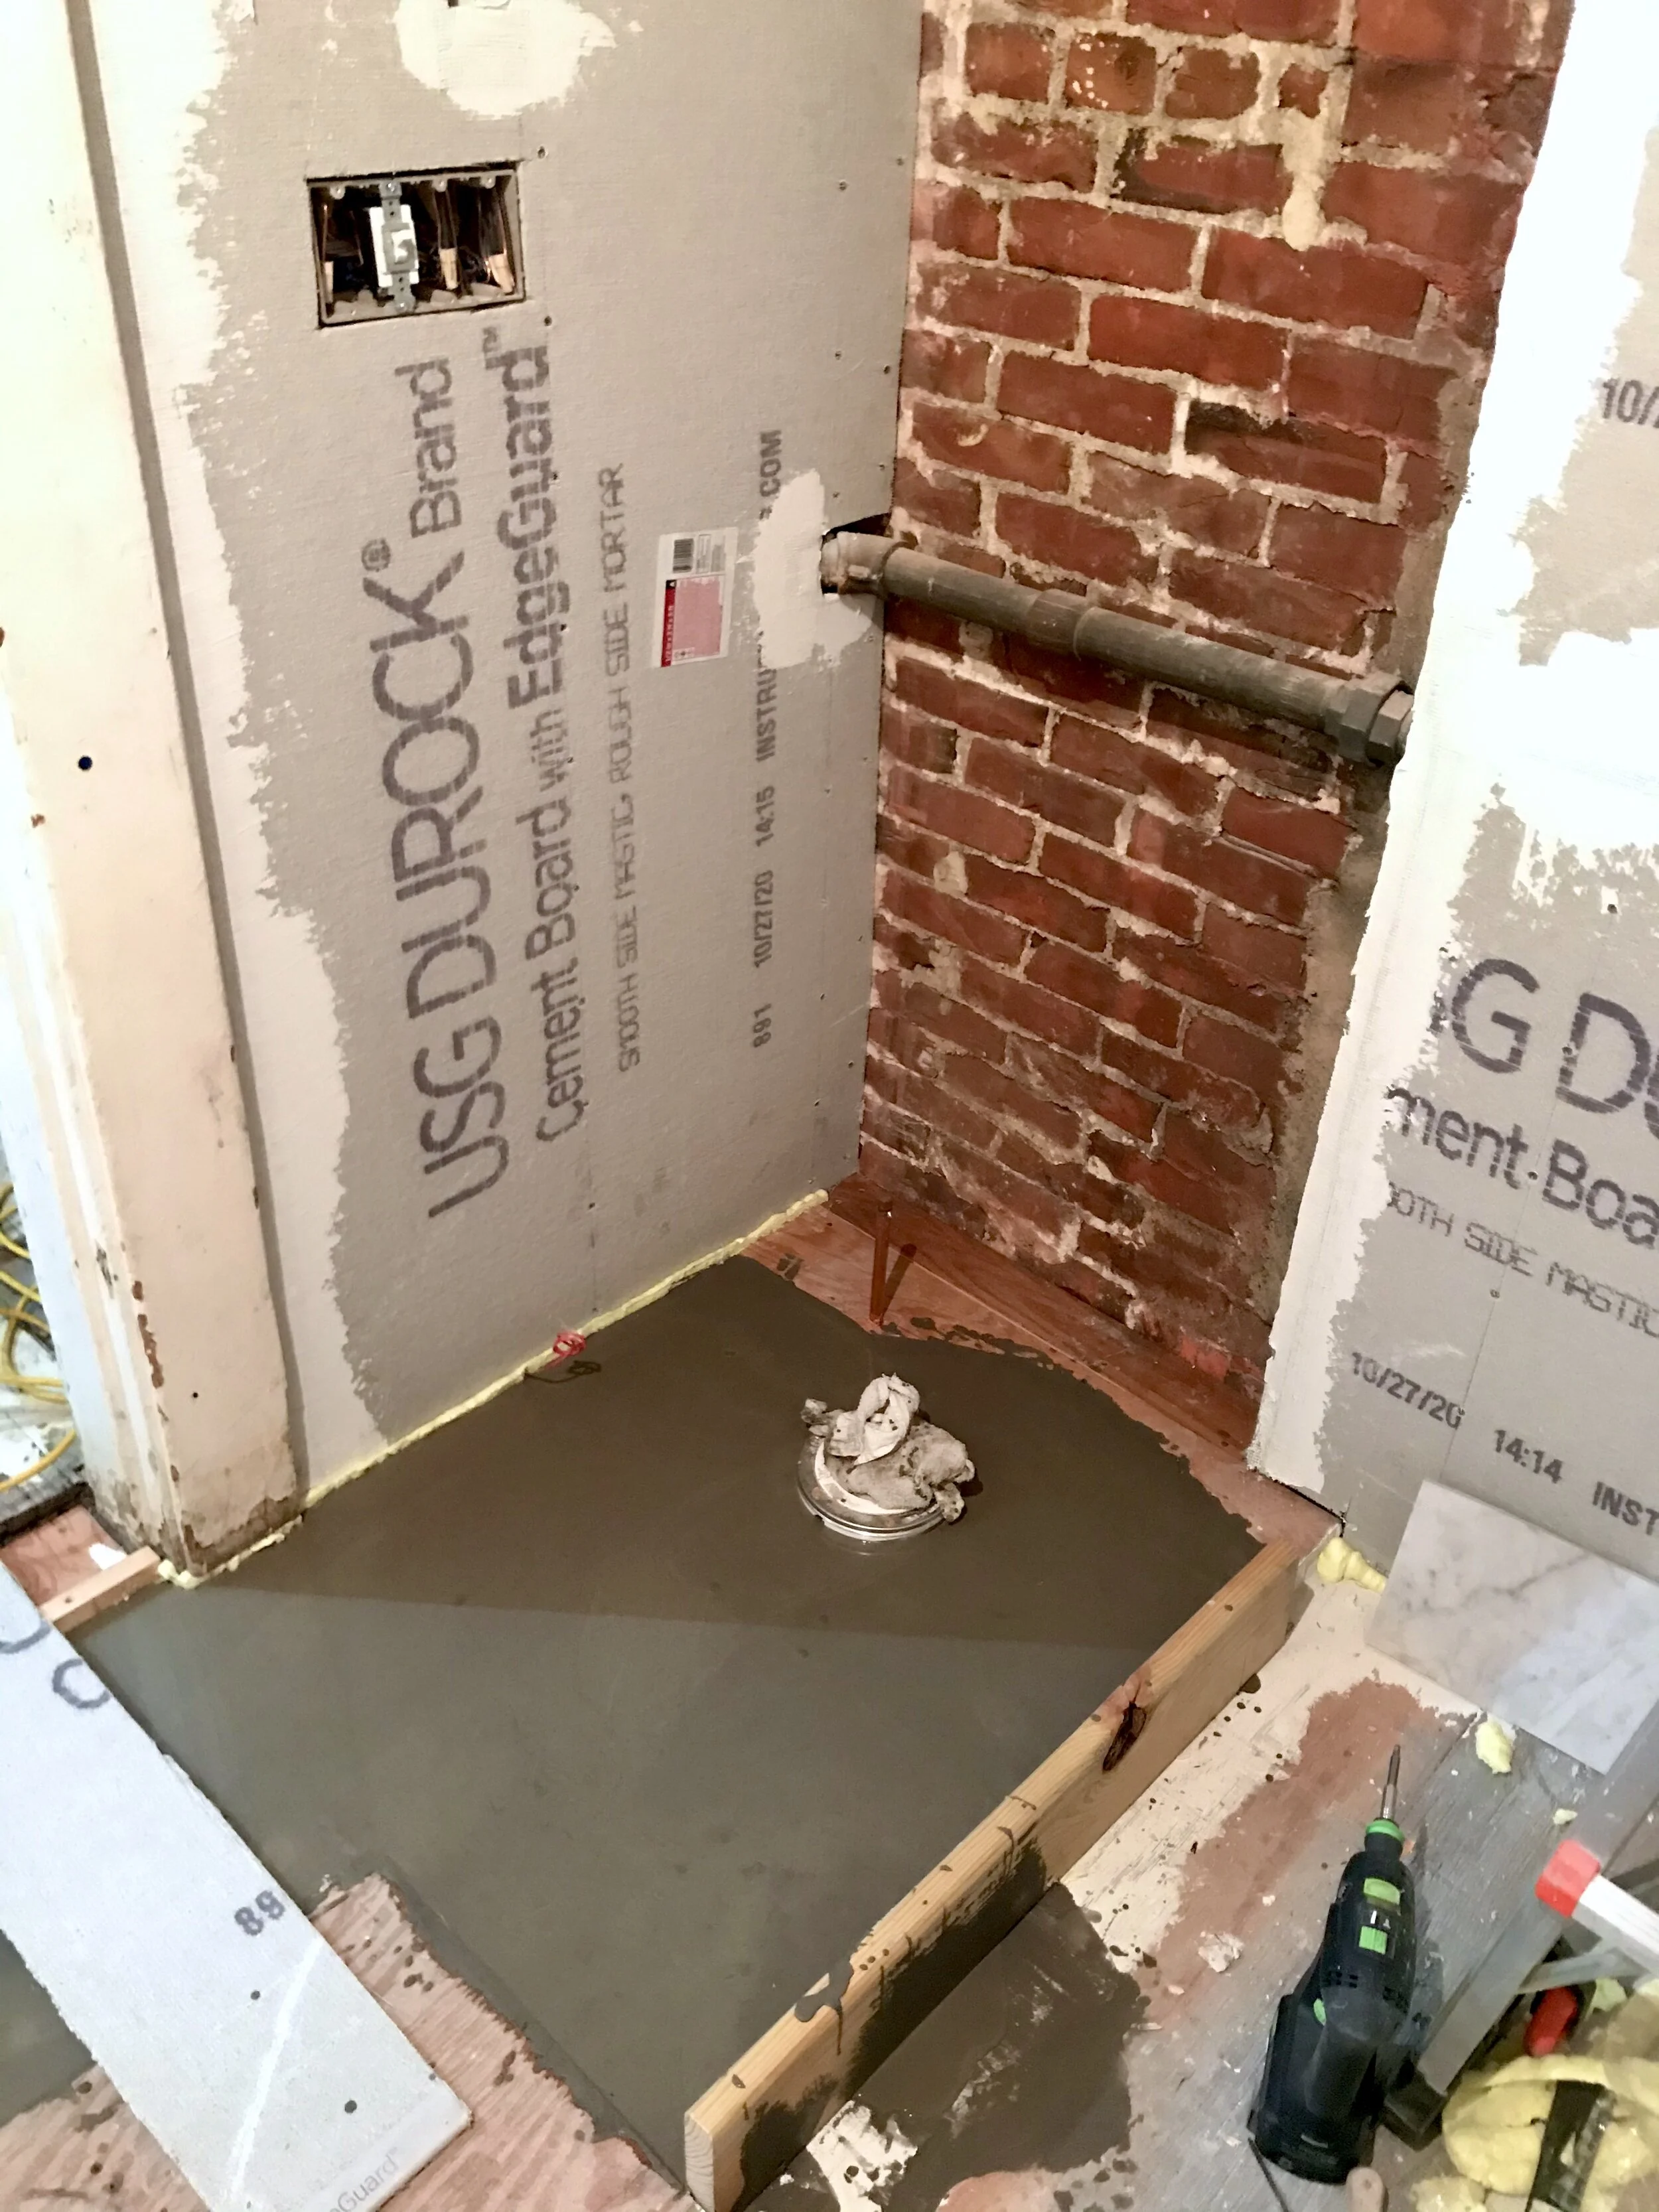
Here is where second back porch entry door was back in 1886. Now it is the shower wall with niche.
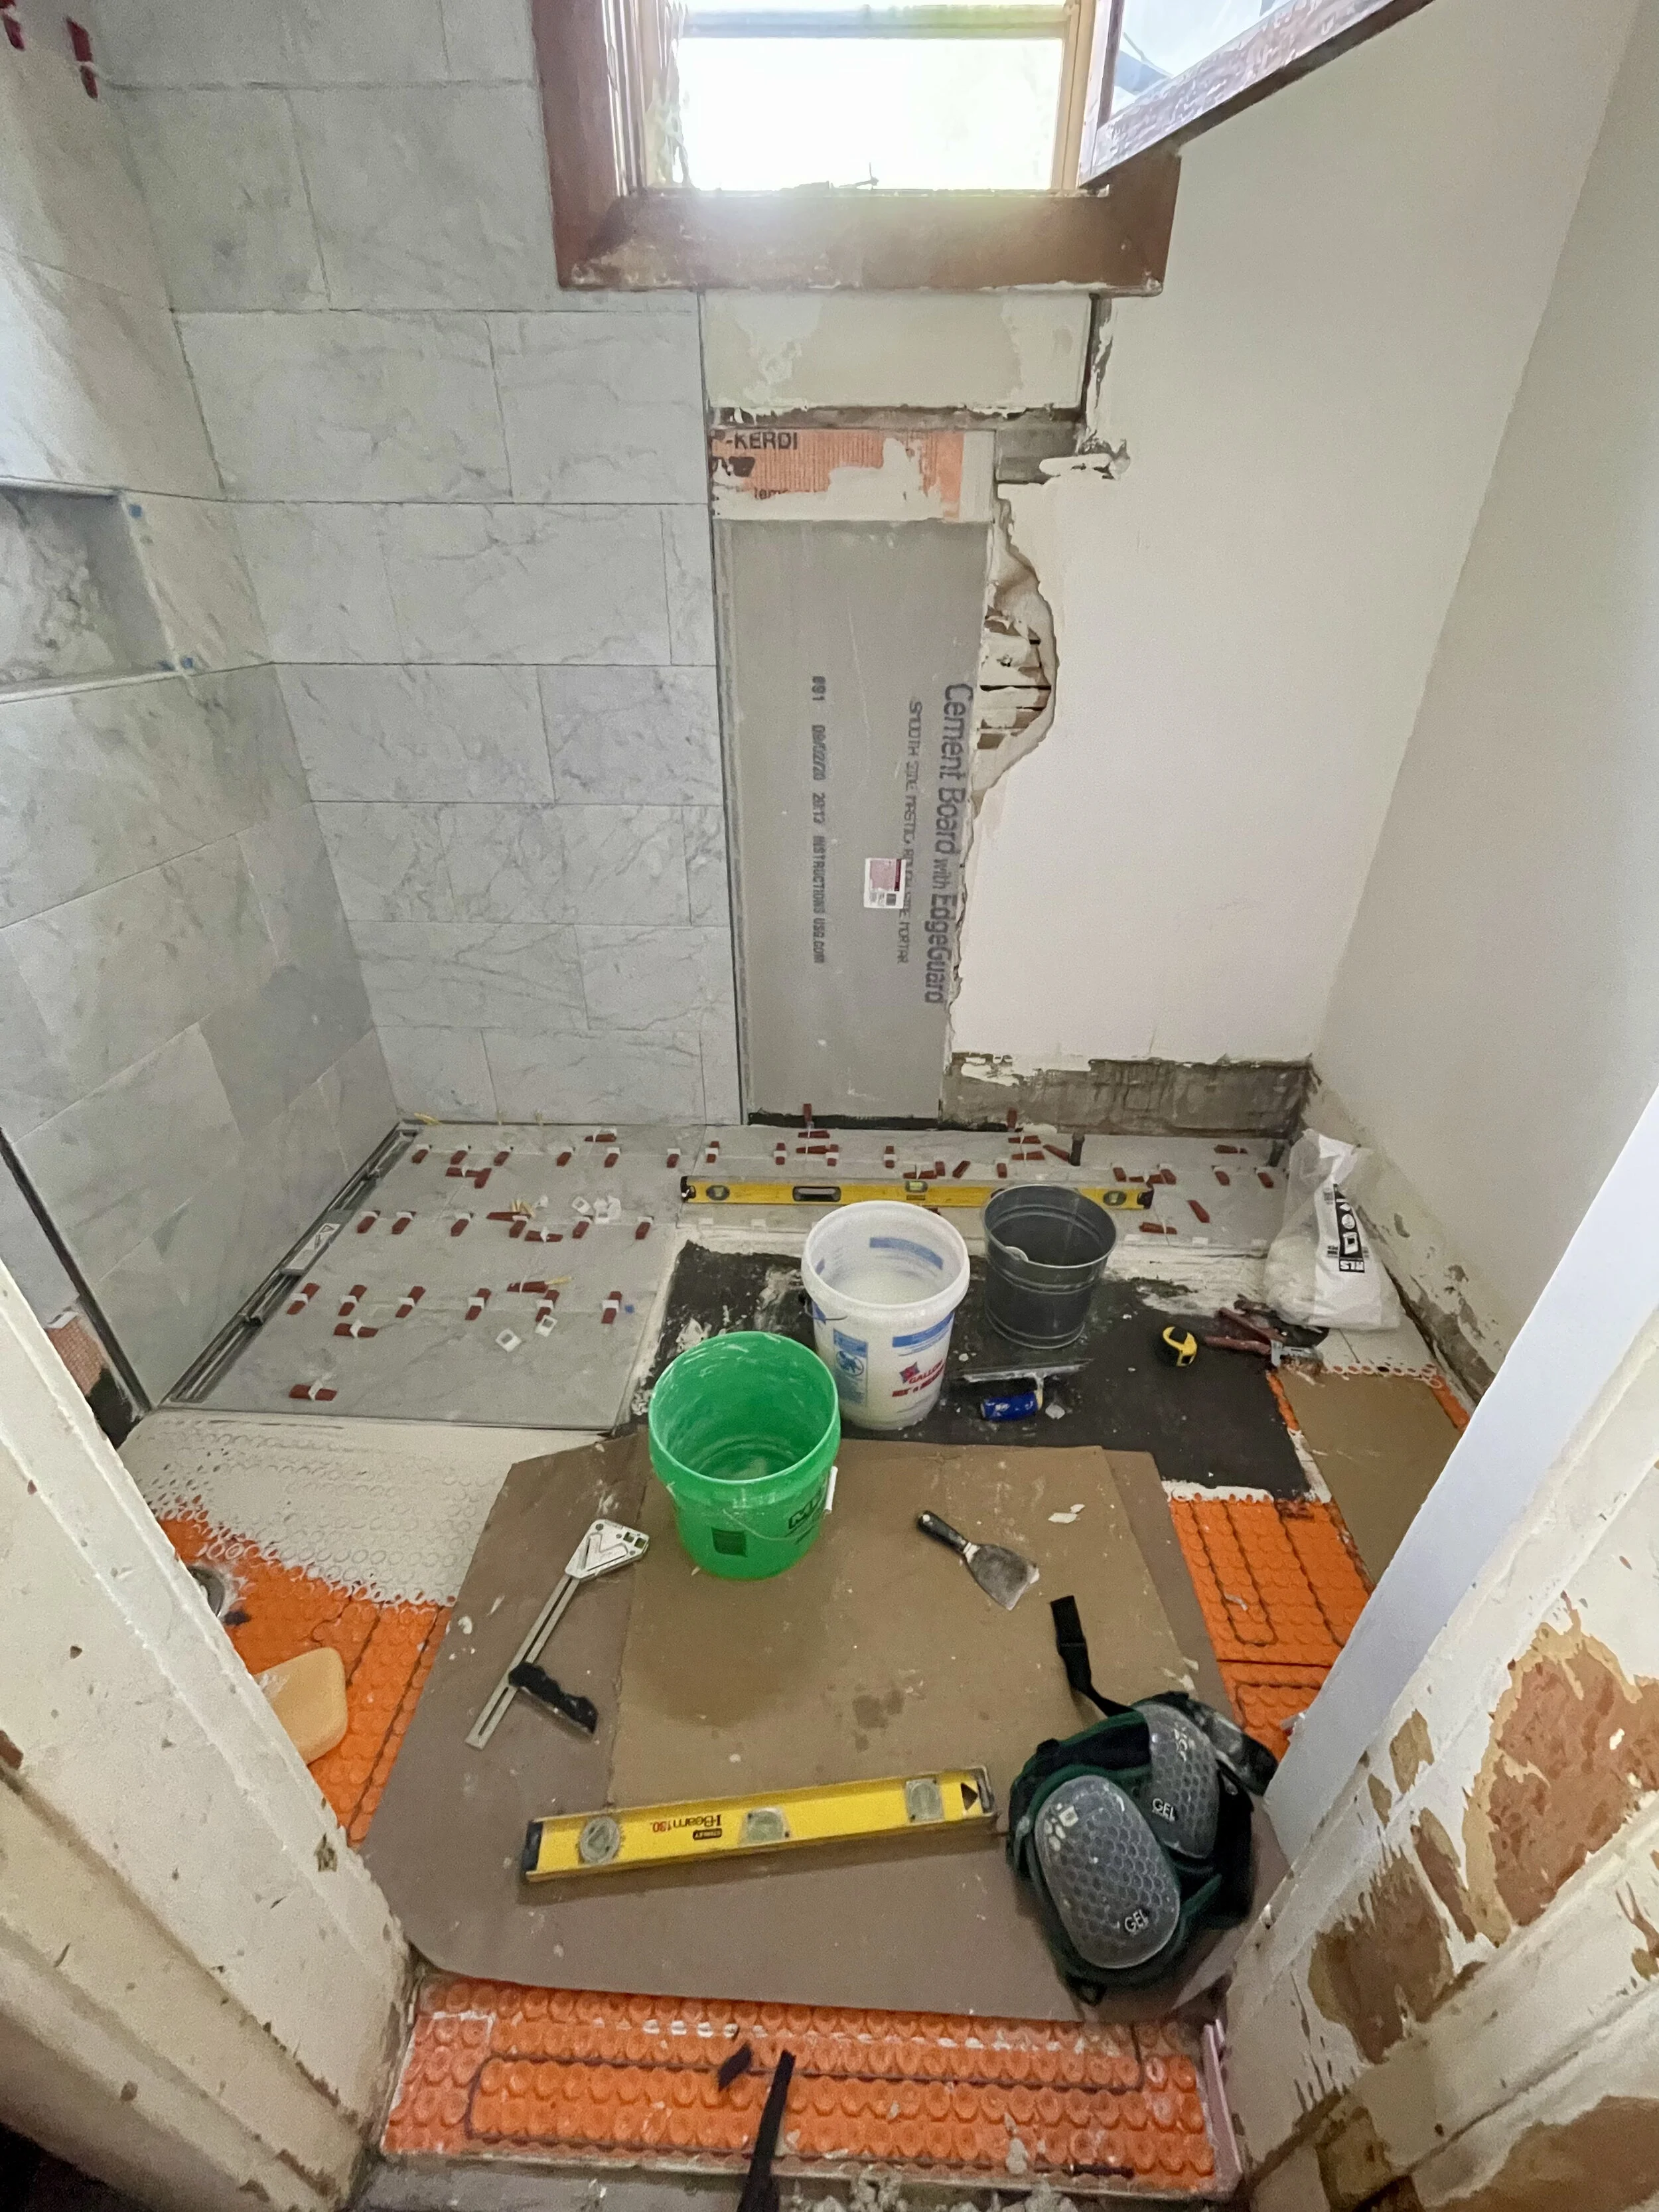
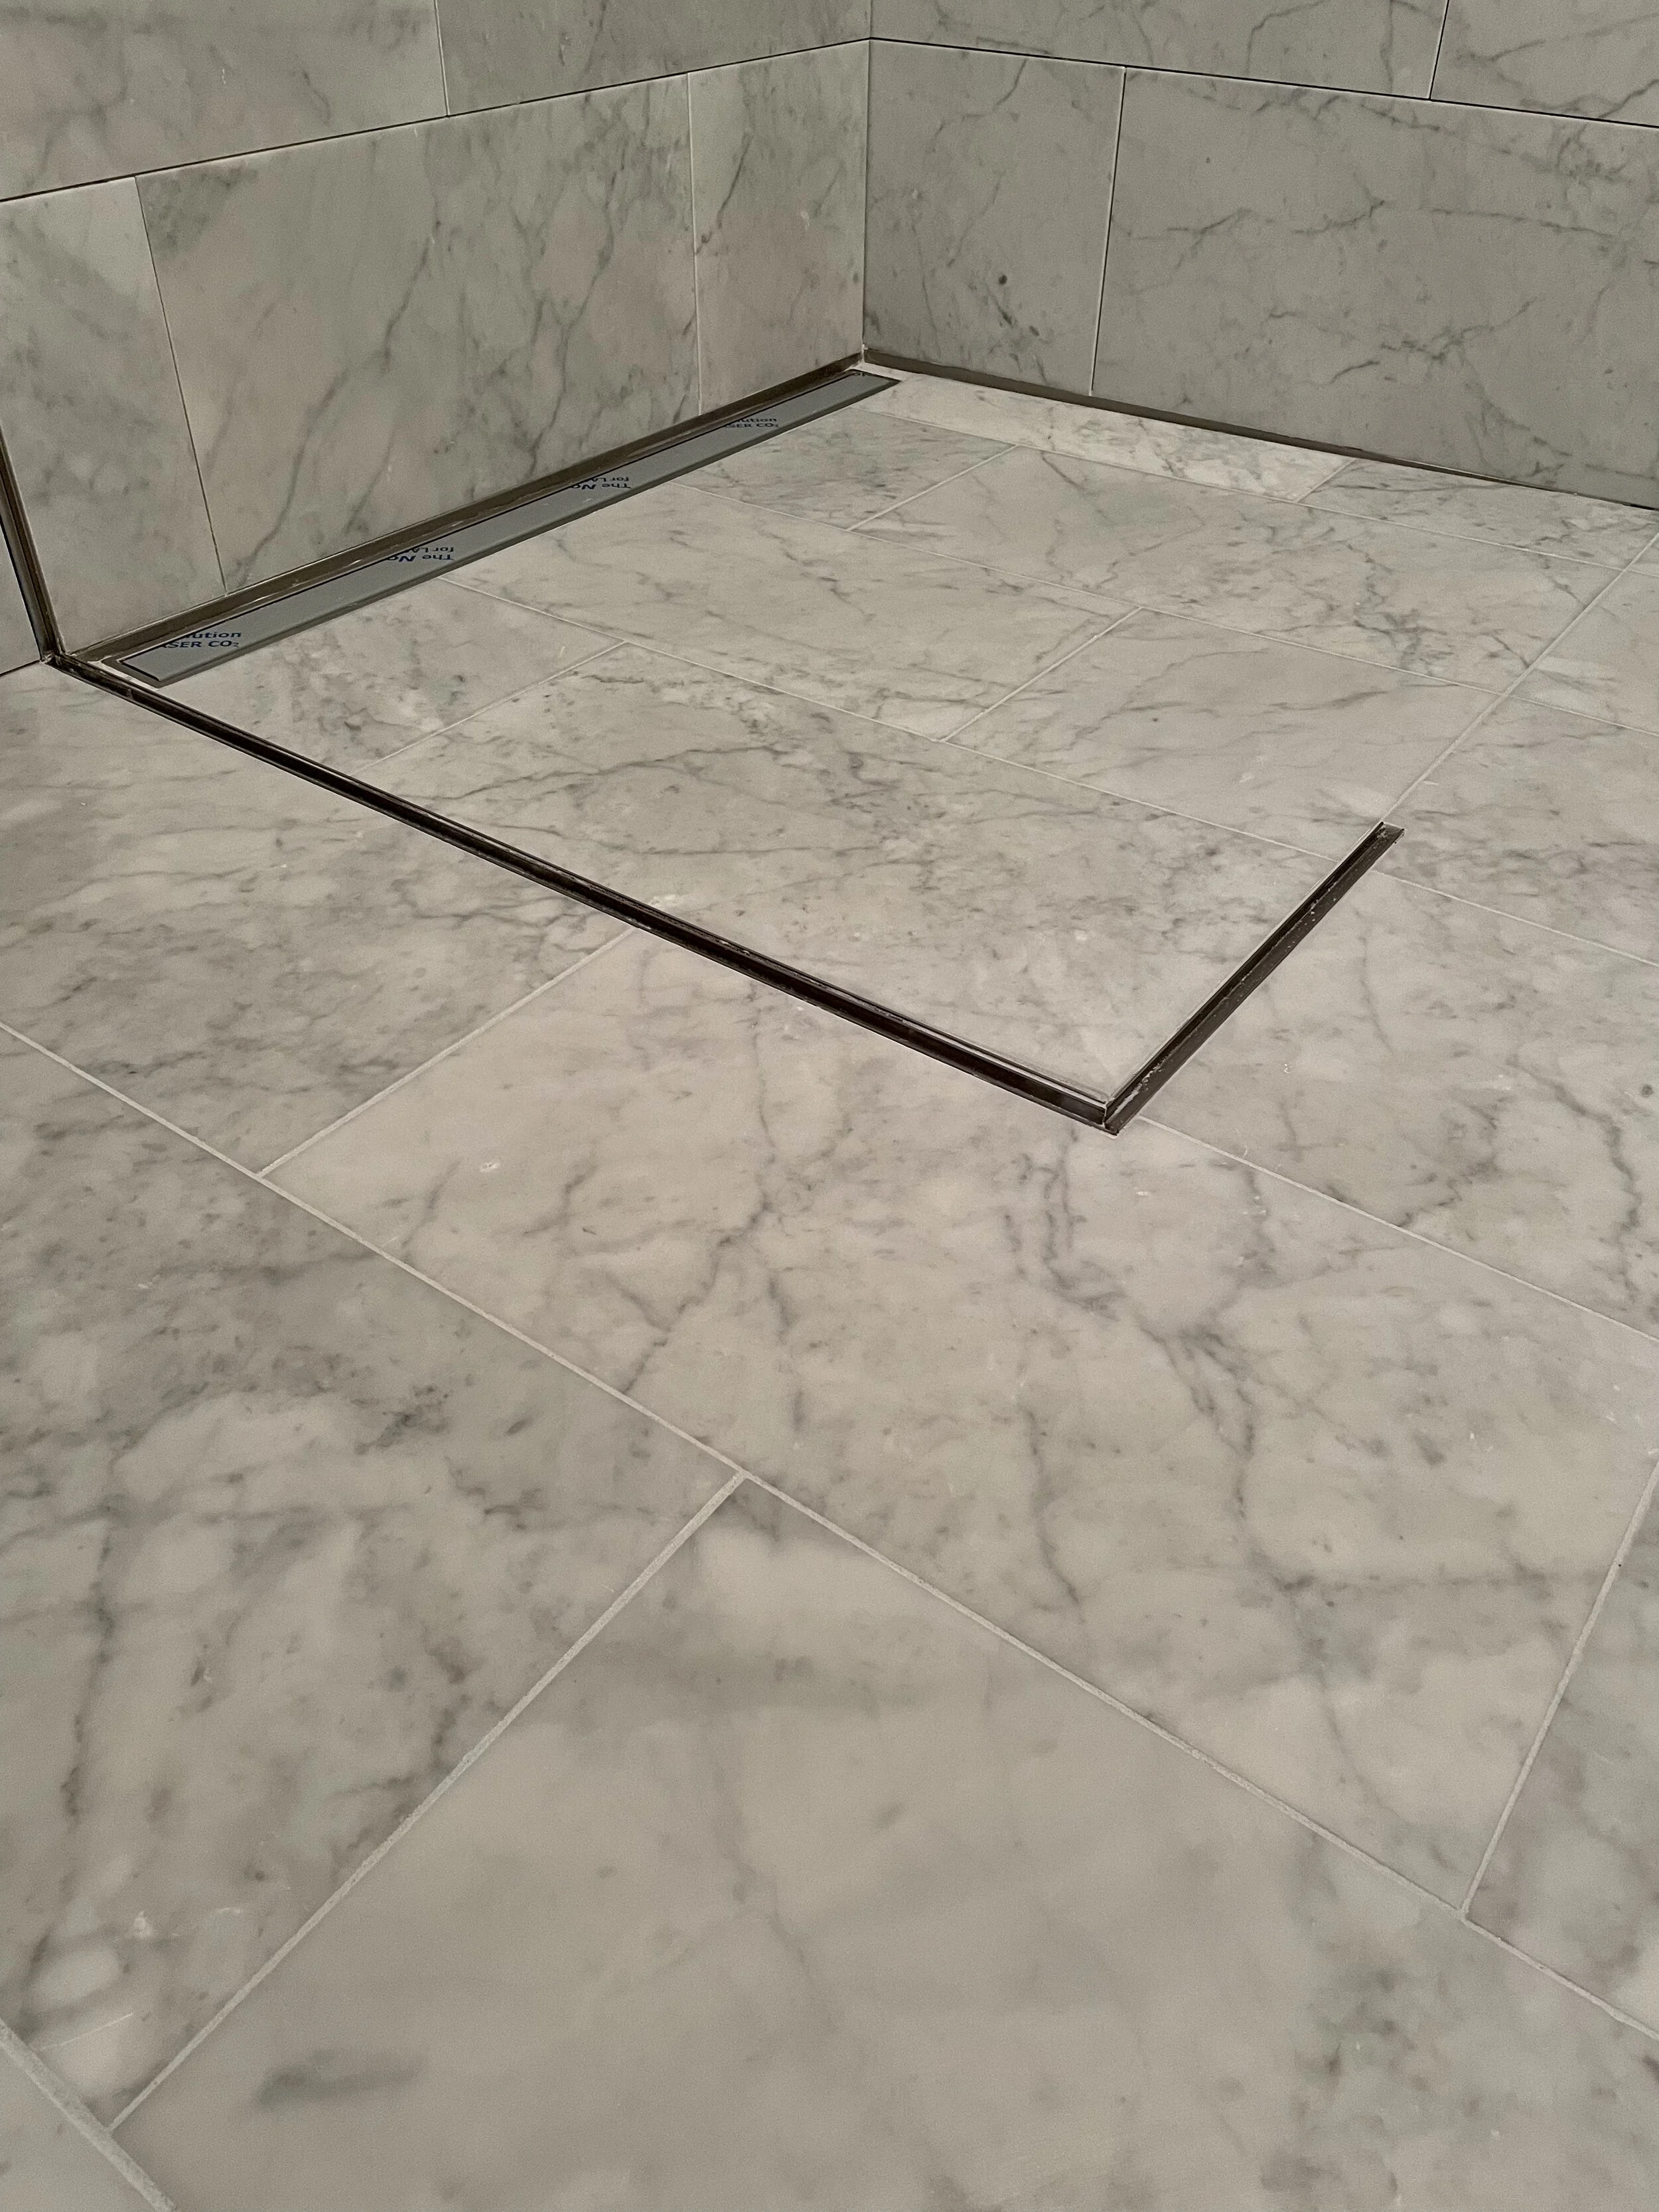
The chiseling and honing of the zero entry shower pan. We took advantage of the manse’s 13” floor joists which allowed us to create a curbless shower slope.
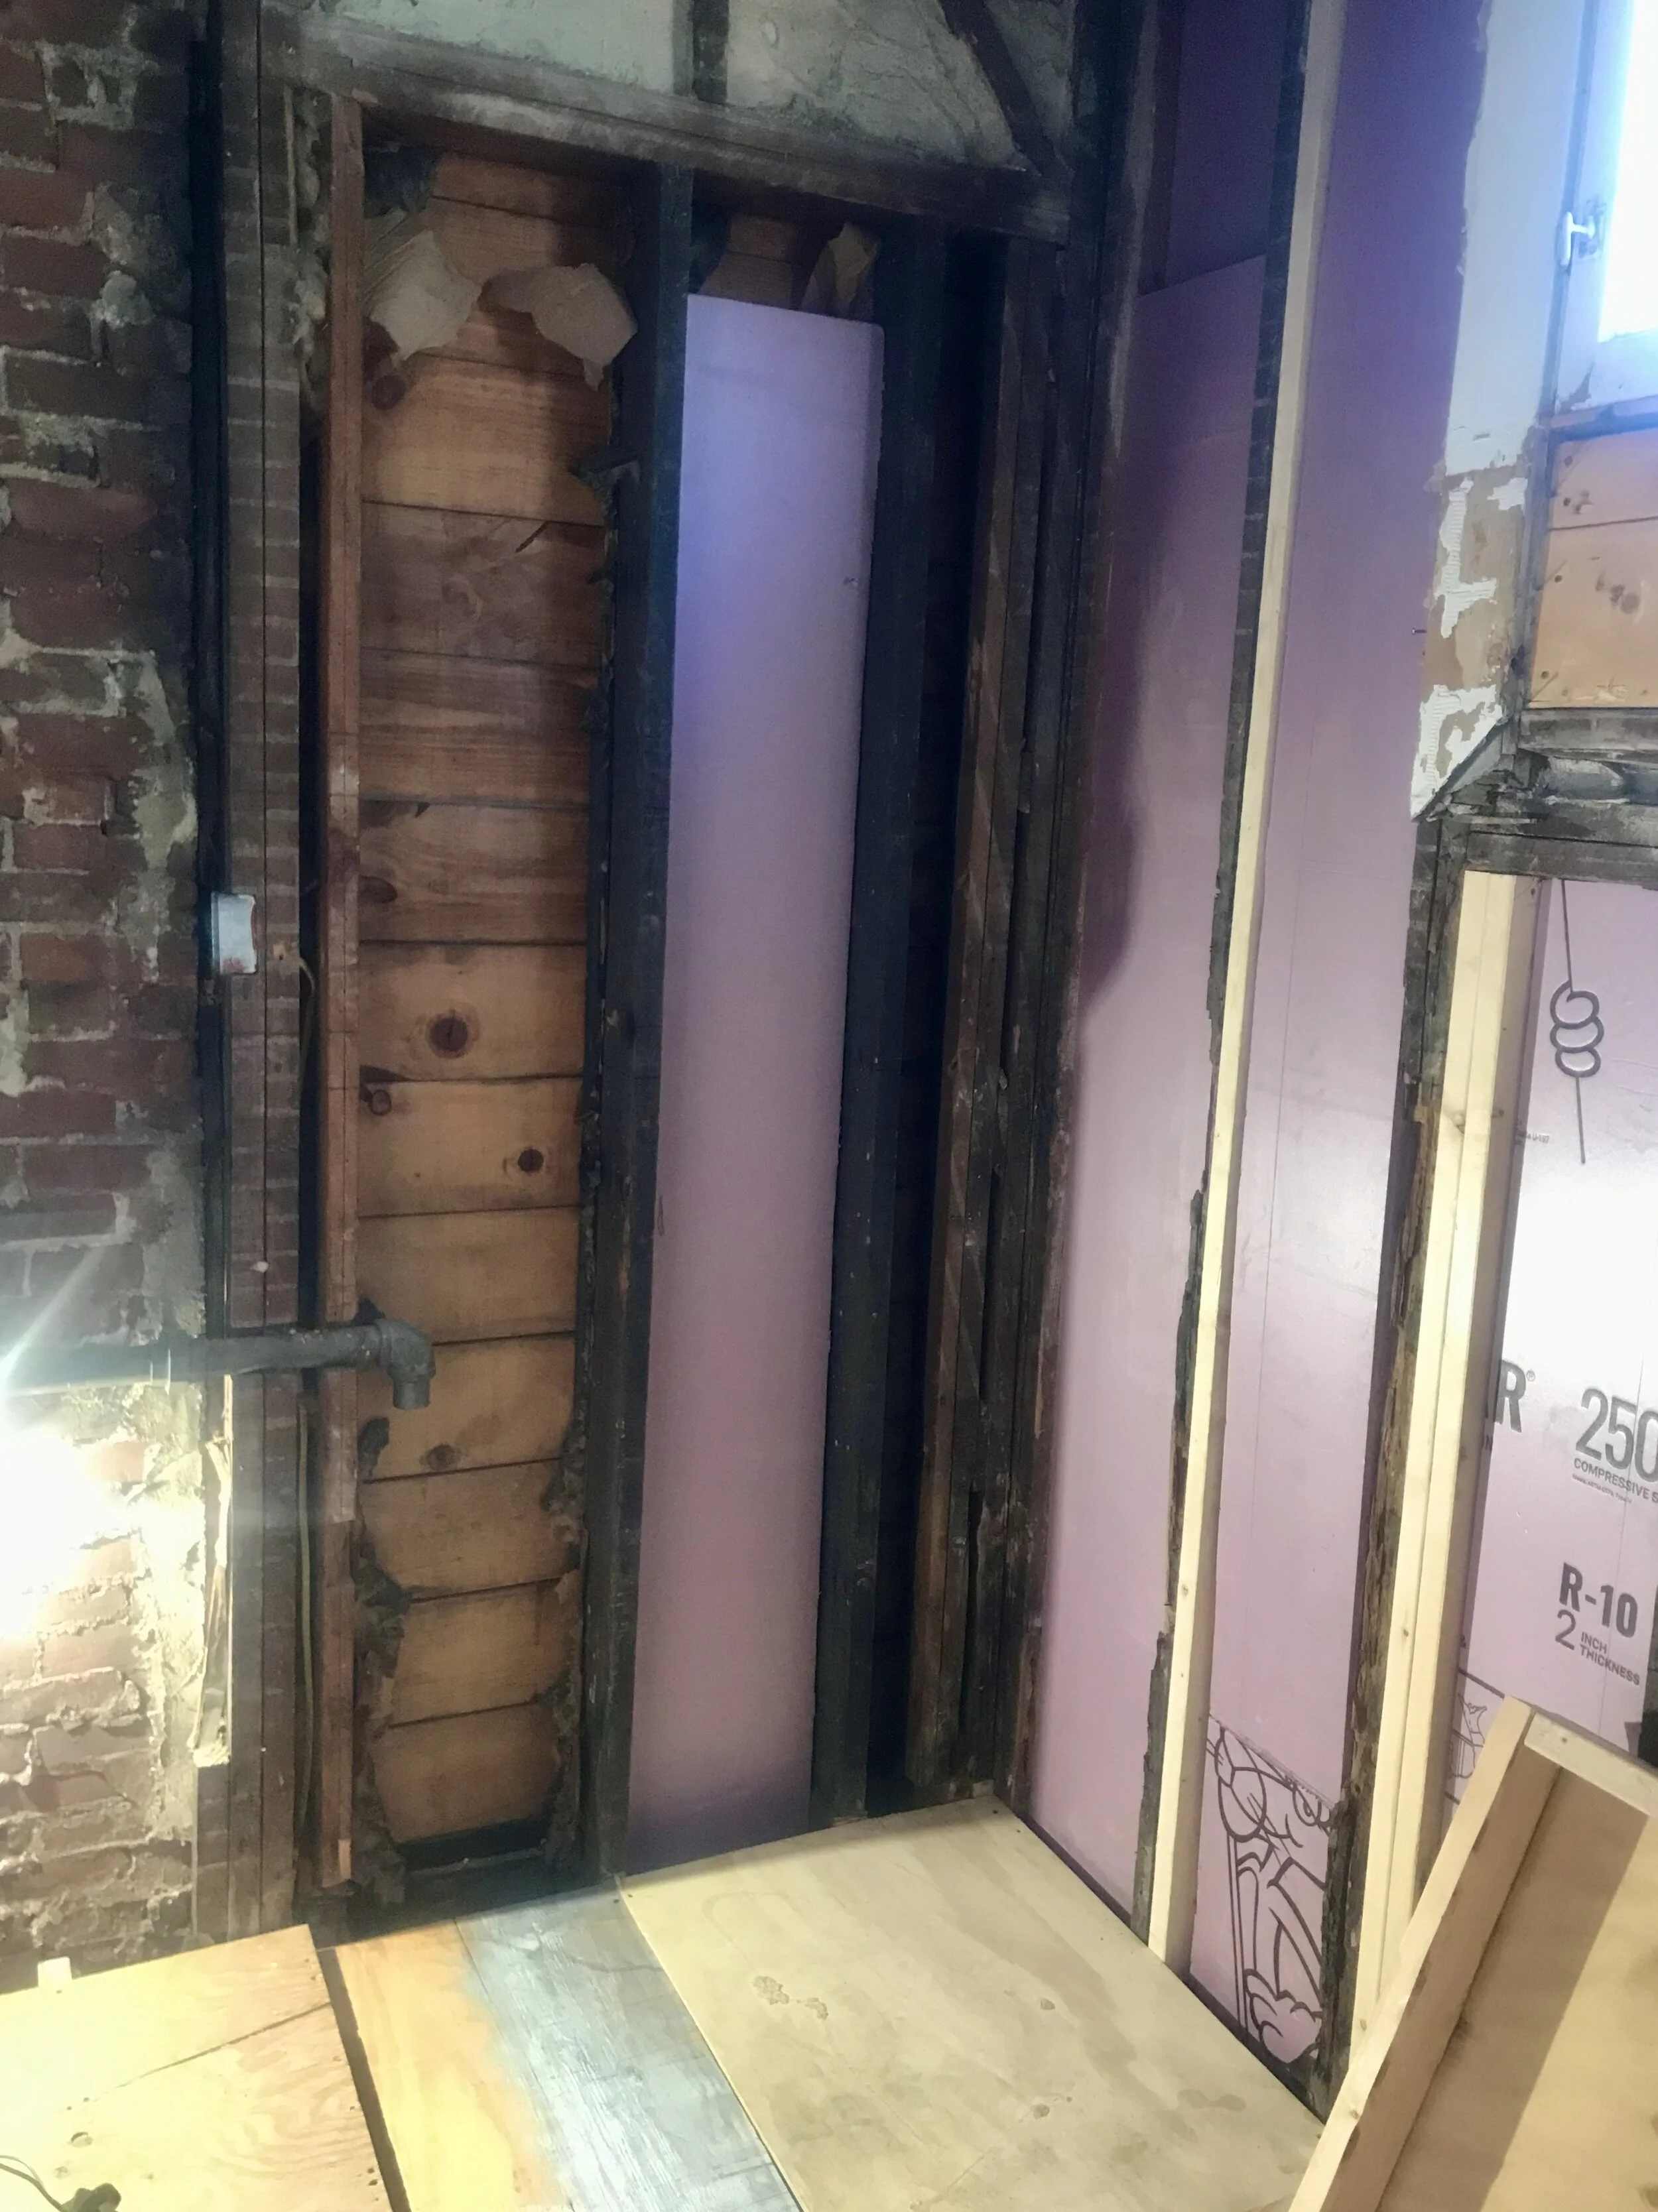
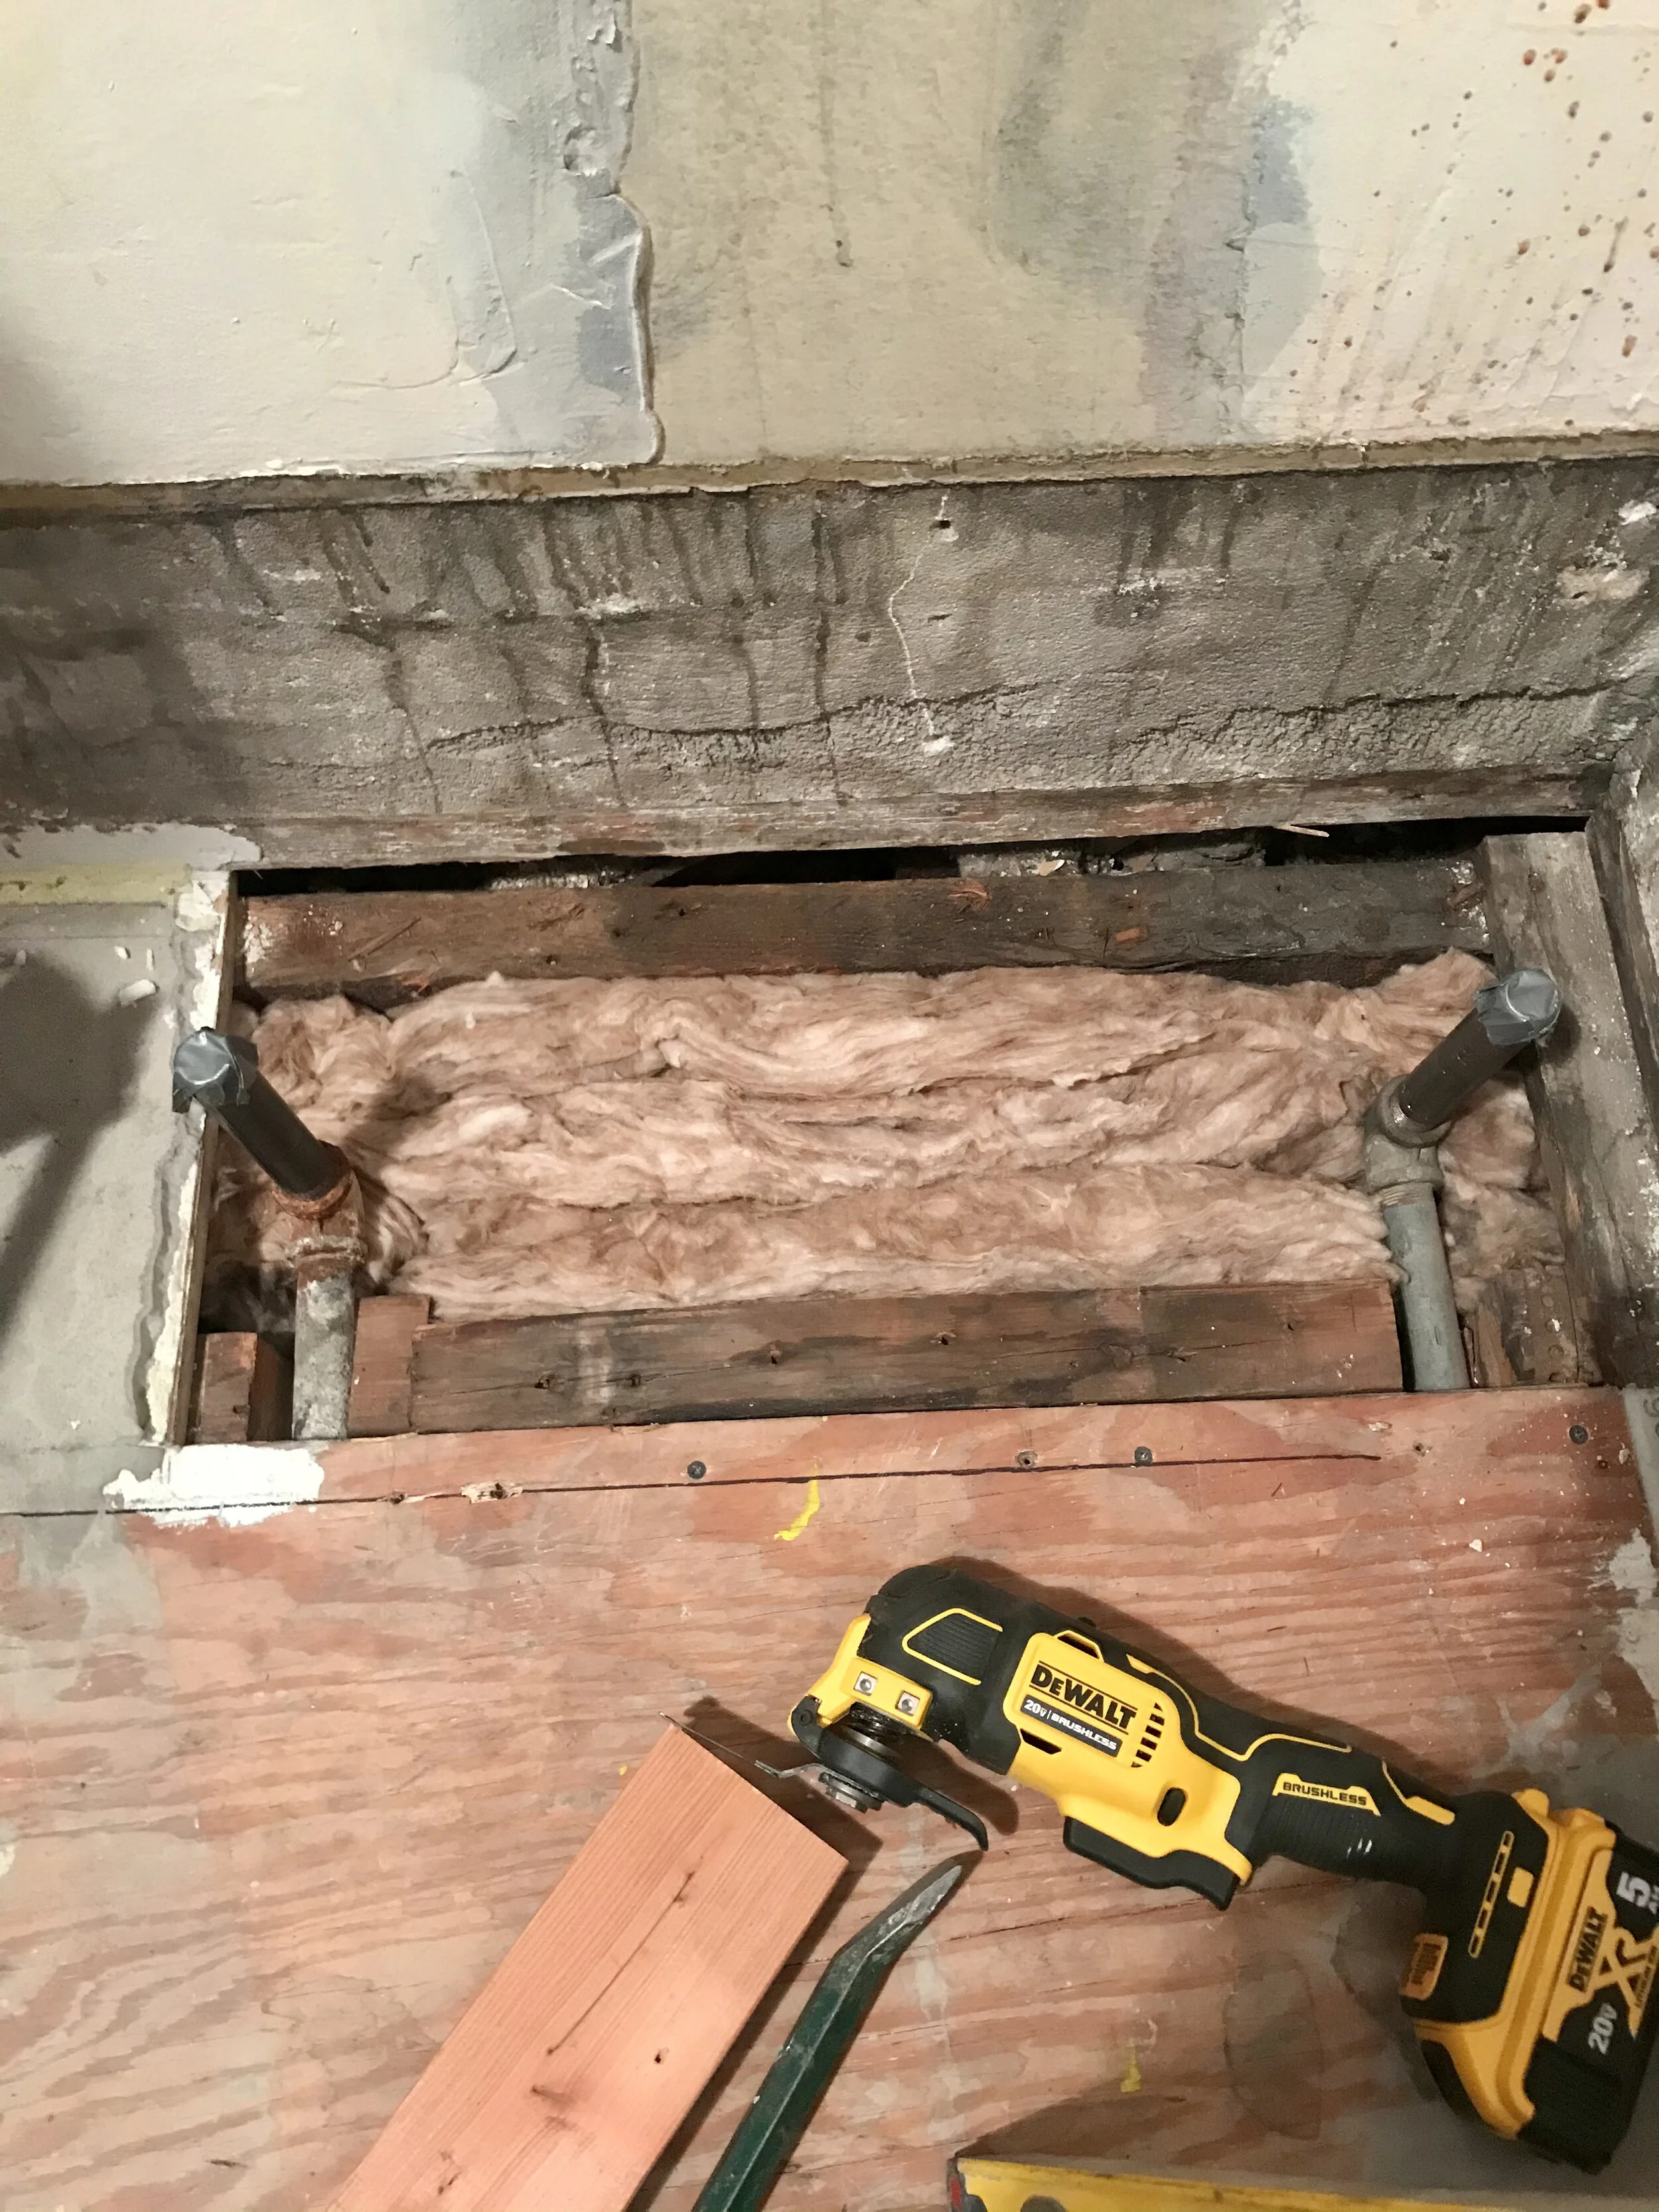
Insulating.

Ne’er forget insulation.
New electrical.
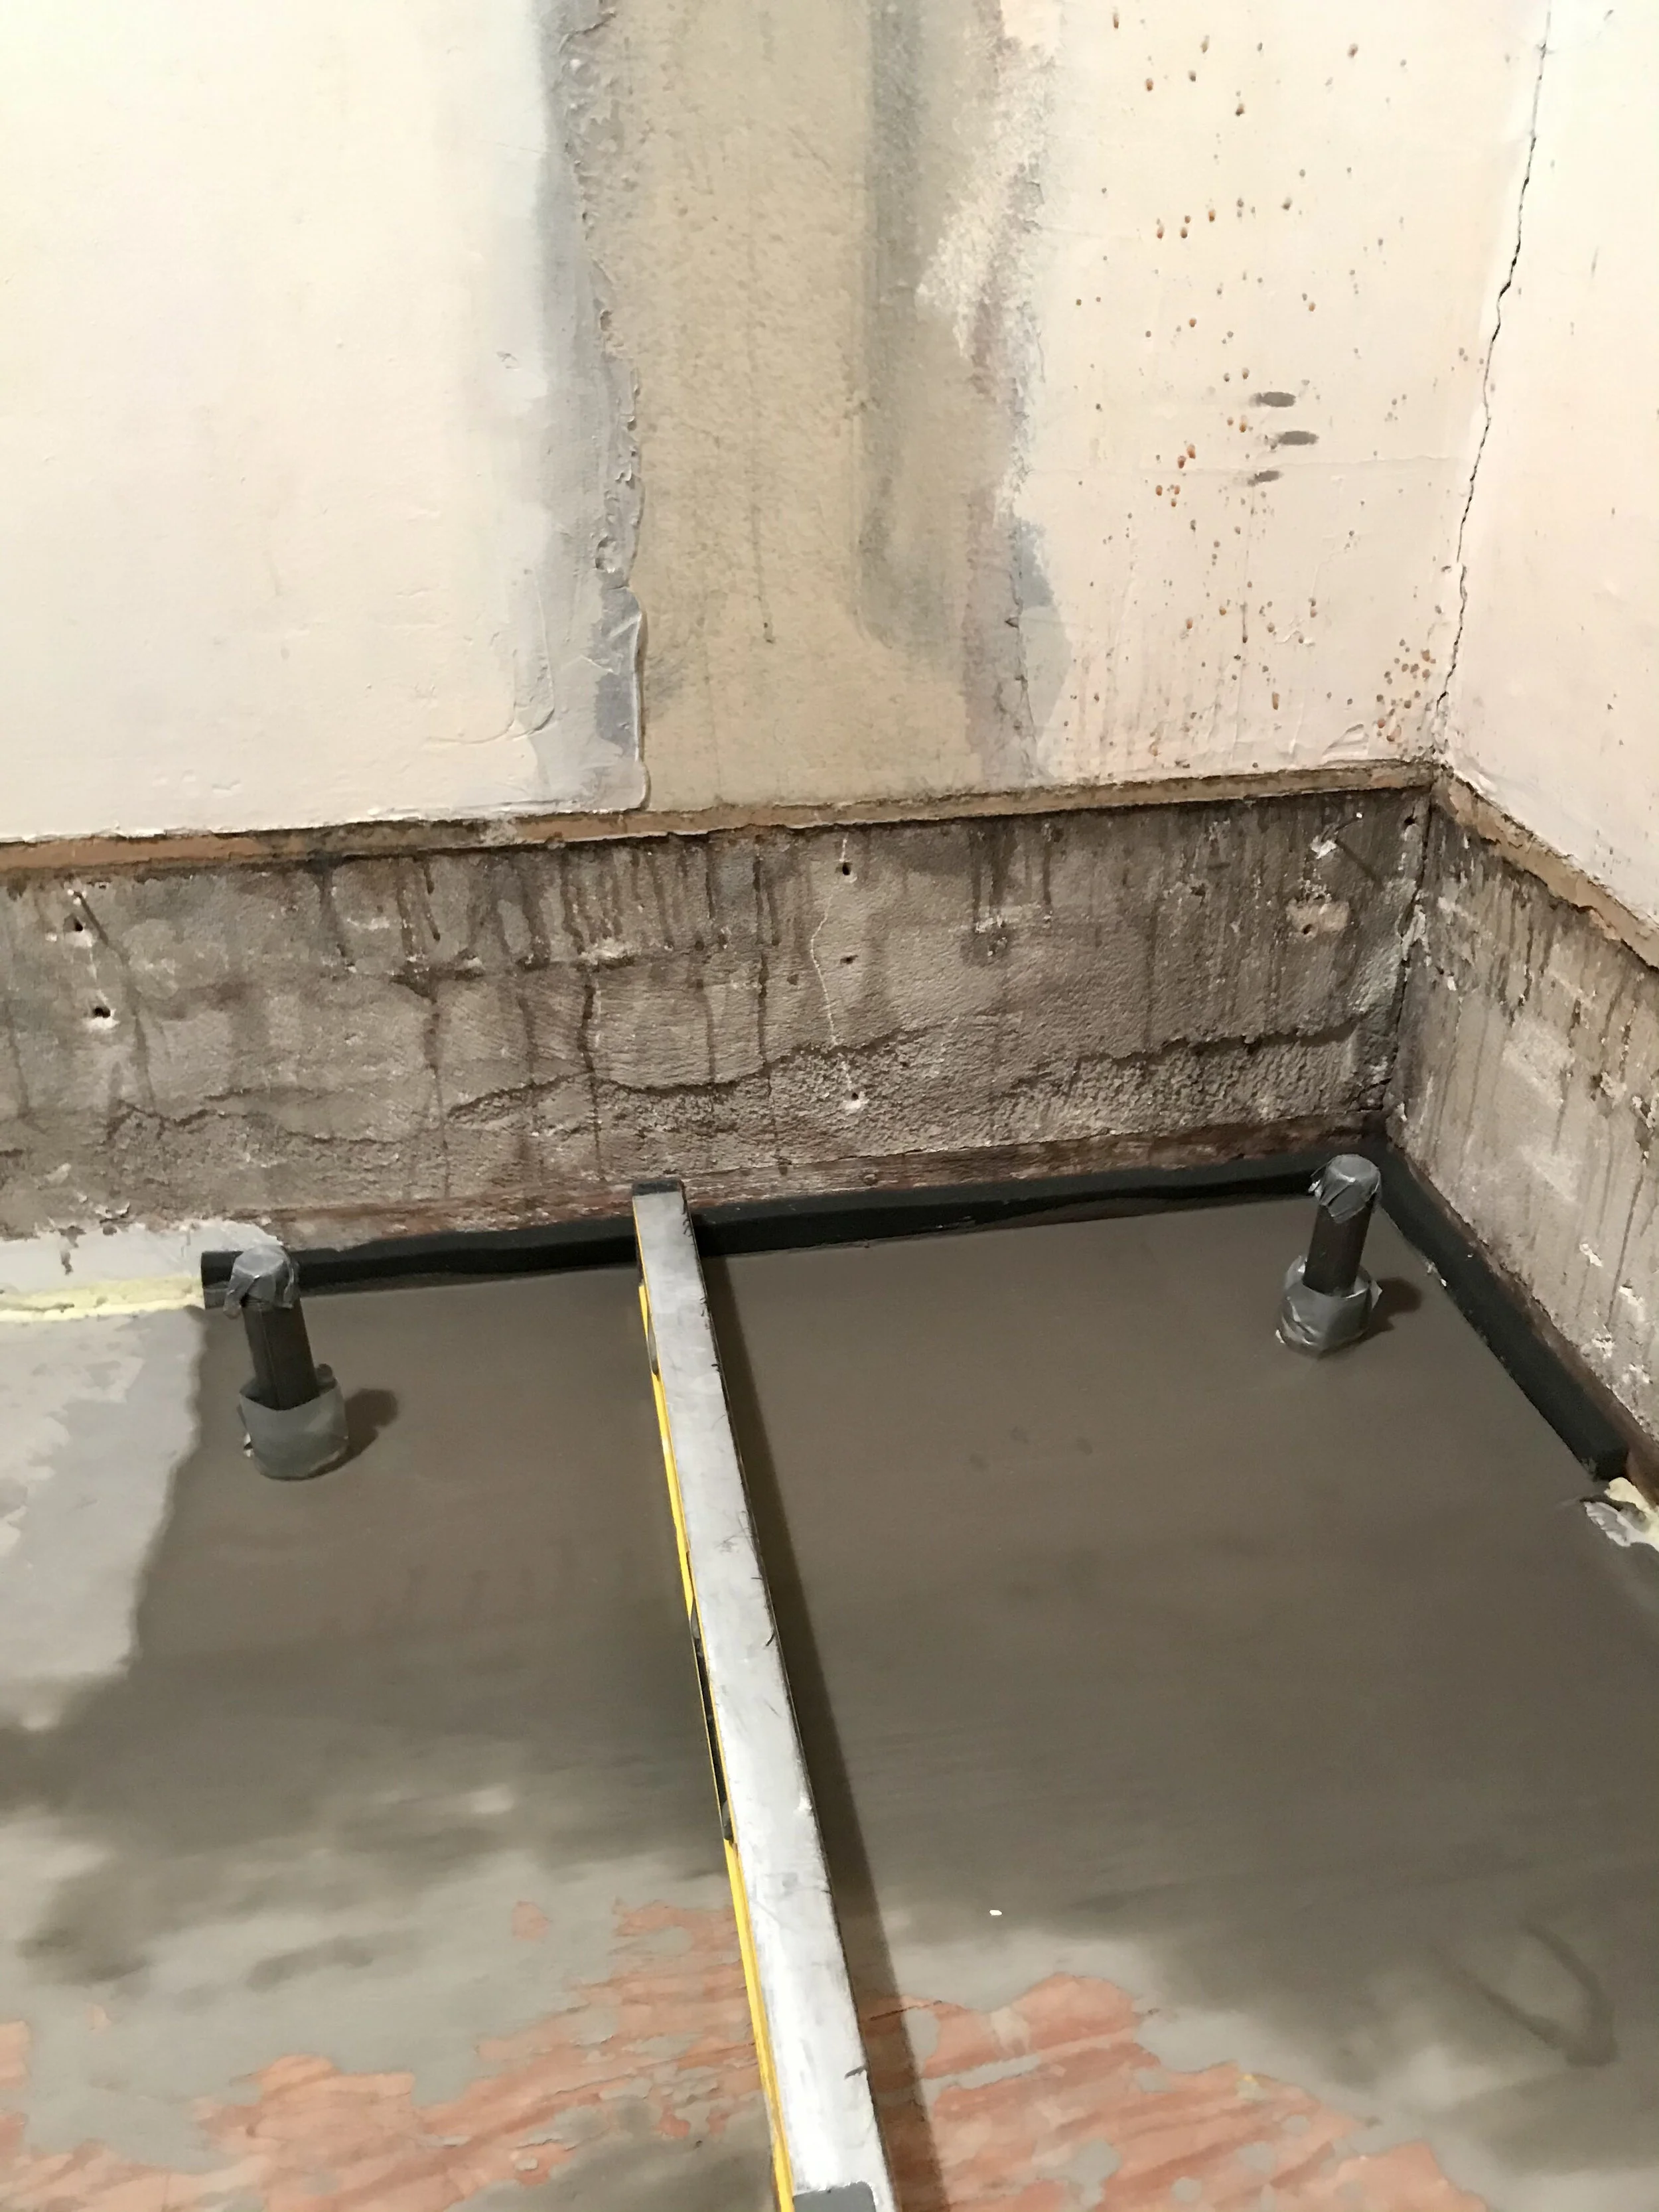
Flooring was 2 1/2” out of level. Here is were the slope was corrected around the toilet drain.
Correcting the 2 1/2” slope on the floor was tricky but worthwhile.
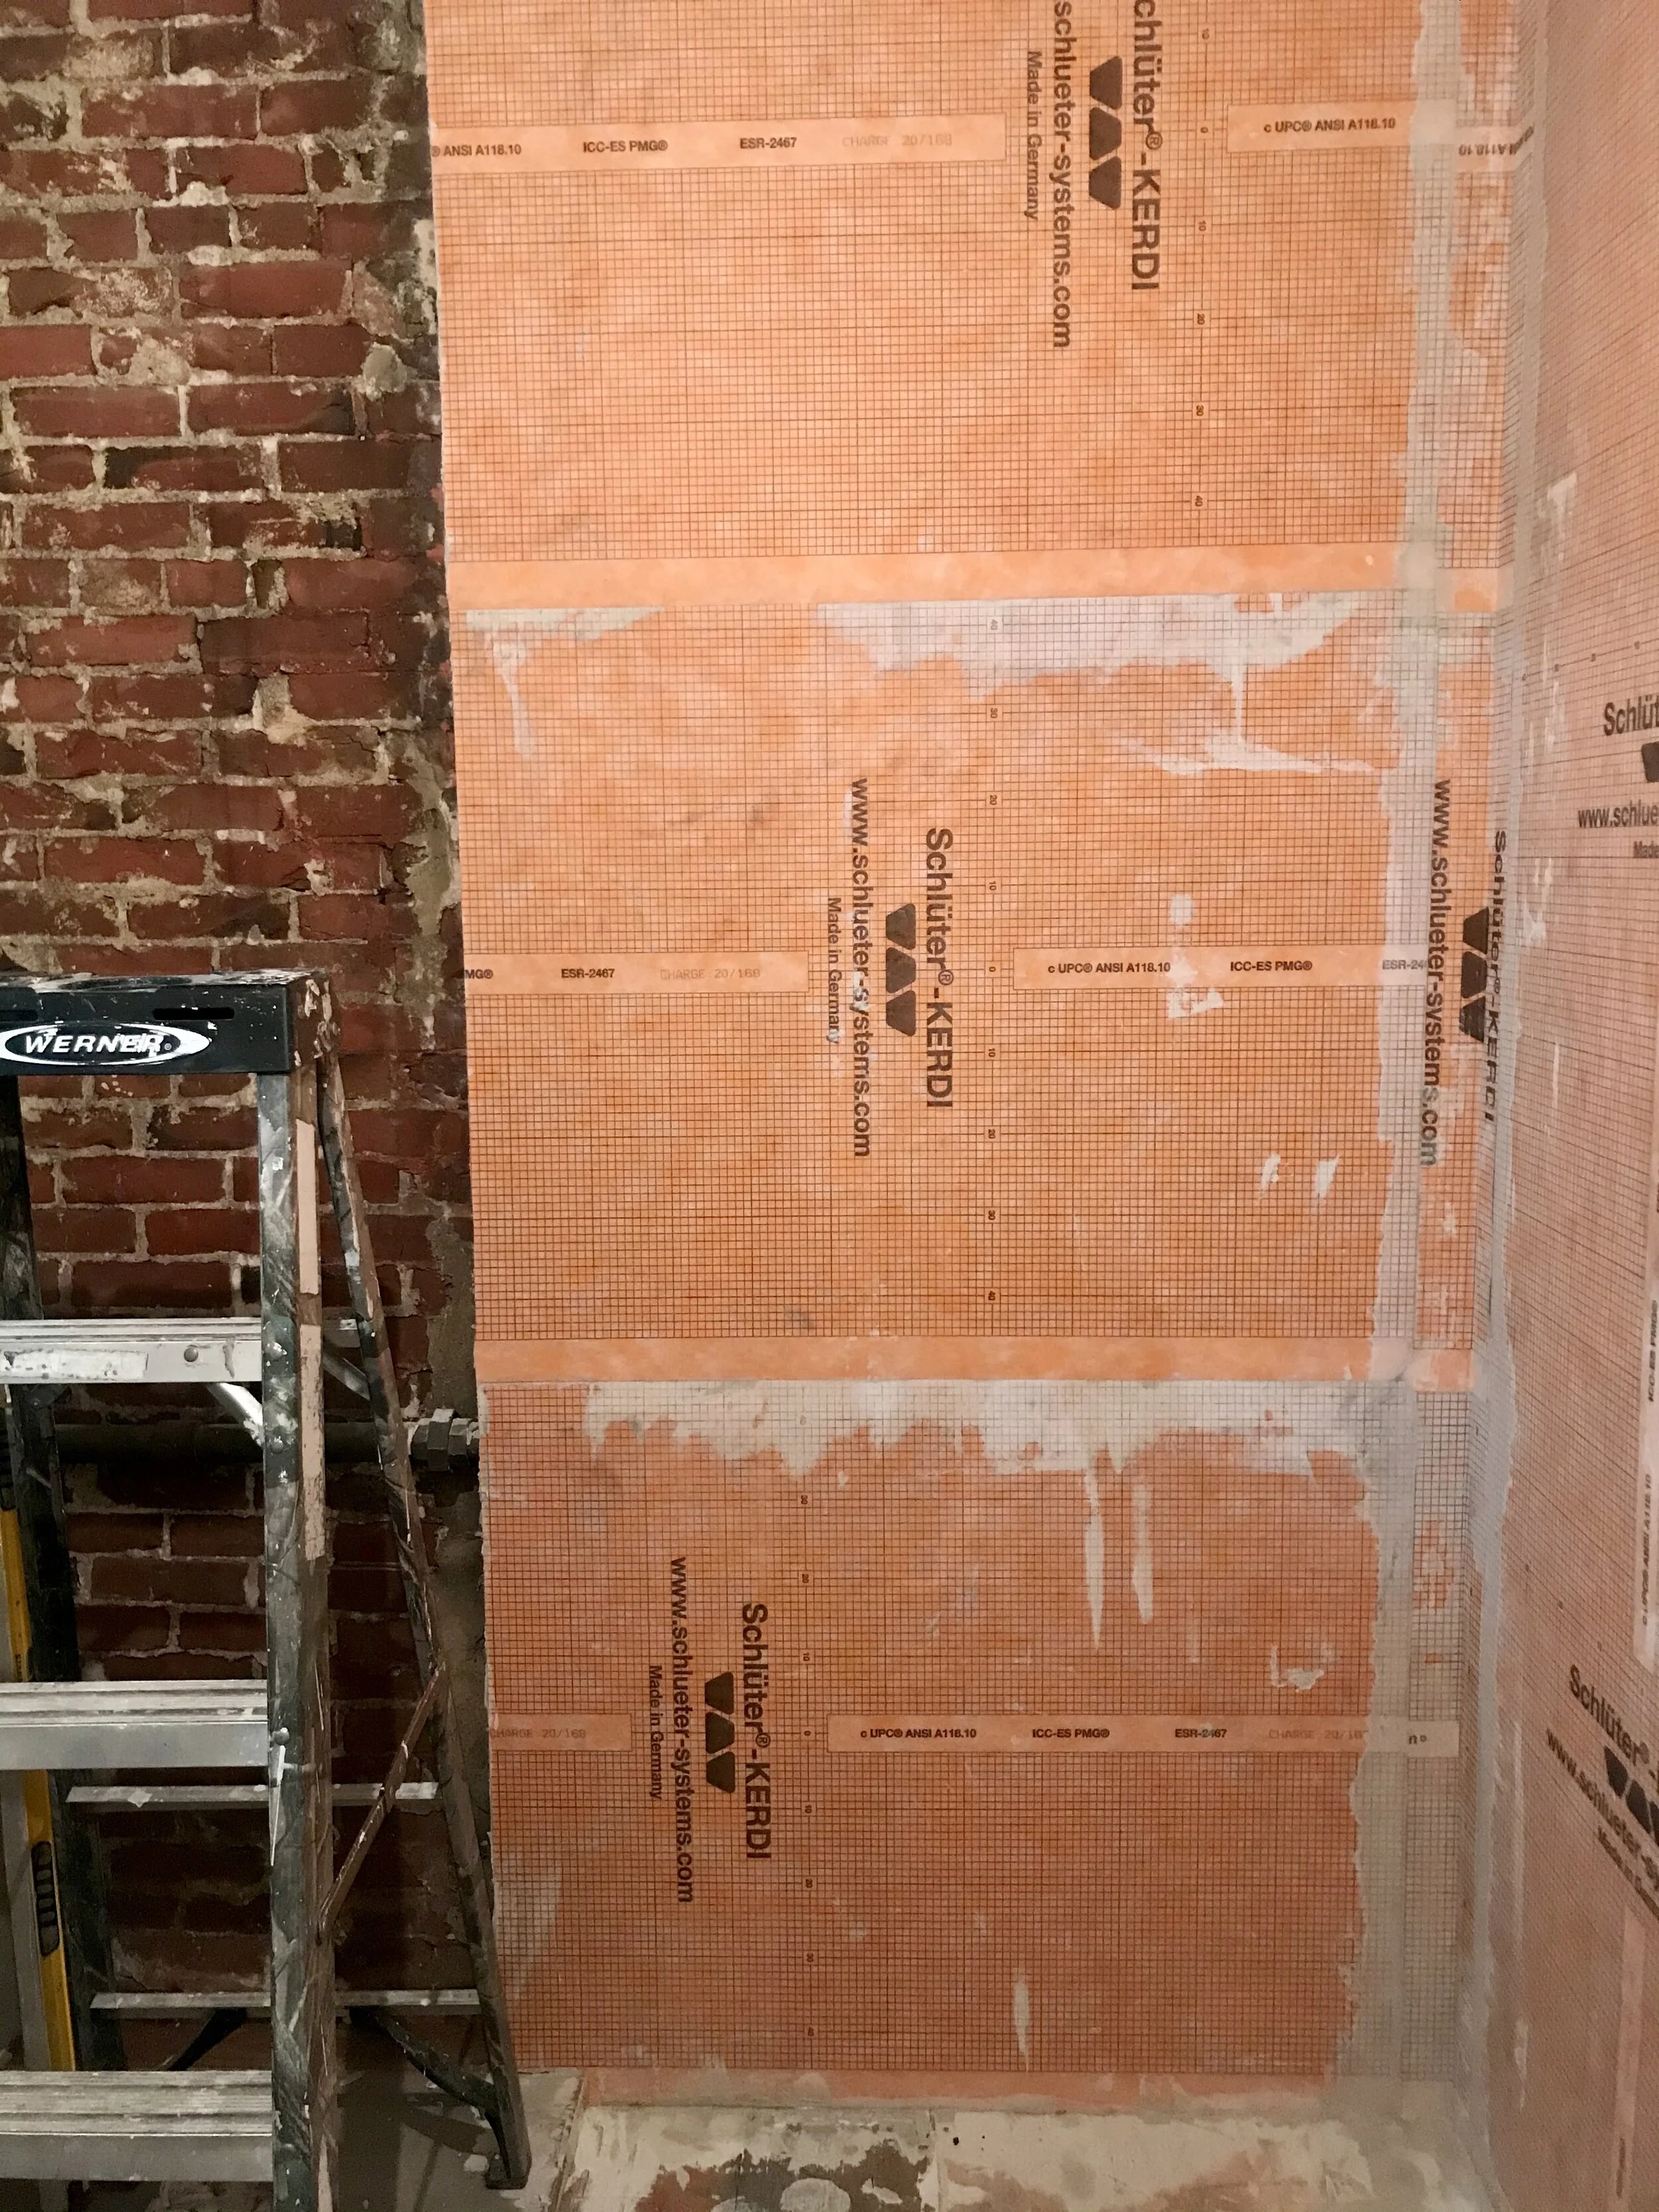
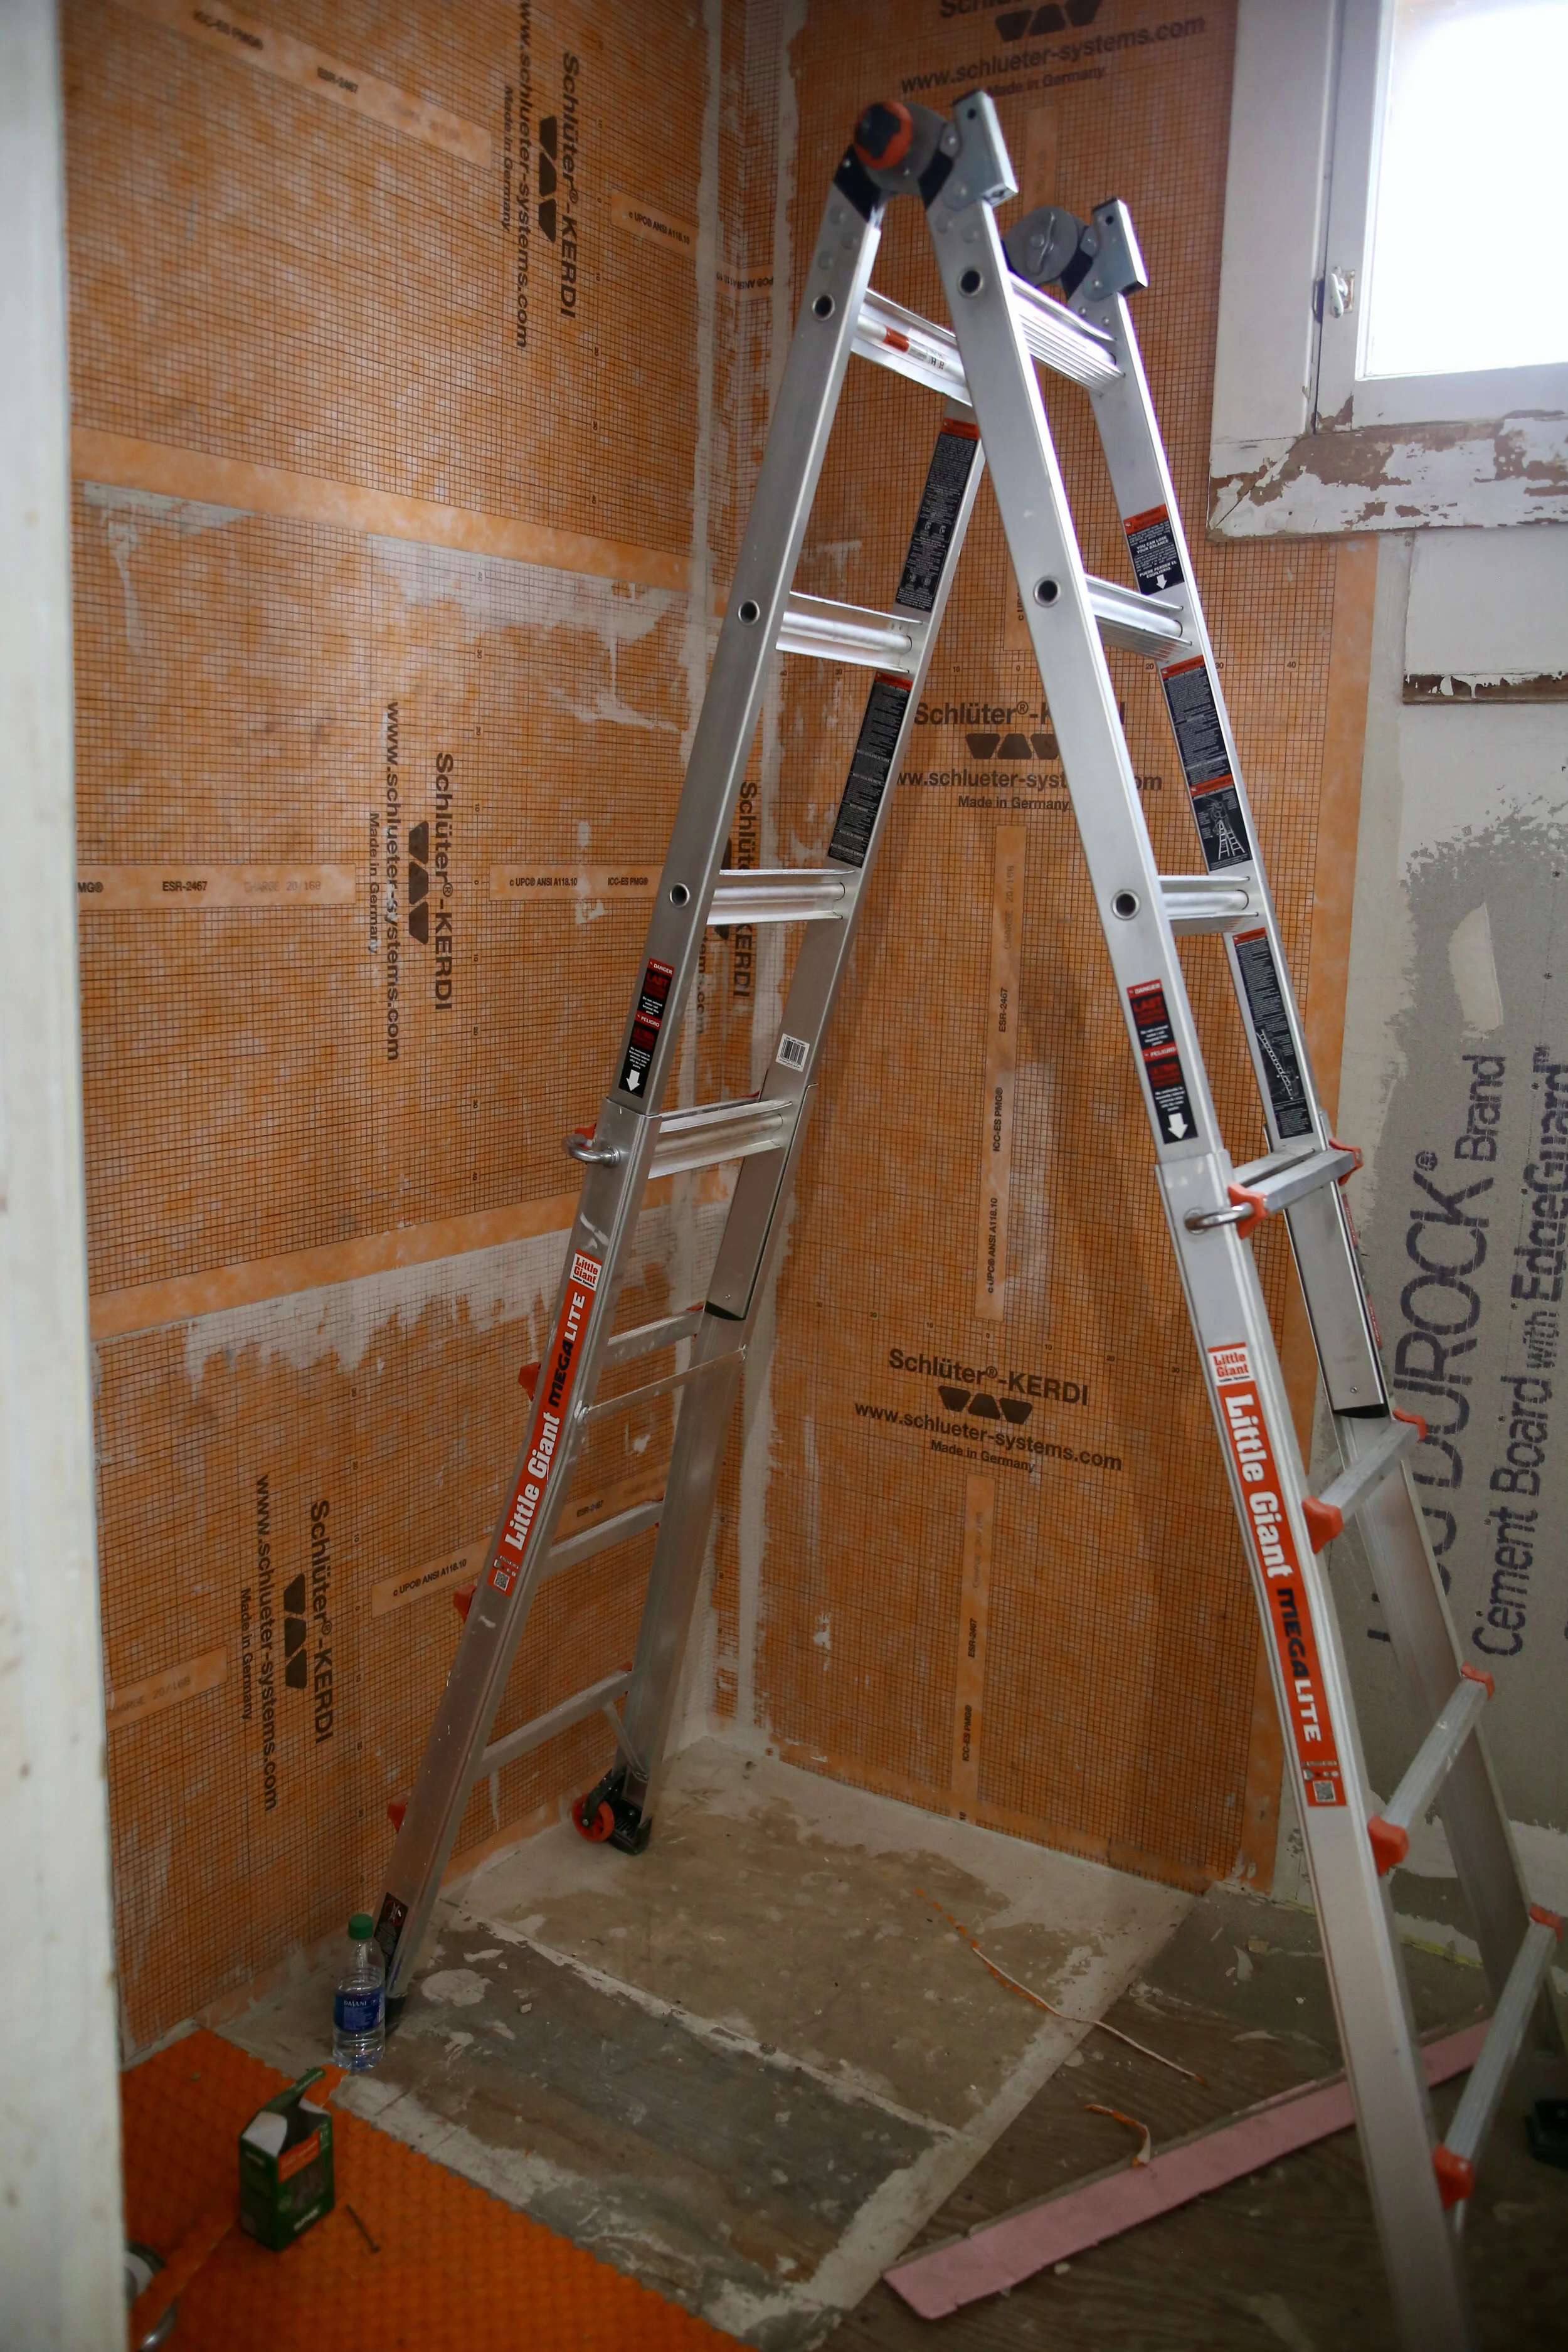
Waterproofed with Schluter Kerdi system.
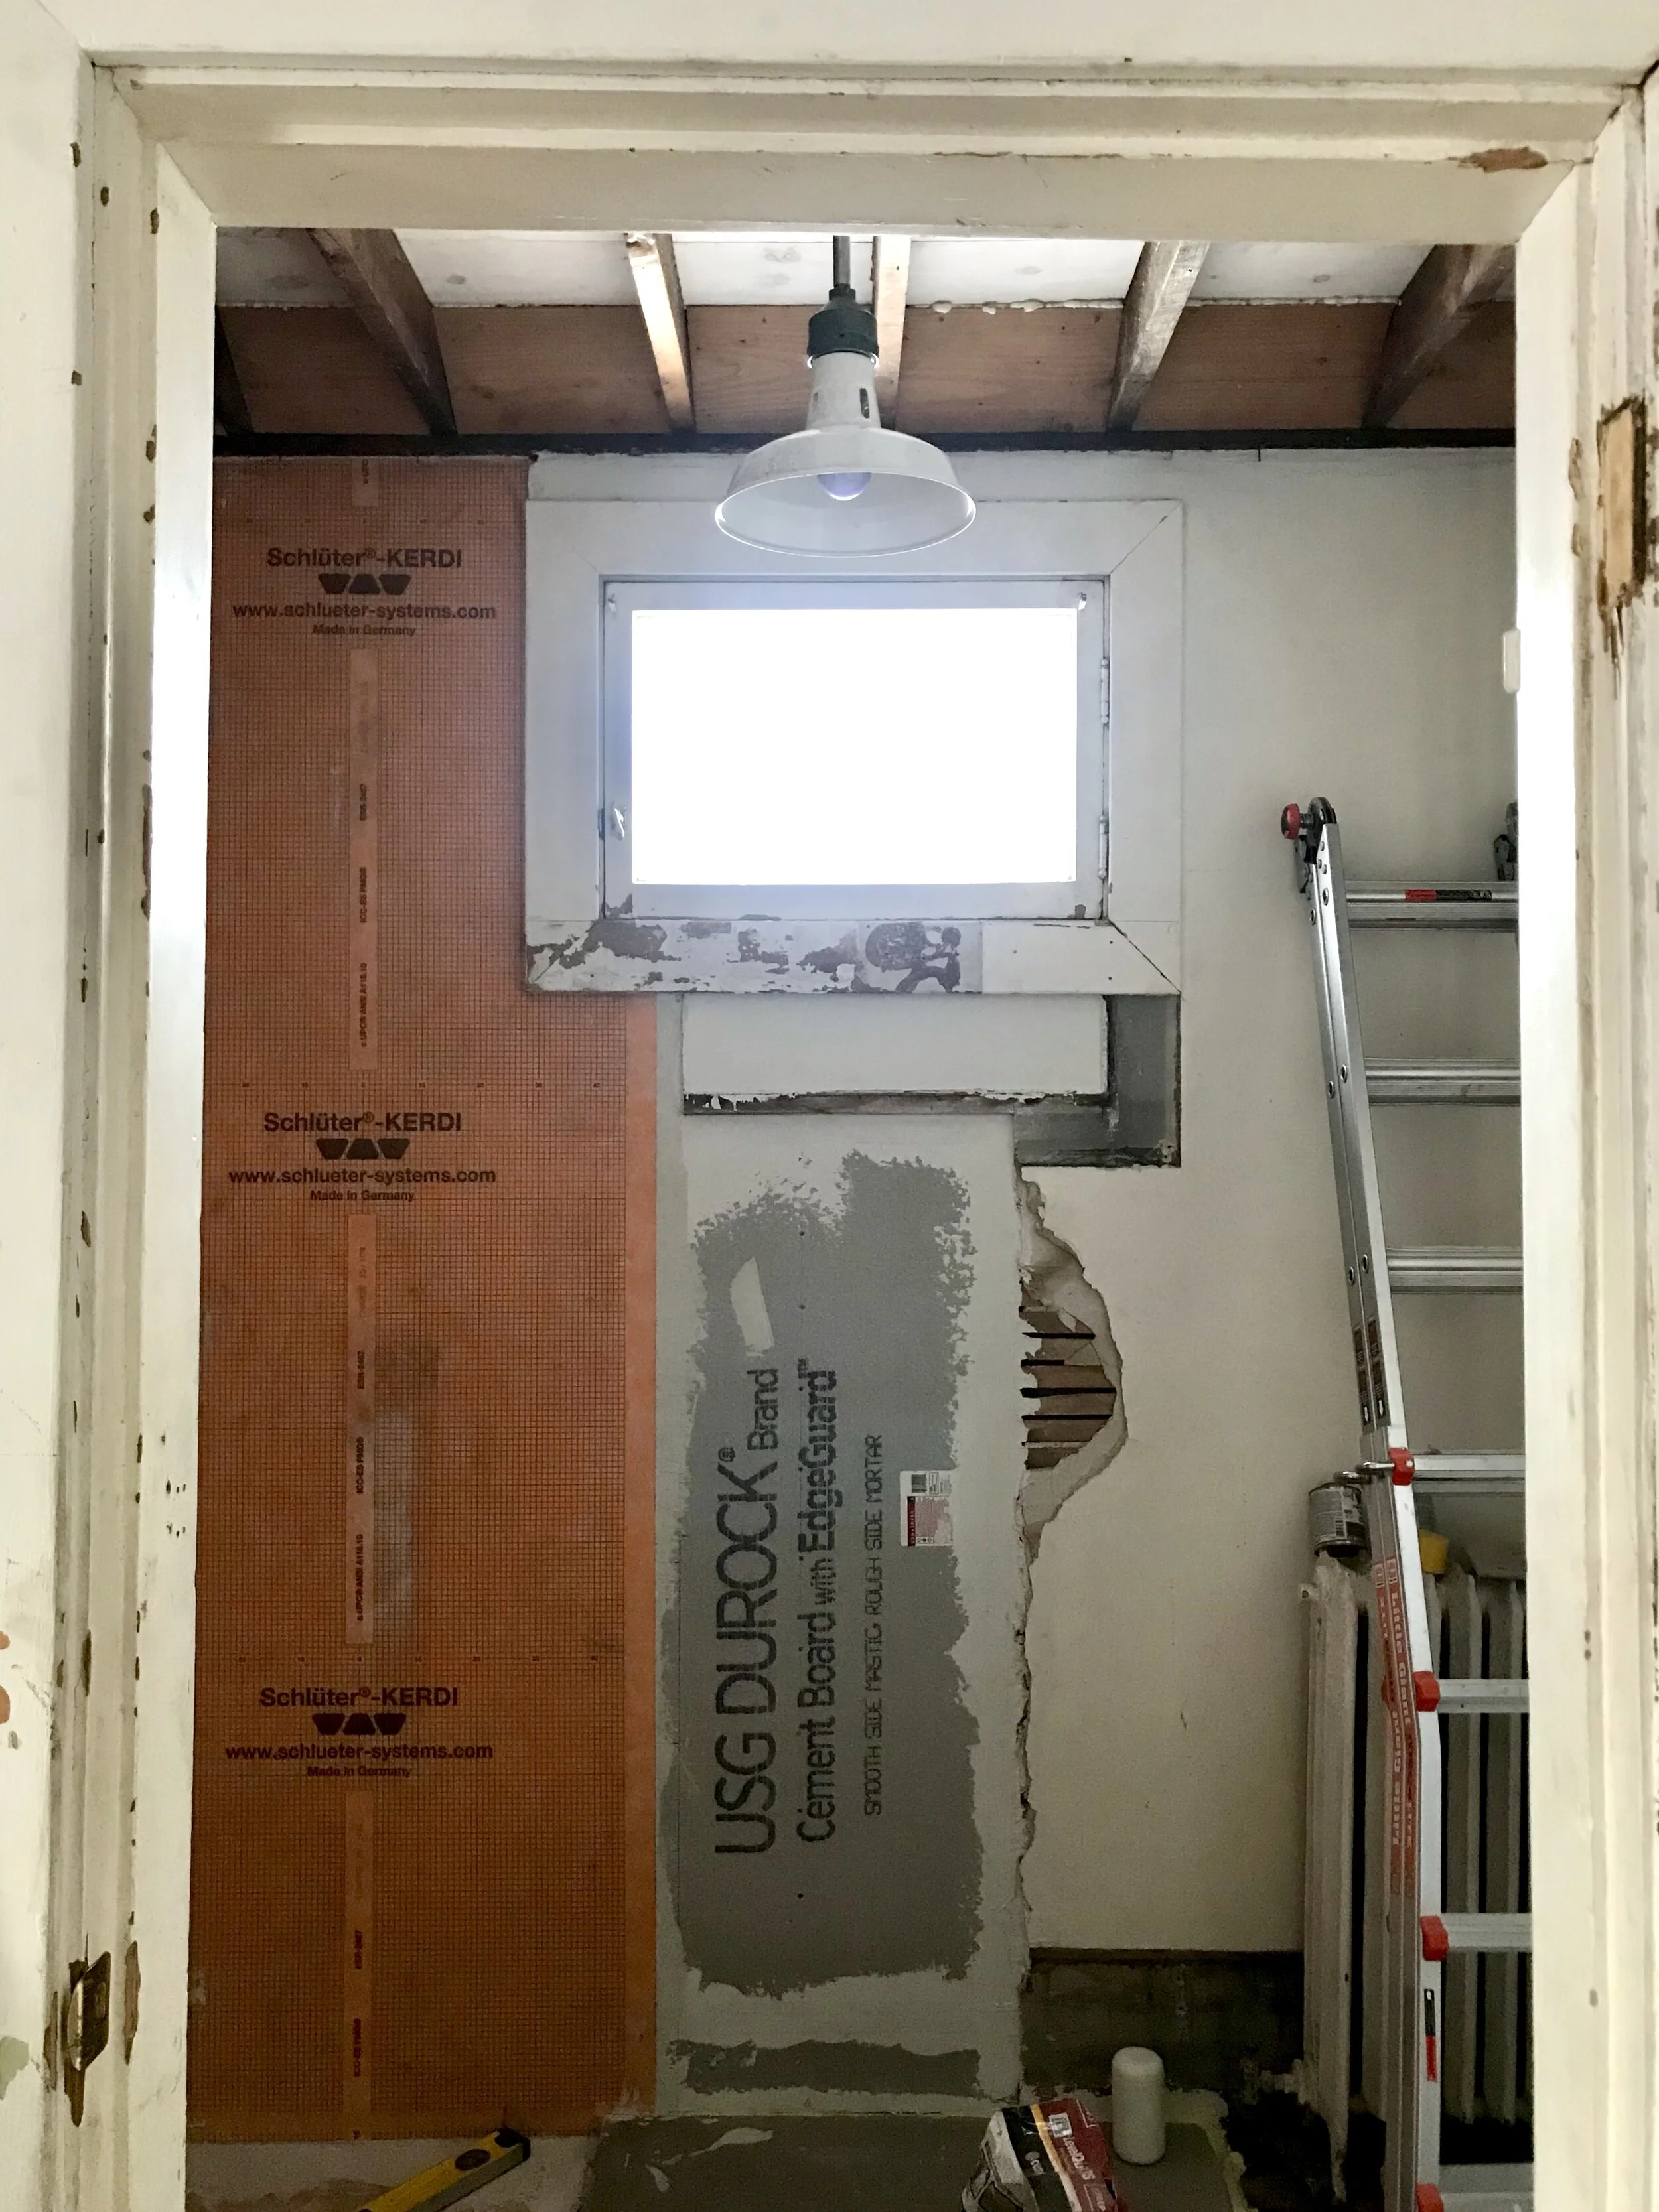
Light fixture, cement board, and Schluter Kerdi.
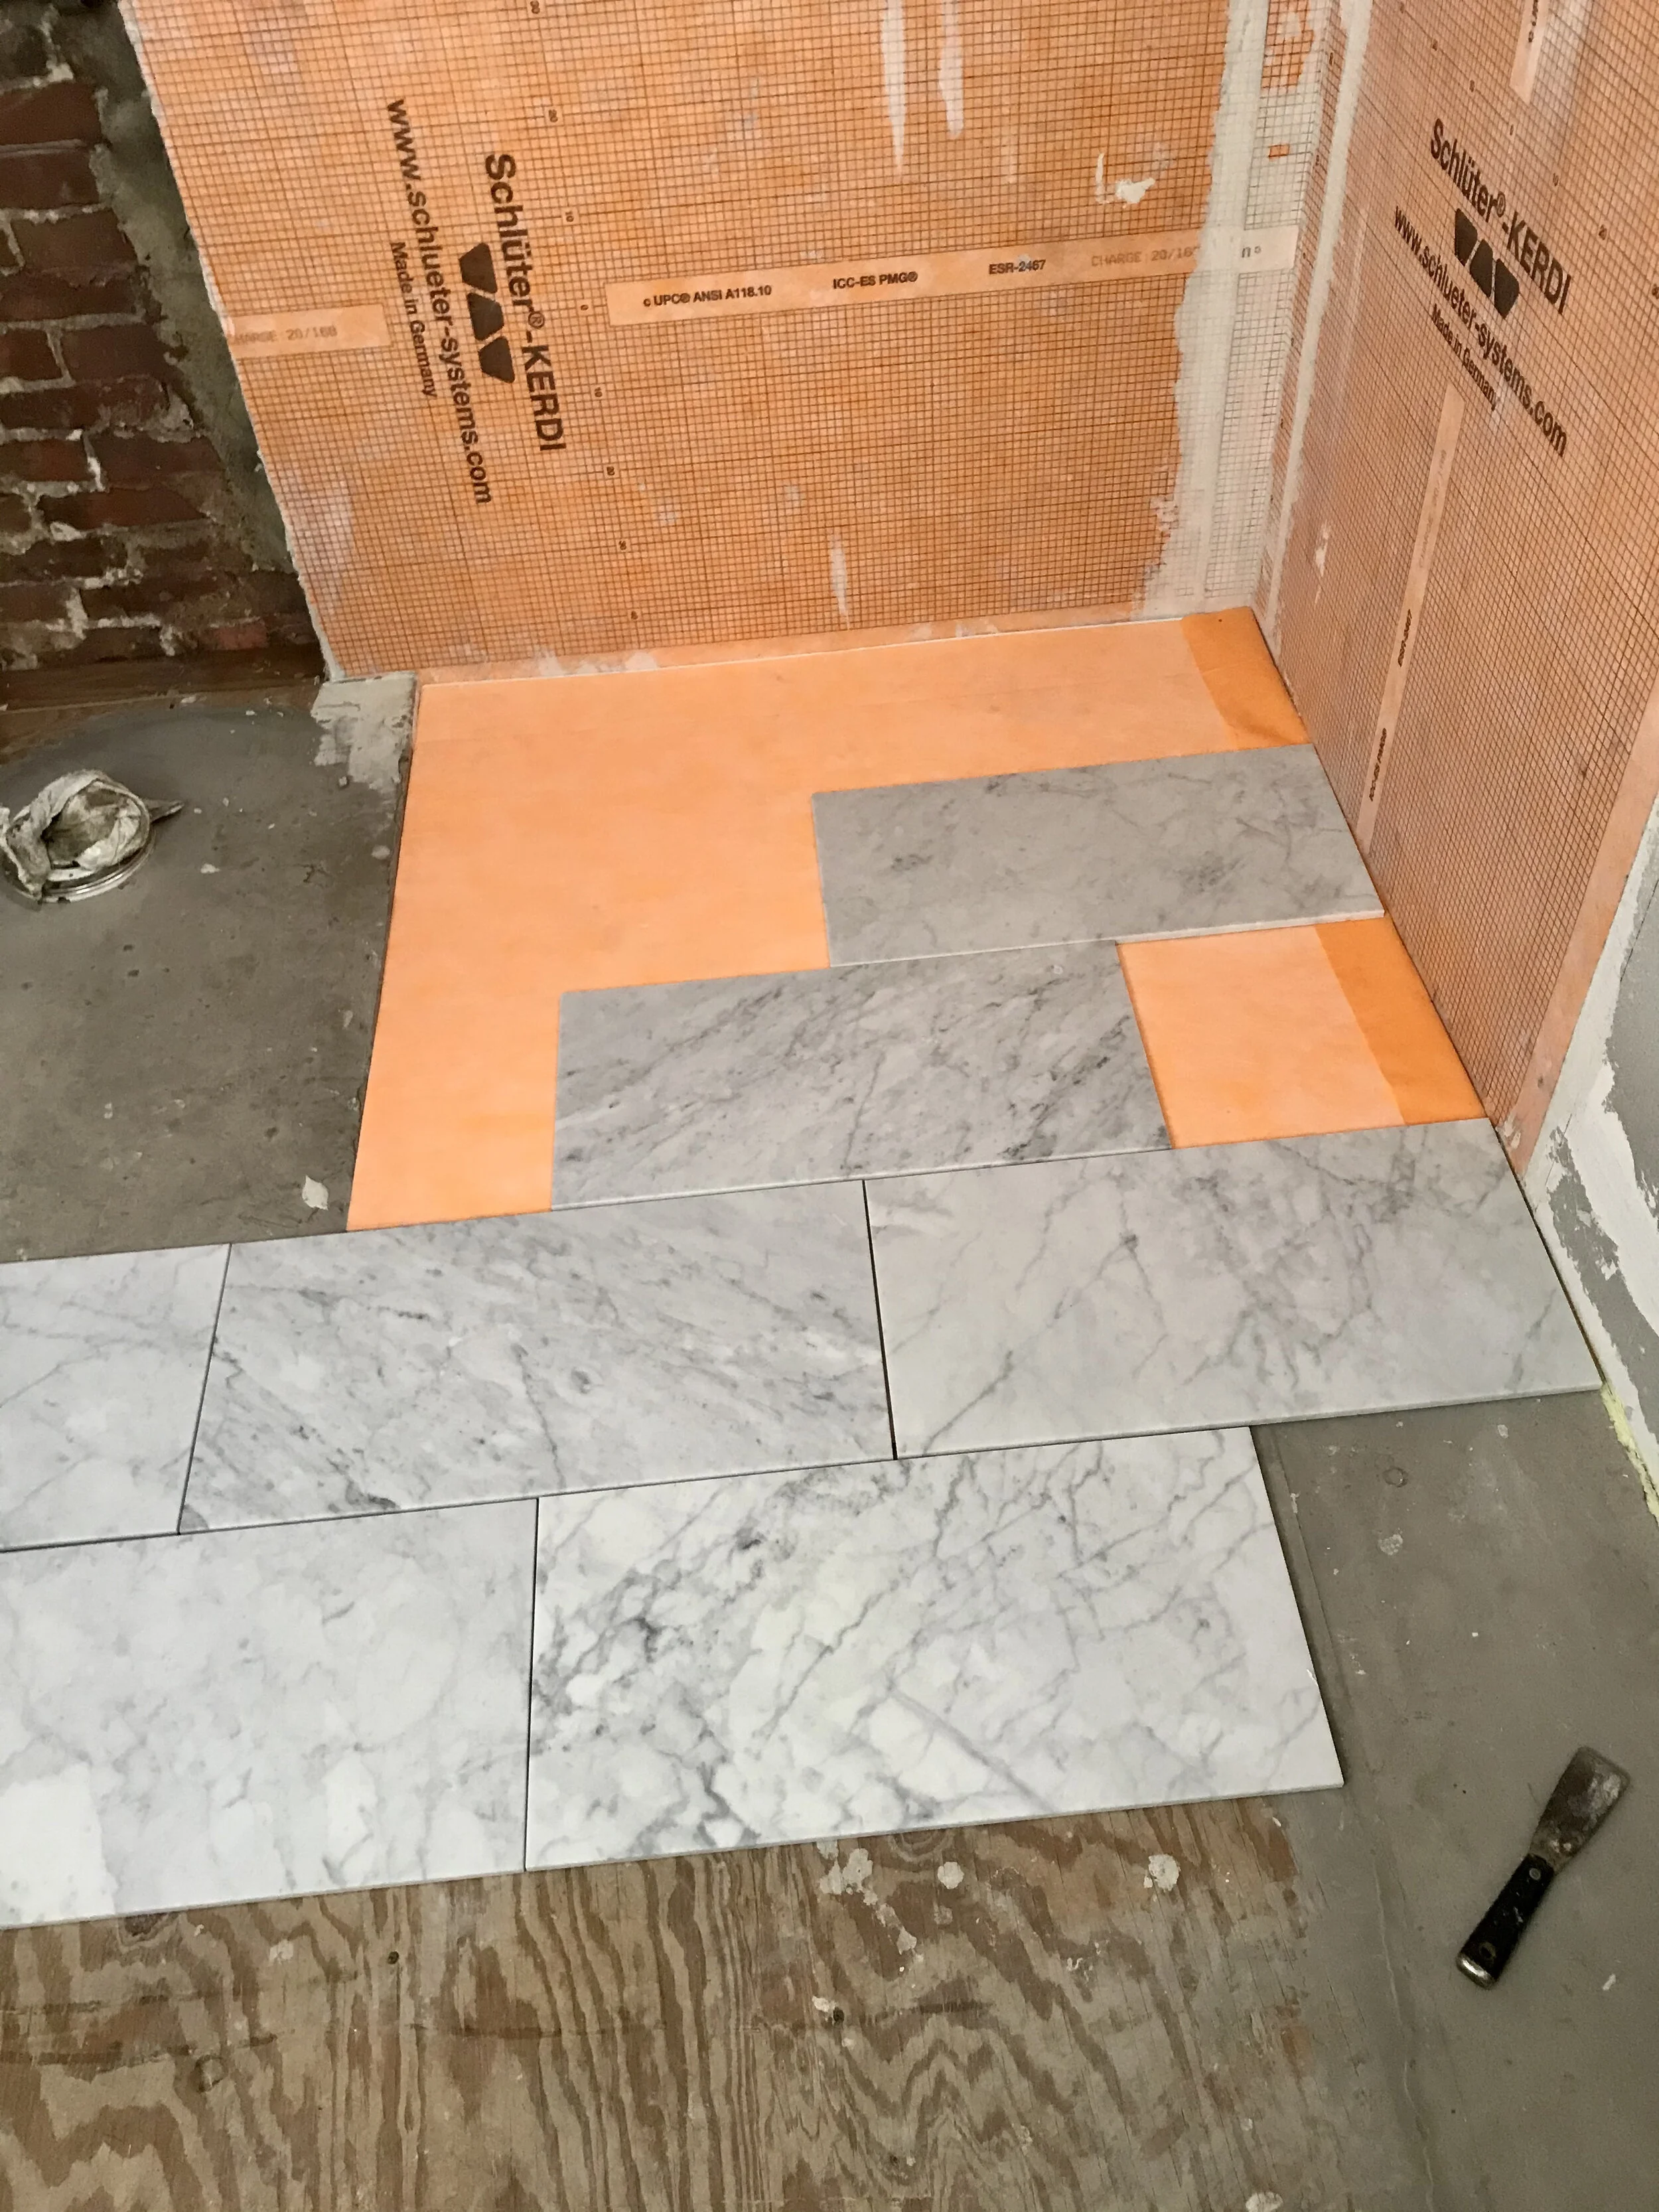
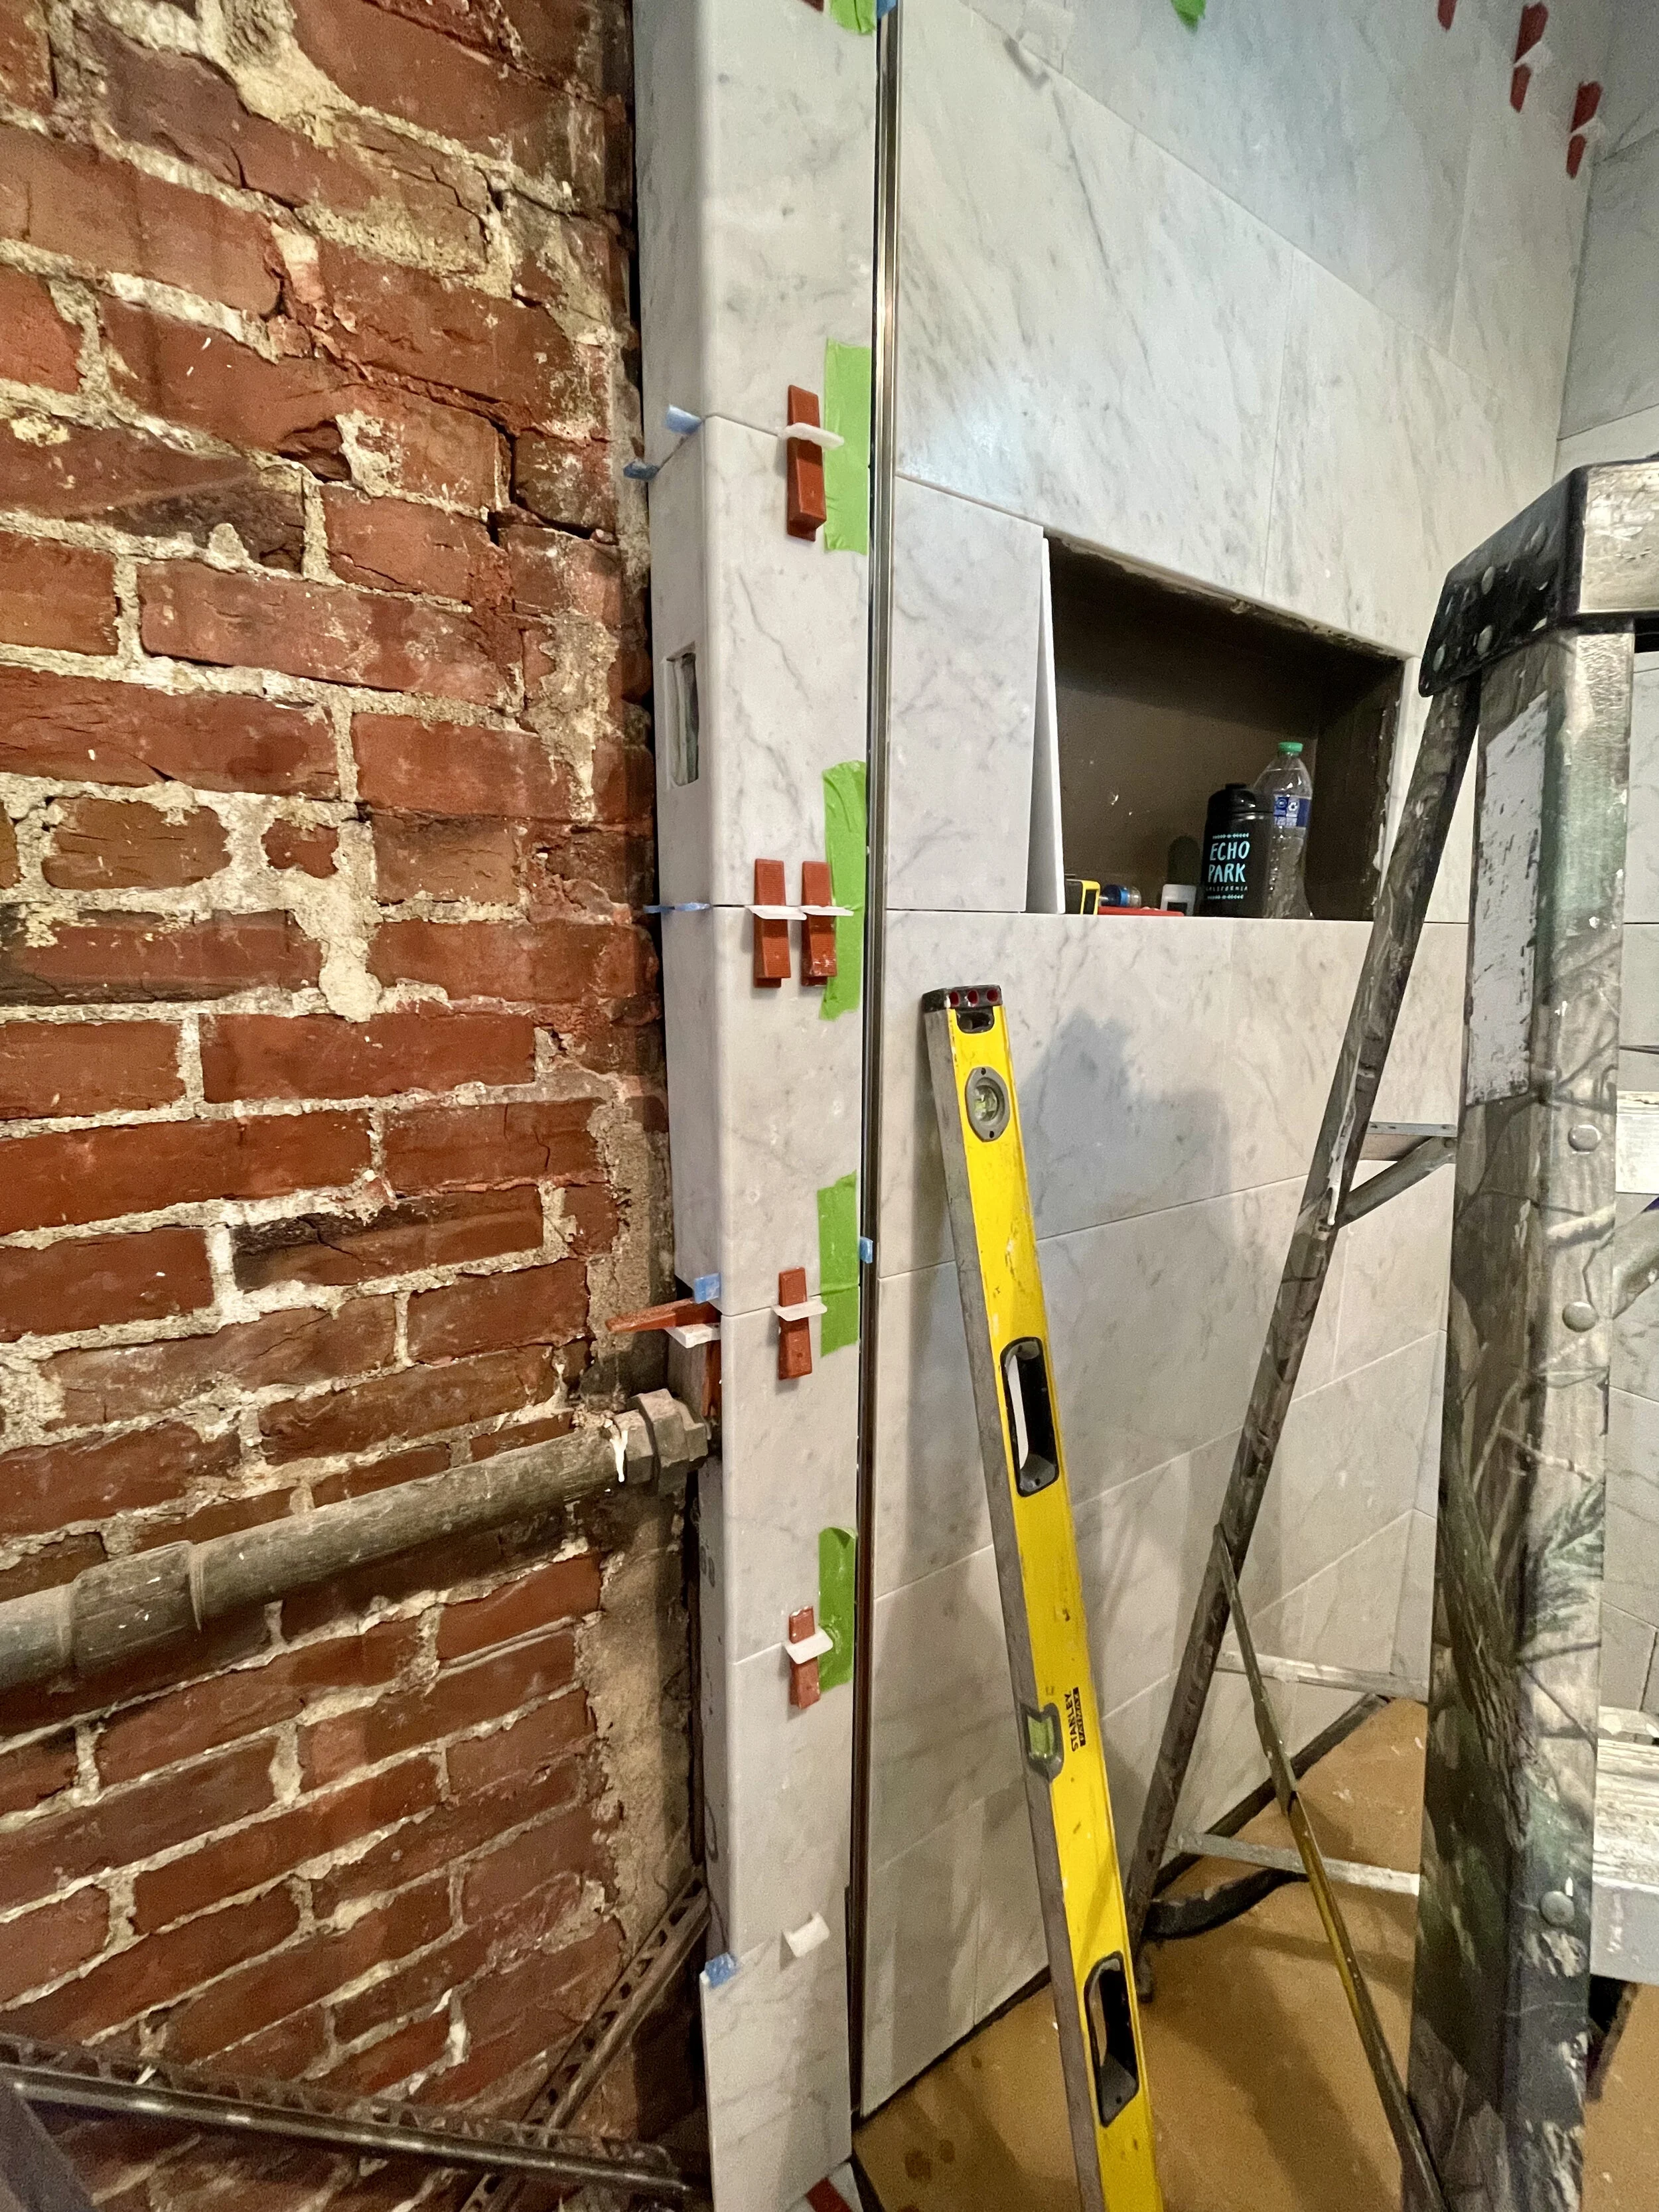
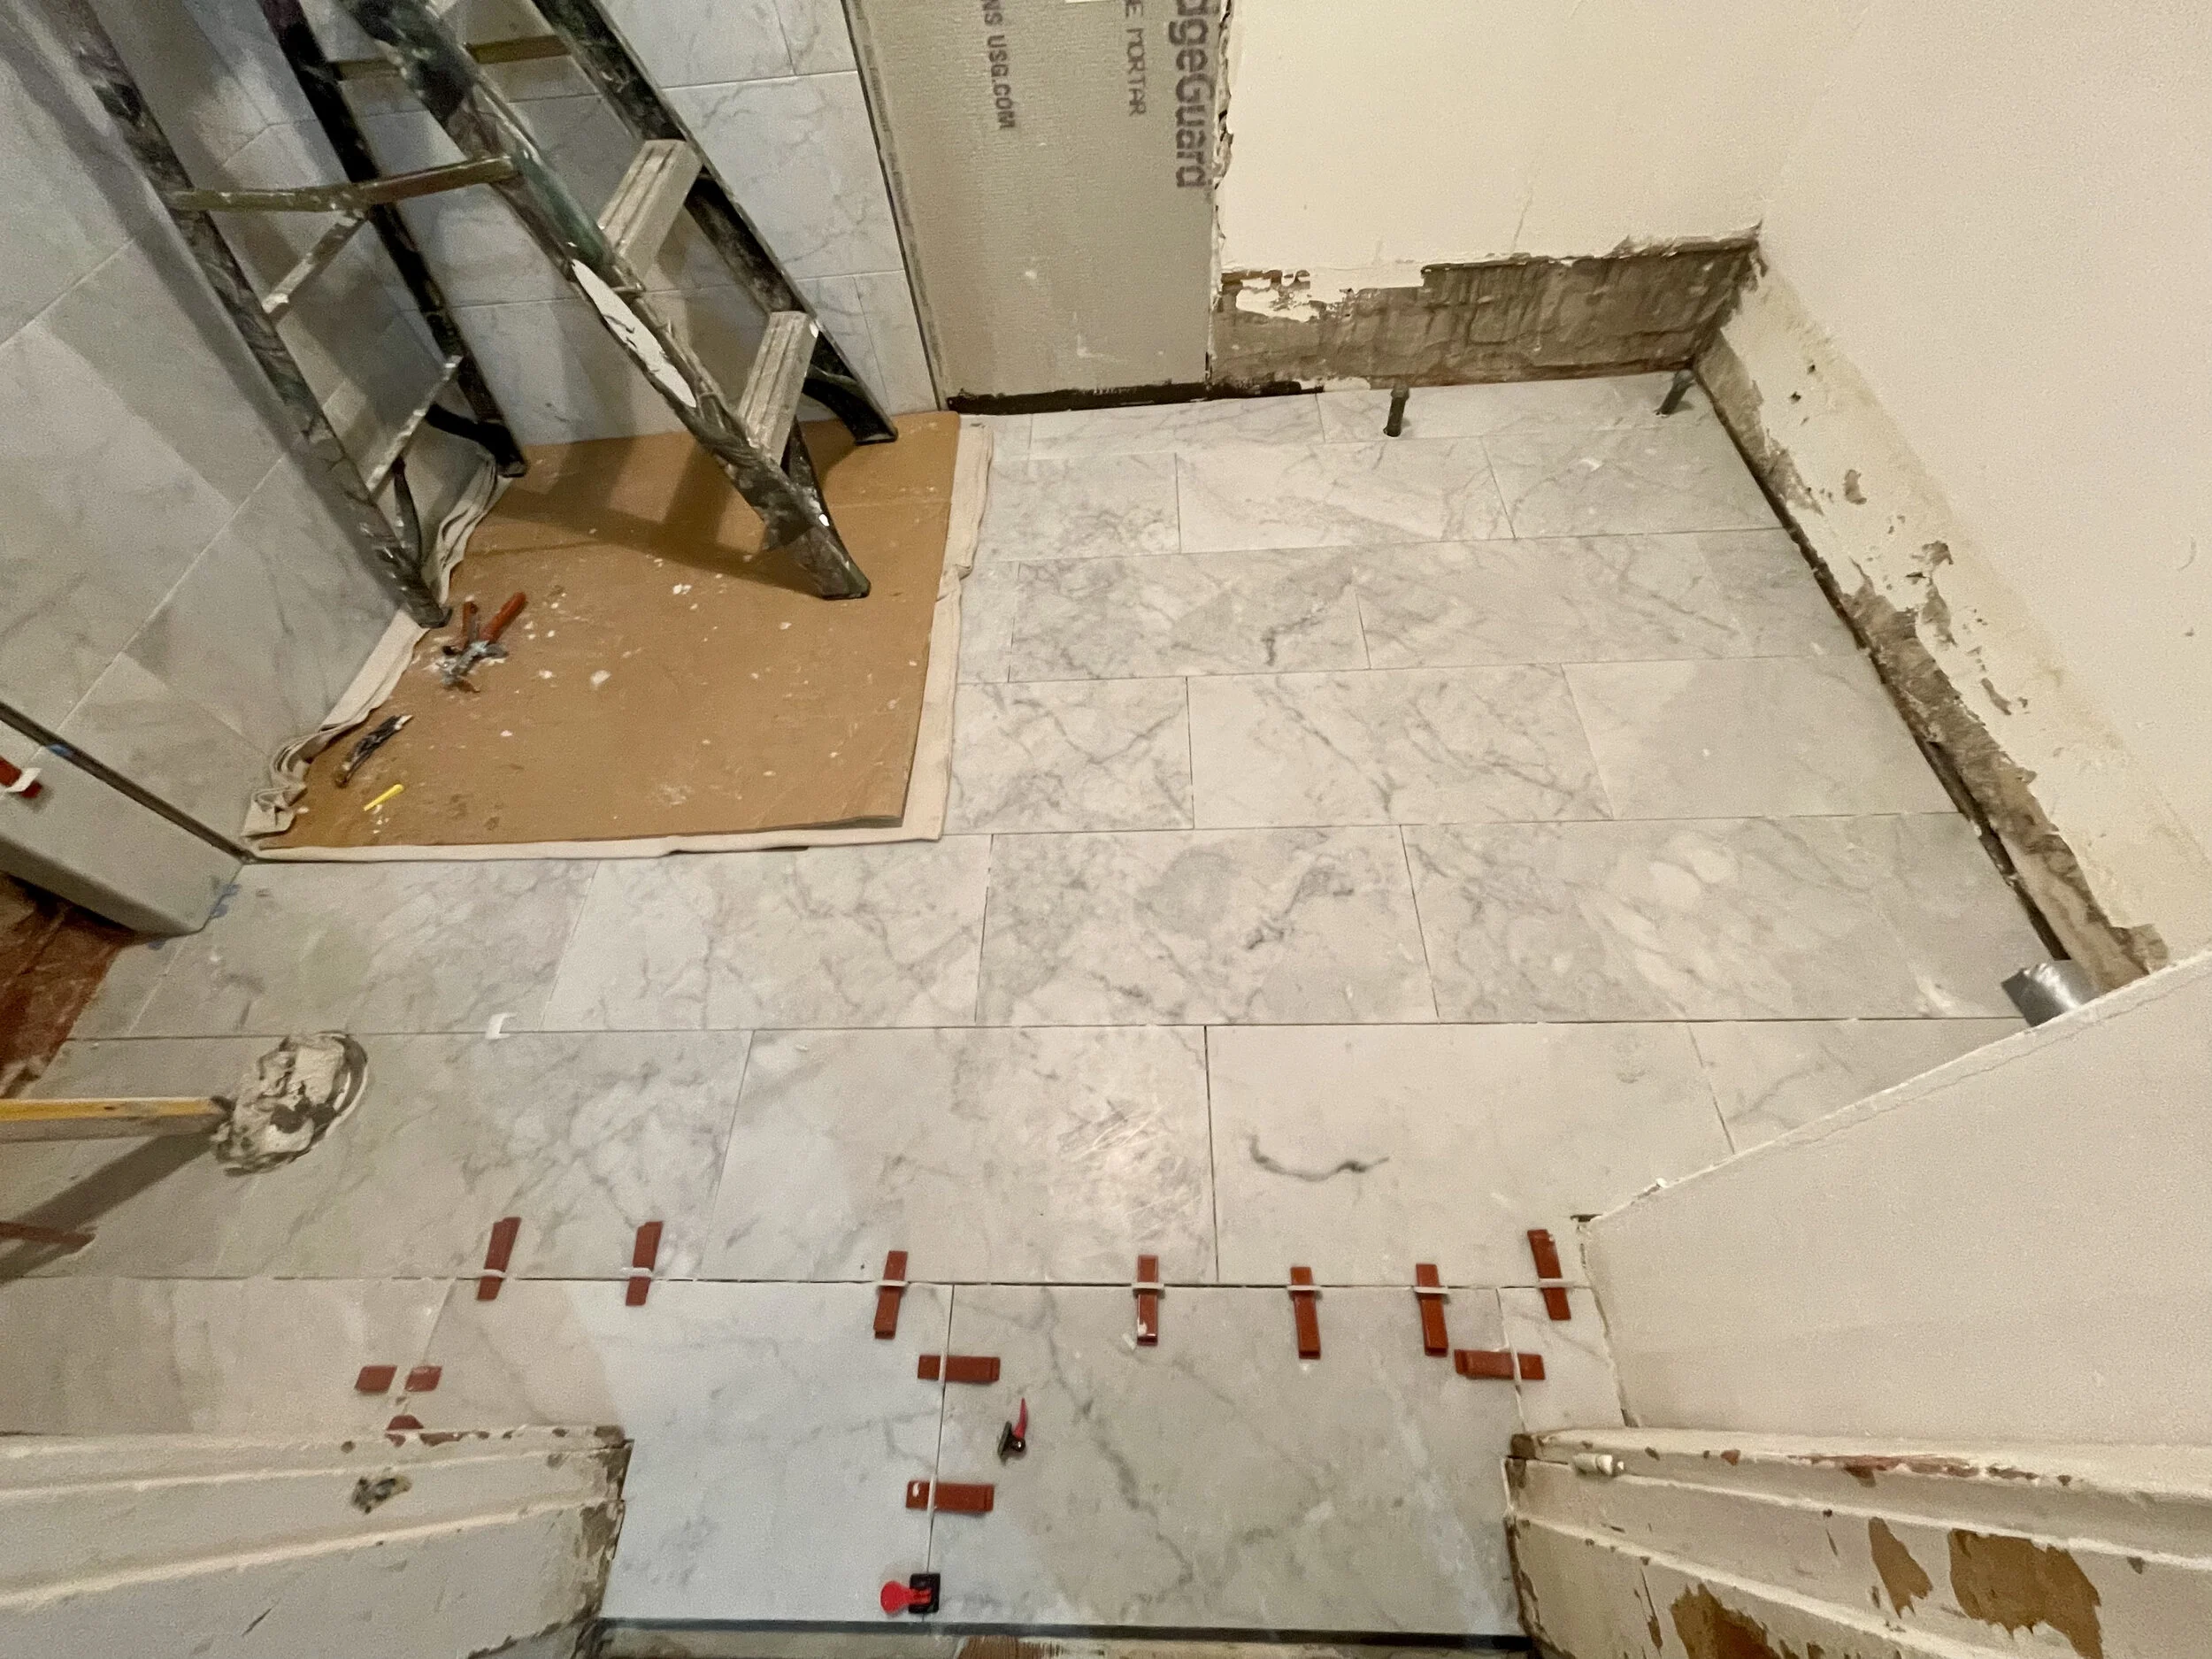
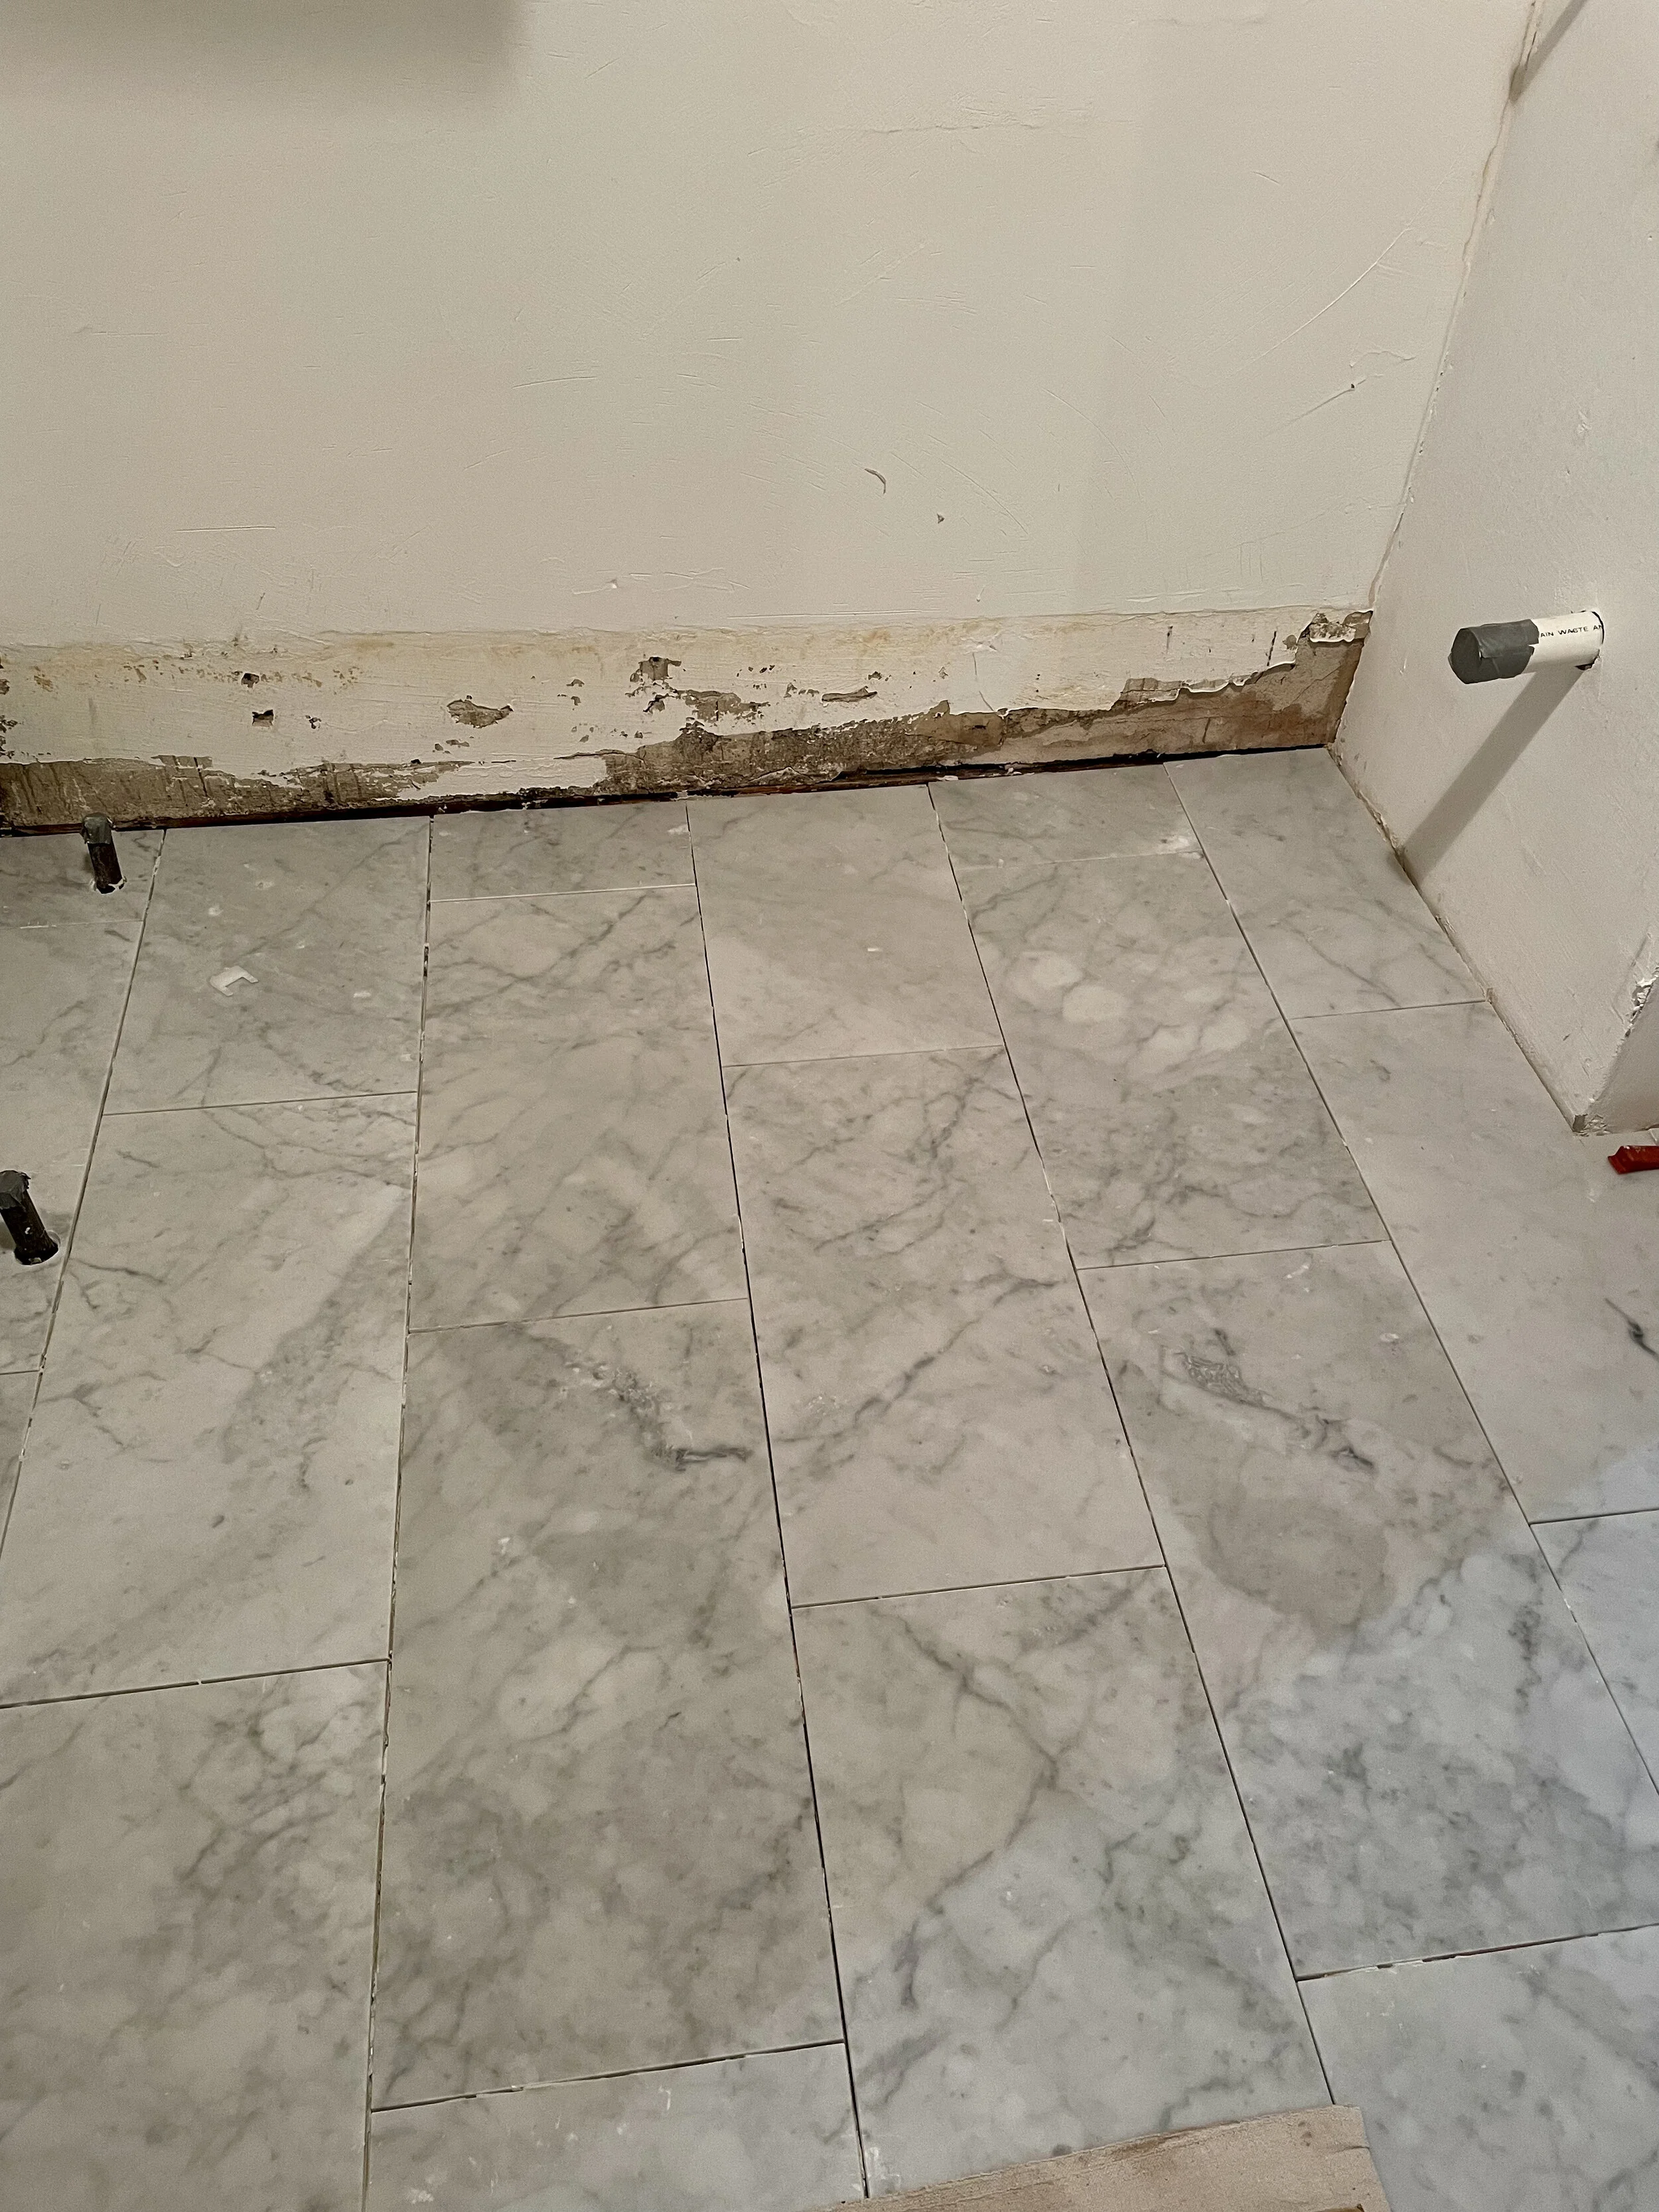
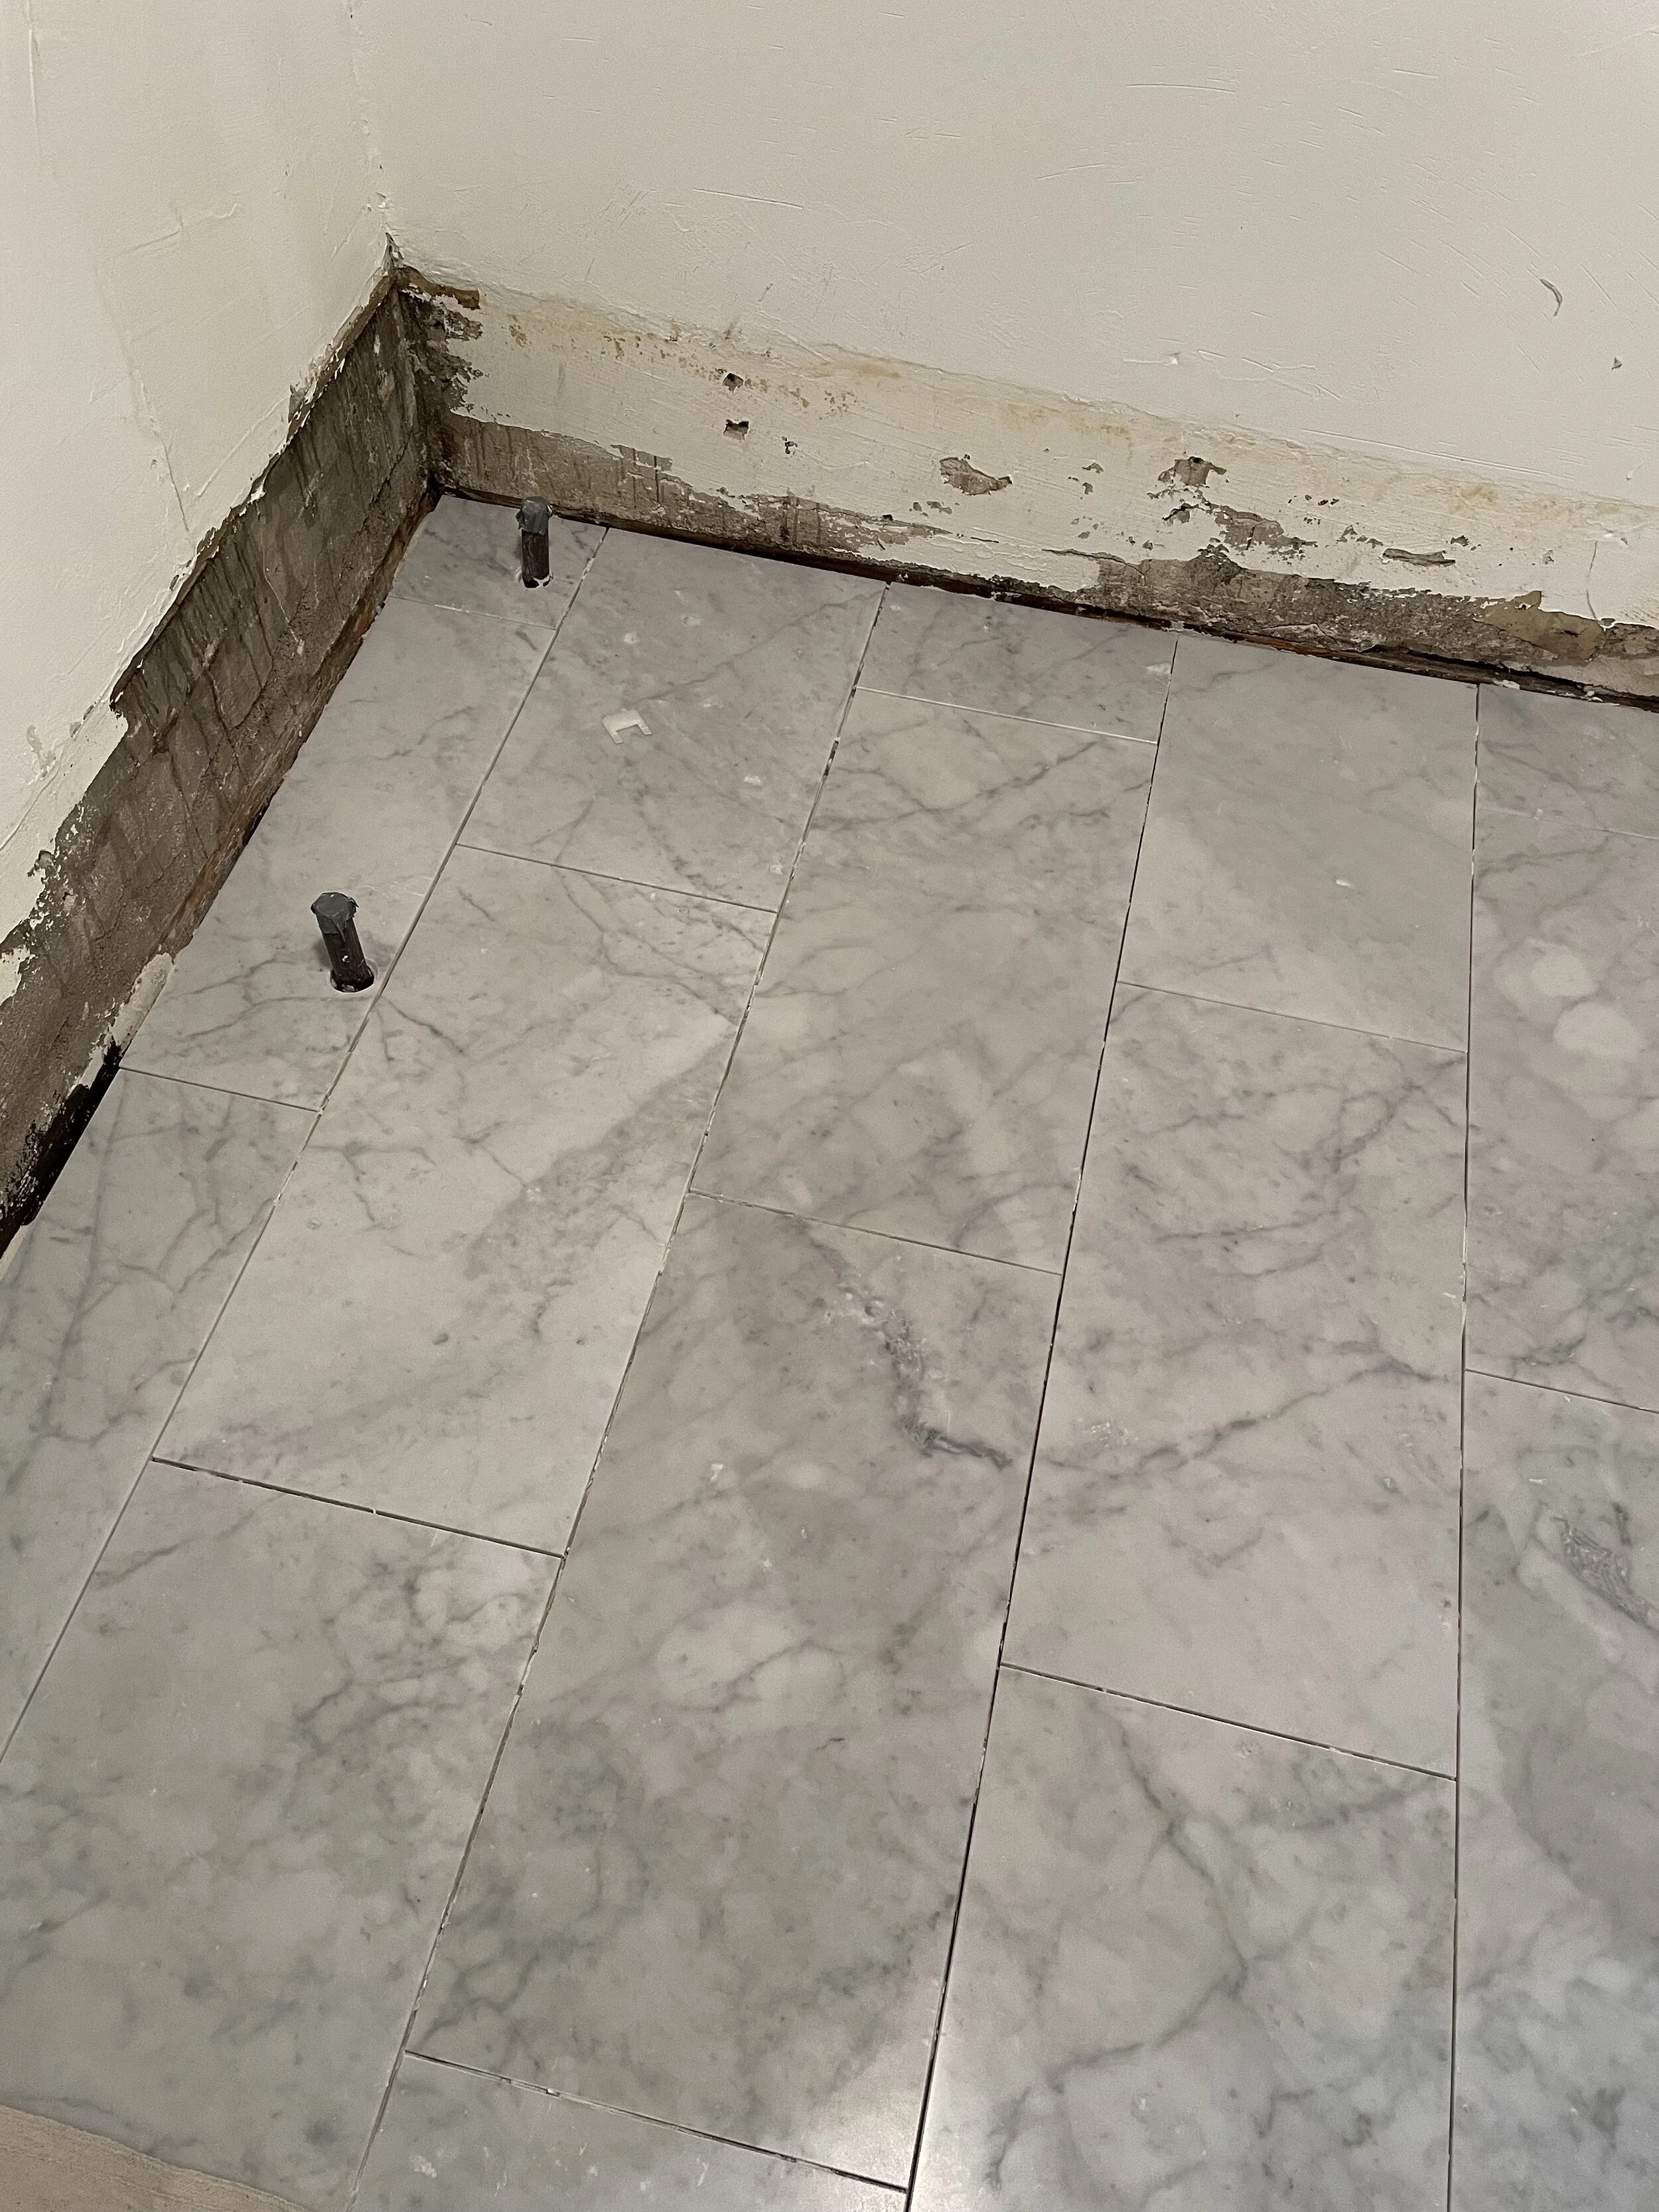
Developing the best layout for 12”x24” honed Bianco Carrara tile.
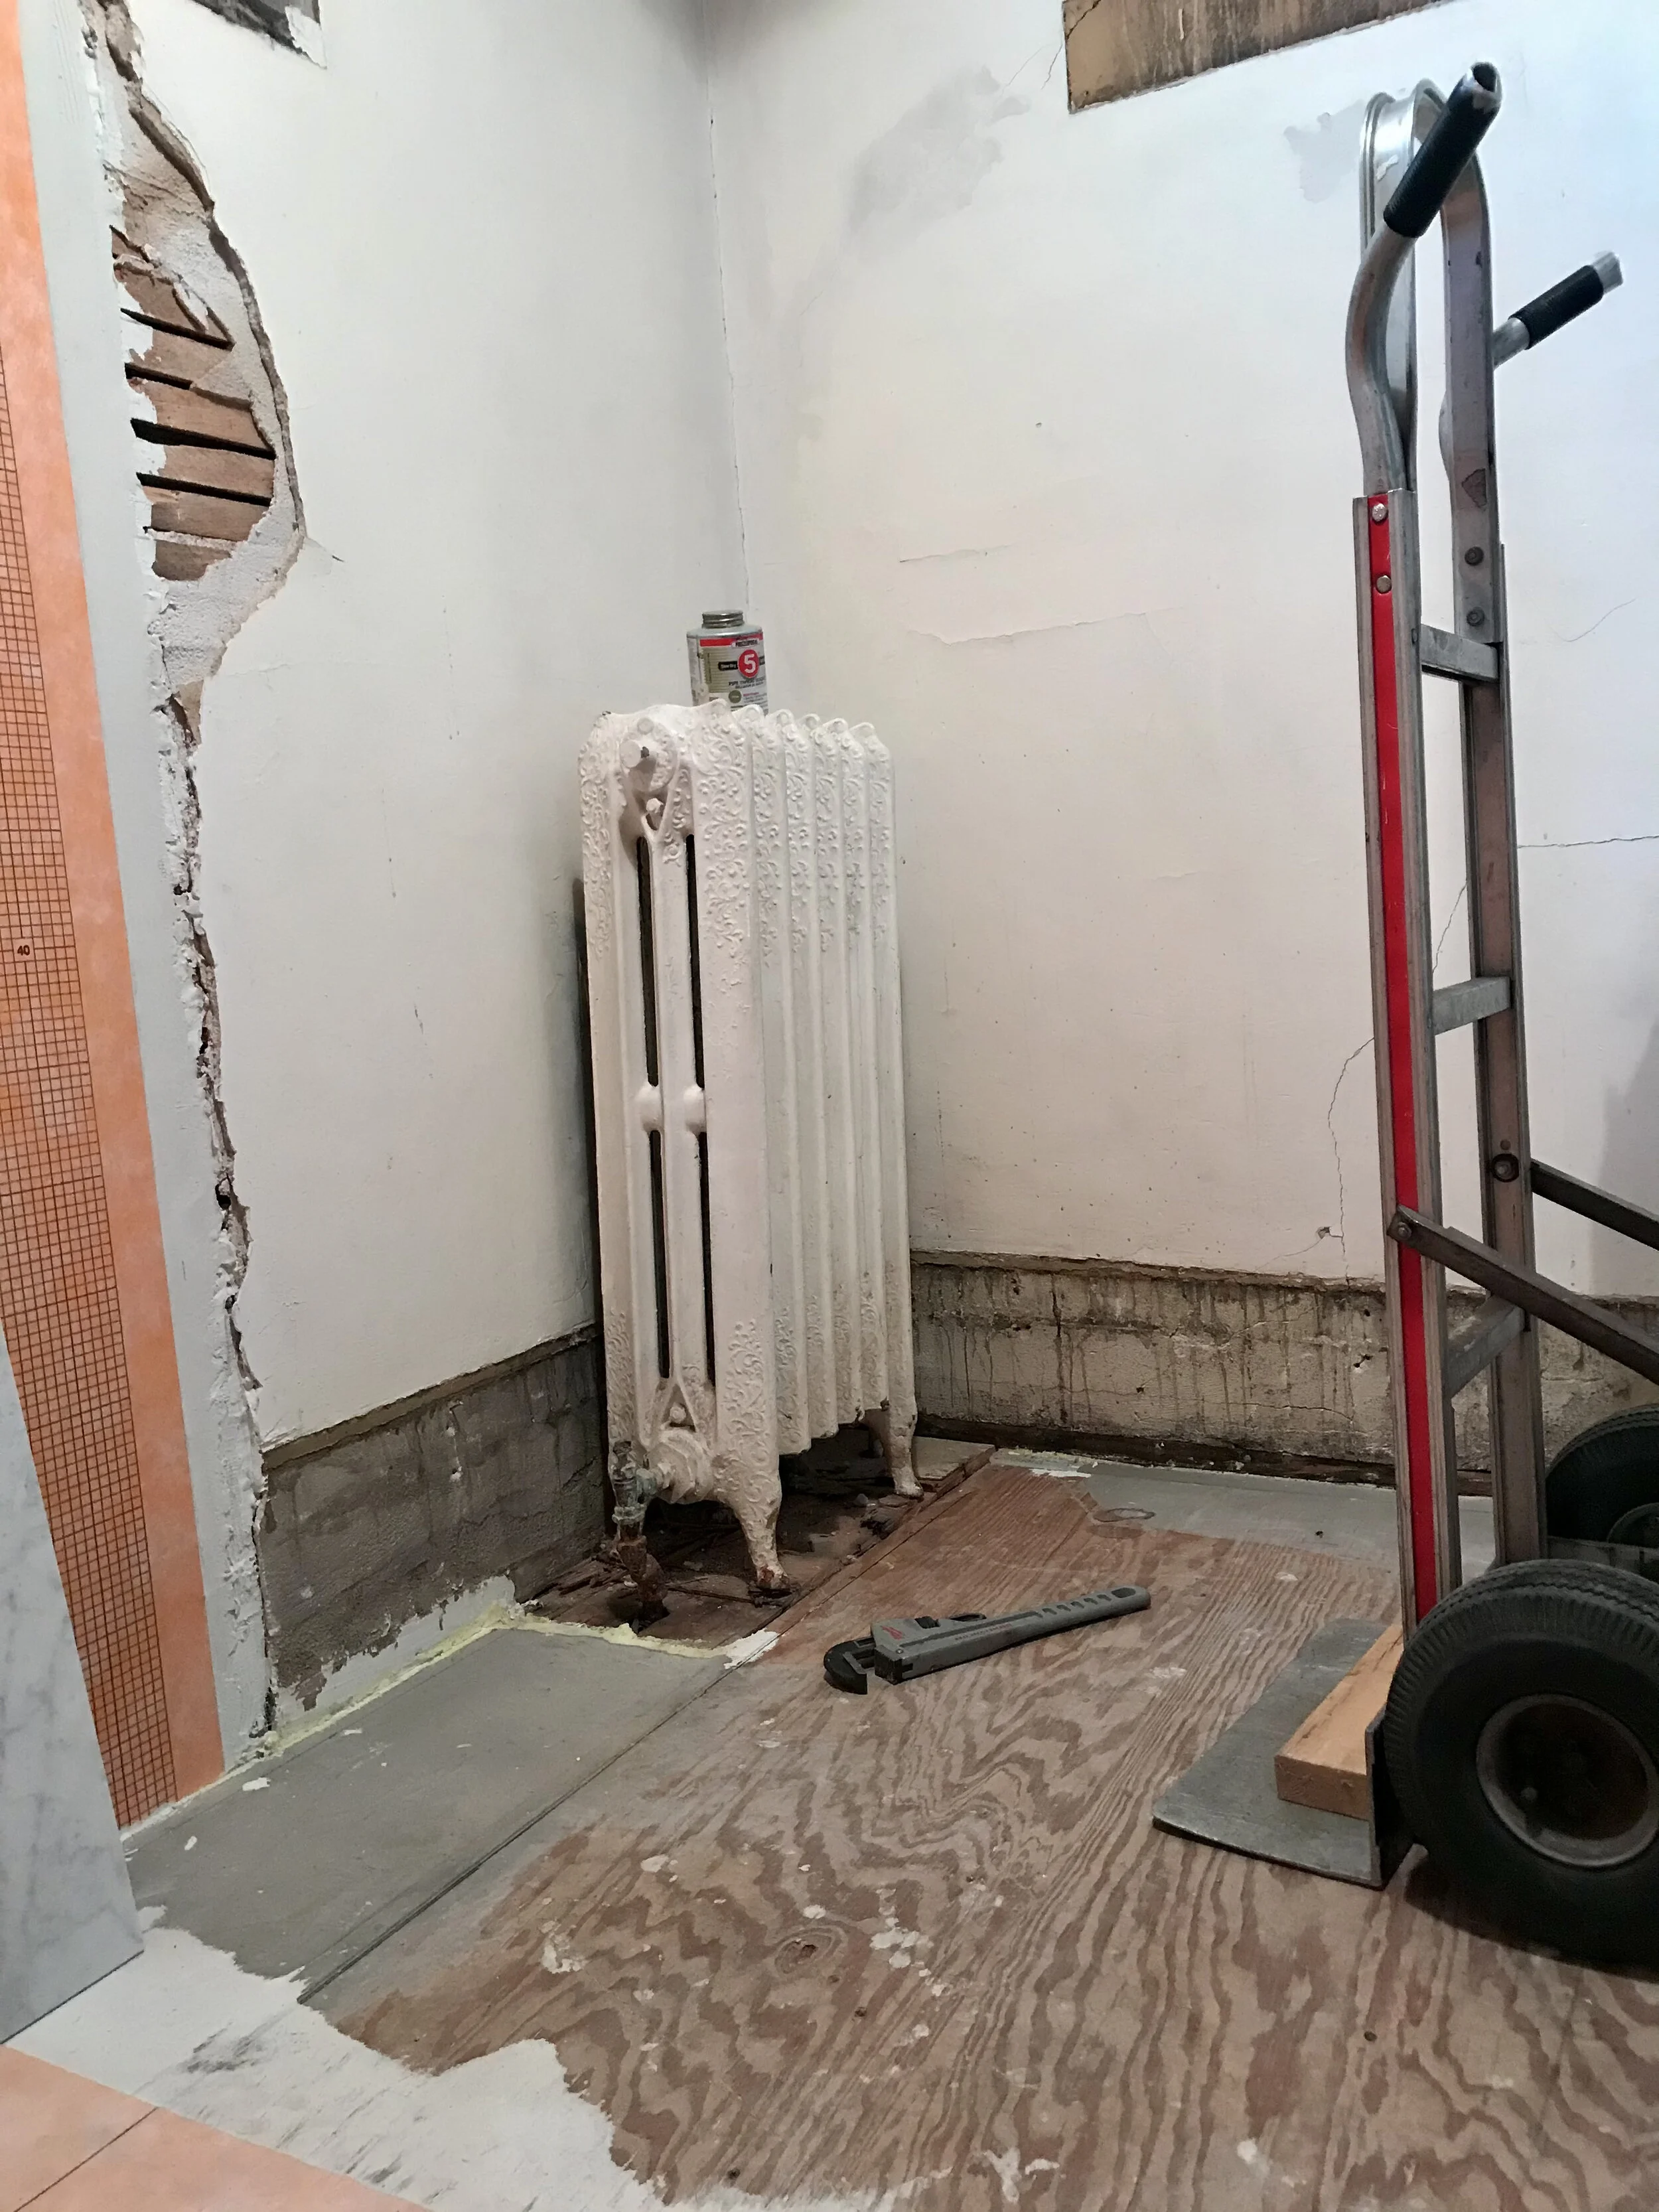
Boiler professionals preparing to remove radiator.
Flooring insulated ‘neath radiator.
Slope ‘neath radiator corrected.
First coat of new plaster applied to walls.
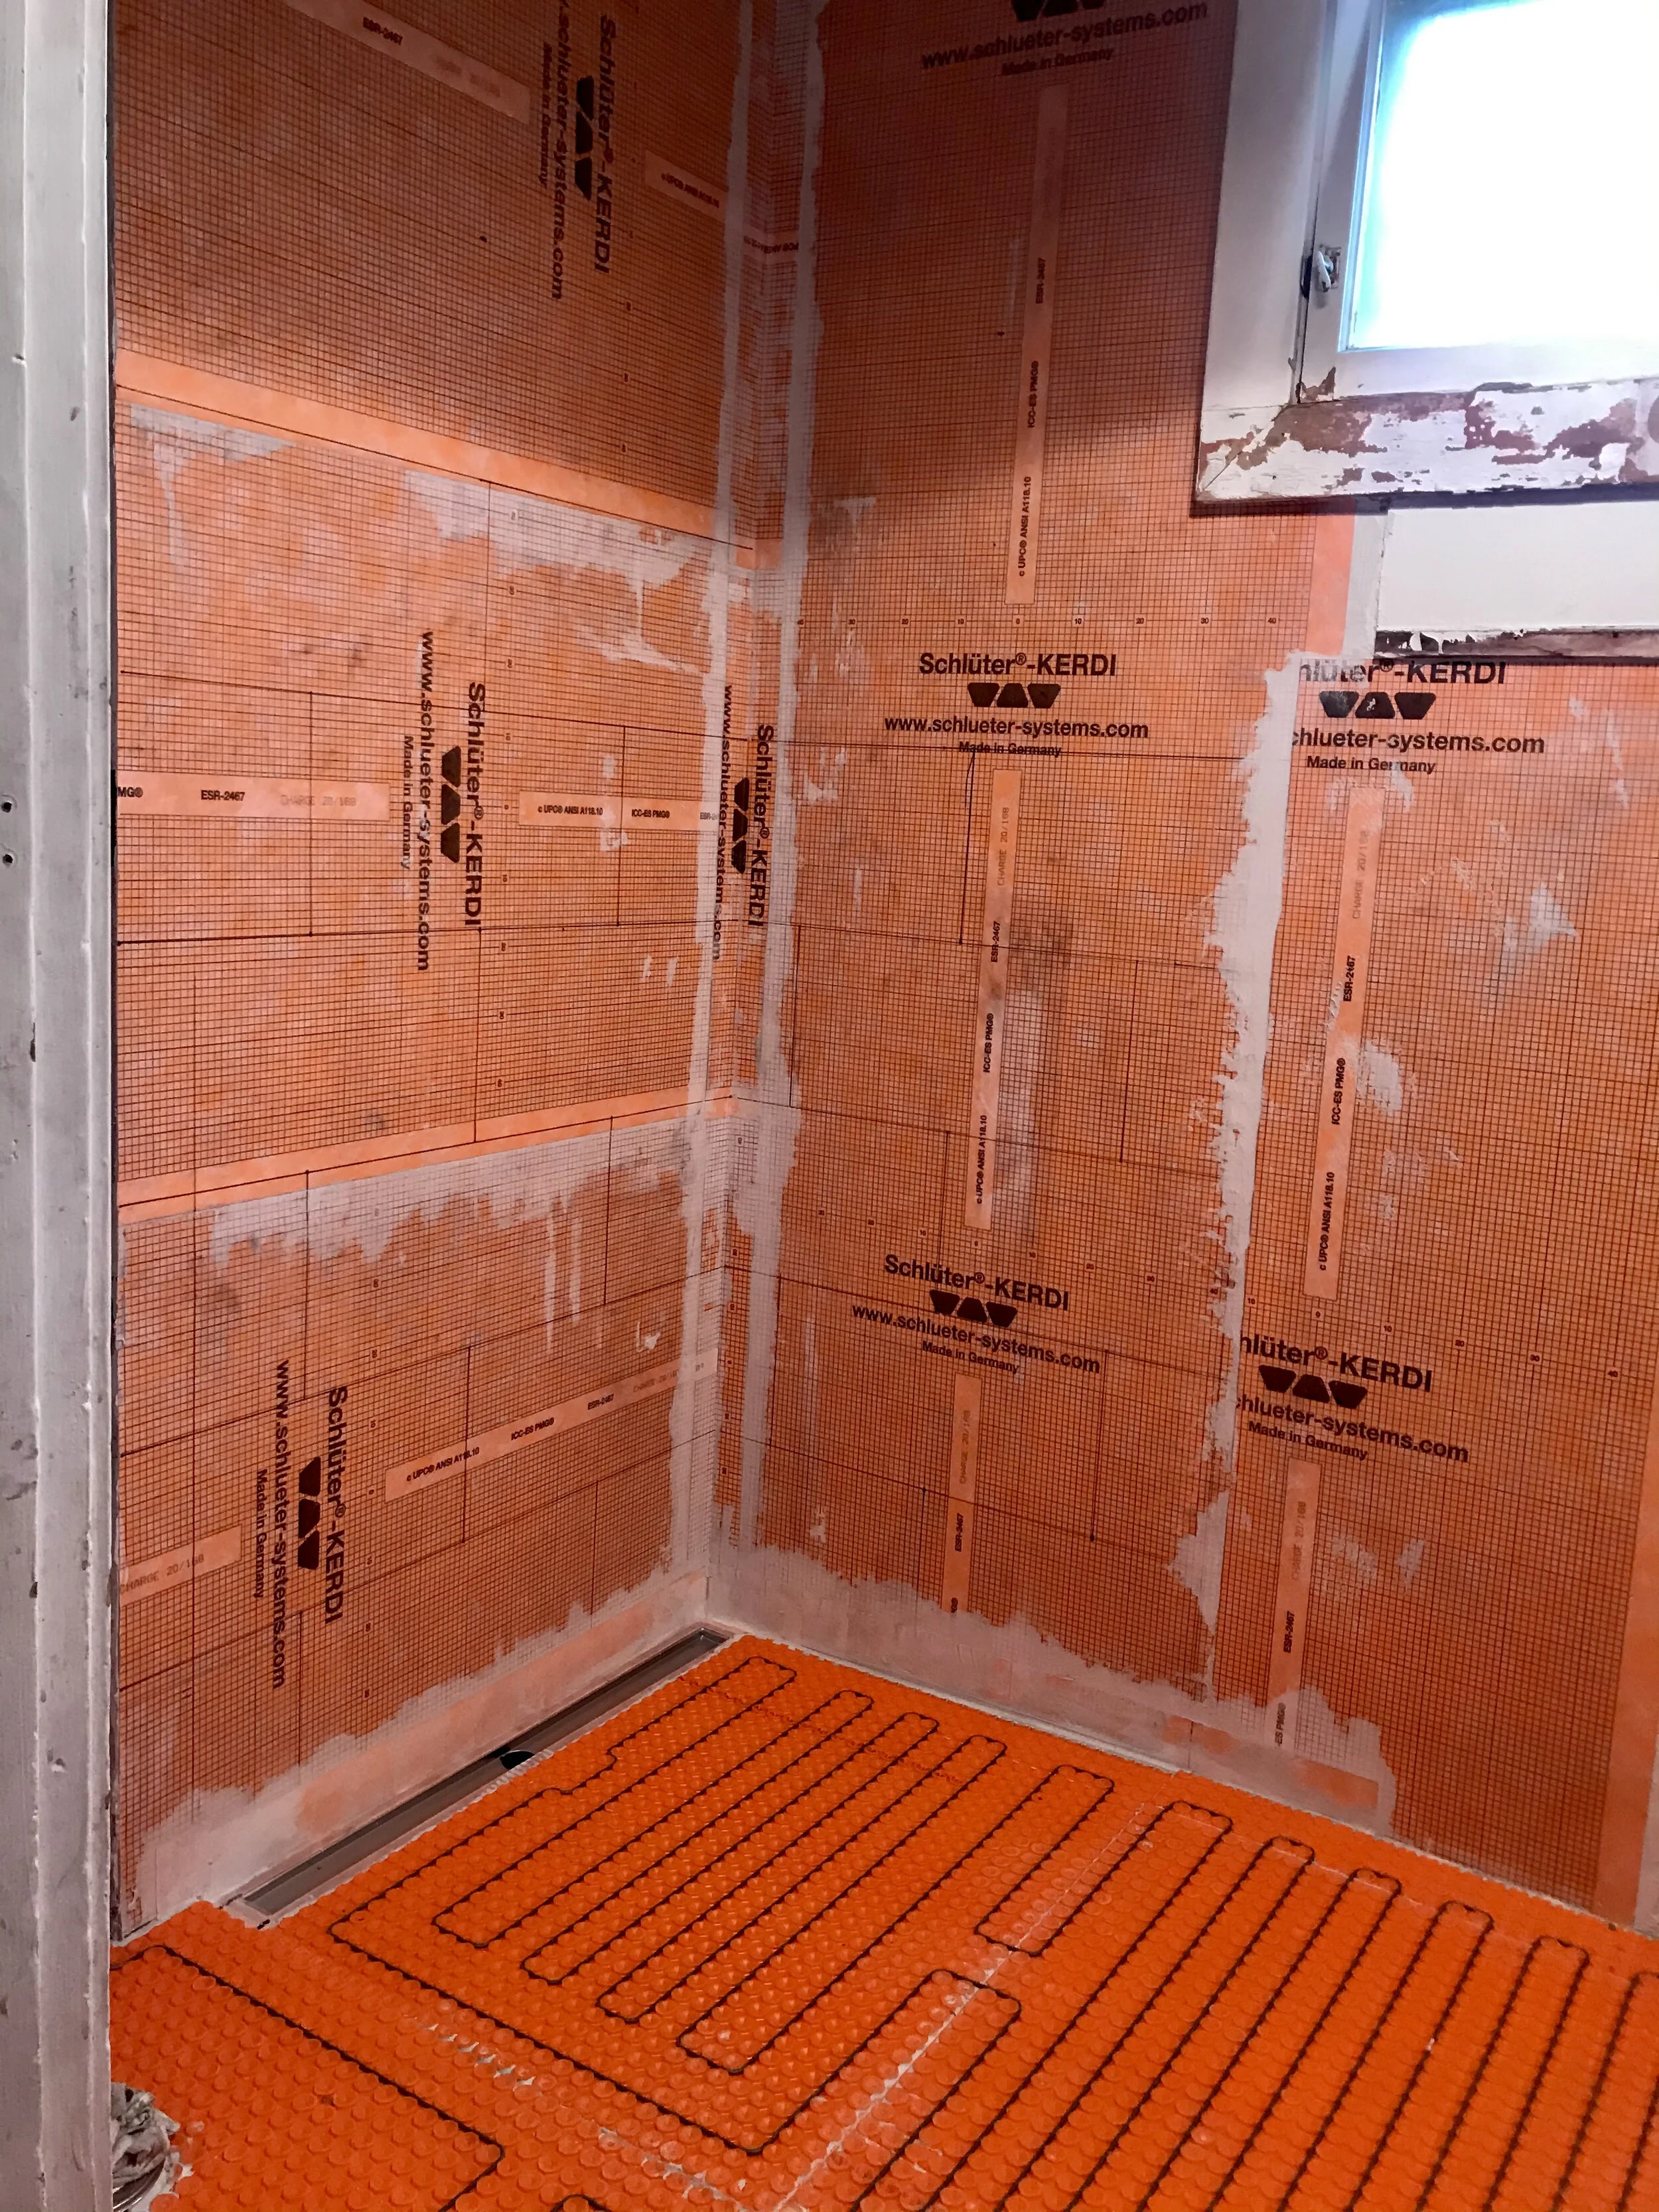
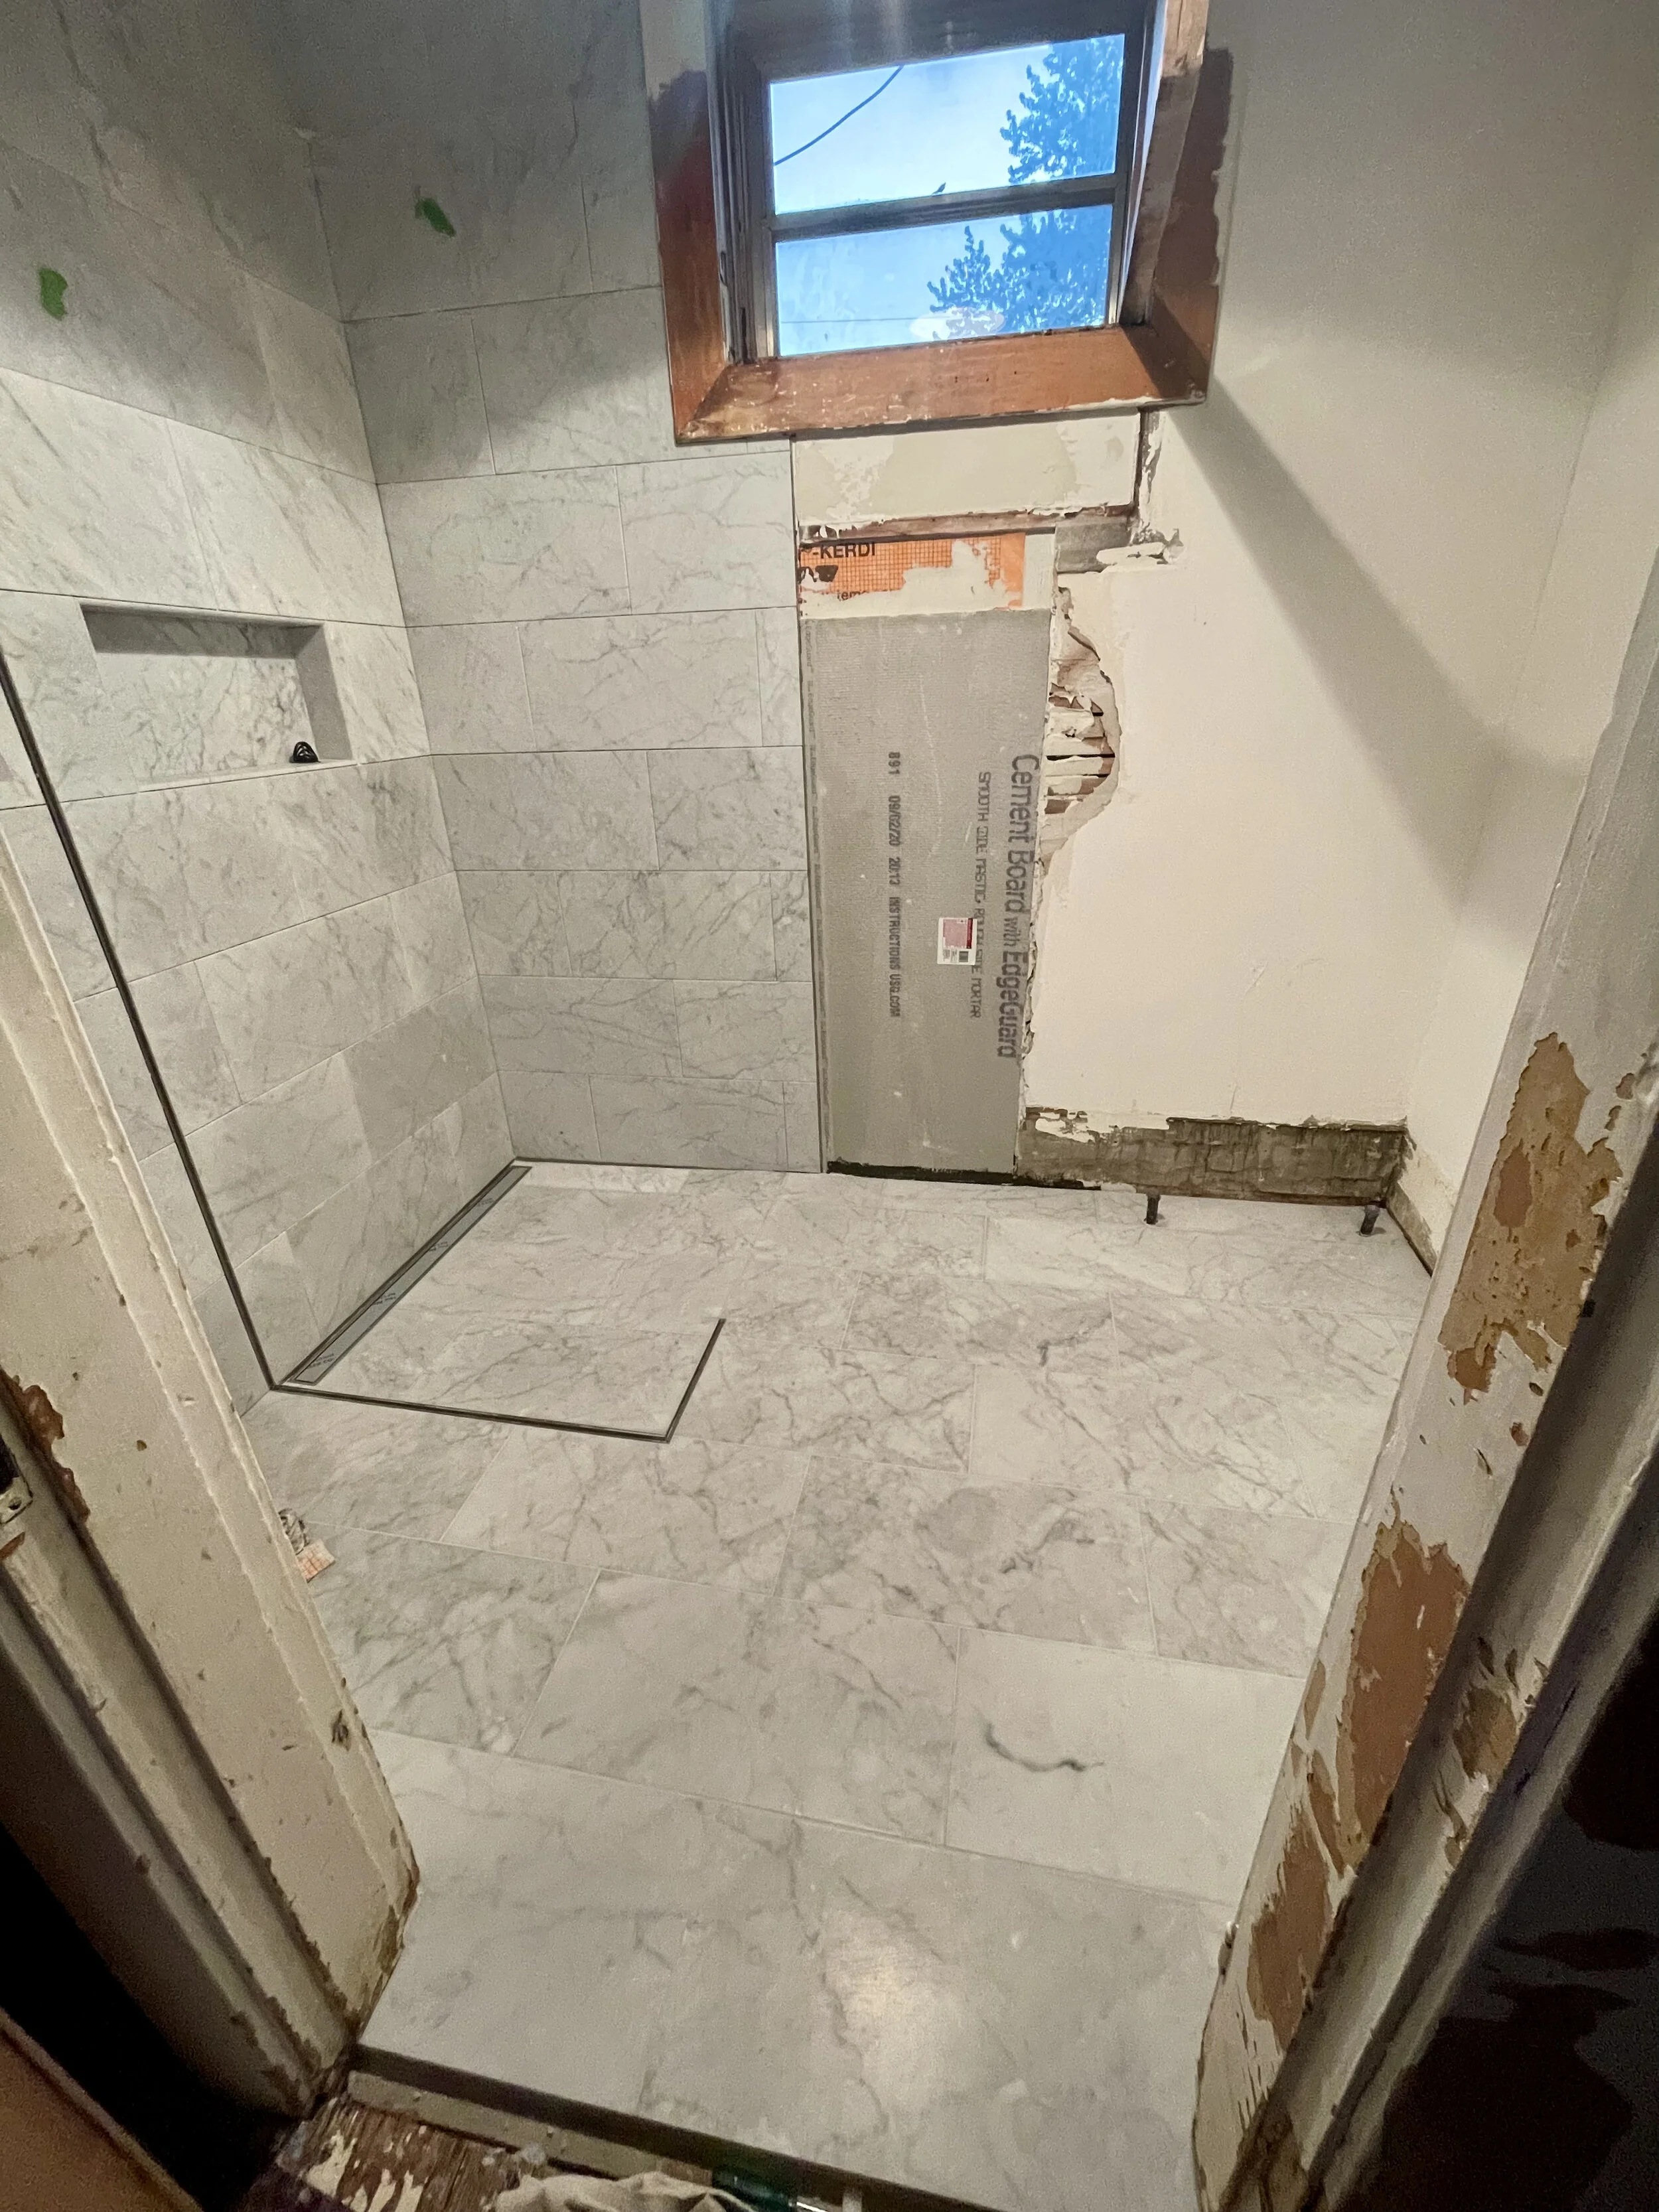
Schluter stainless steel linear drain installed. Electric heated flooring installed with Schluter Kerdi system.
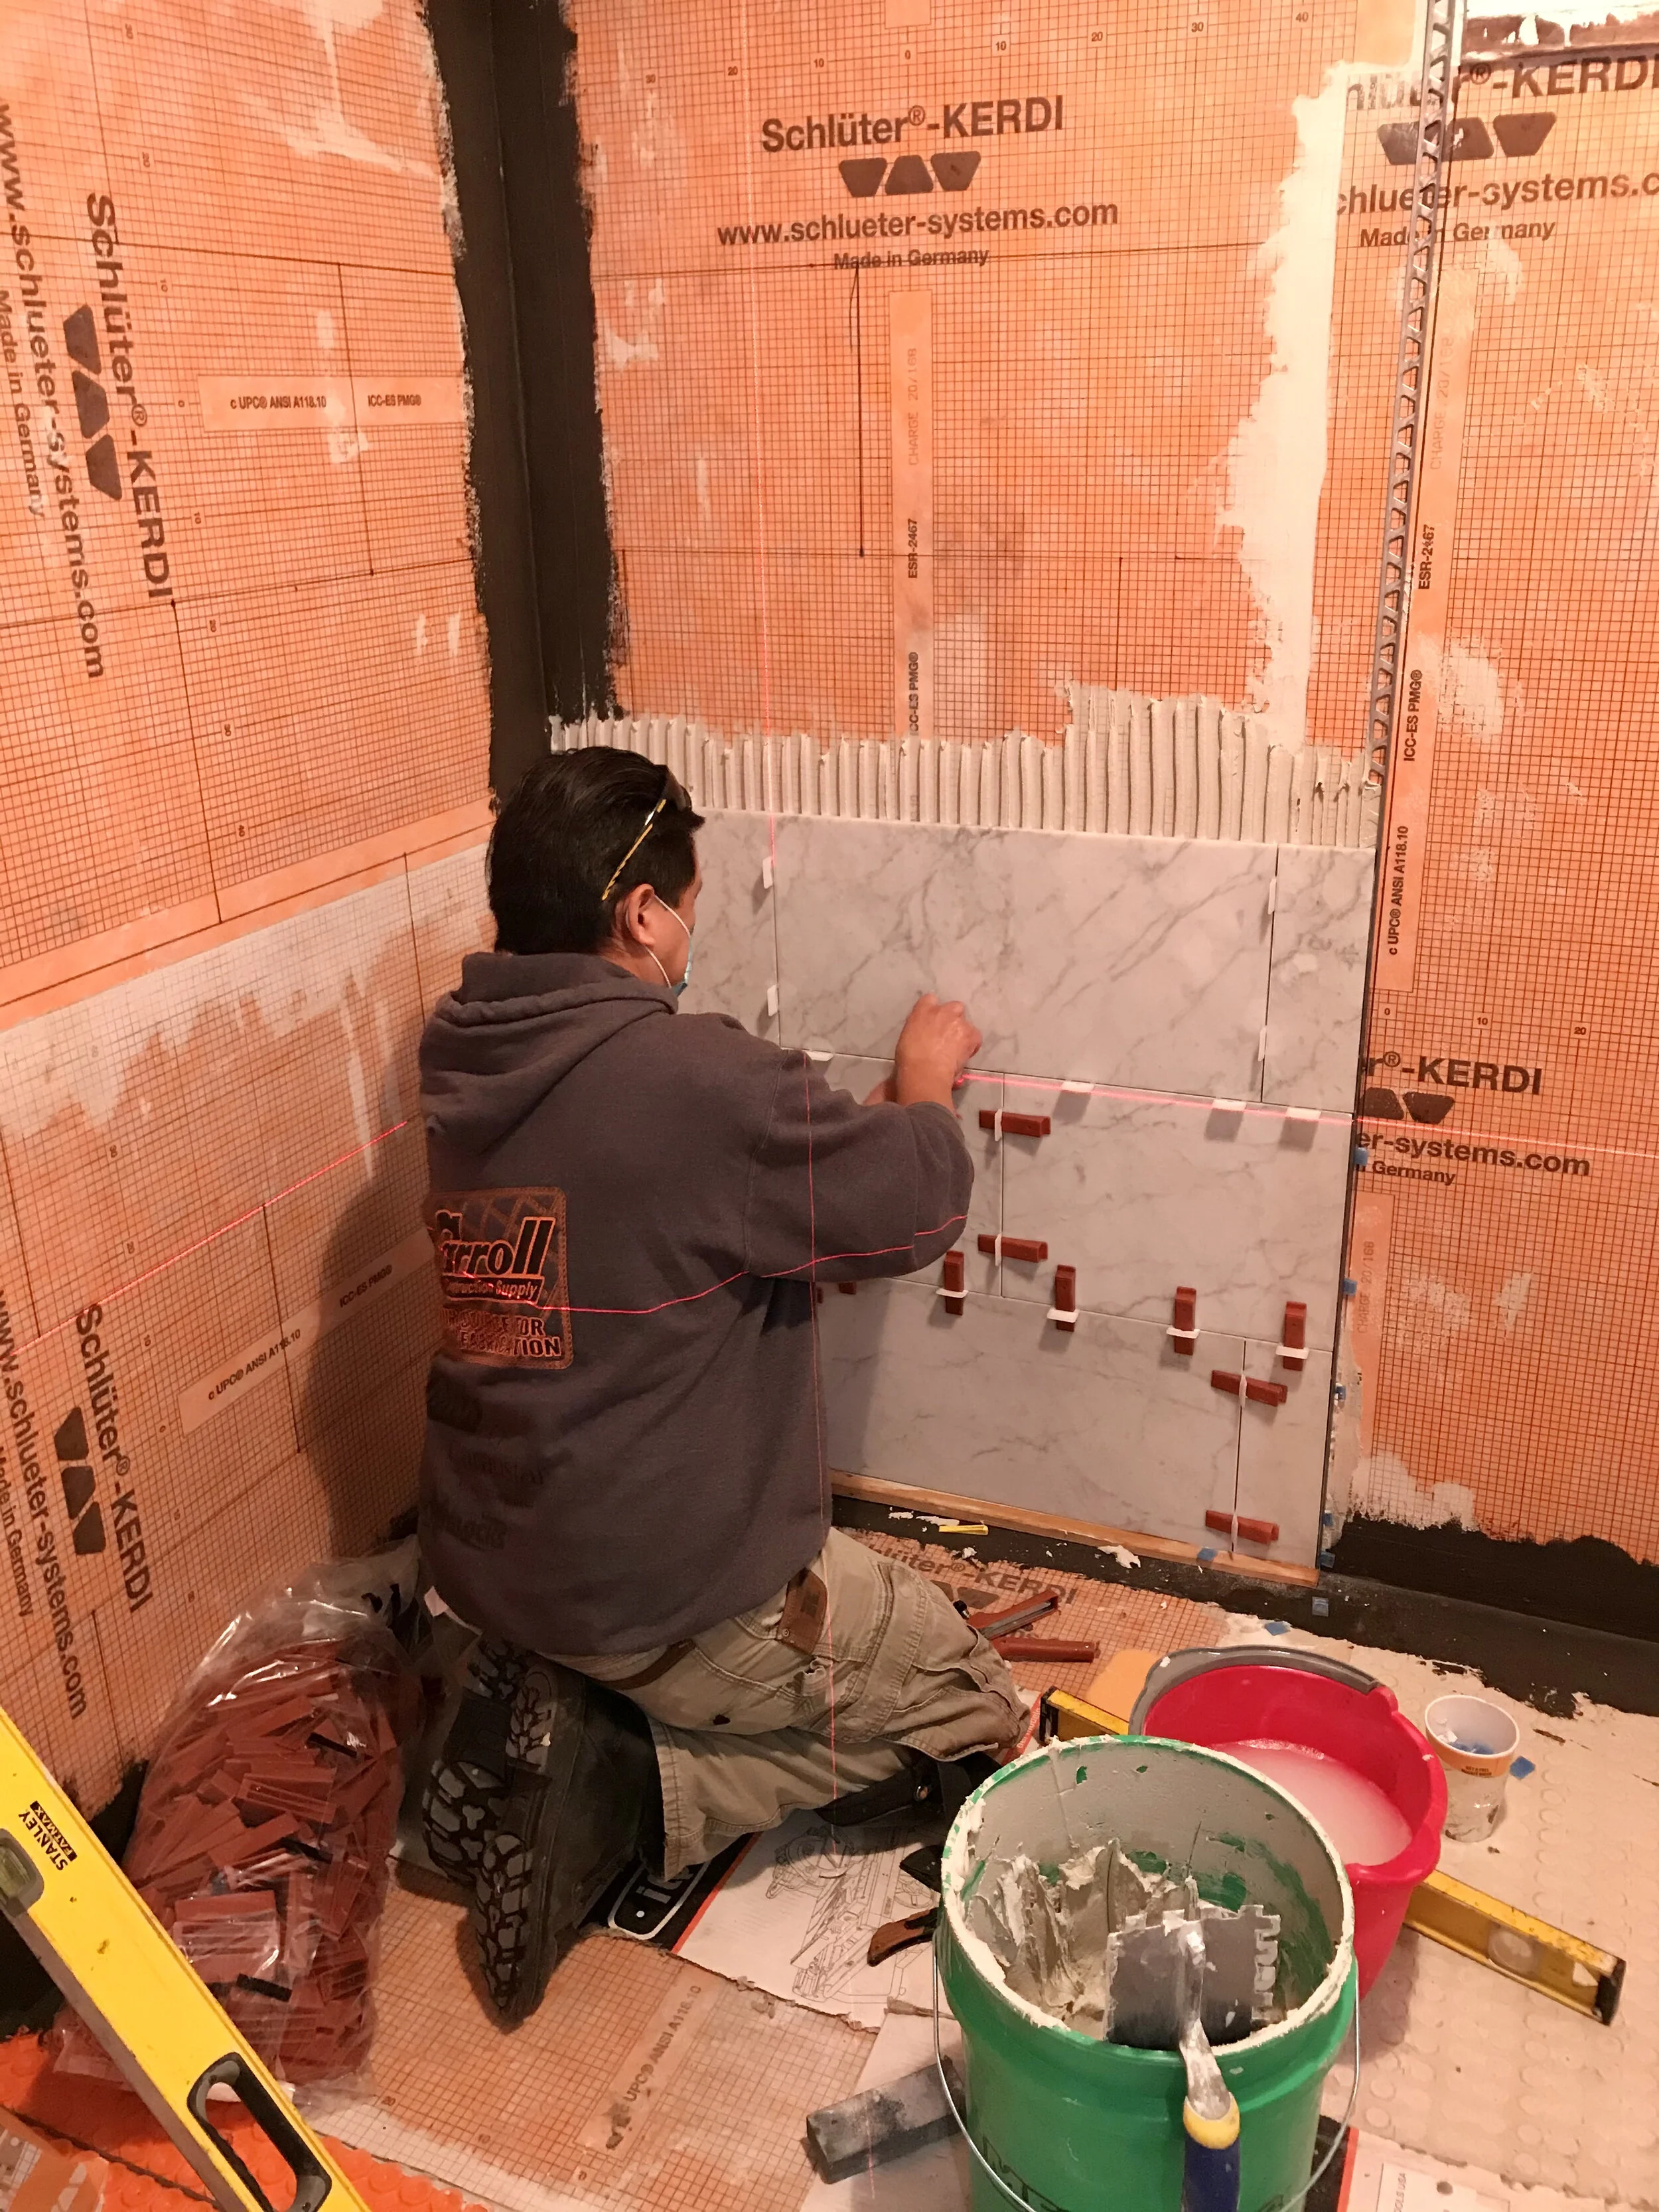
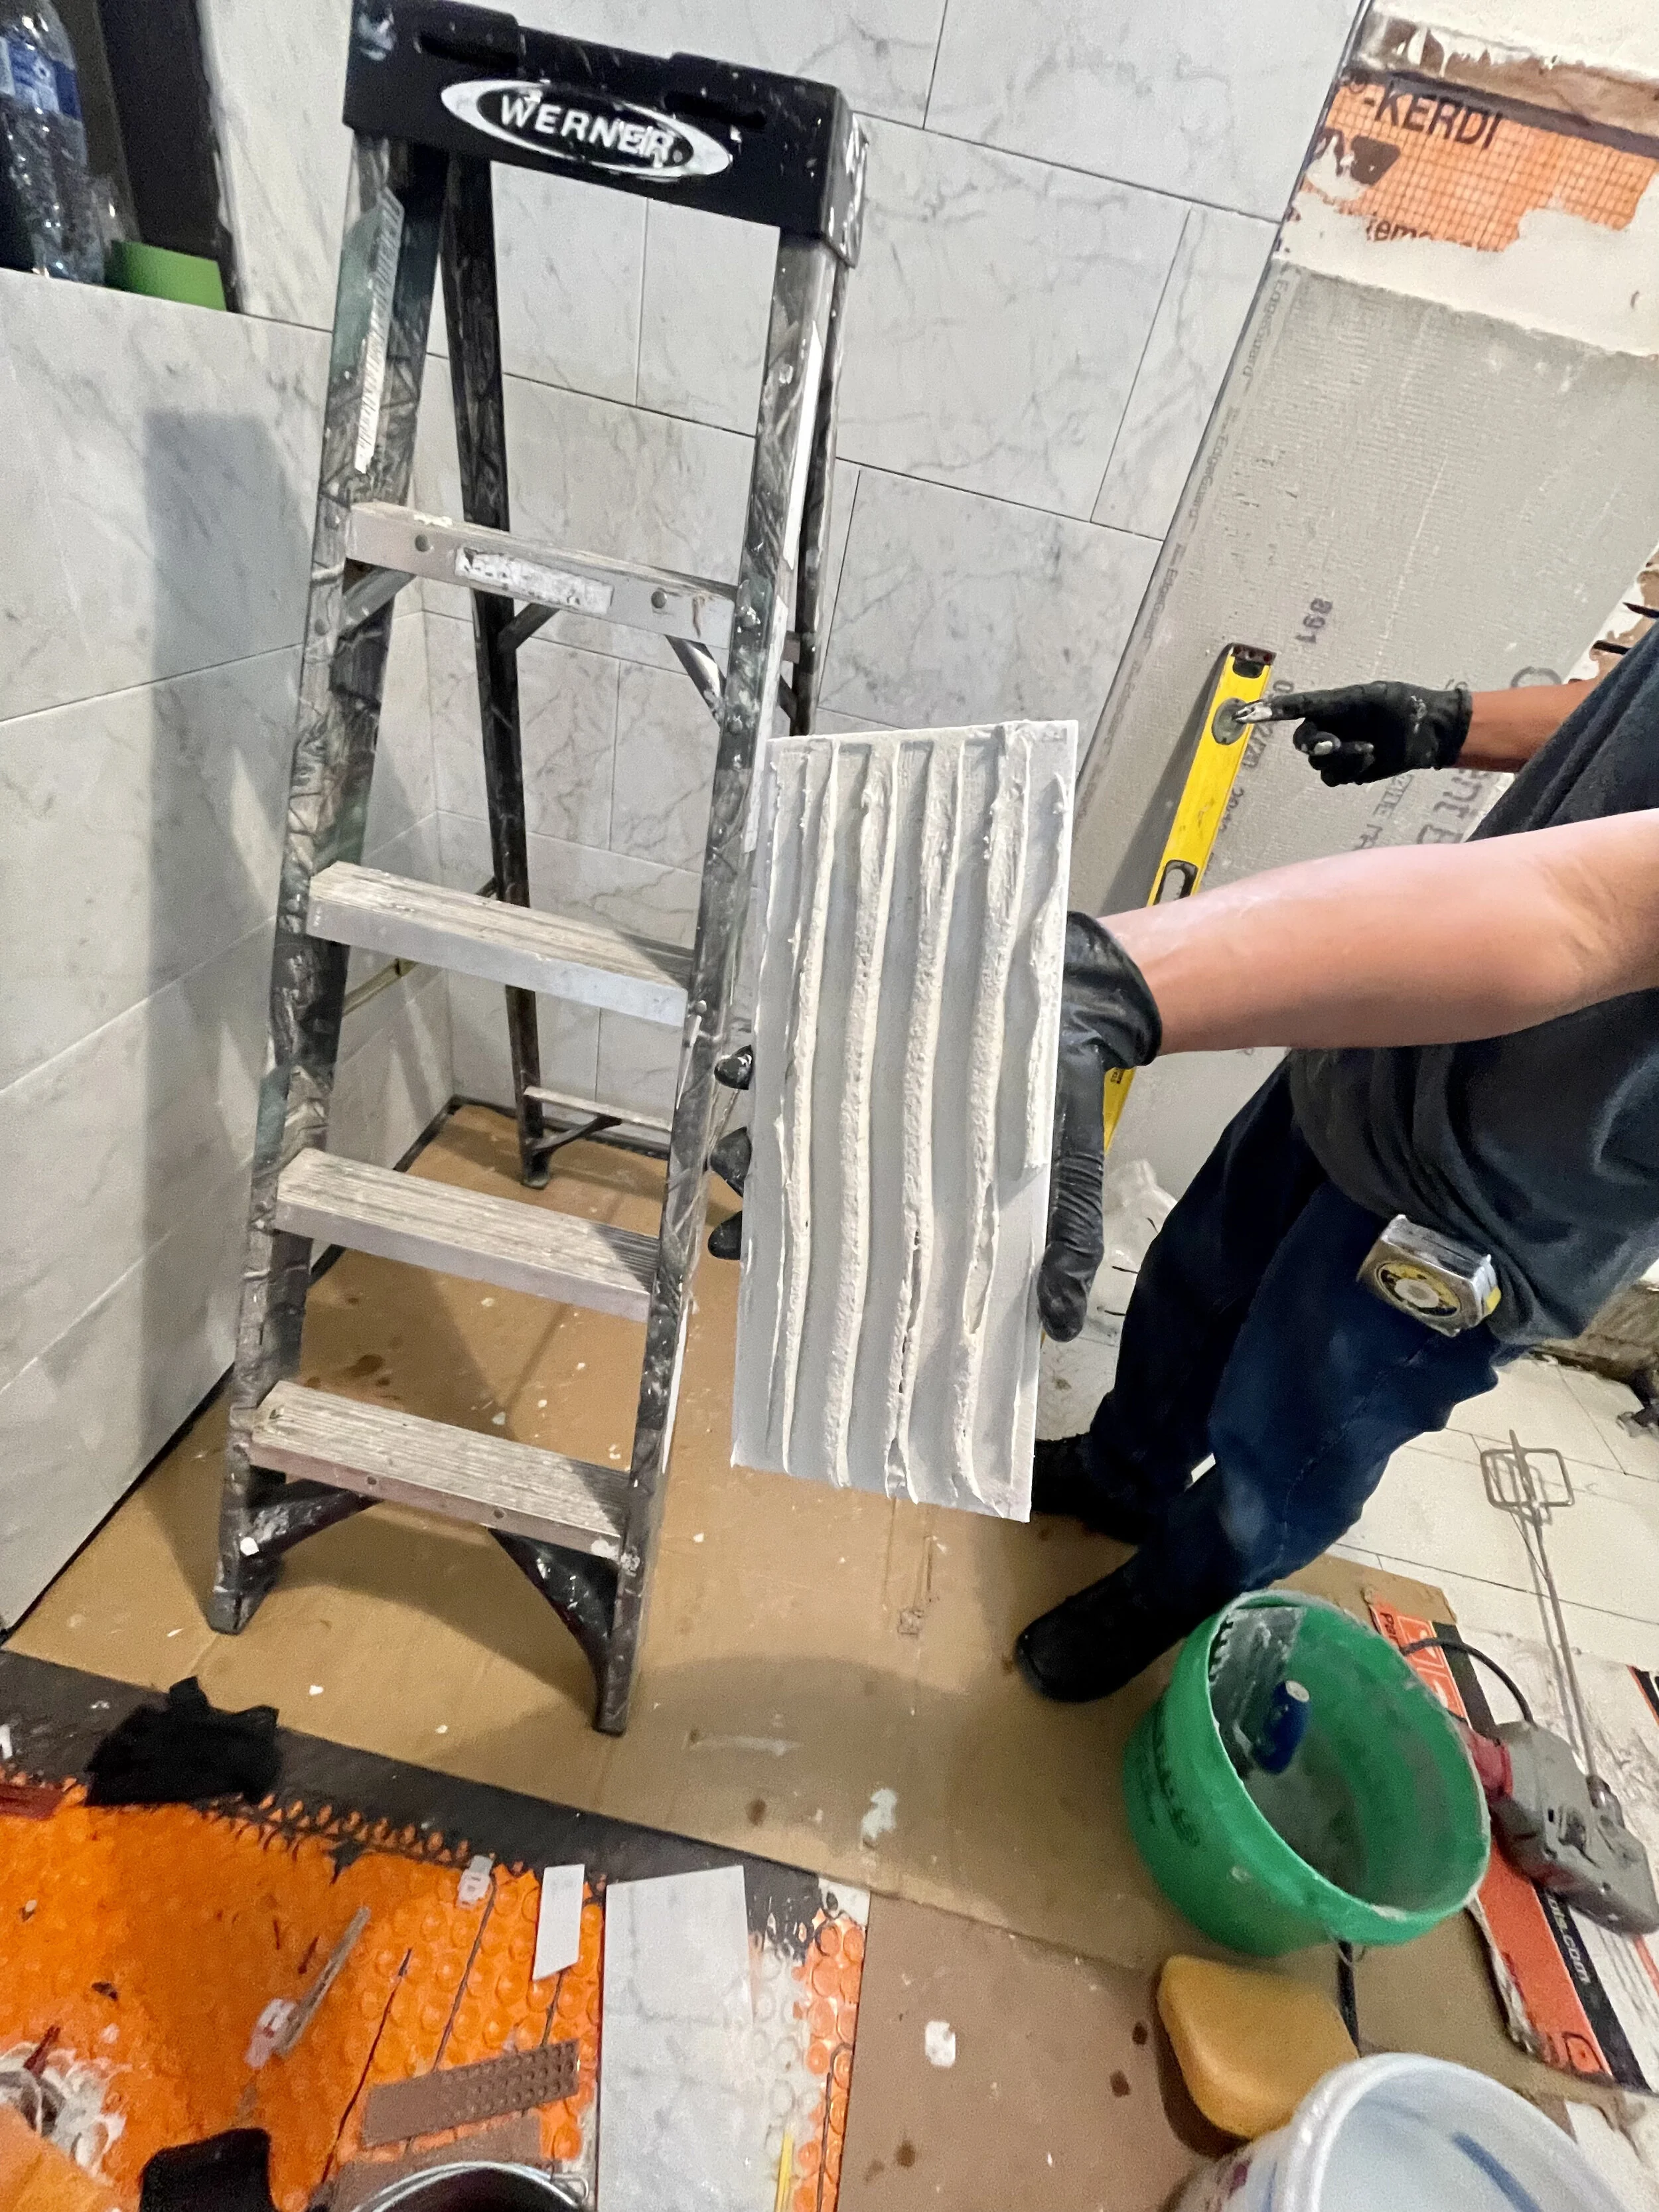
Tile master begins his good work.
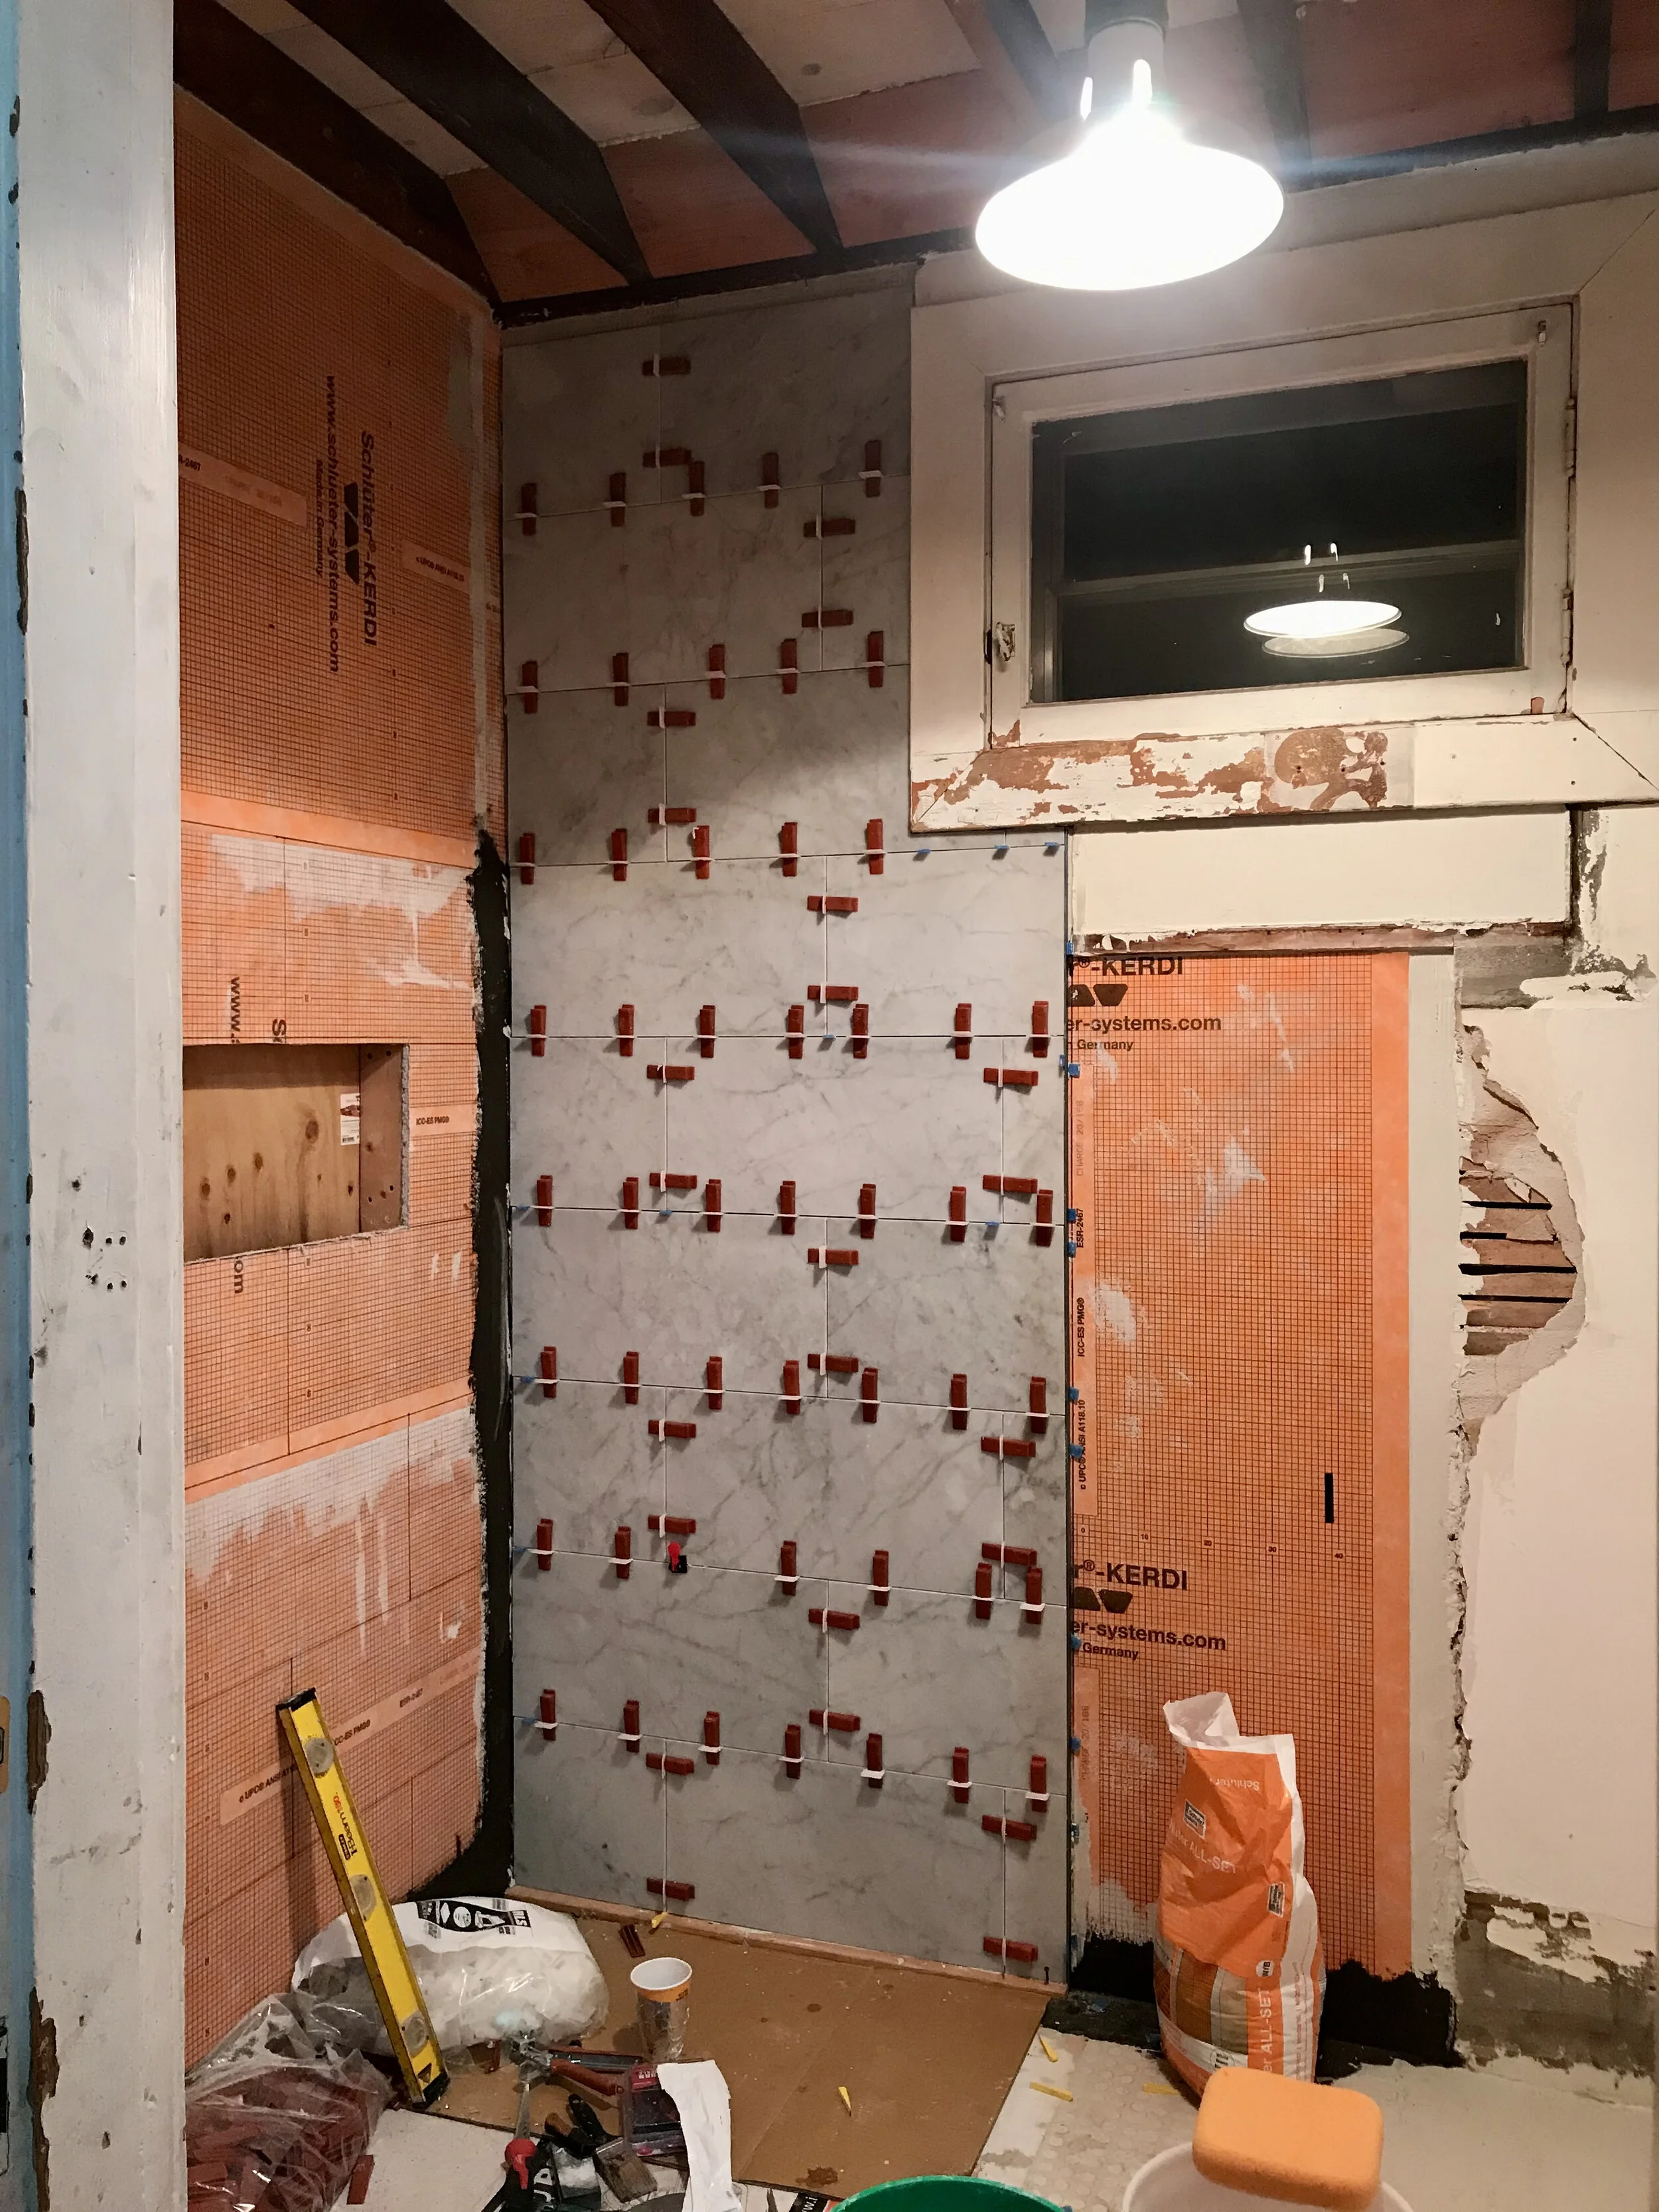
Tiling.
Ardex 8 was applied over Schluter Kerdi seams for good measure. Tiling continues.
I took the trim tile pieces to a special shop that does beautiful bullnose finishing.


Schluter deco SG in brushed stainless steel which will hold the glass when it is installed.

Tile before grout.
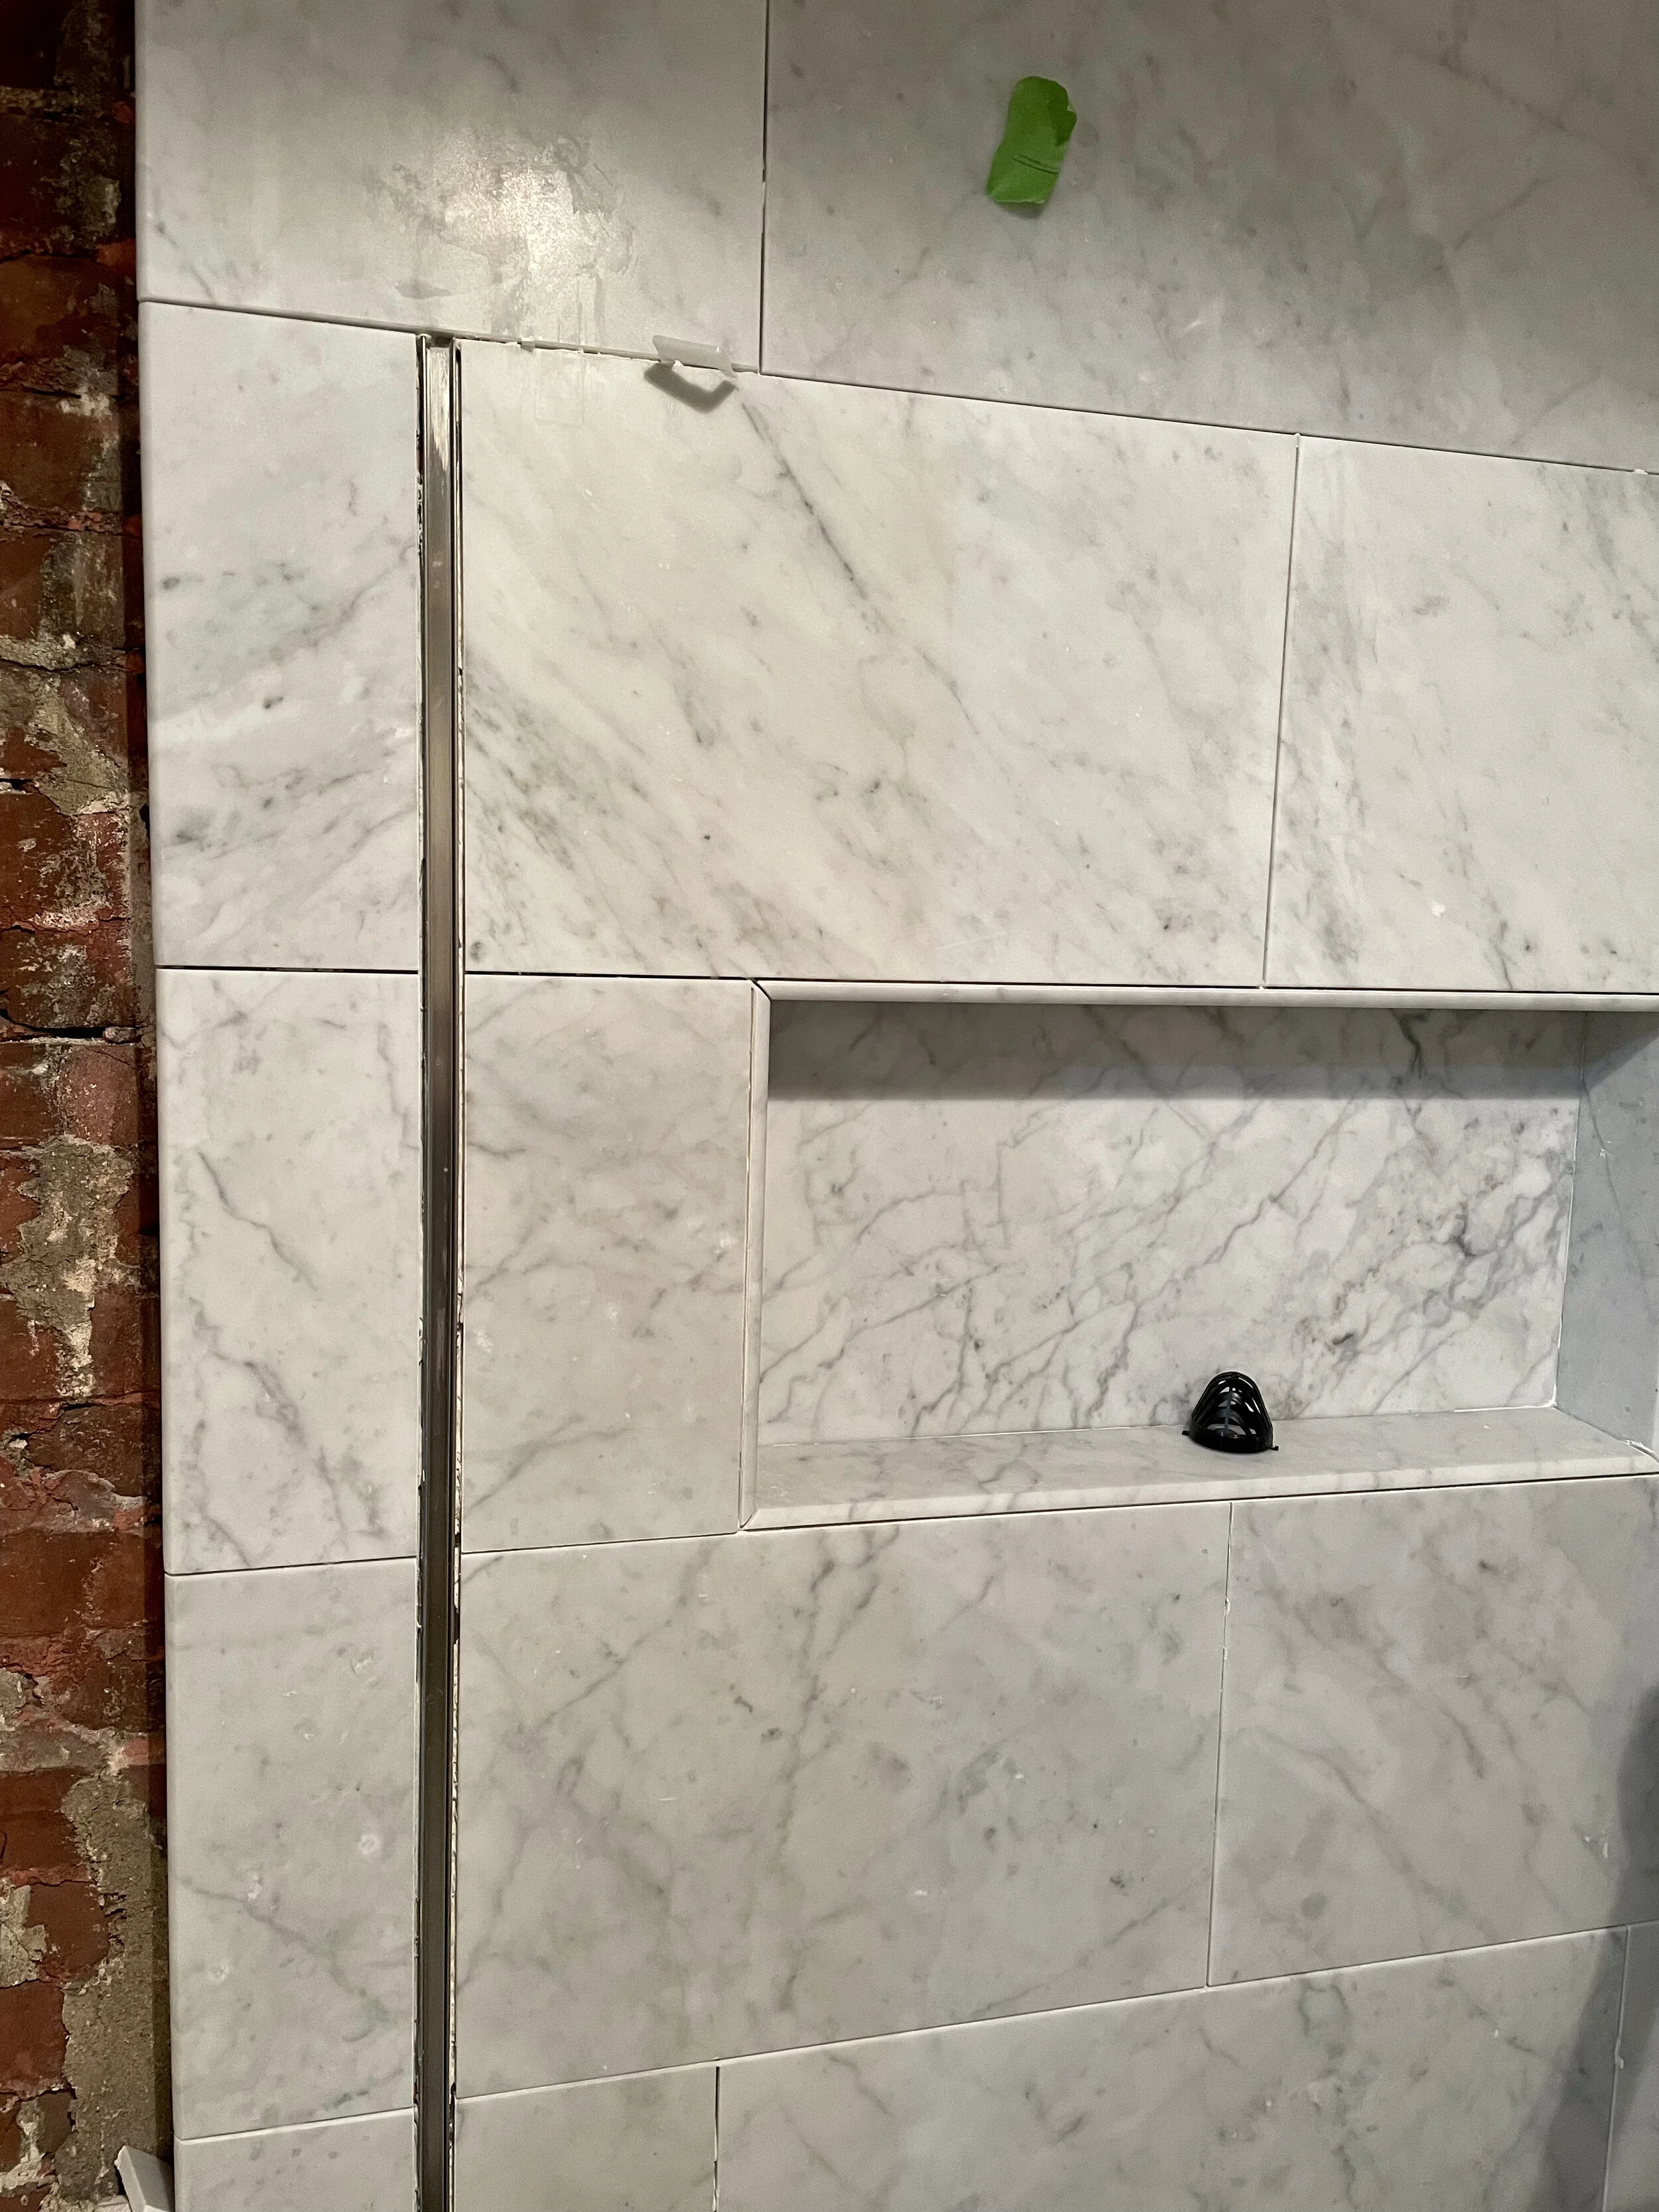
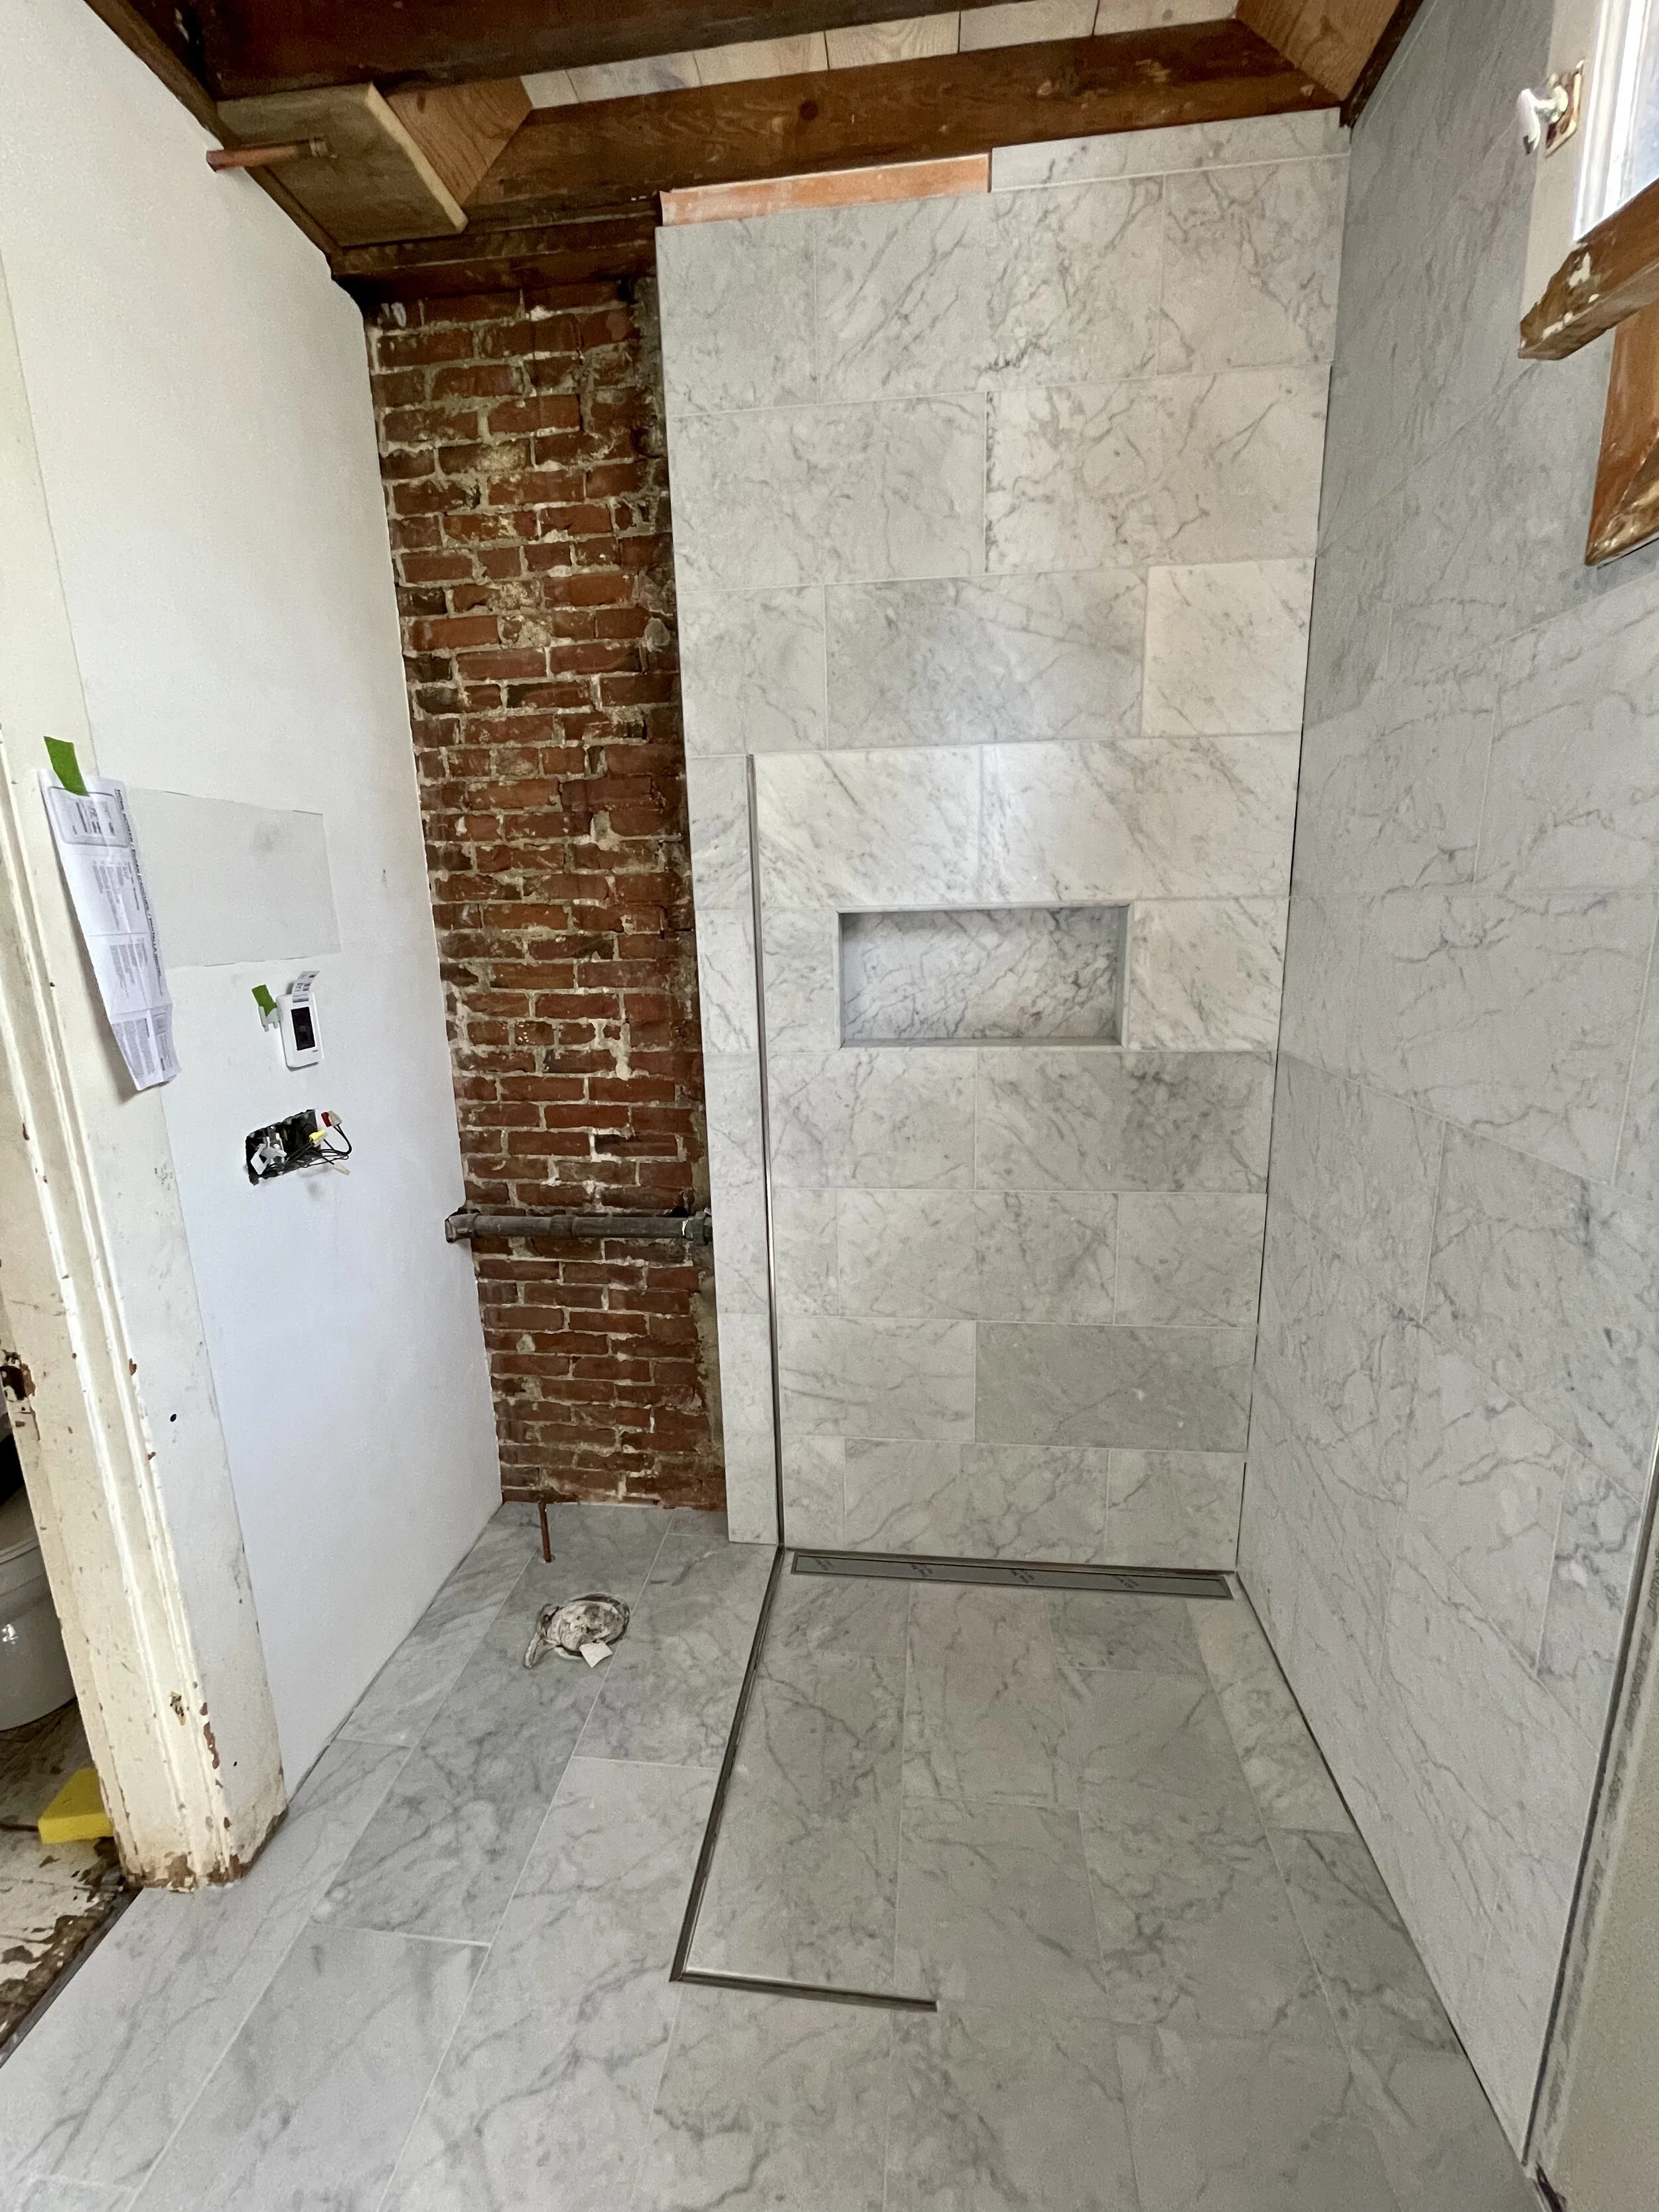
Shower niche and Schluter deco SG.
Floor grout complete.

Grouting mostly complete.
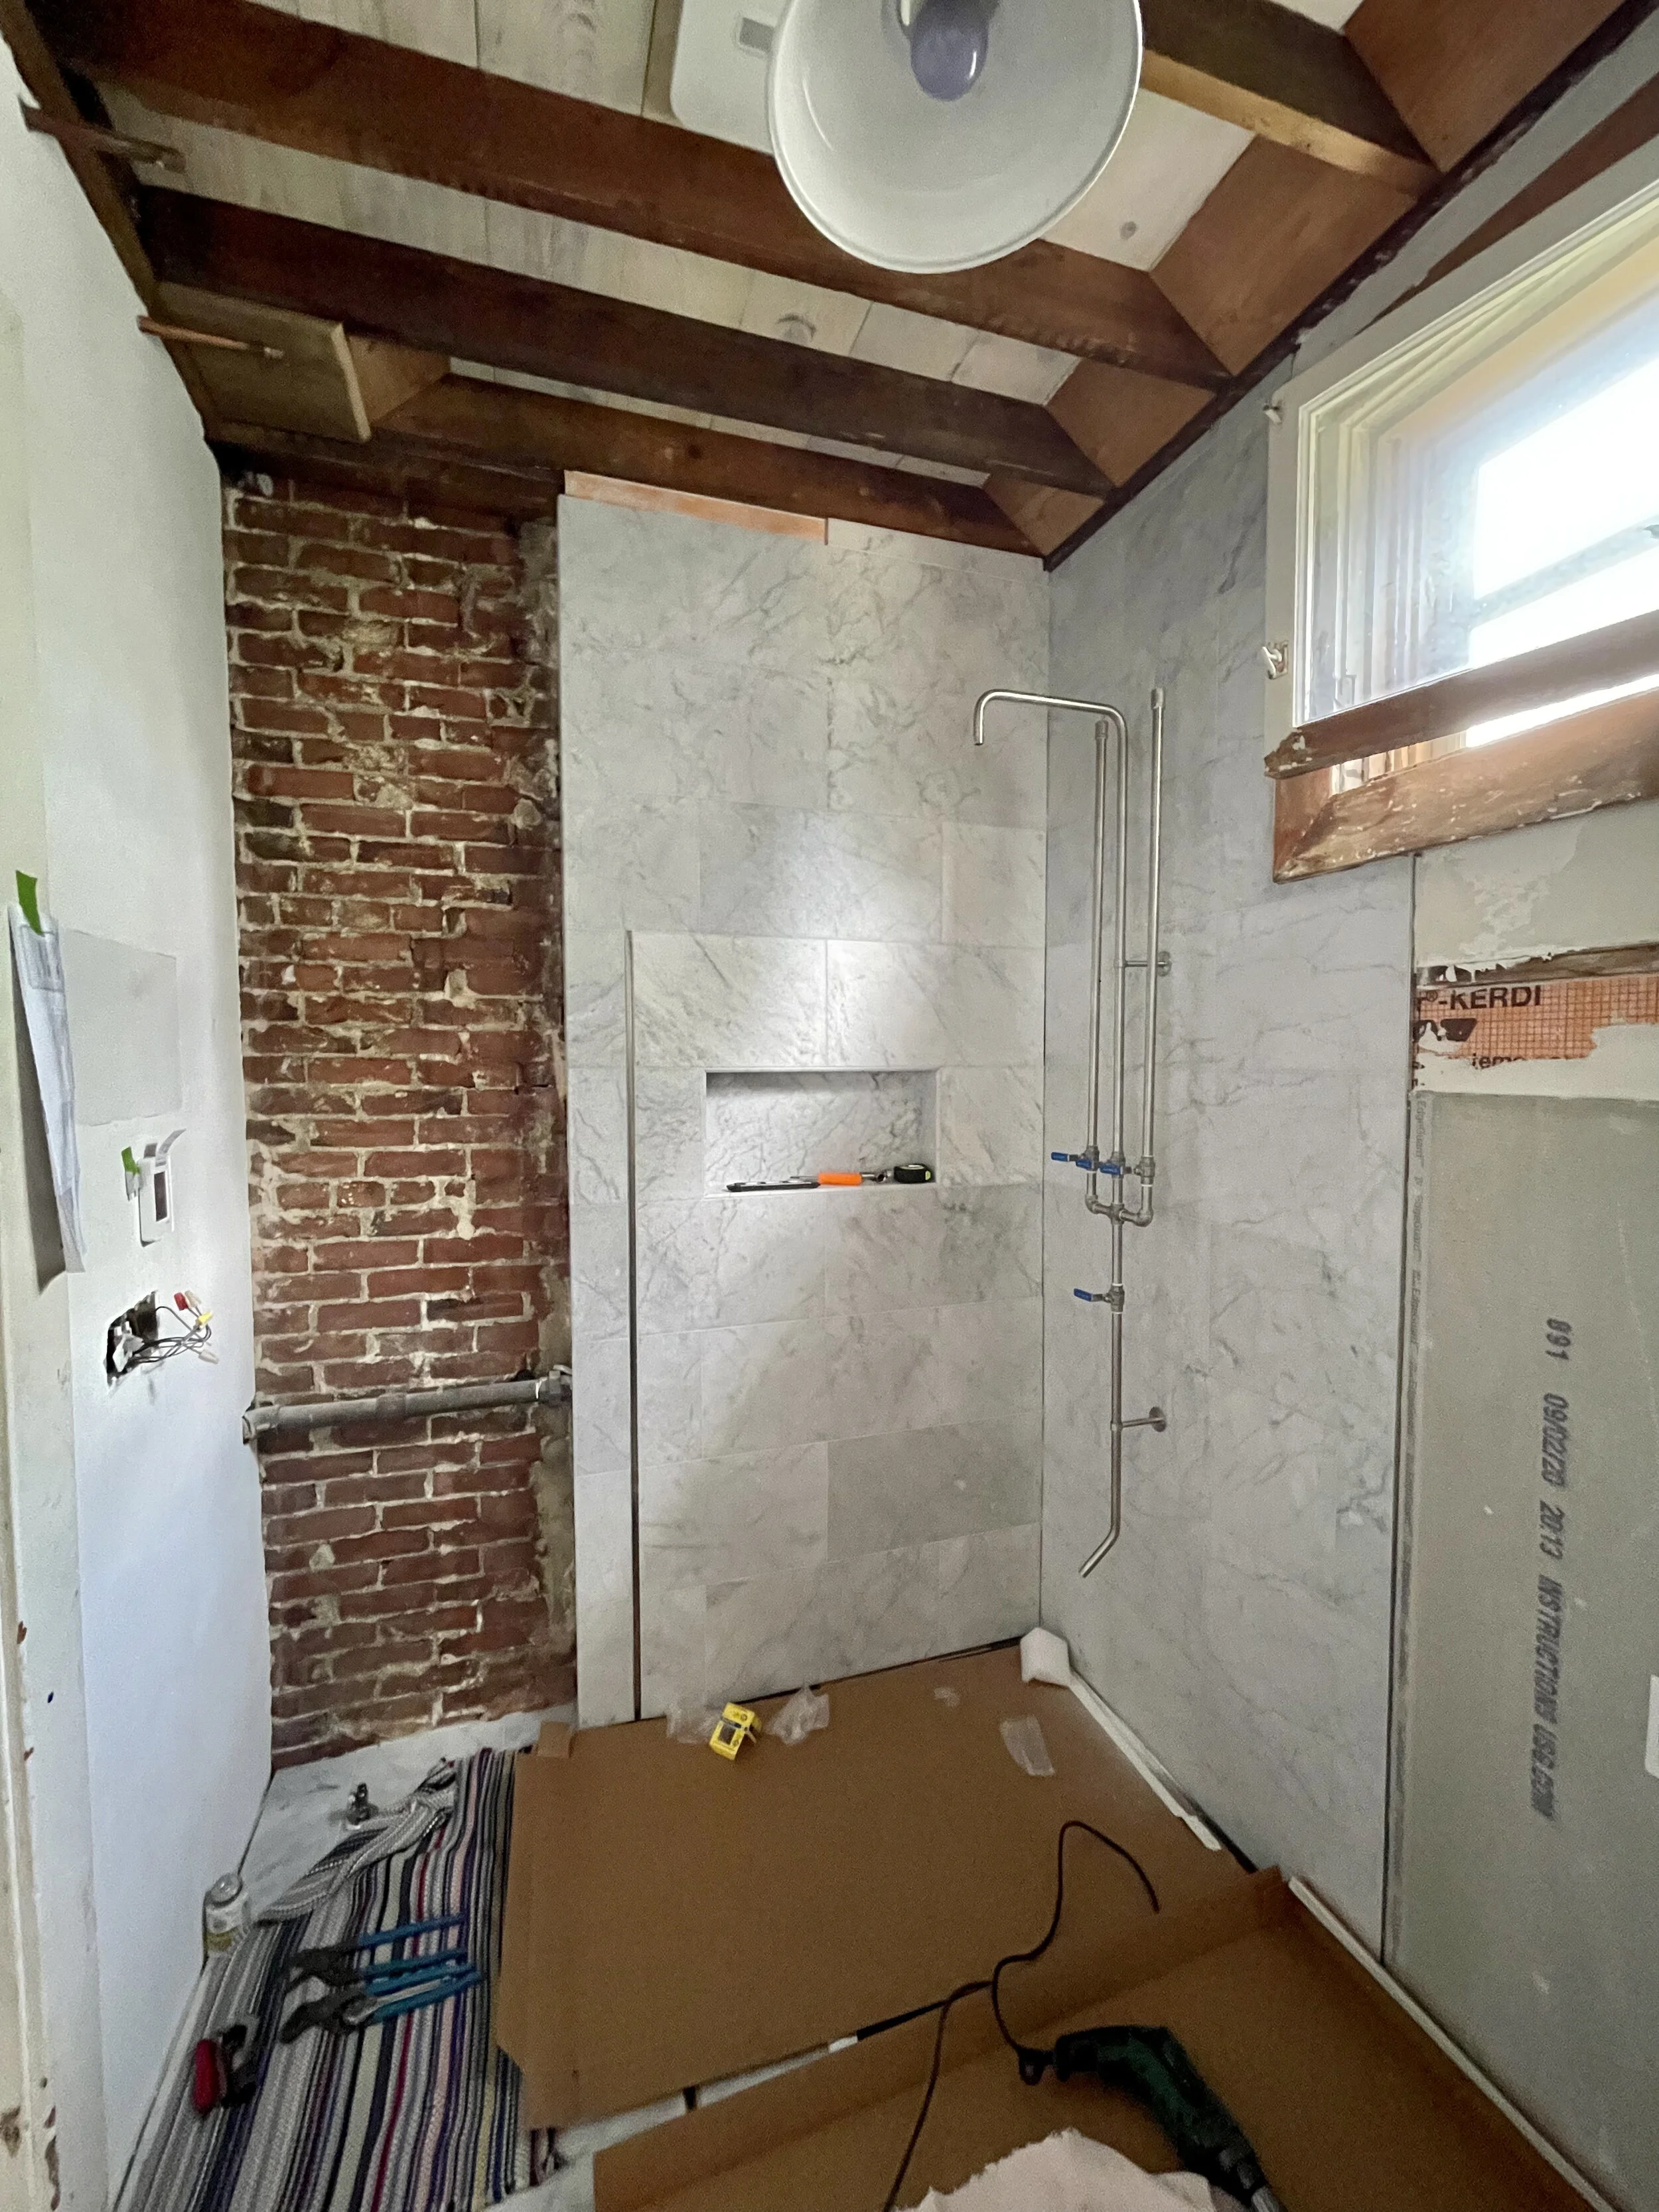
Cardboard laid down to protect tile whilst shower fixture is installed.

This will be an outlet.
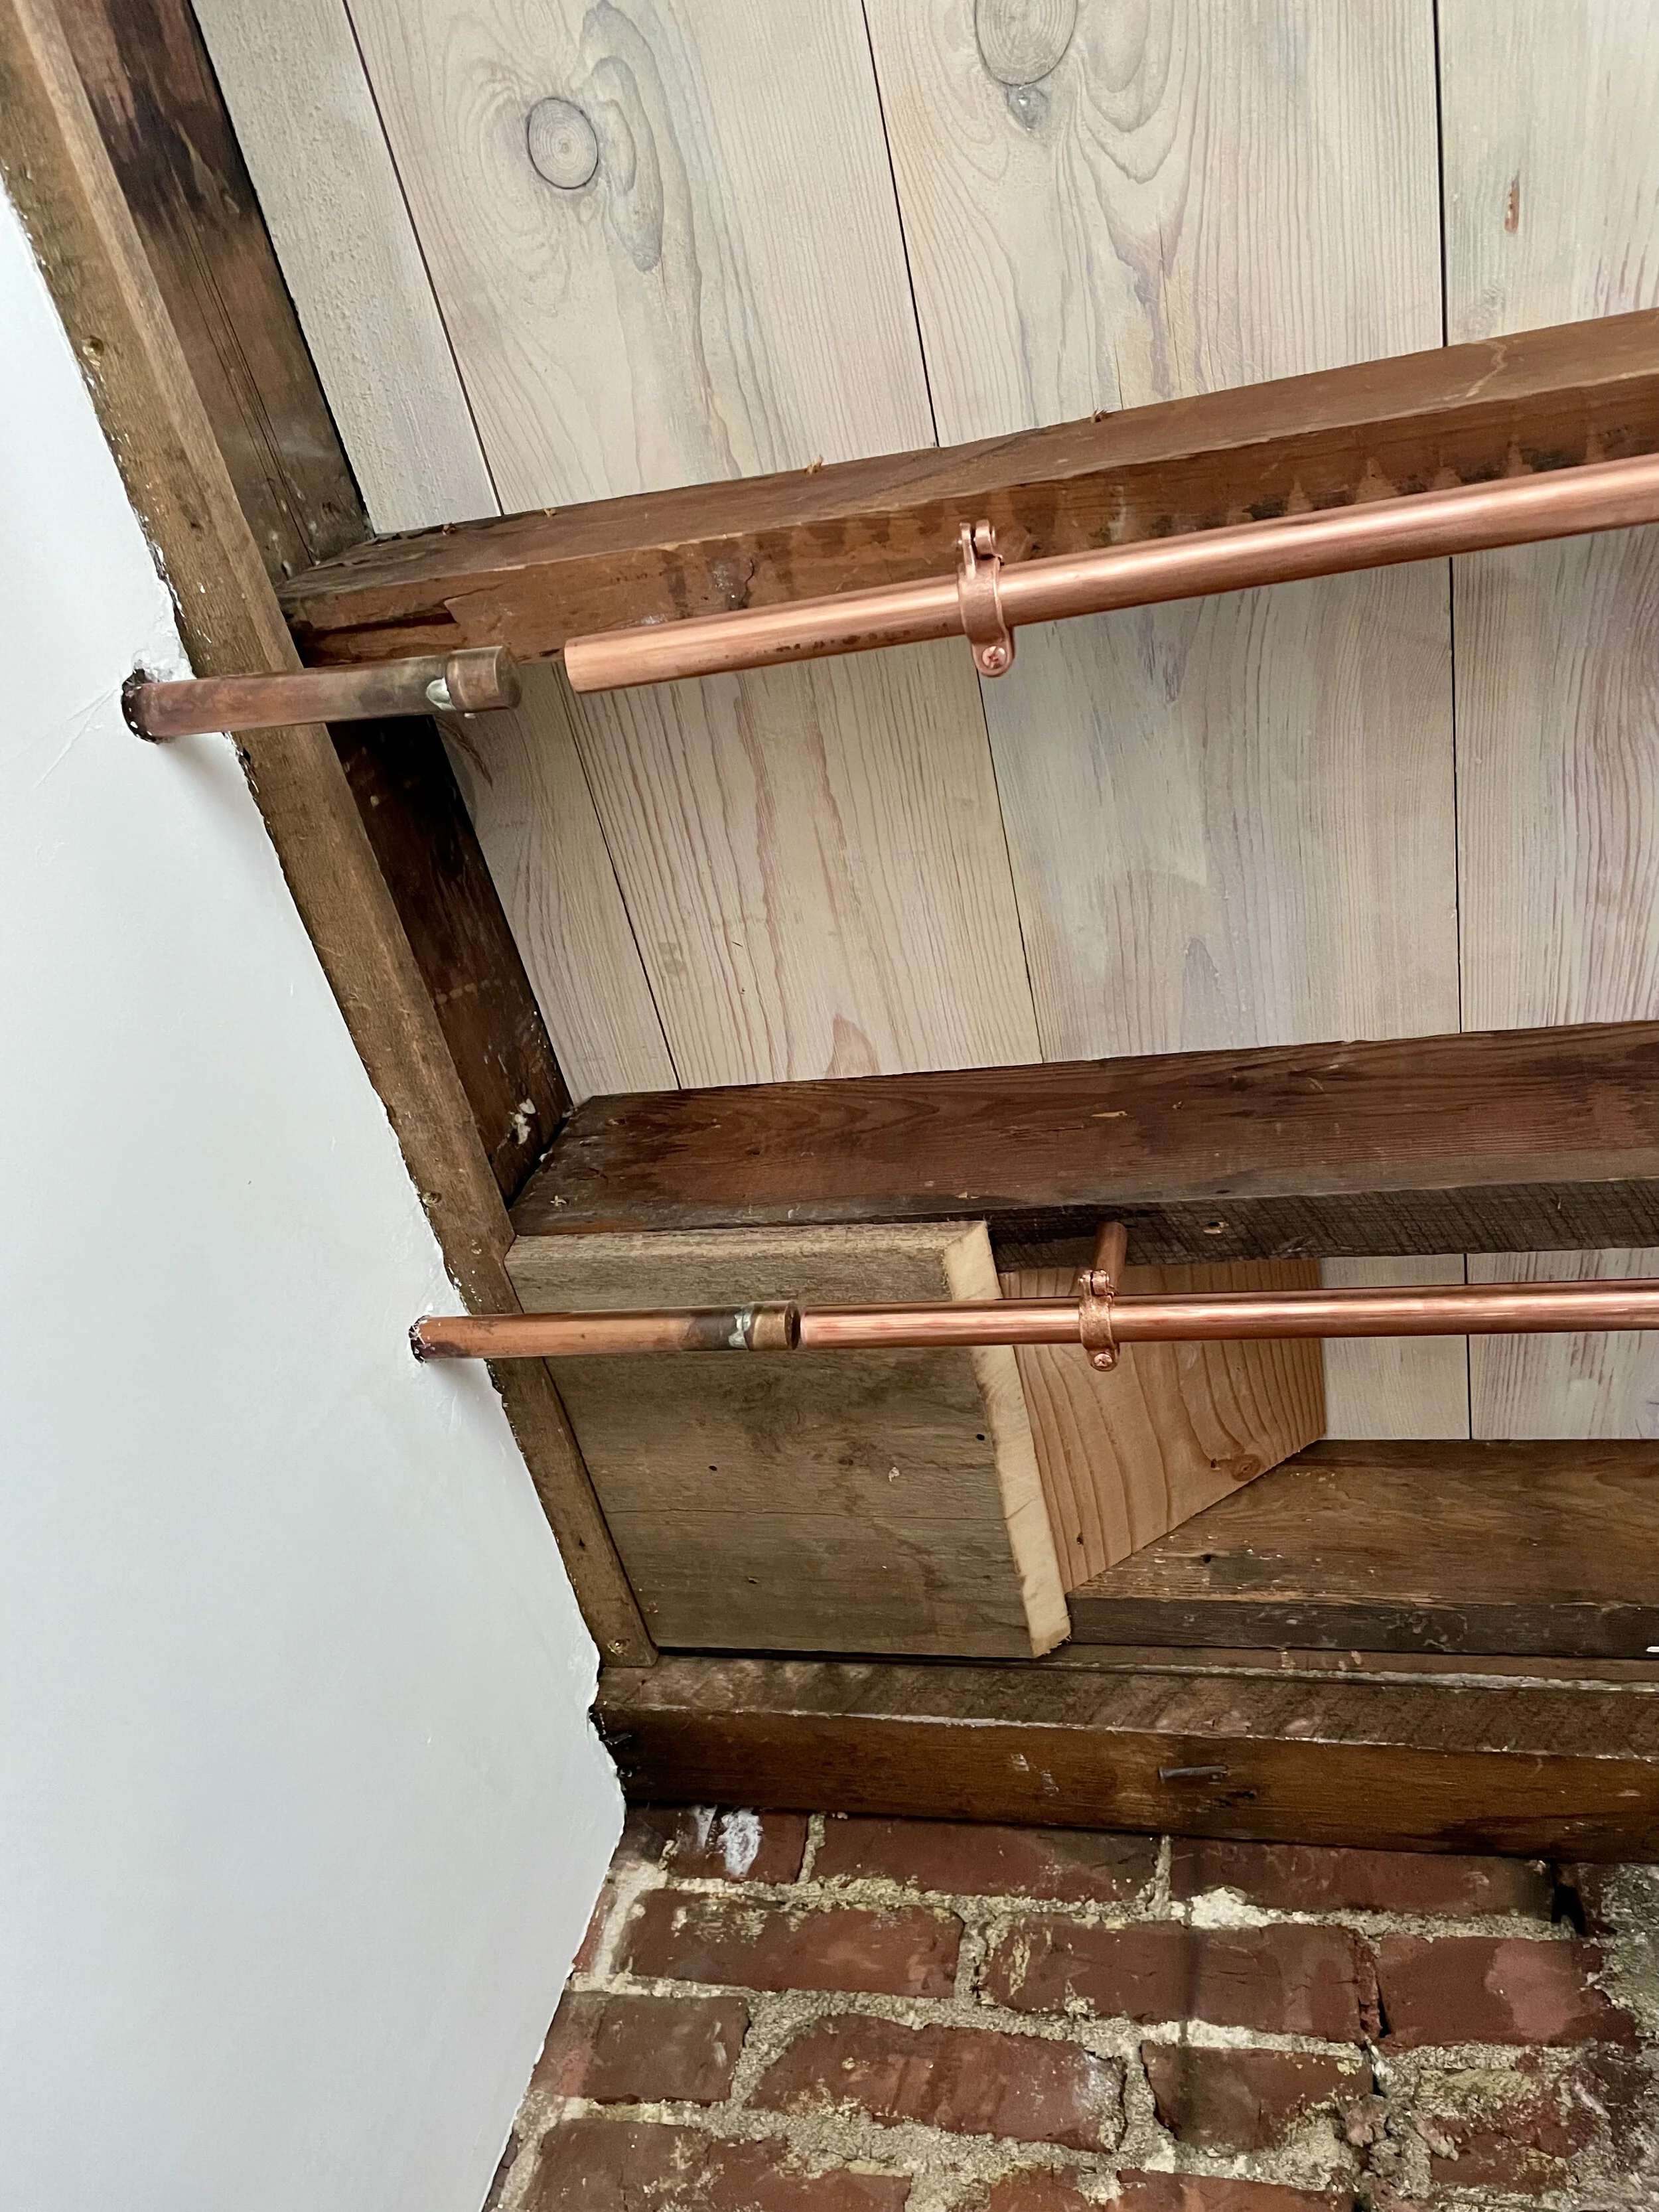
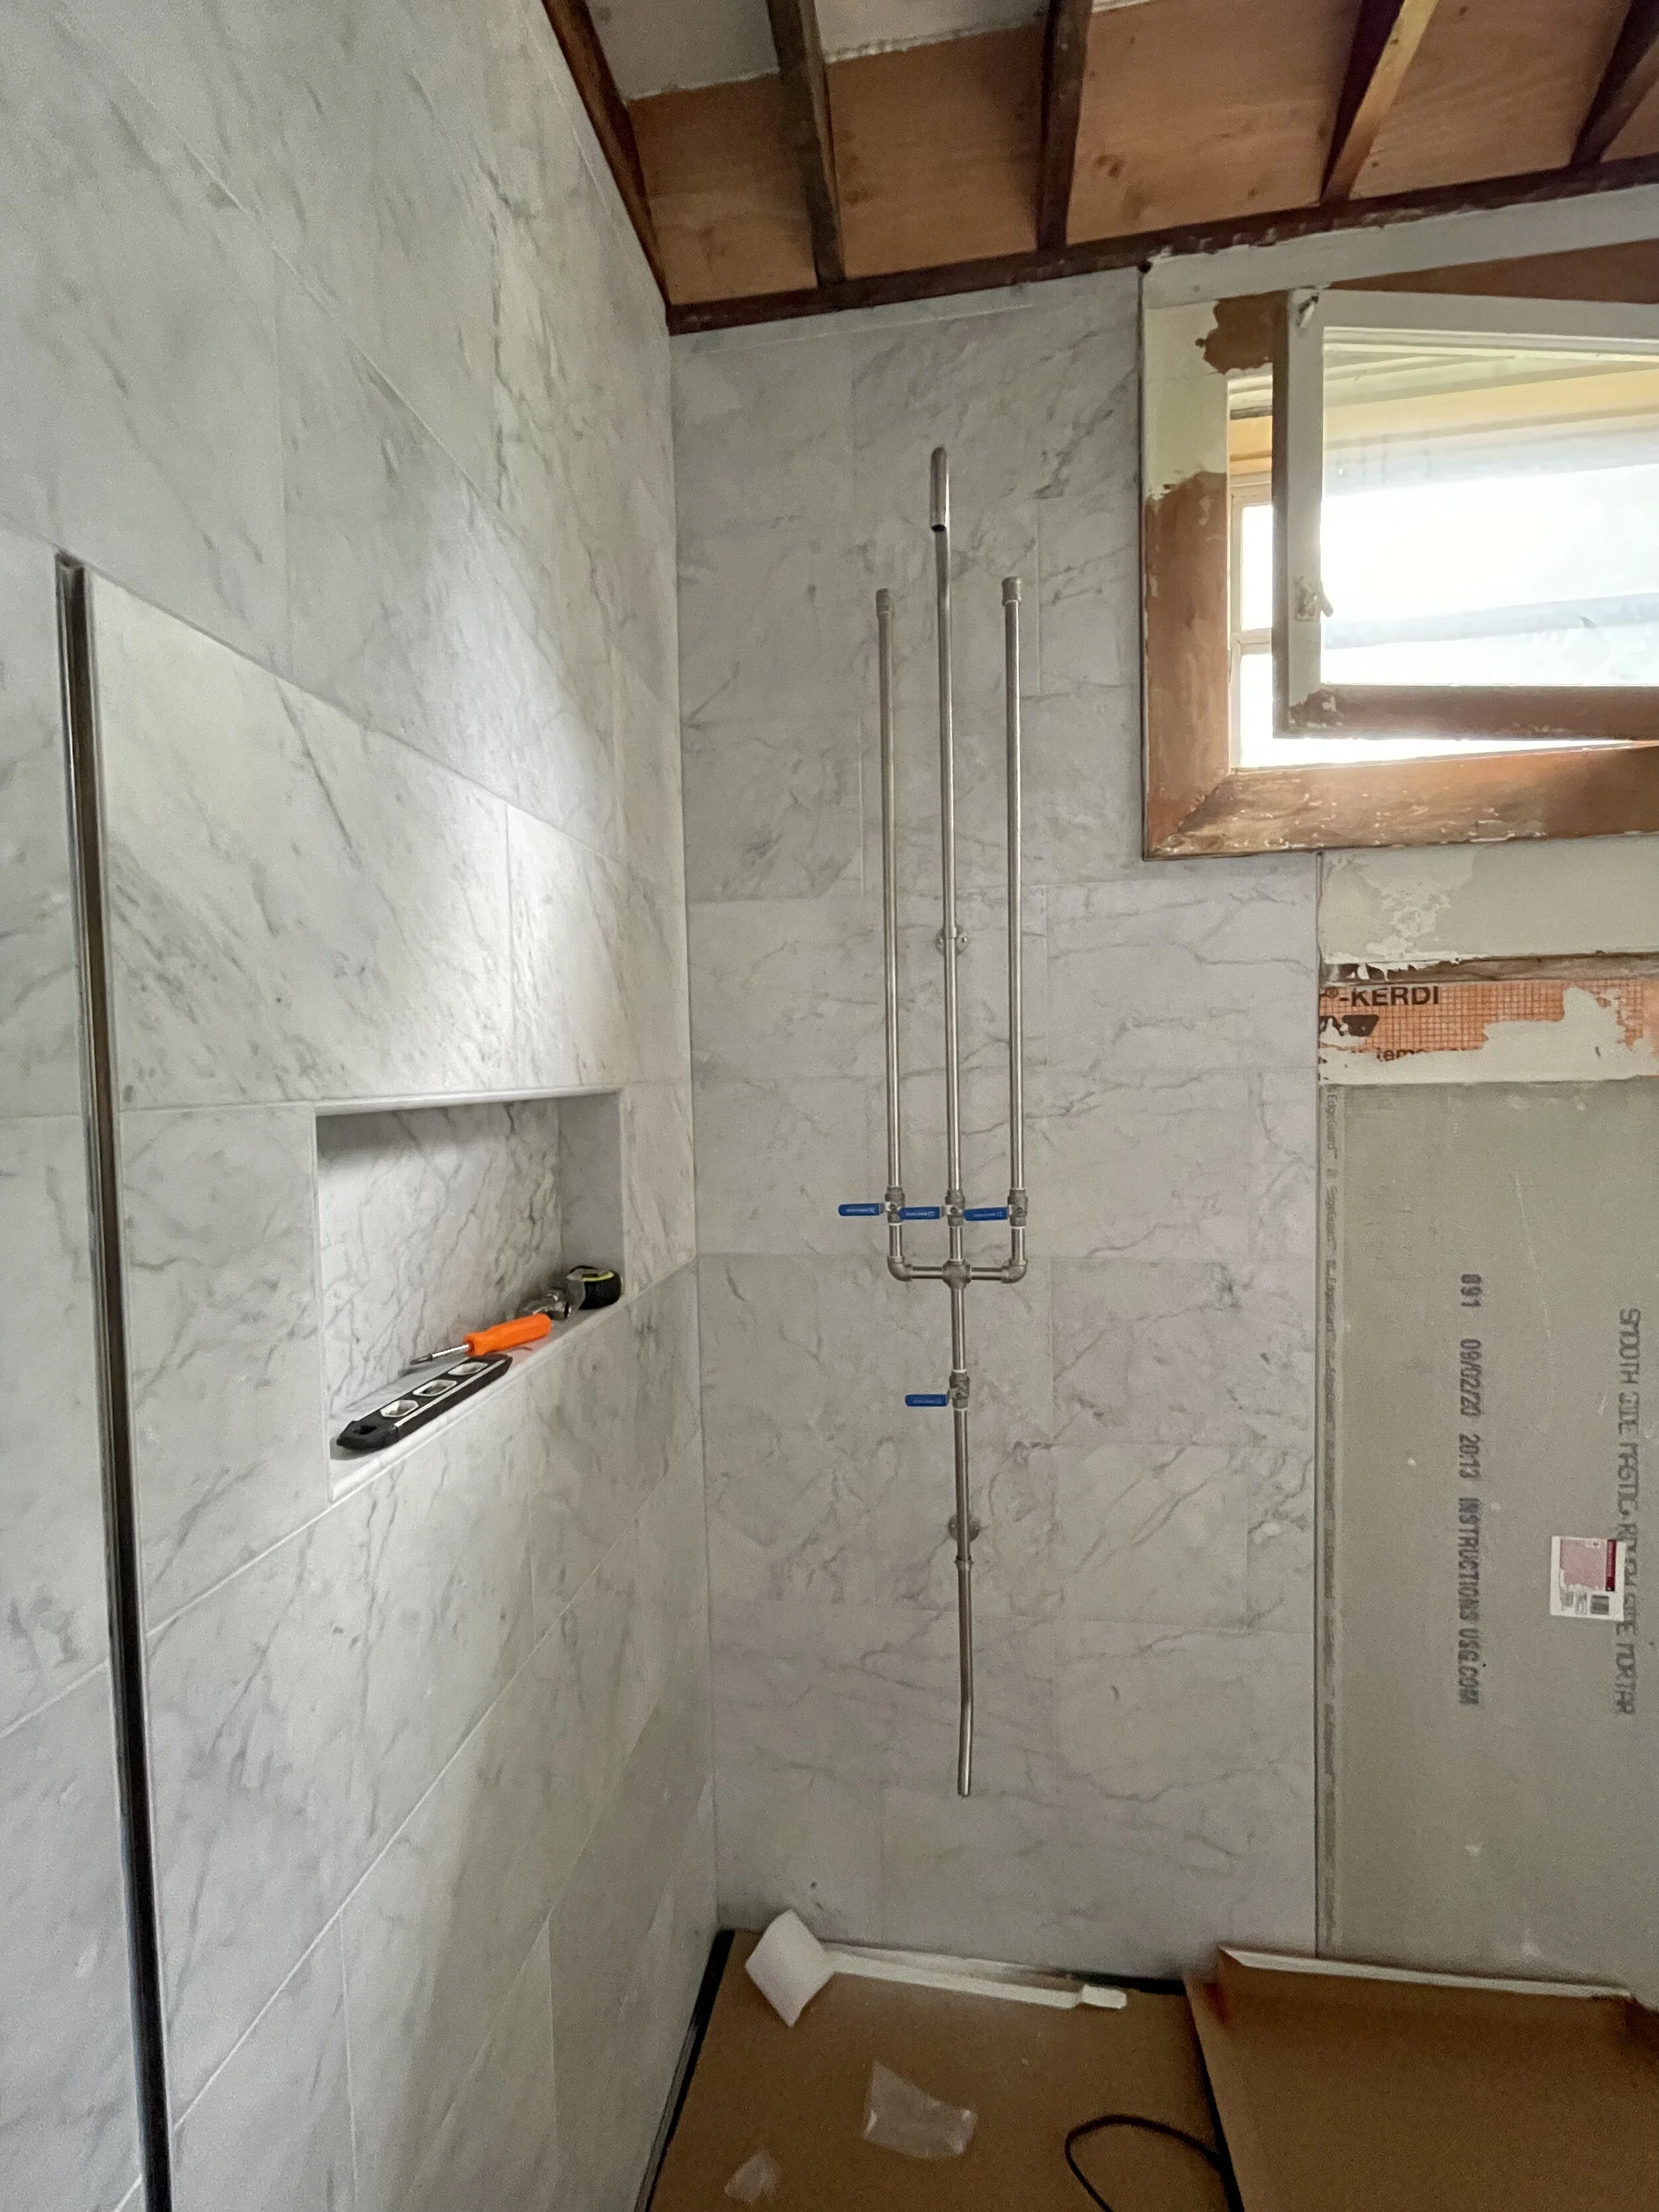
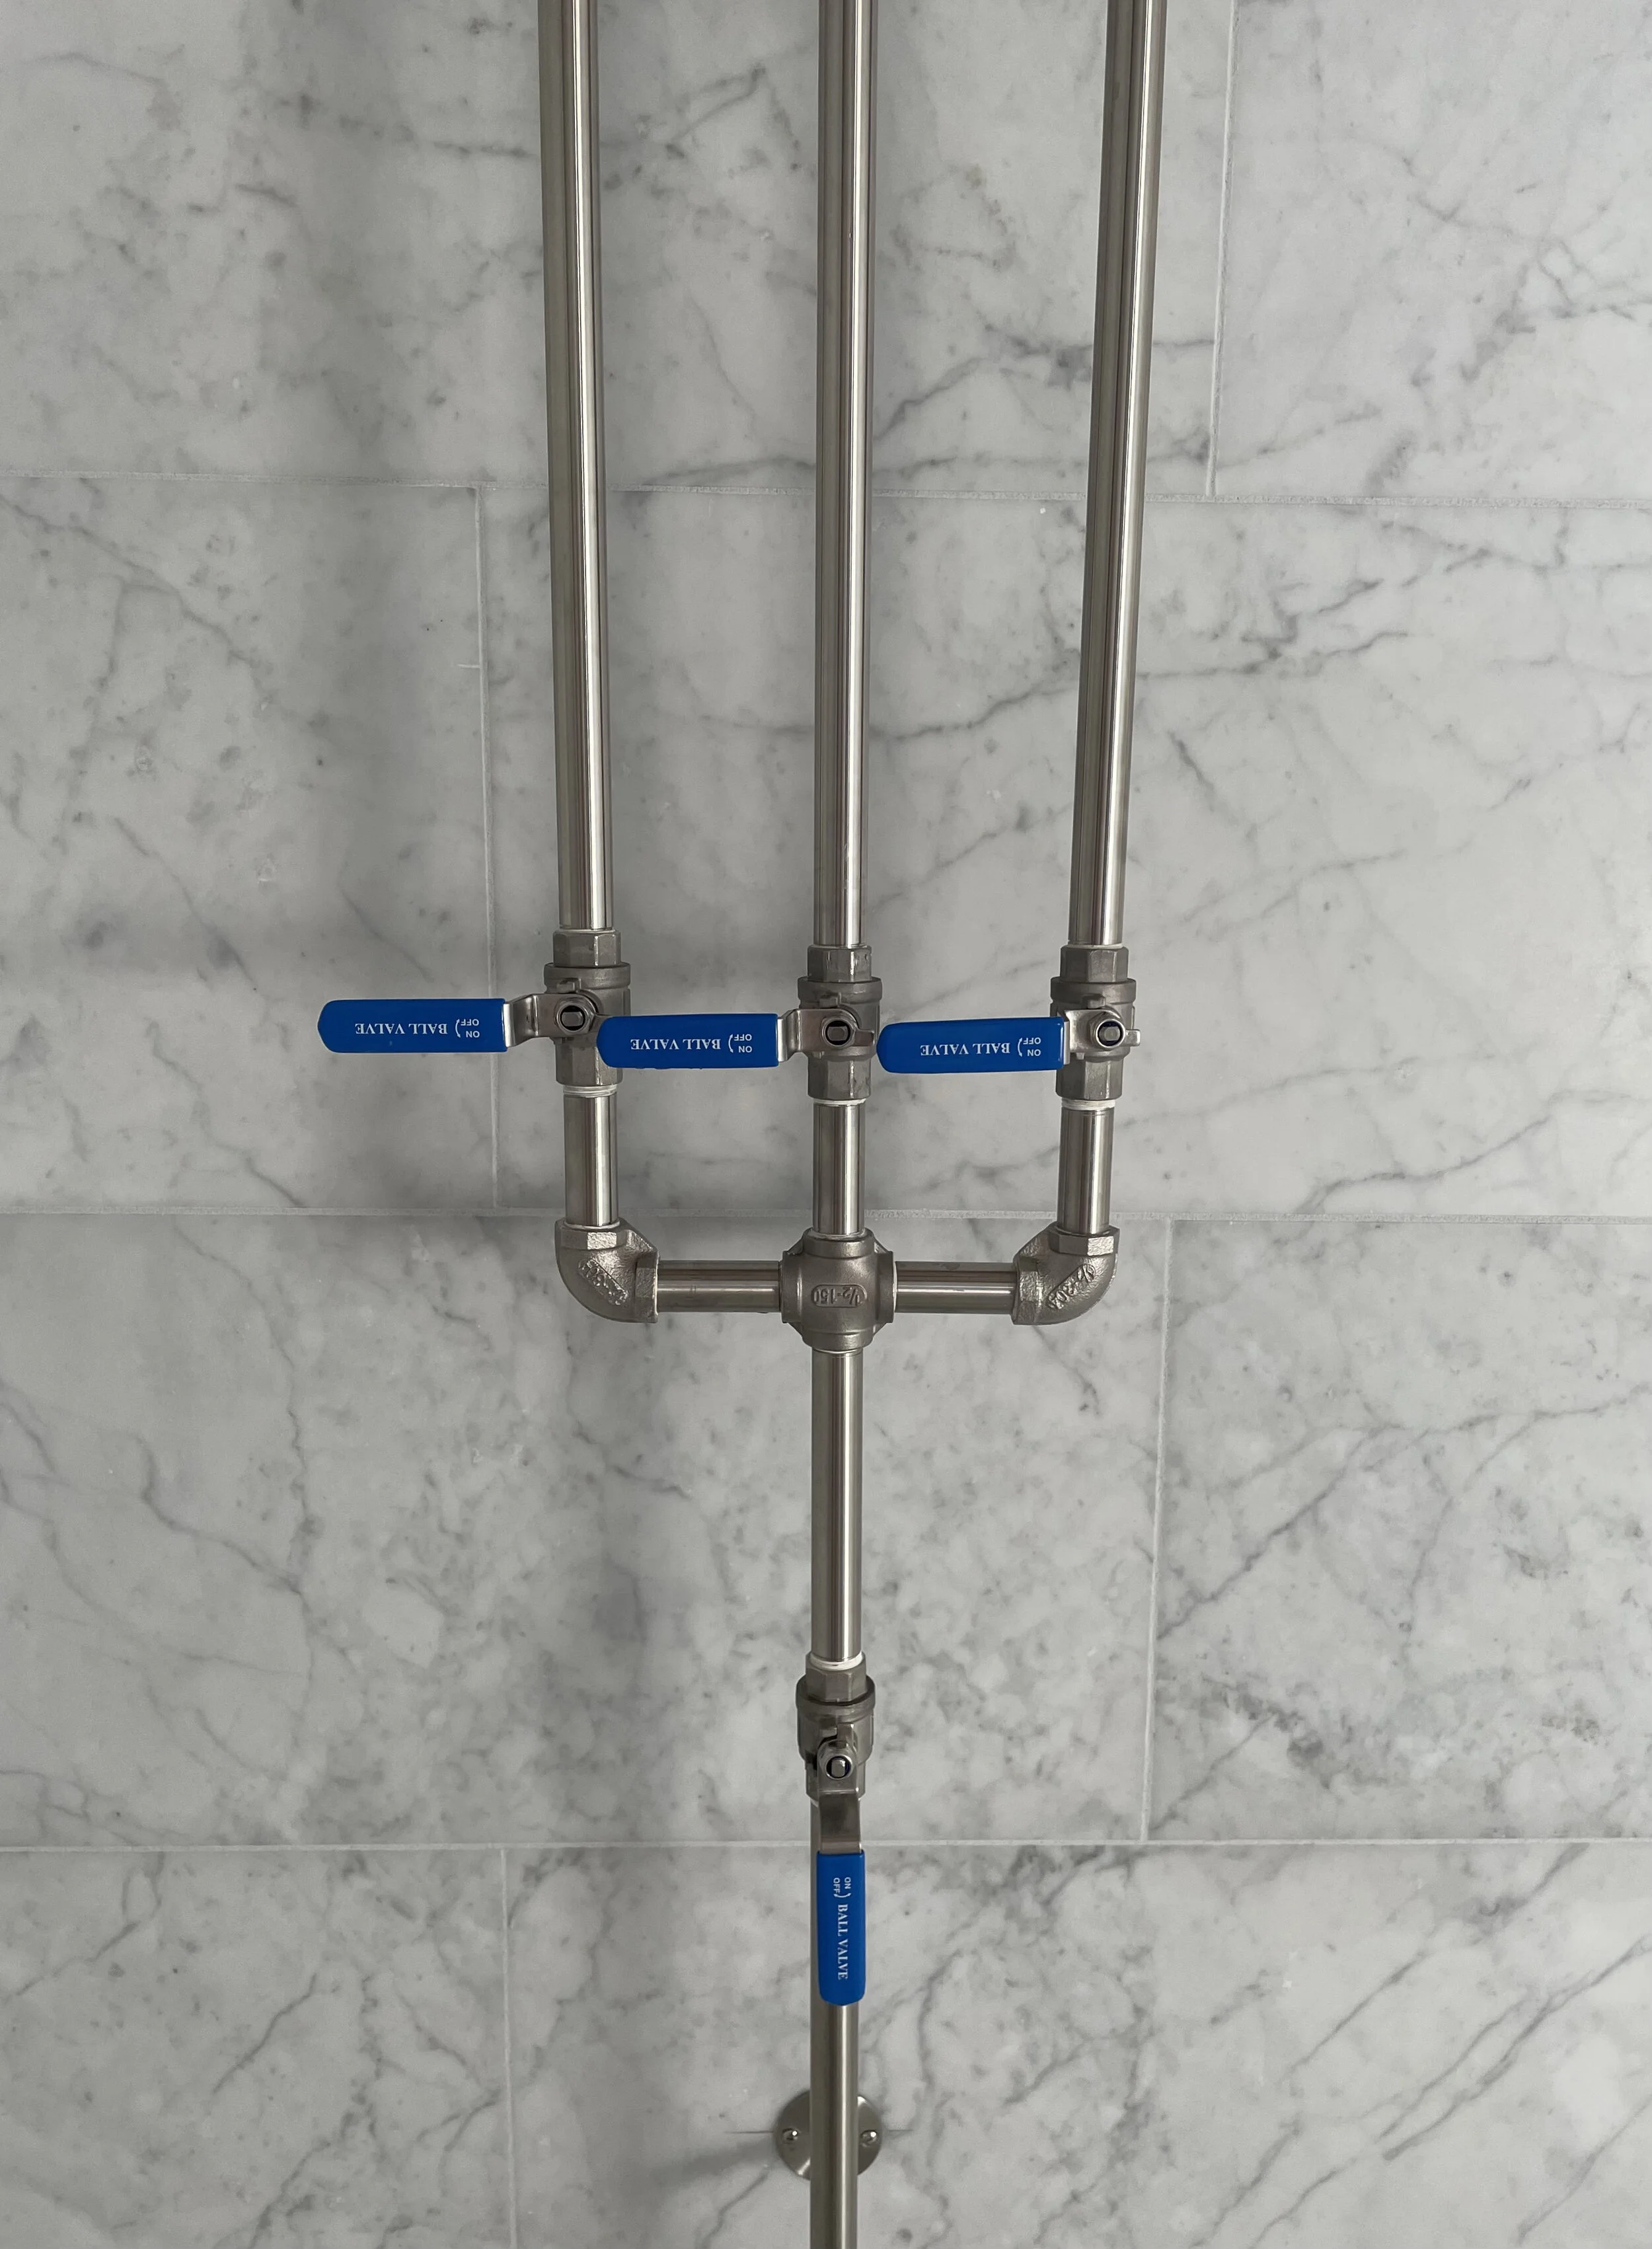
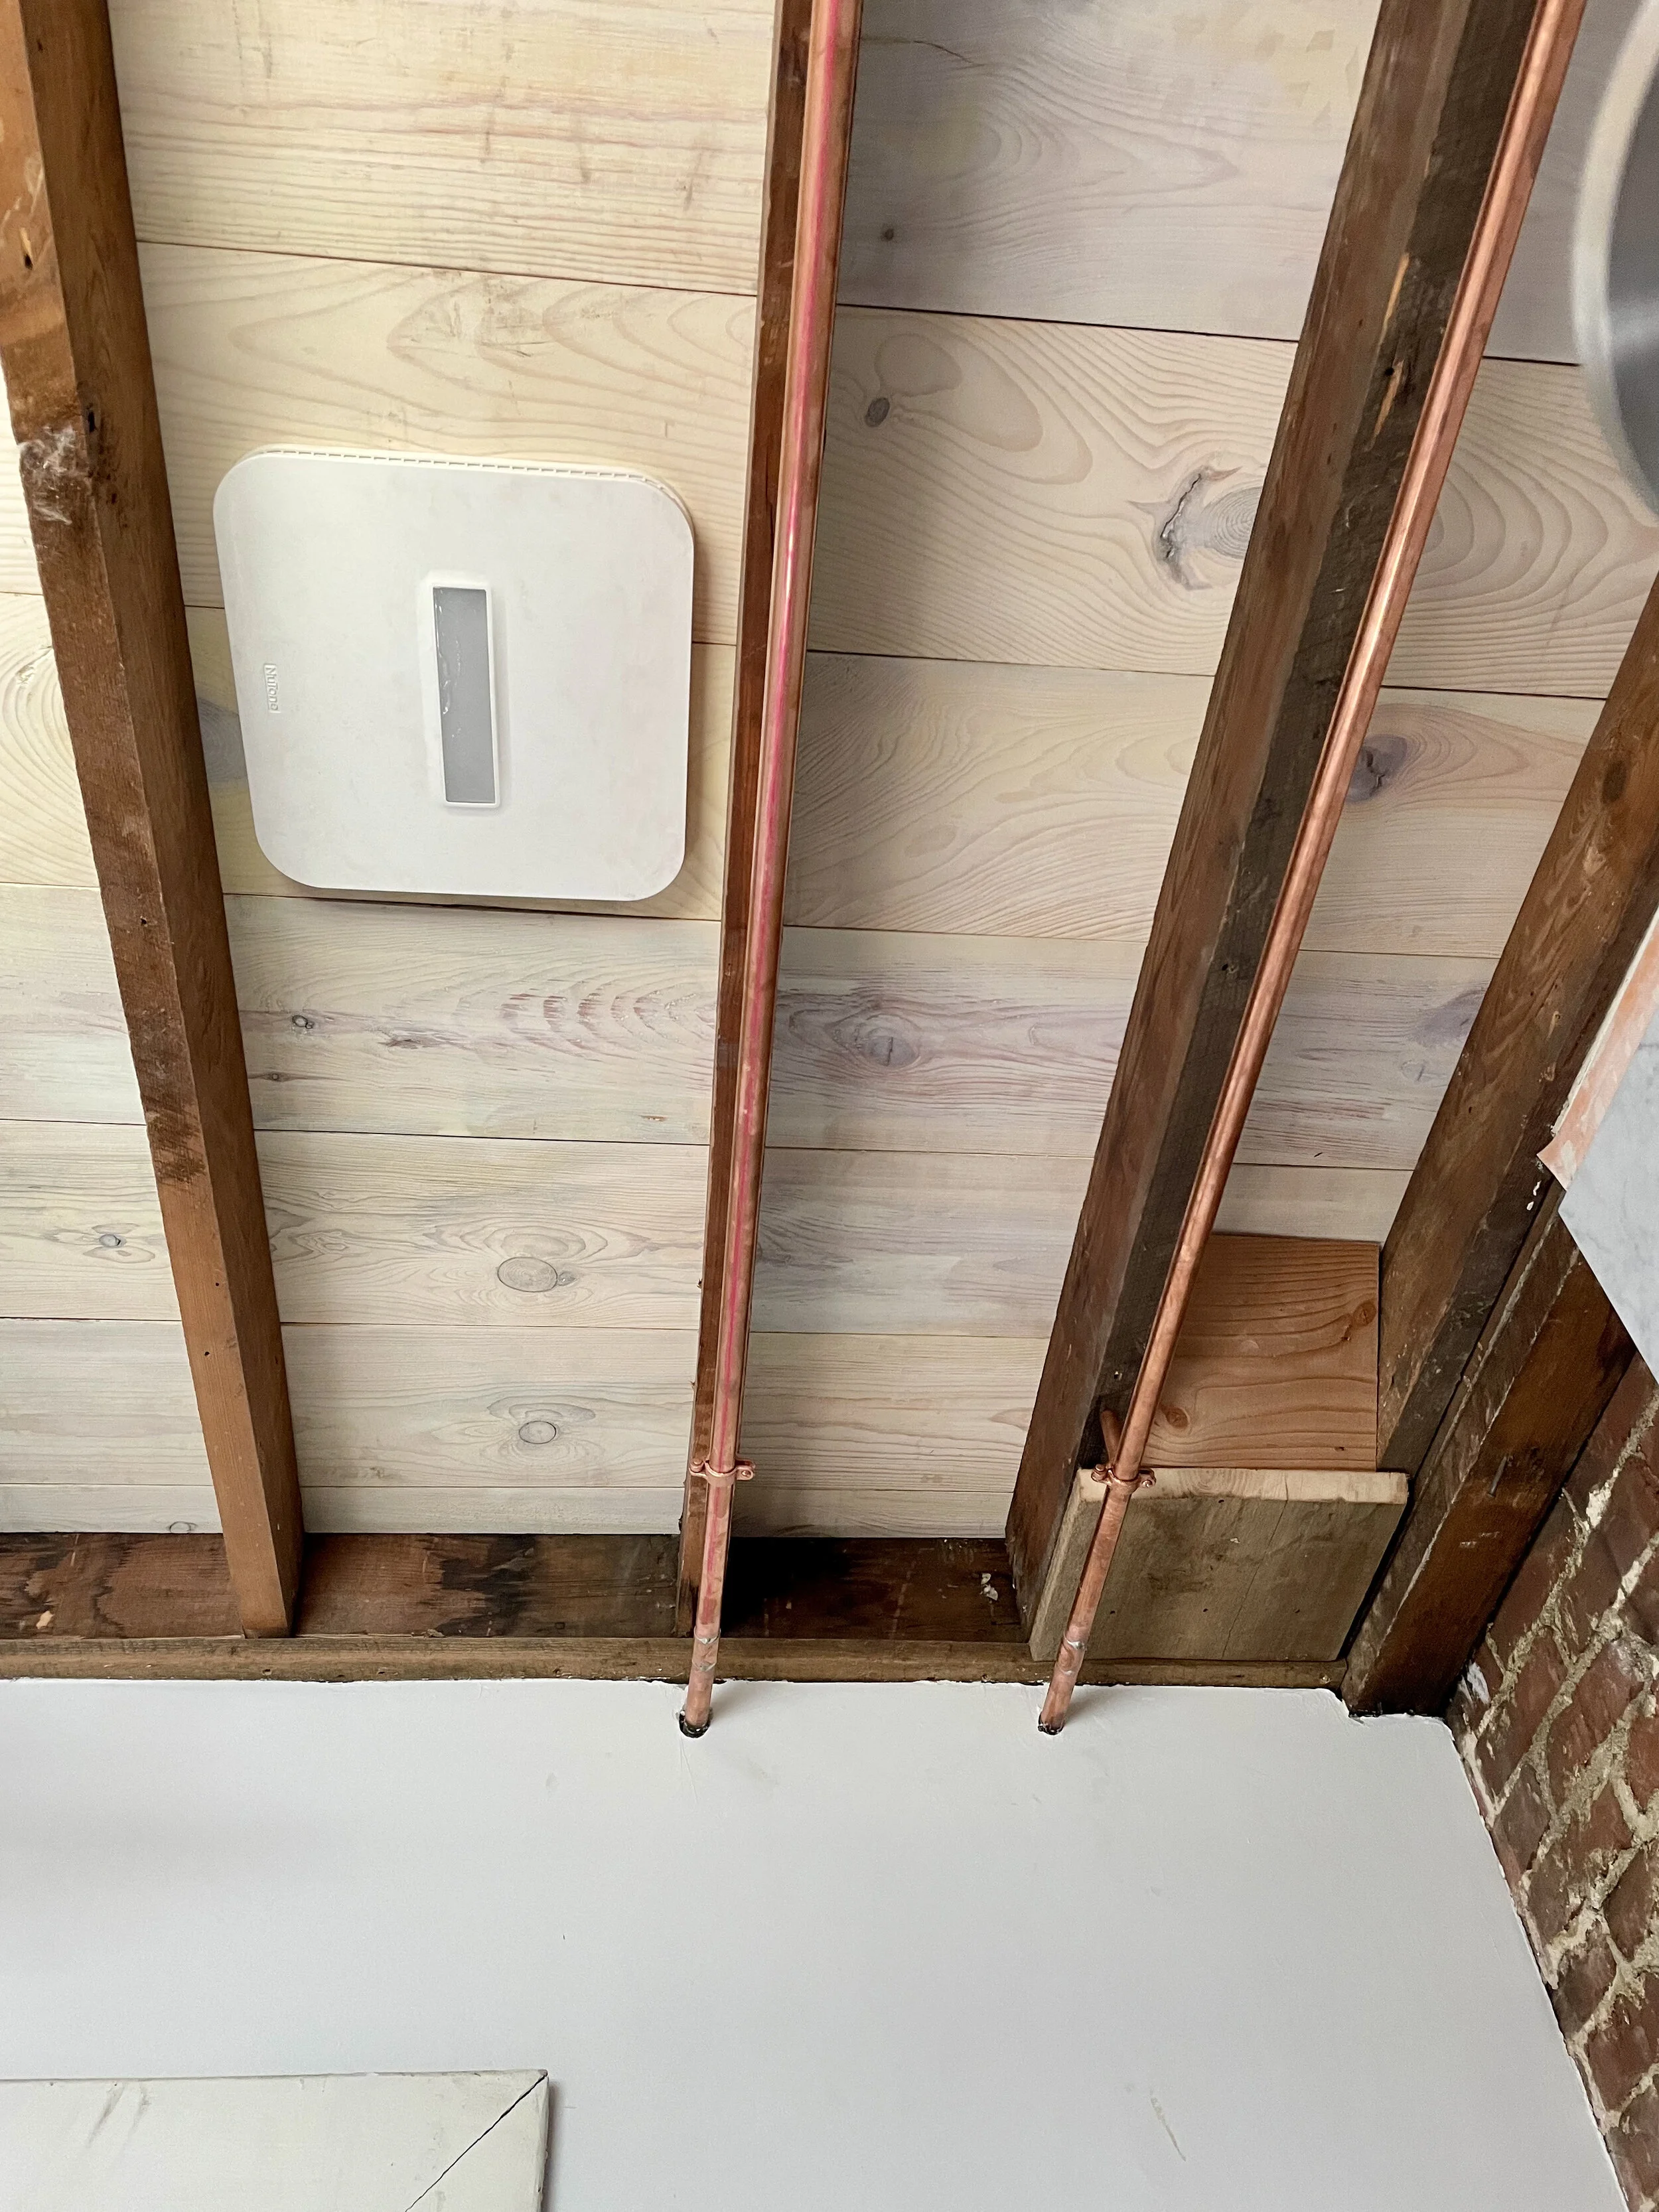
Exposed copper pipe for shower fixture awaiting connection.
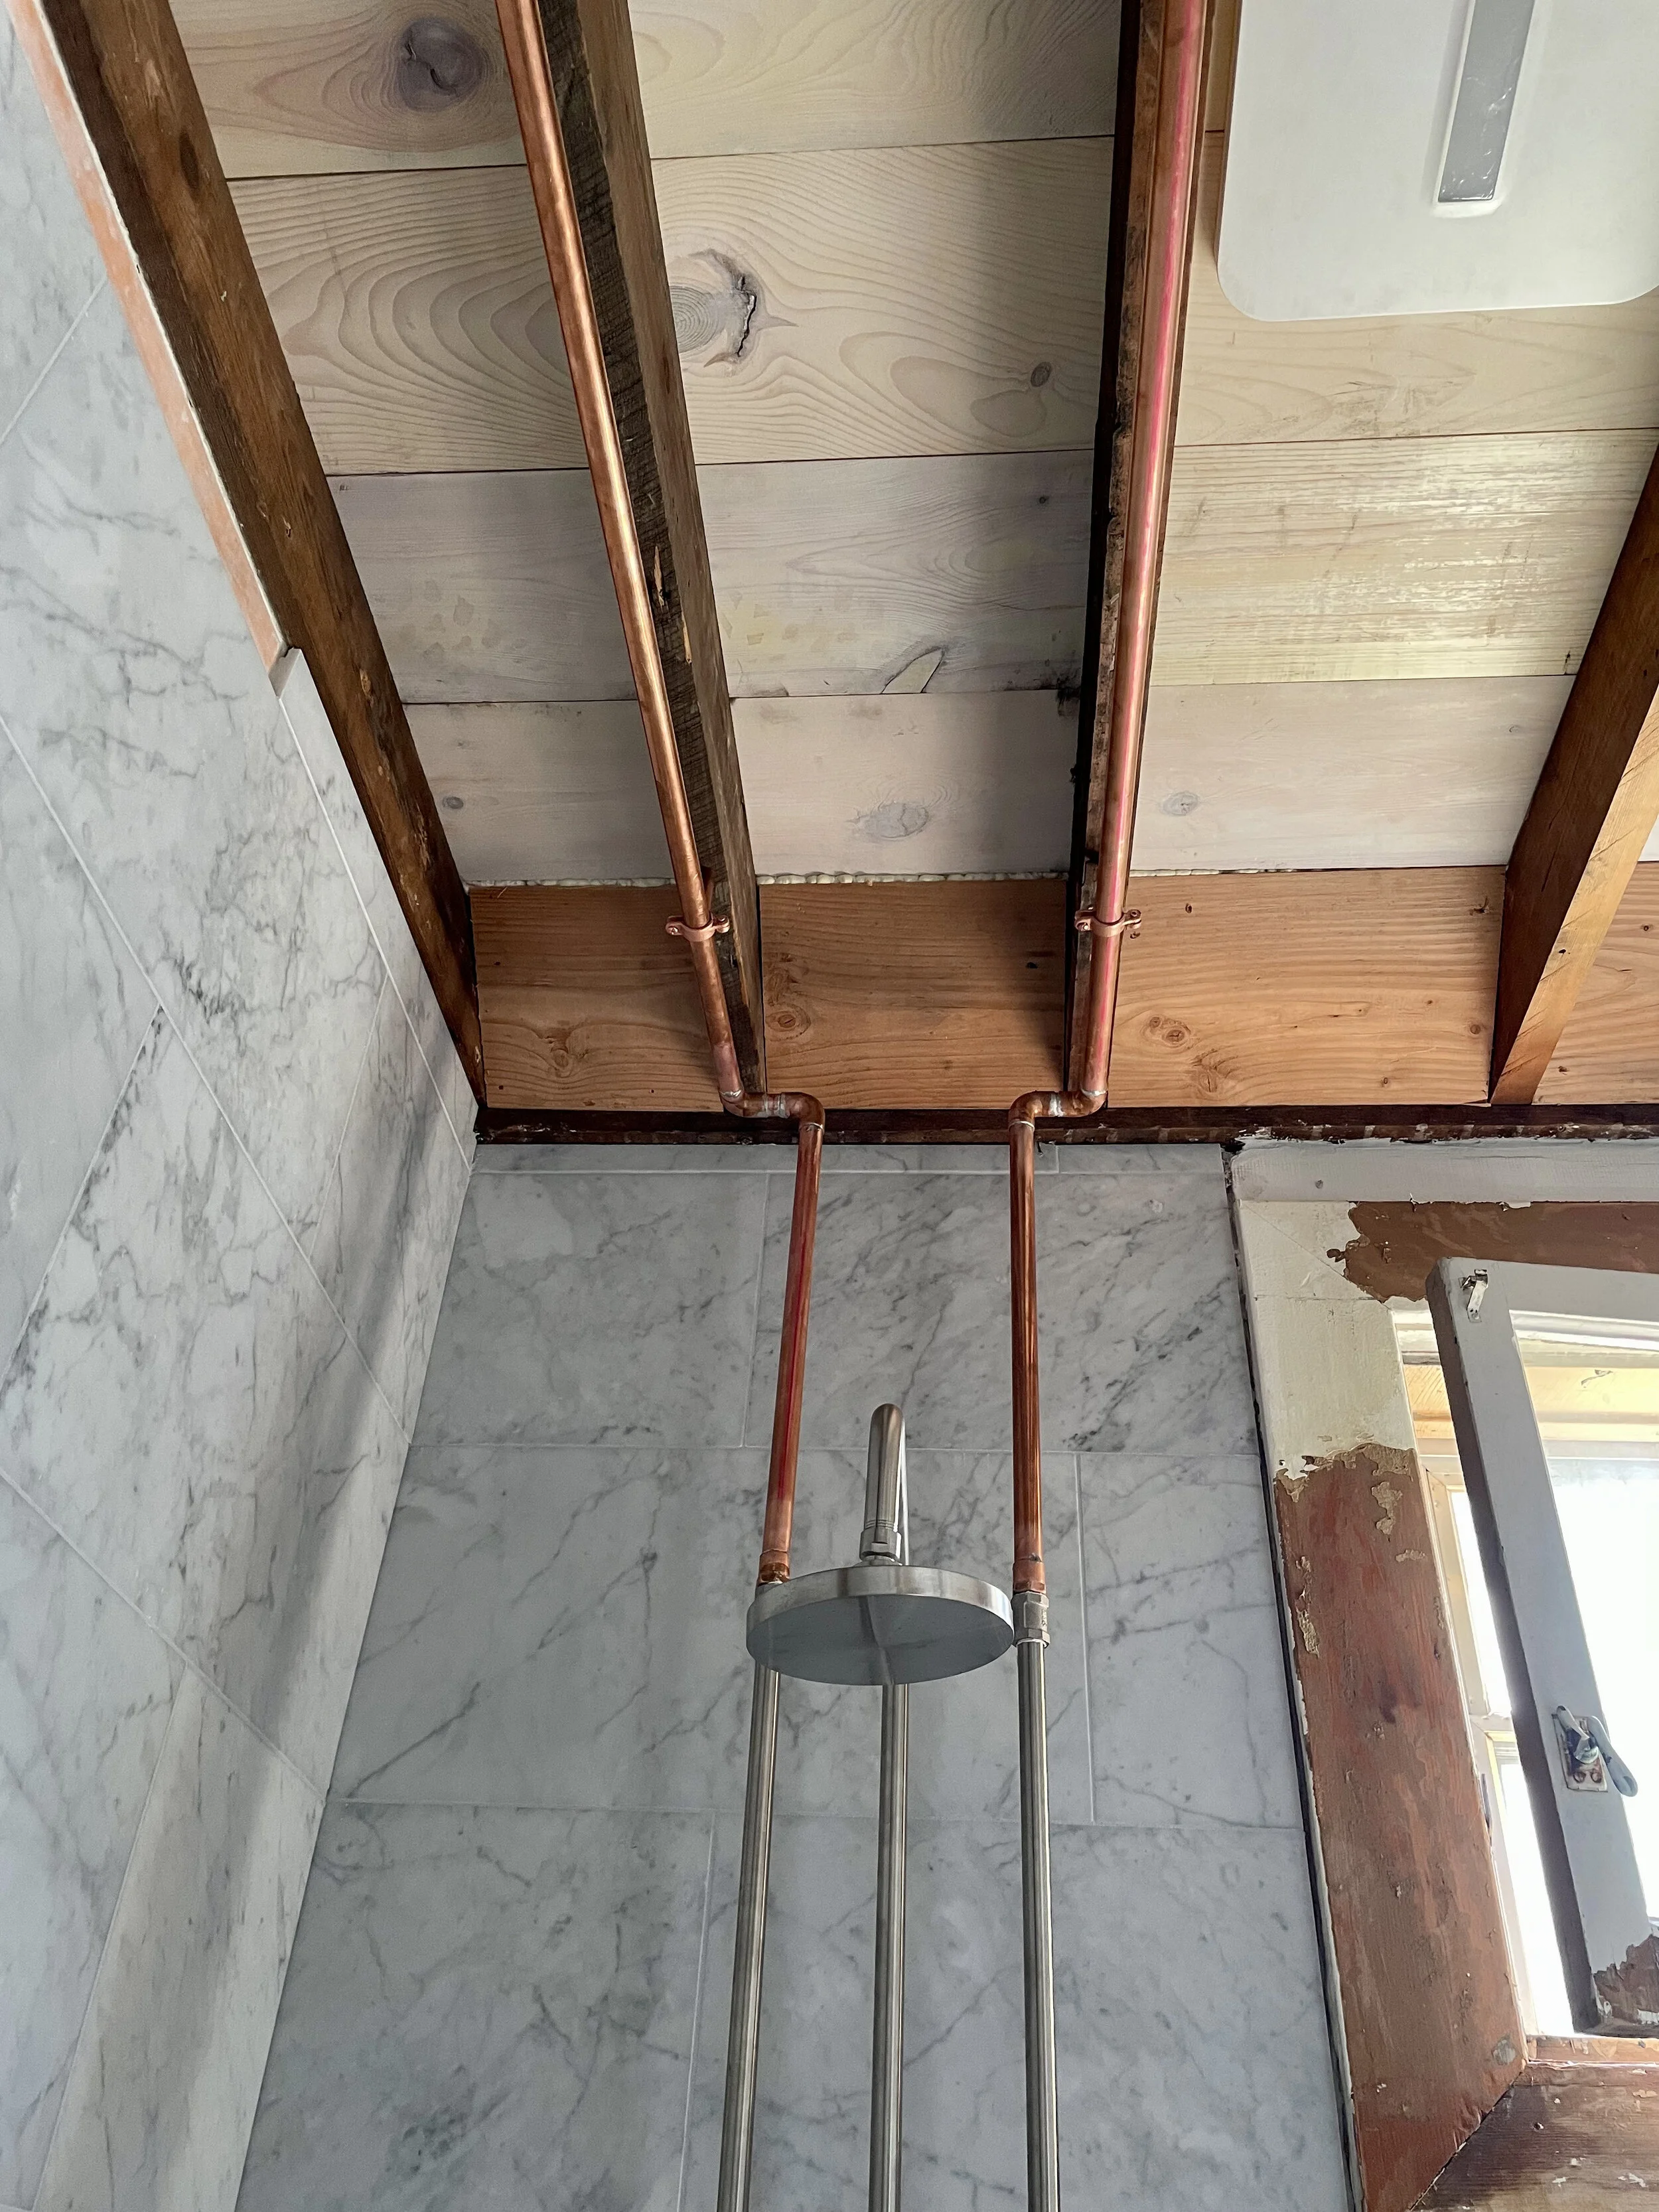
Water lines connected to shower fixture.
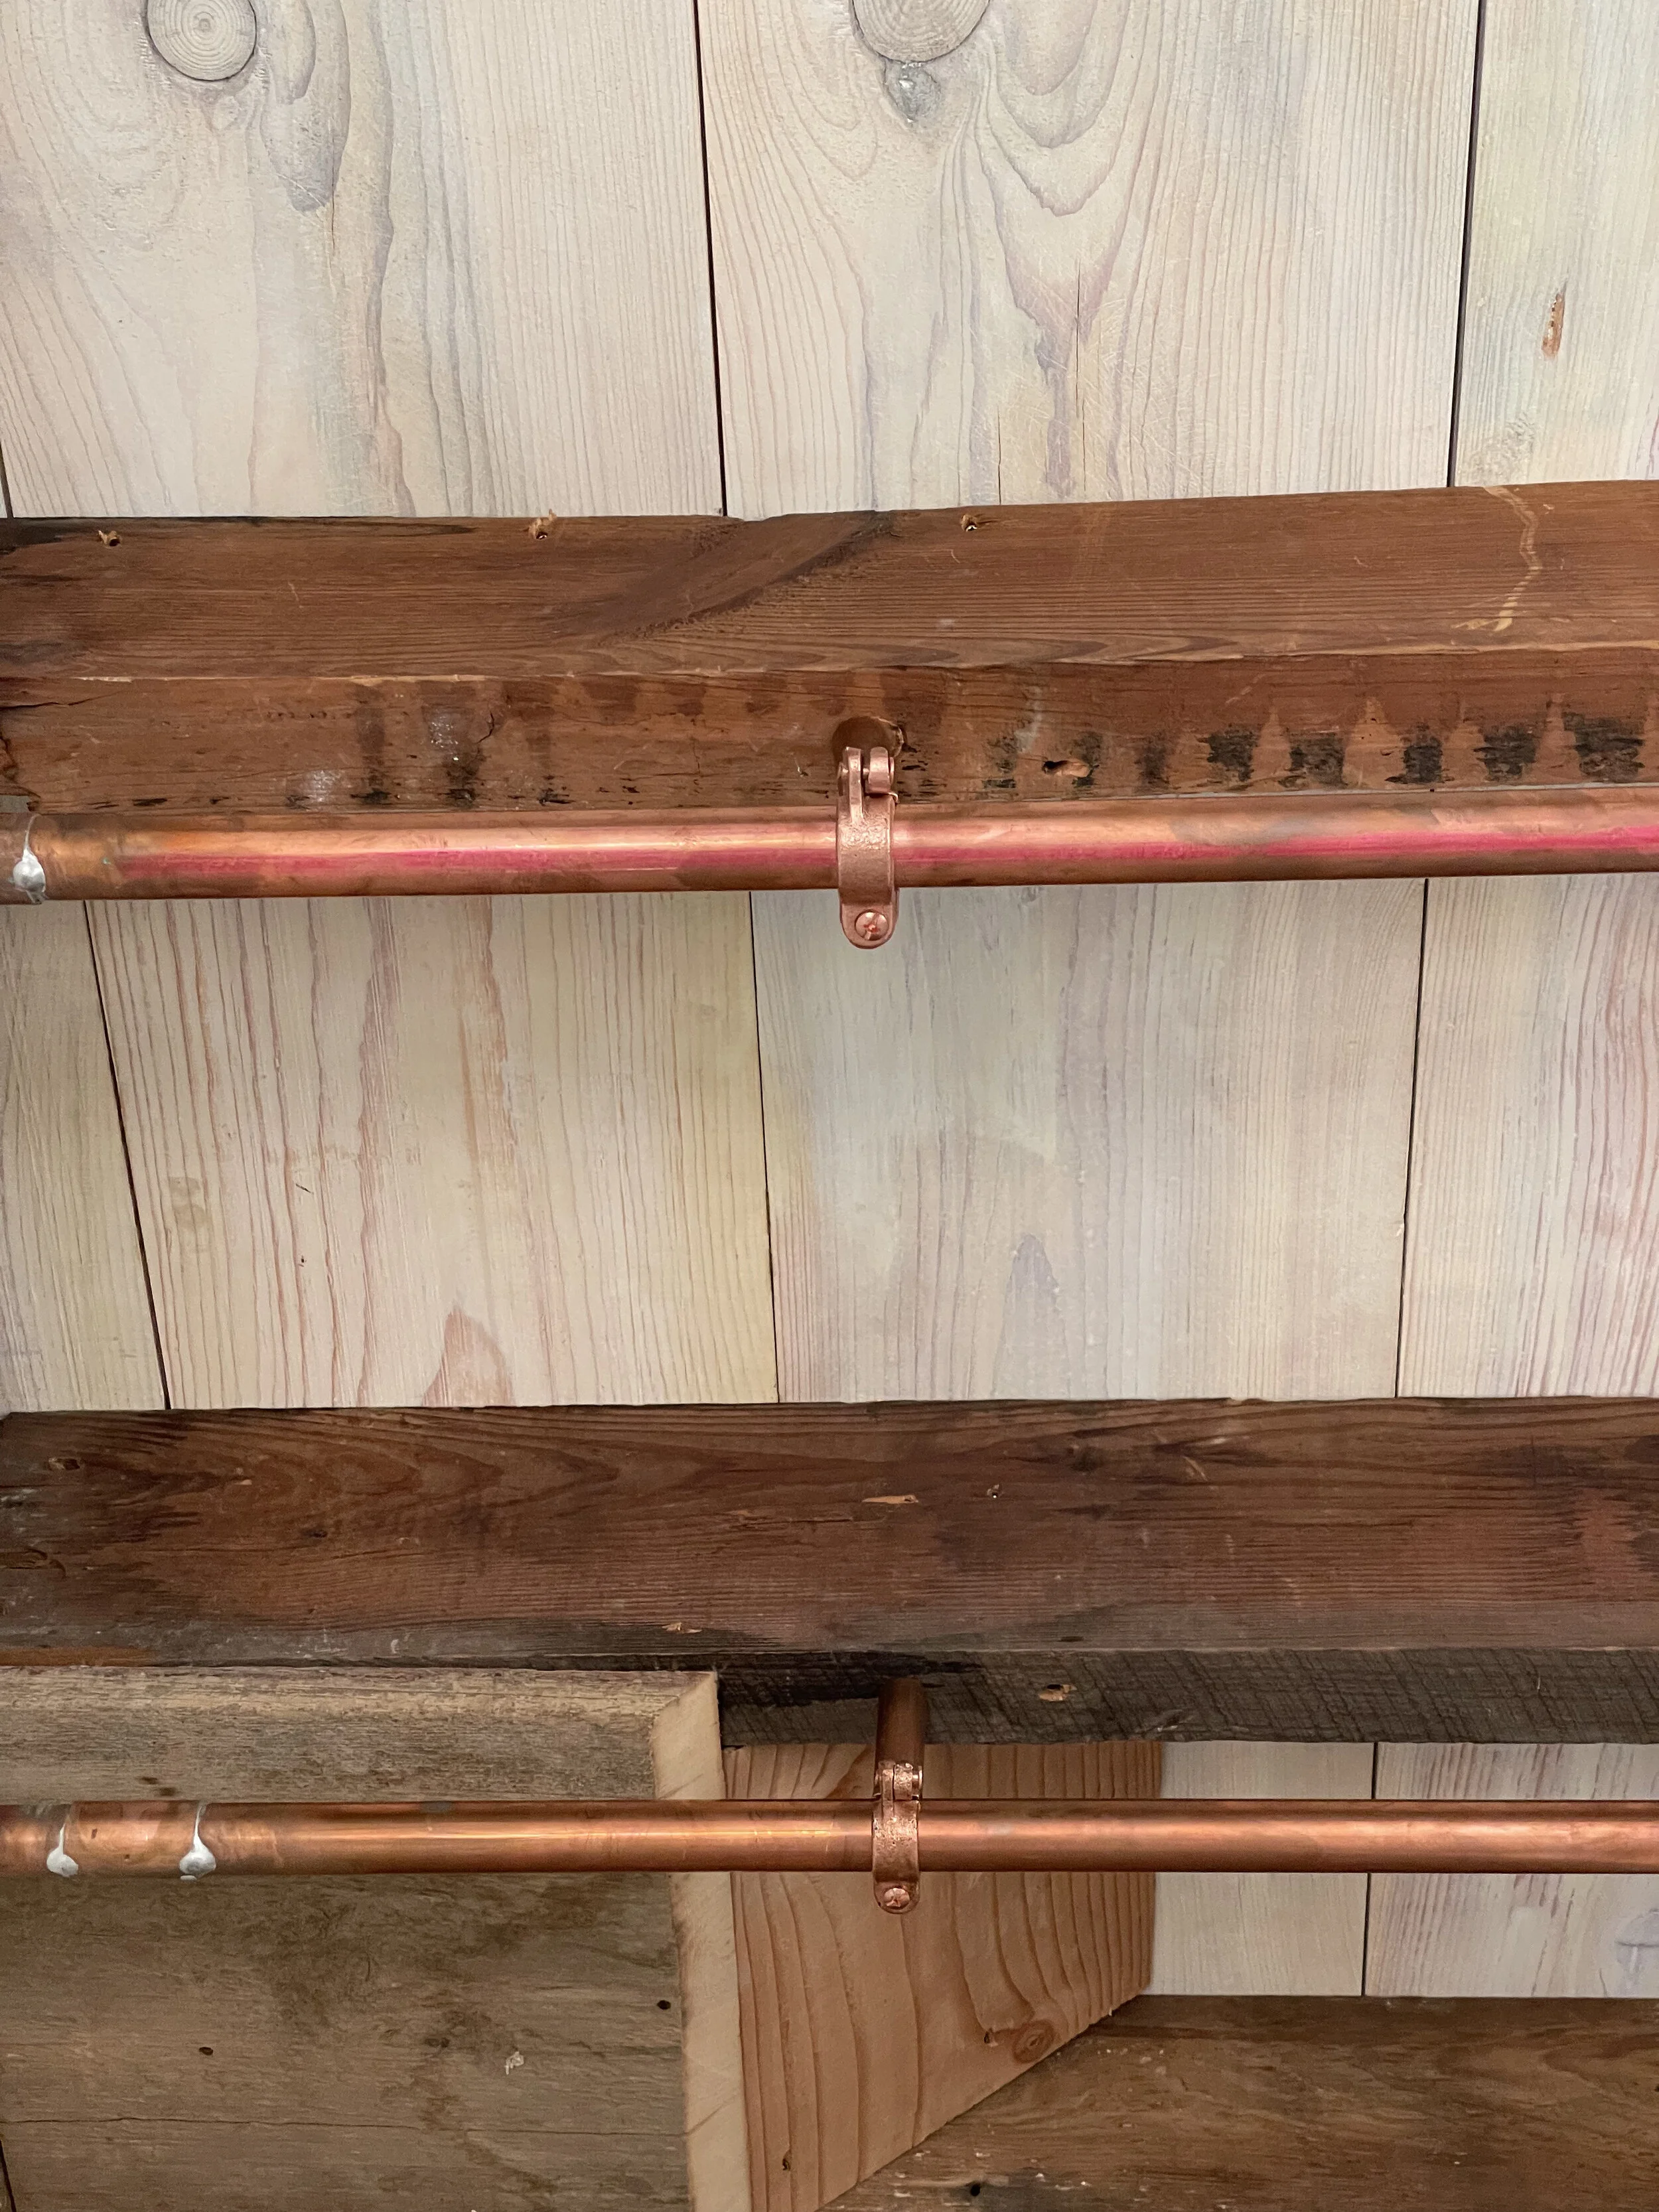
Exposed copper pipe brackets.
Radiator and sink await installation.
Custom built-in.
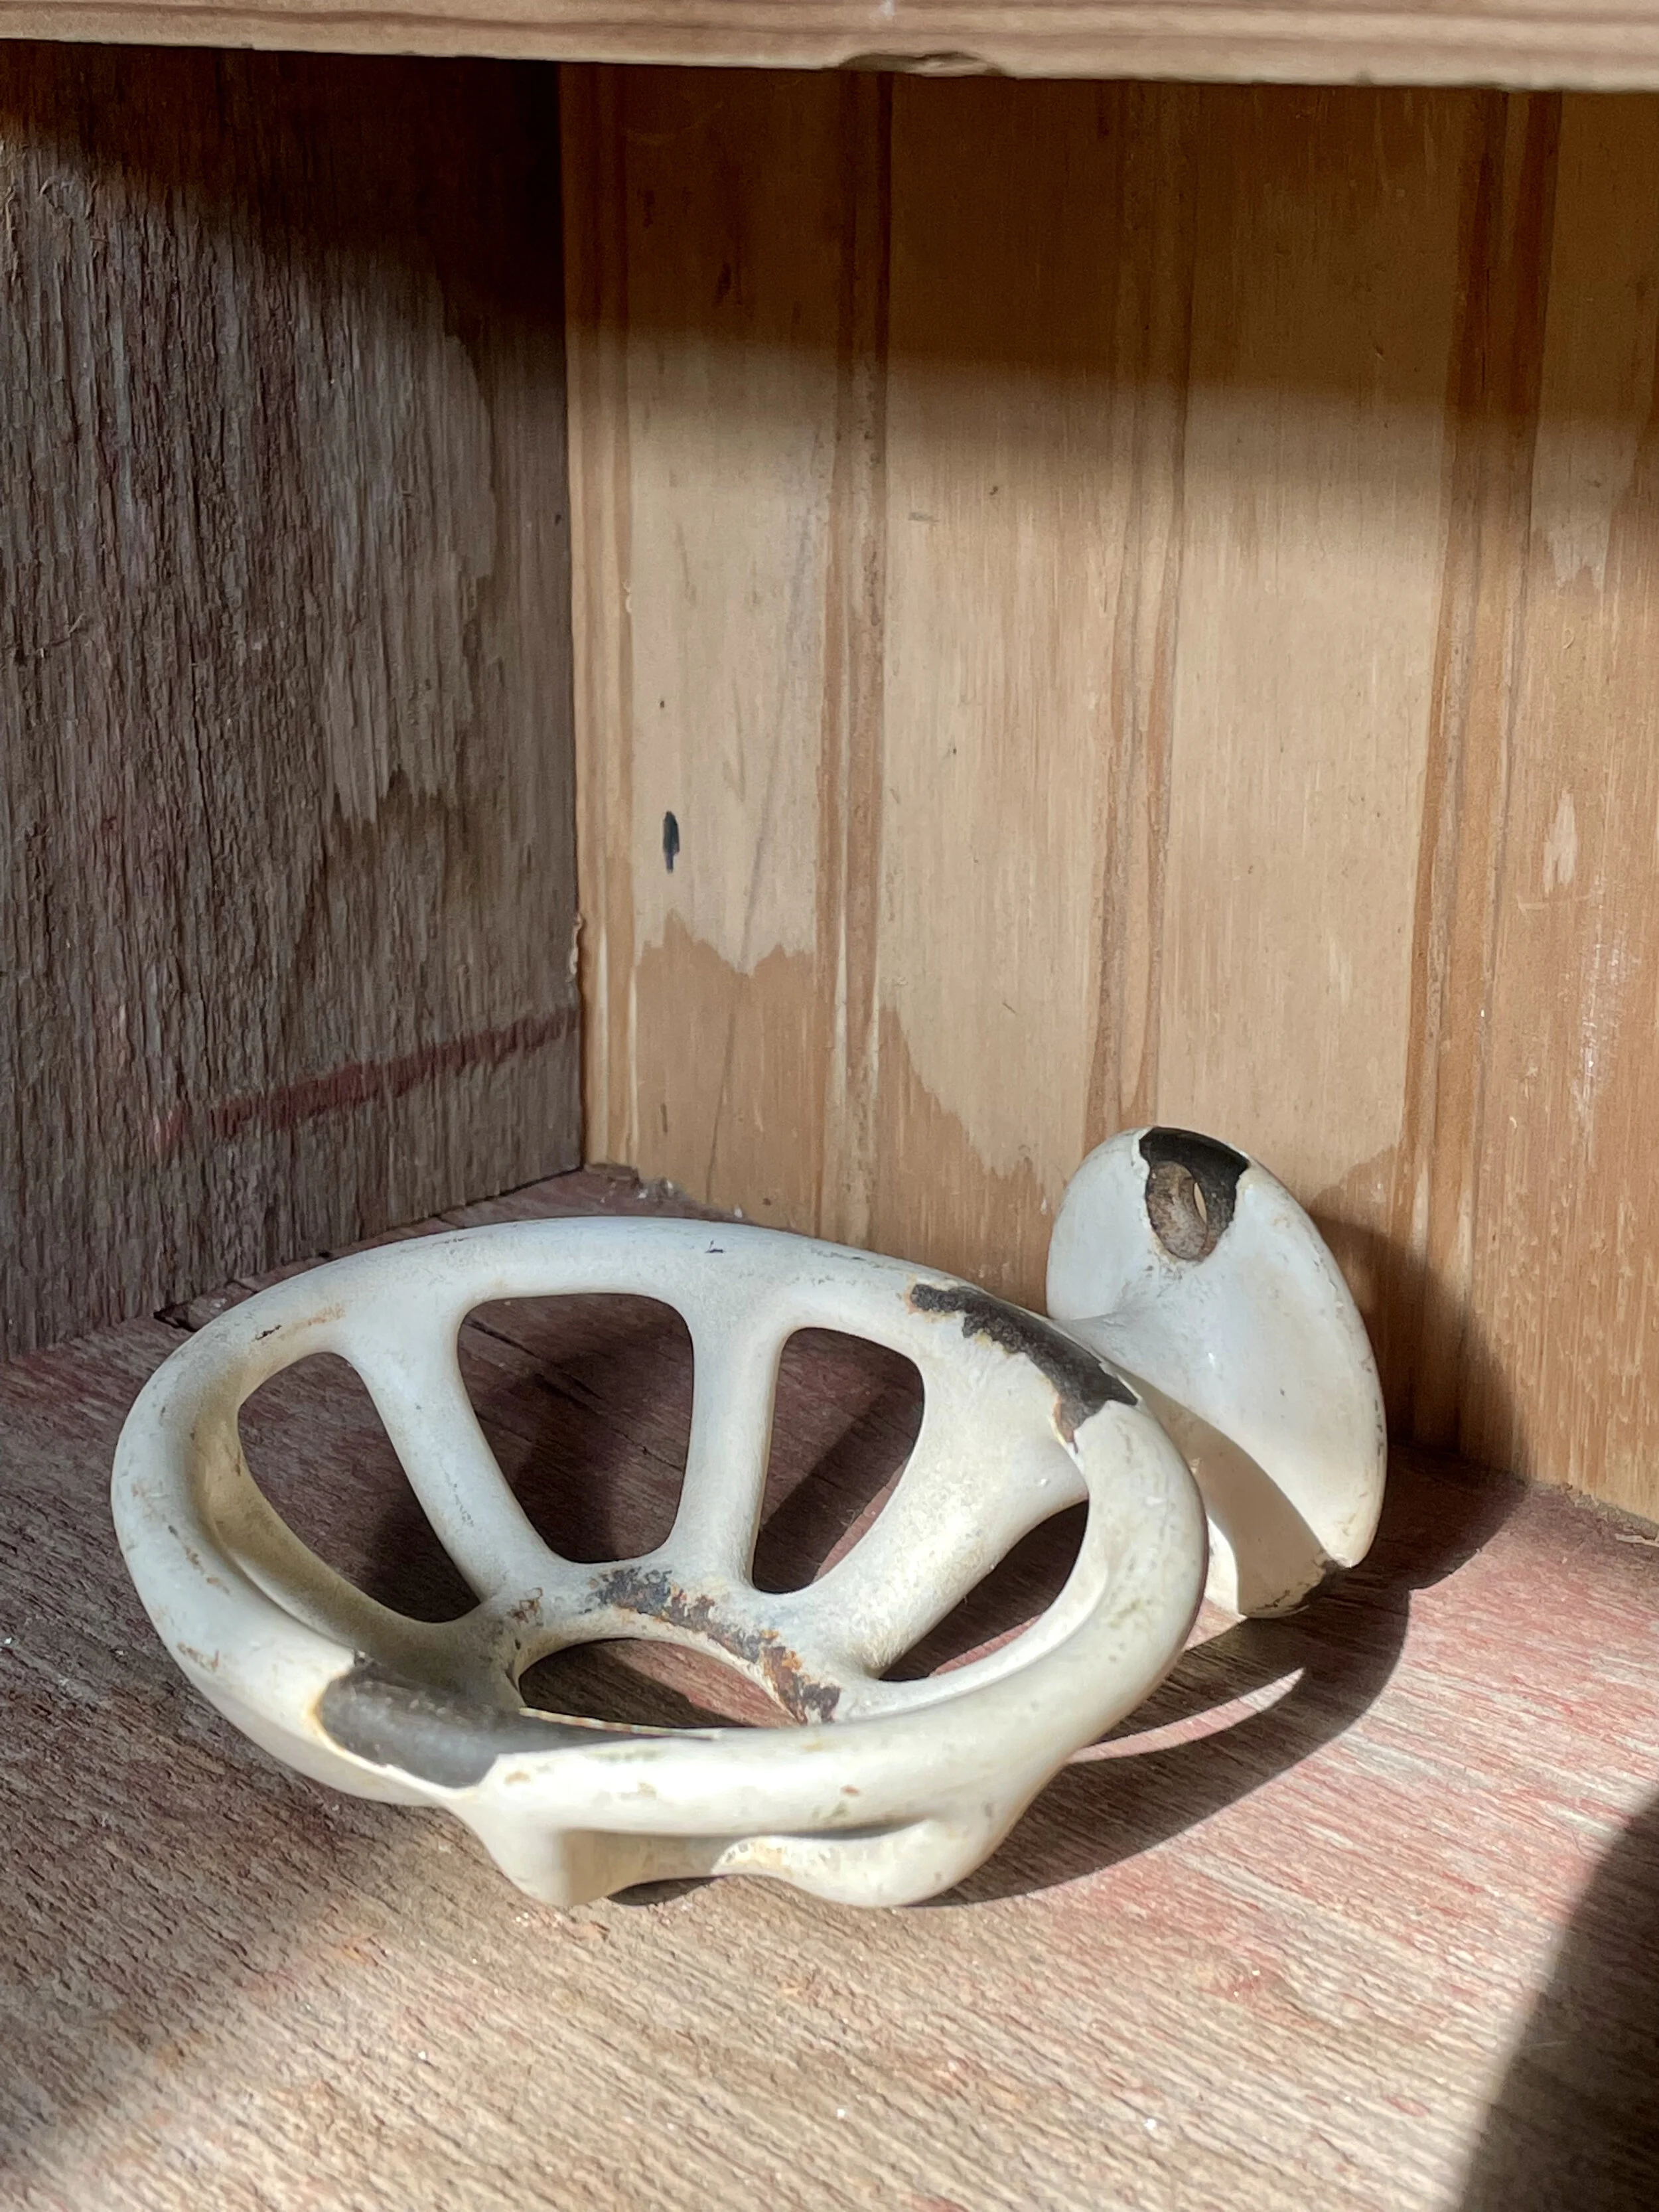
Antique cast iron soap dish awaiting install with near sink.
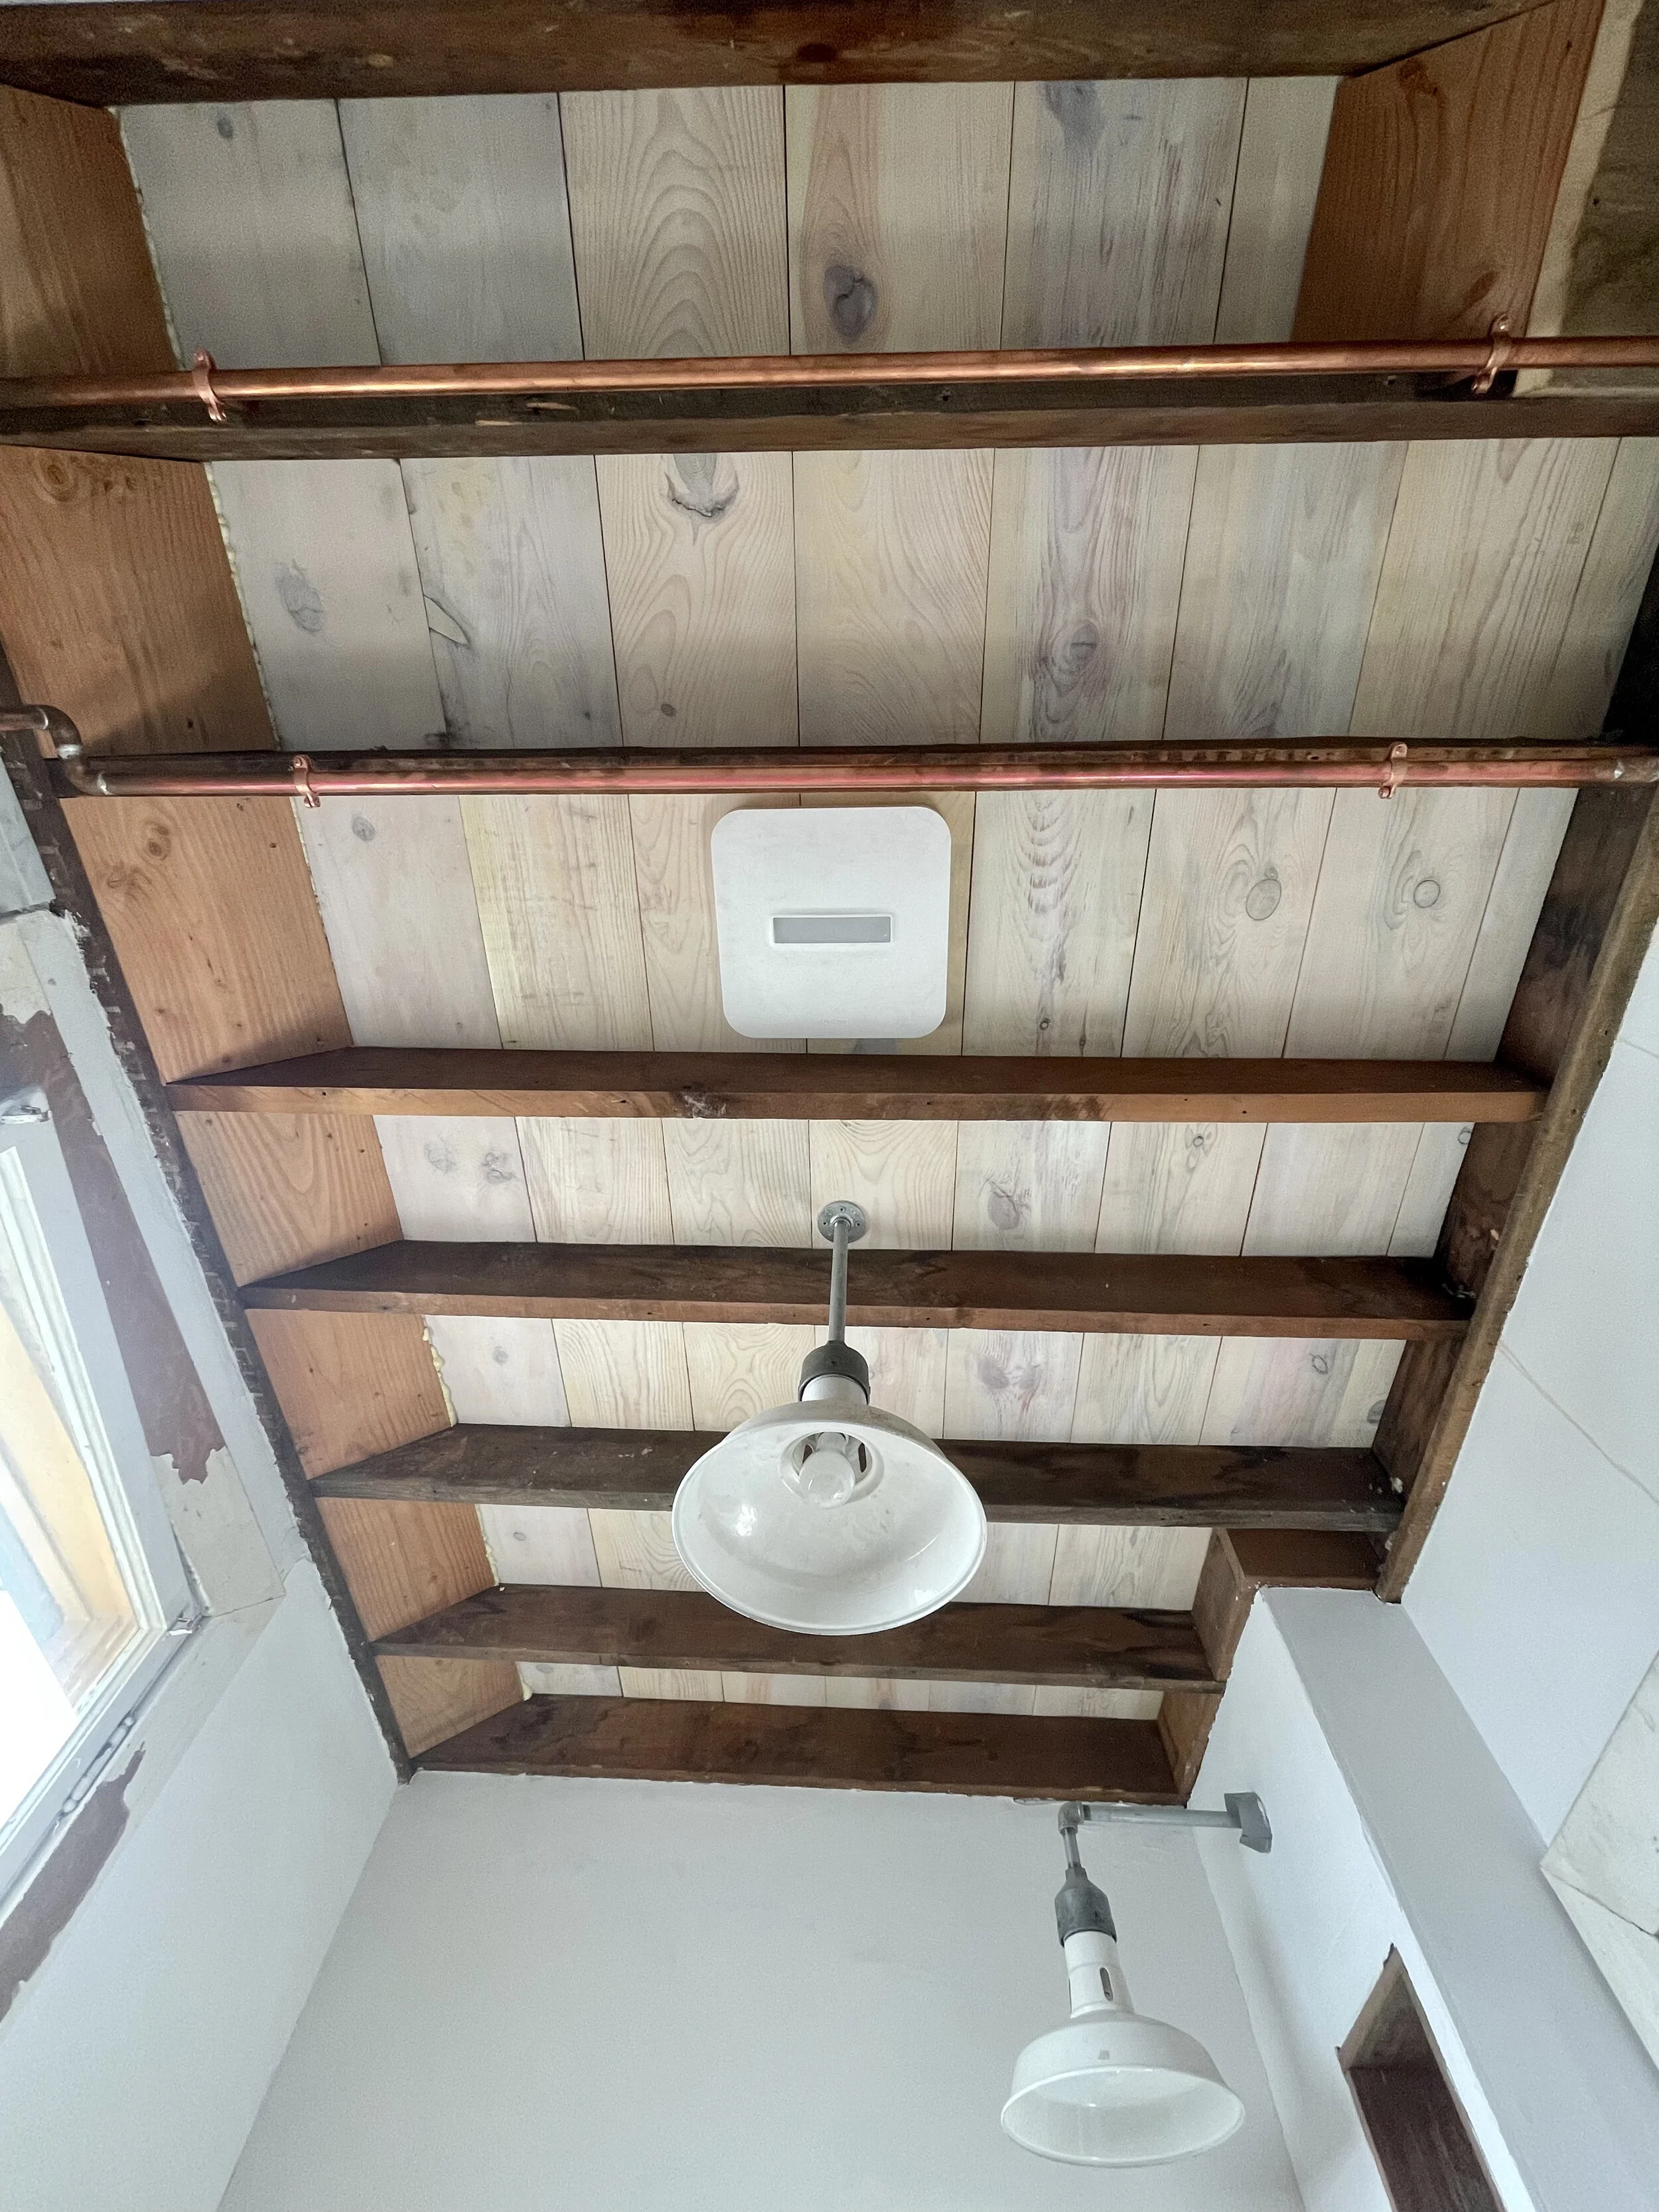
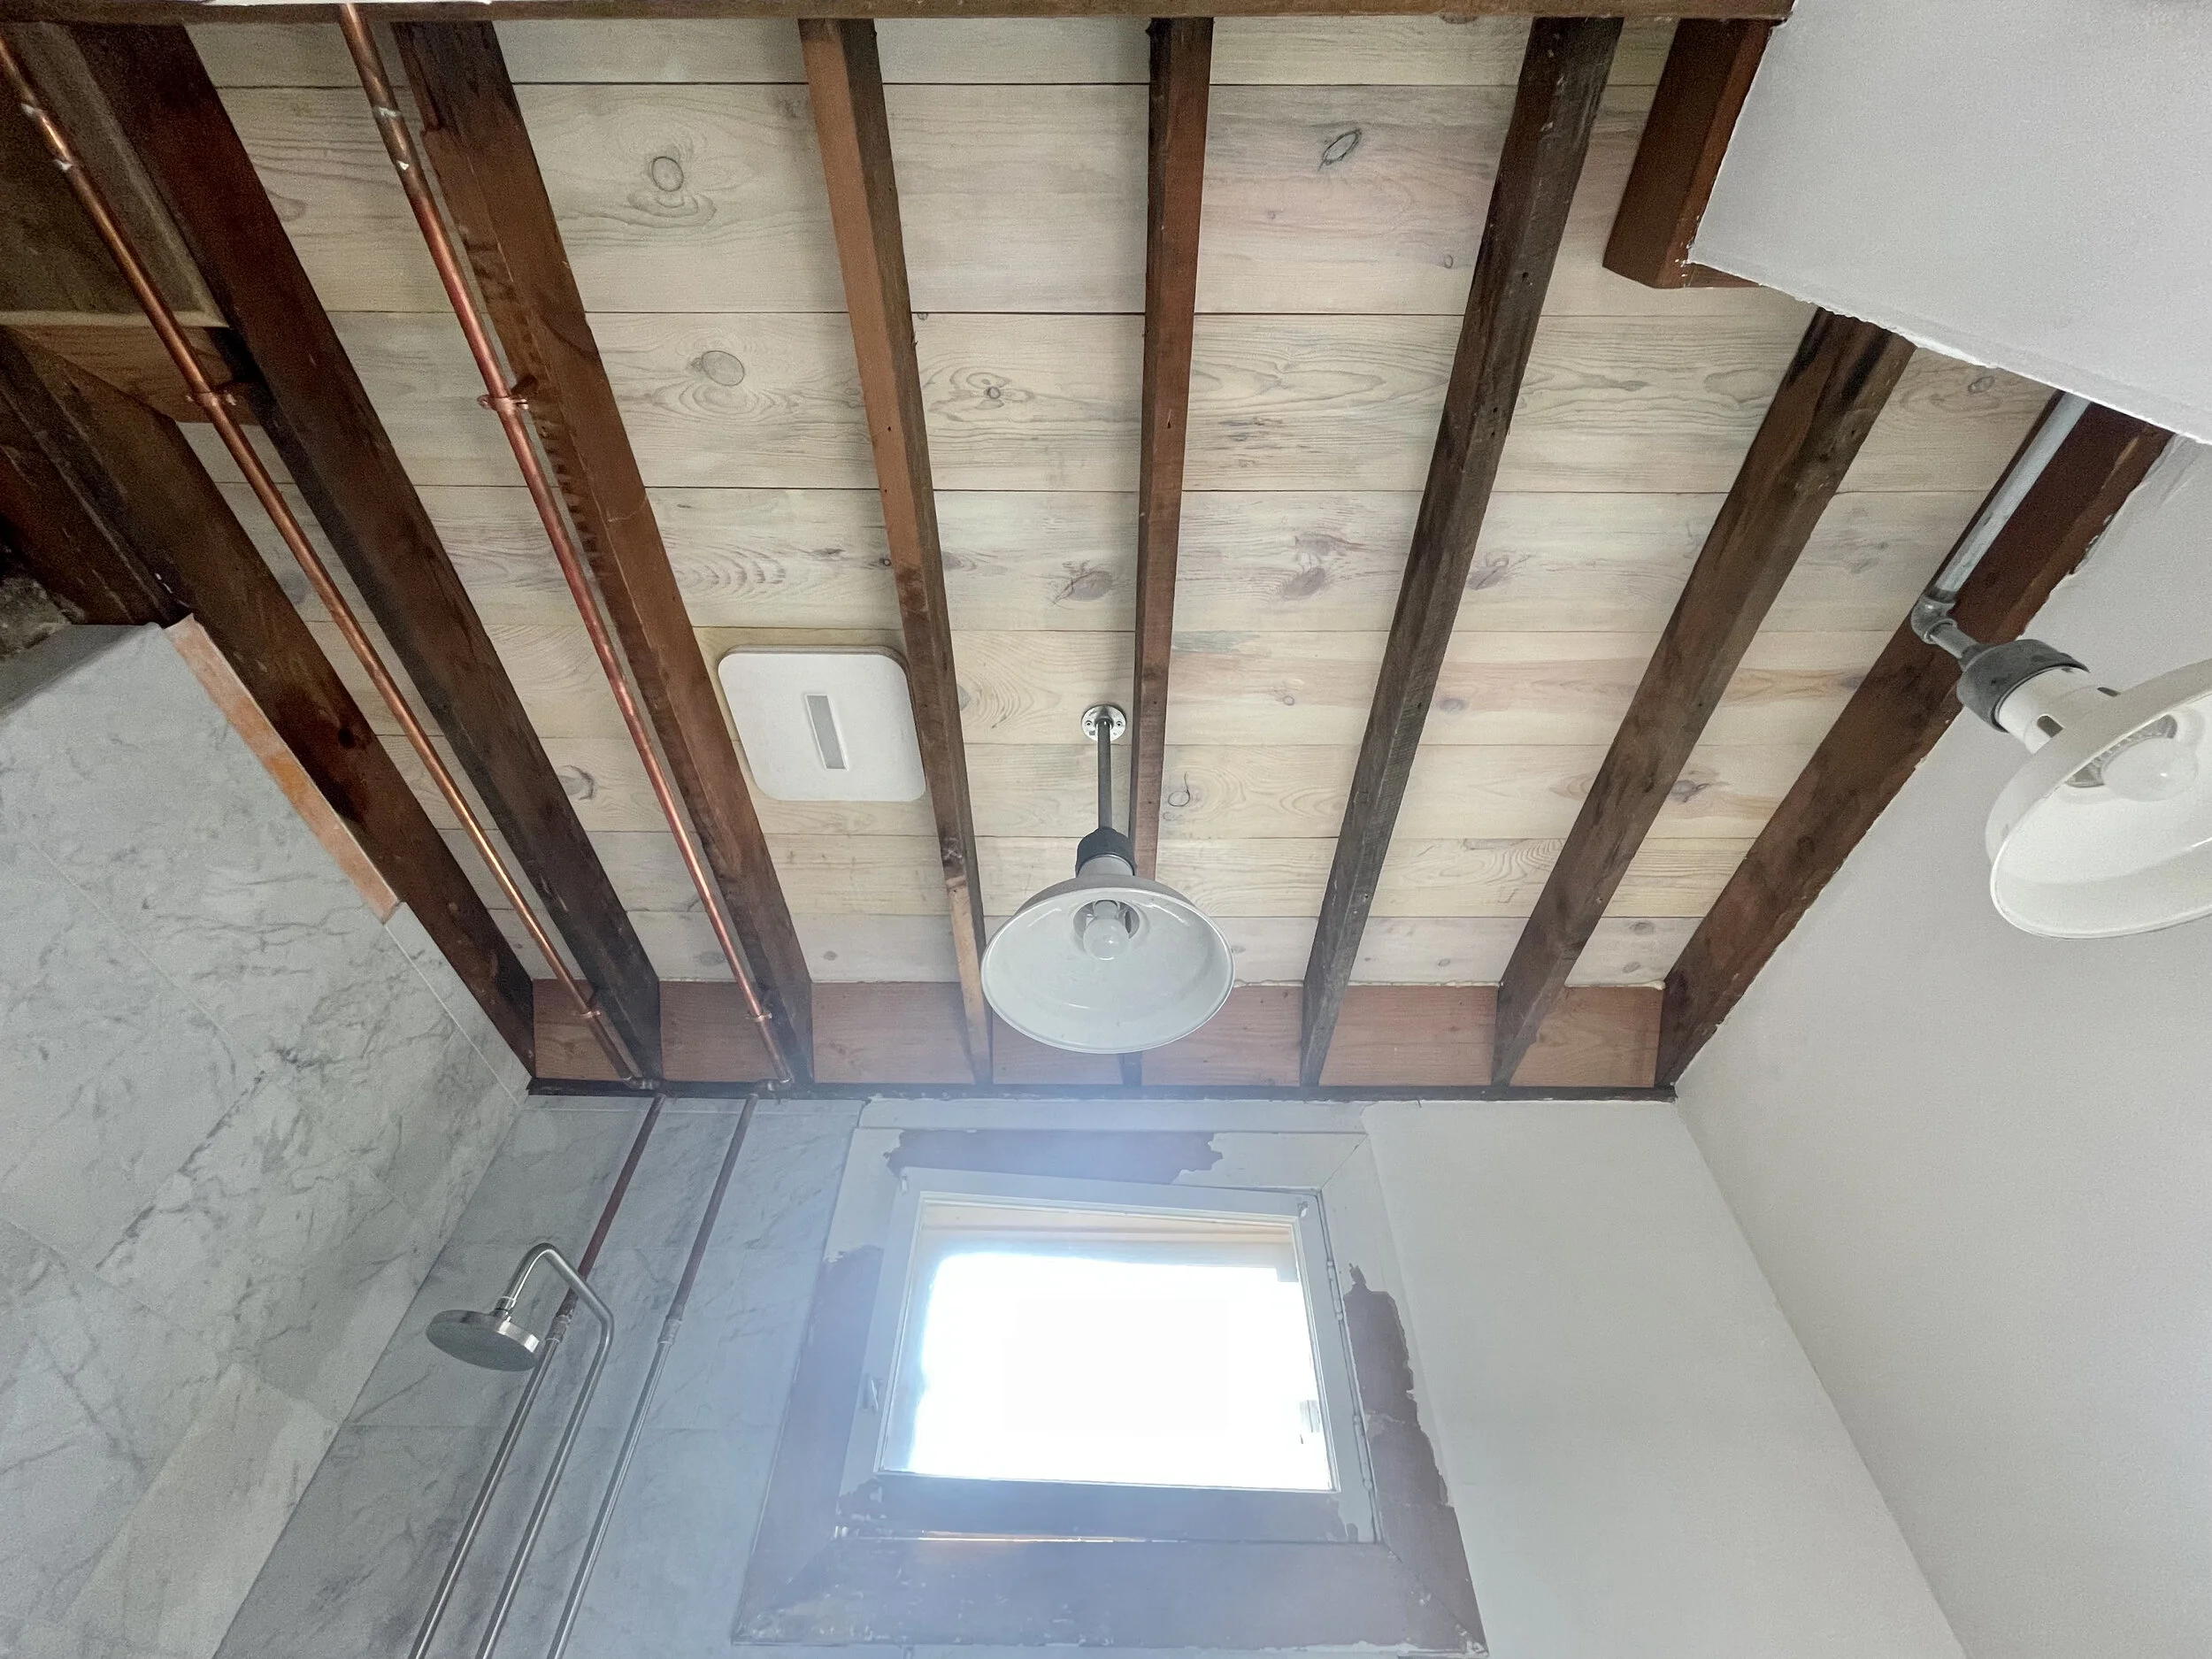
Ceiling views. A few finishing touches forthcoming.
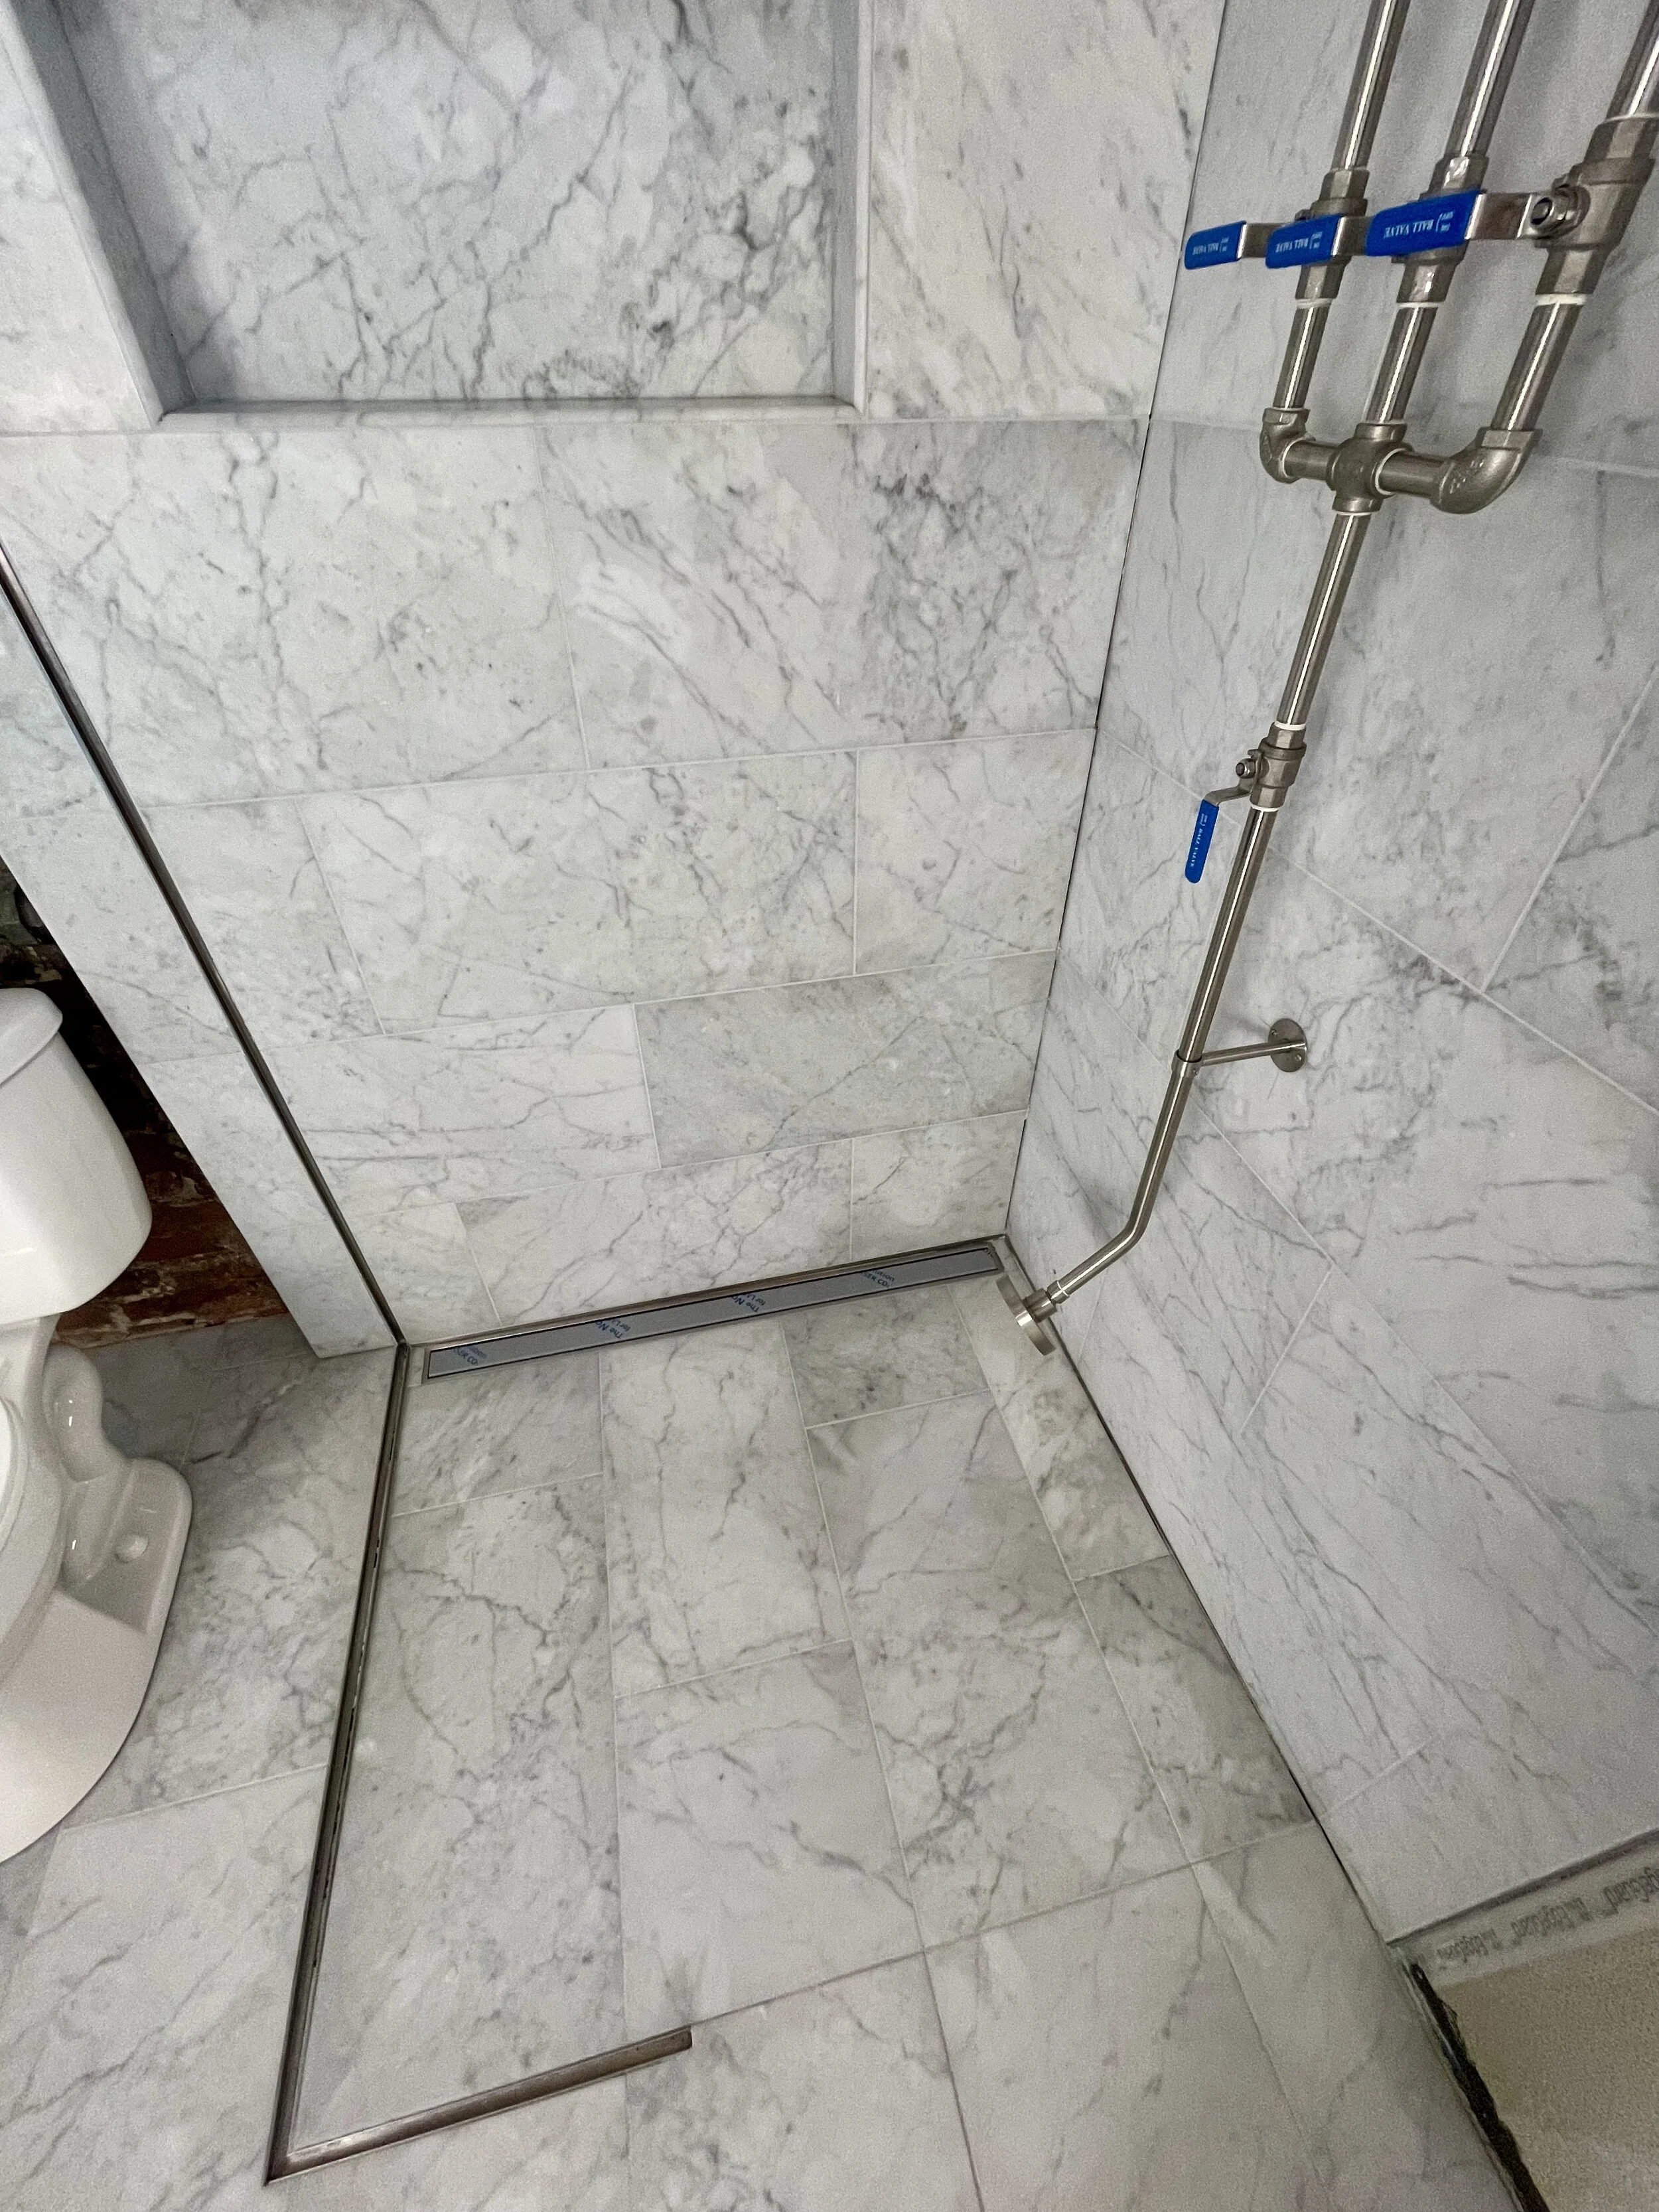
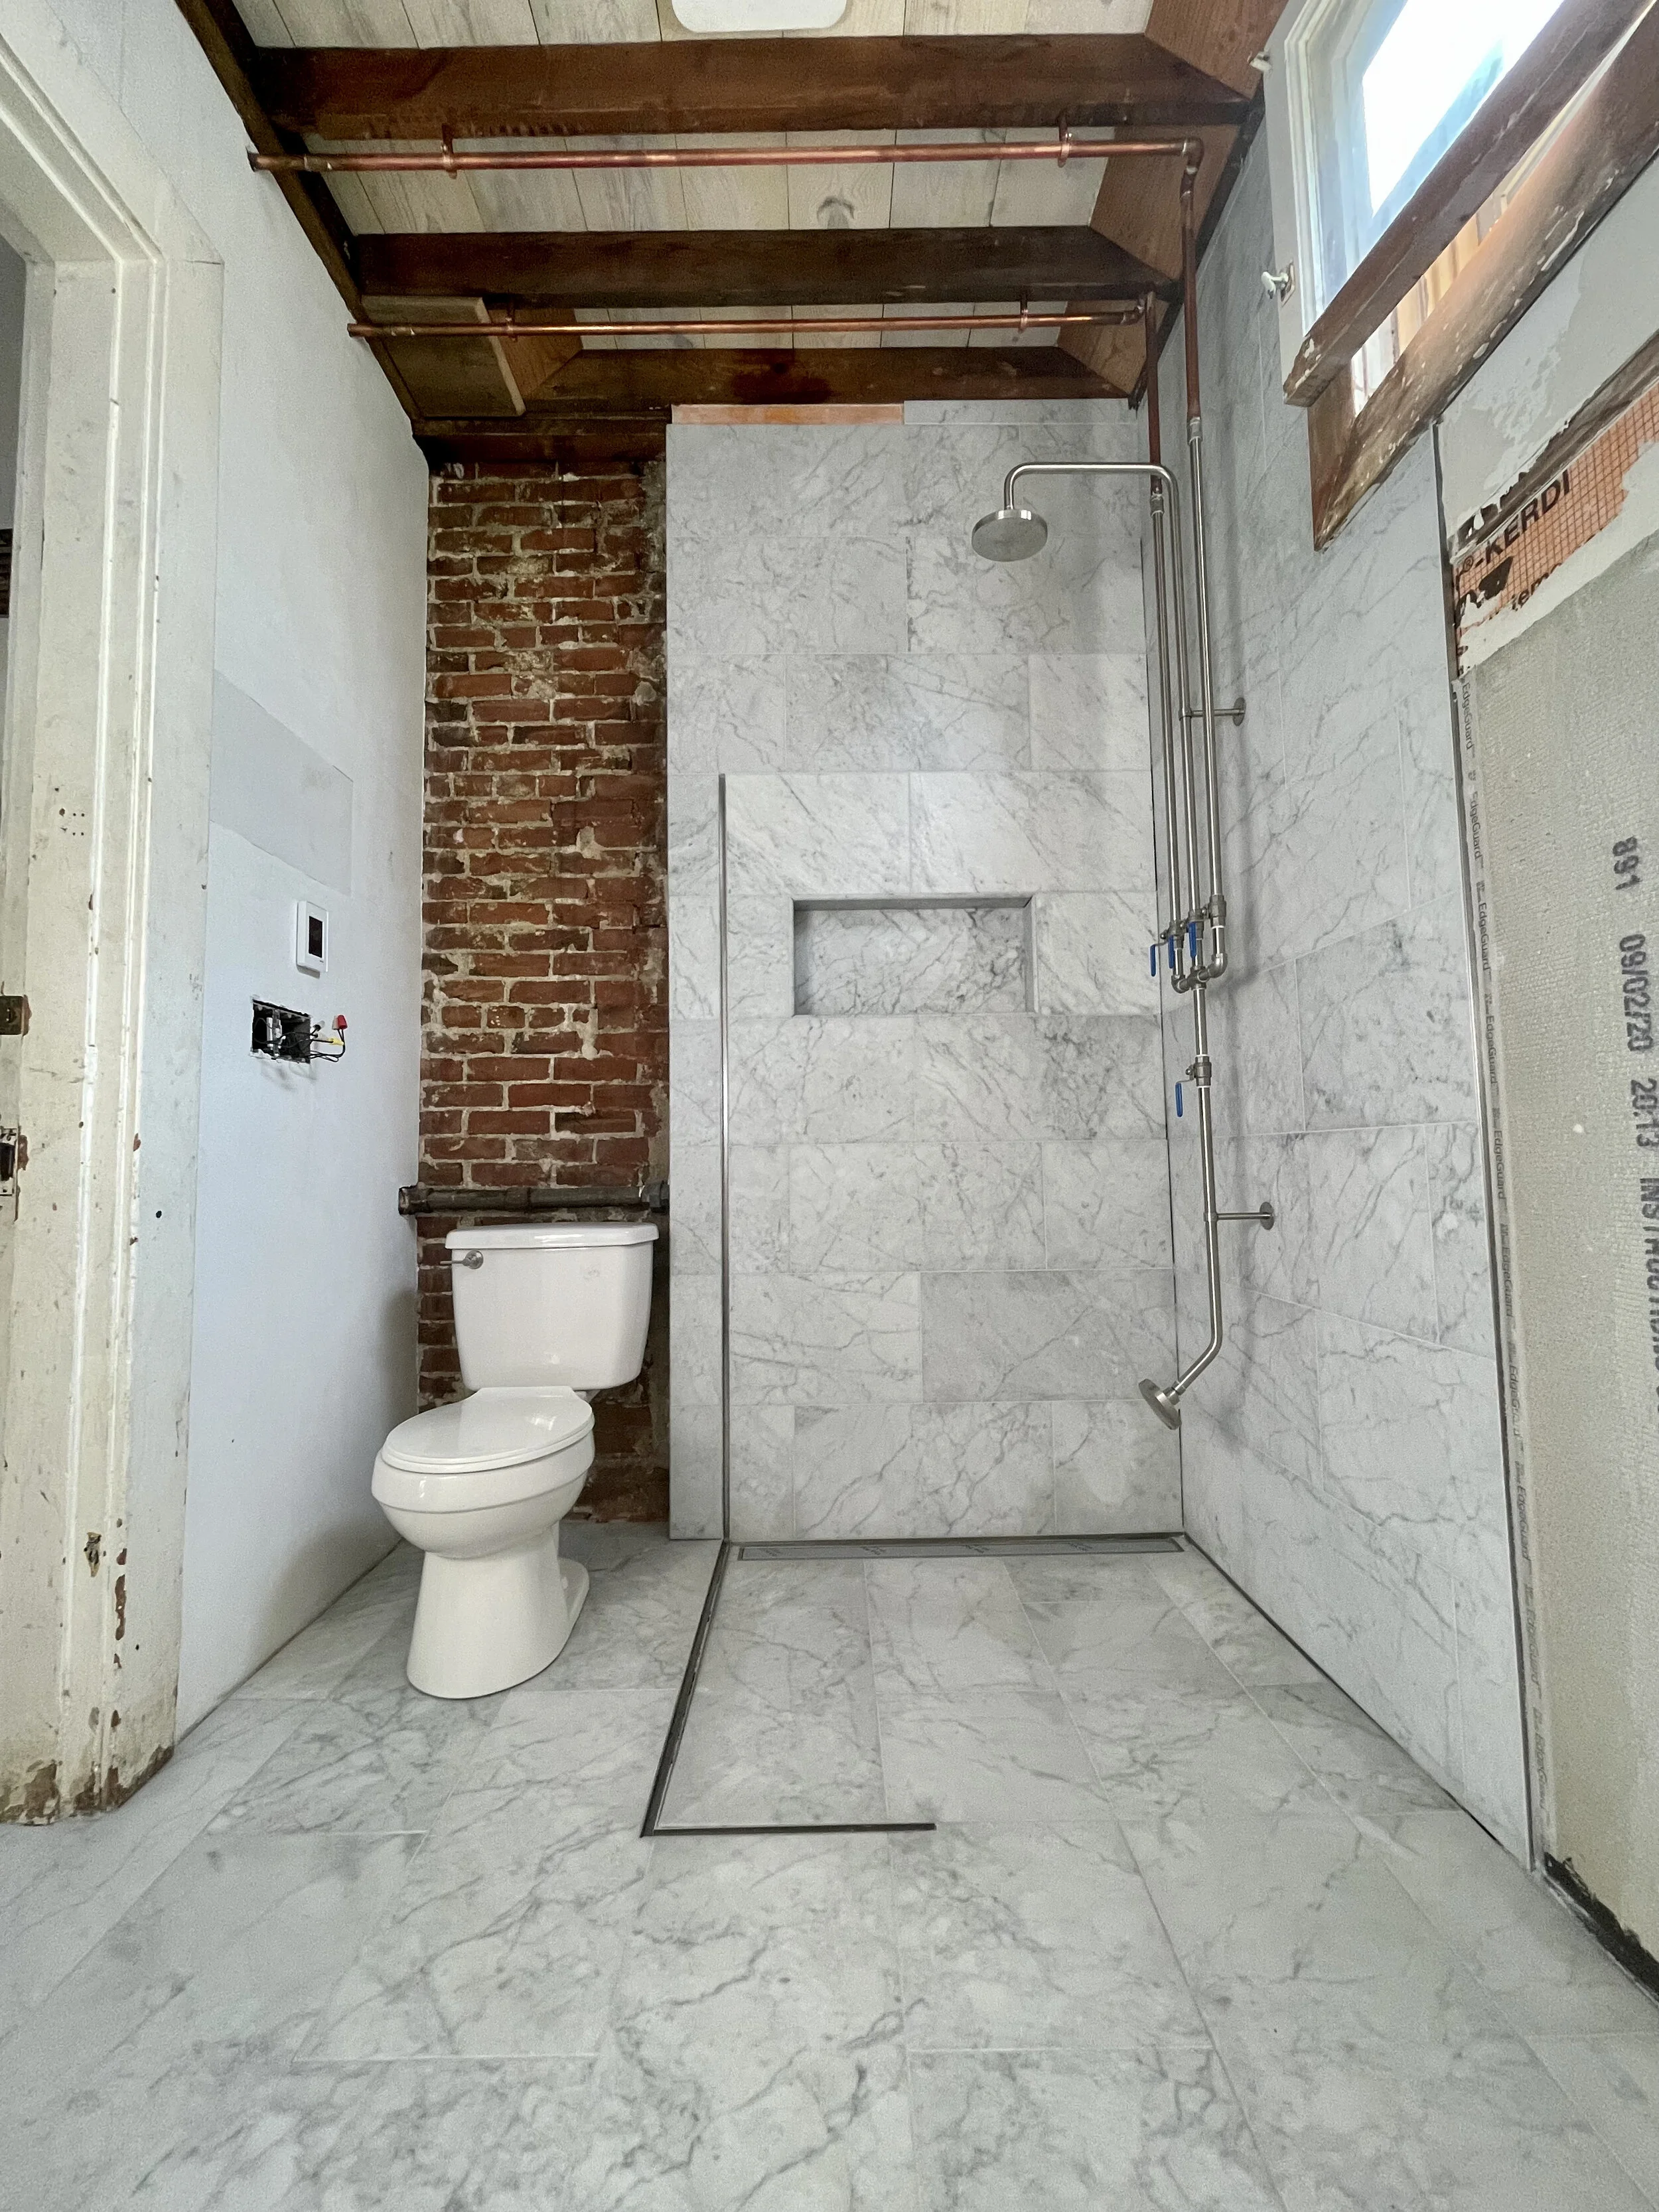
Here we are at the present state of things. Shower, drain and toilet are hooked up. I ordered glass last week which will be inlaid into the Schluter deco SG profile. The glass shower door will be ordered after the two glass panels are installed to ensure a perfect fit.
Still to come: electrical outlets, light switches, shower glass, stripping and painting door and window trim, plastering, baseboards, sink and faucet install, applying 2nd coat of natural stone sealer to tile and grout… among other details and finishes