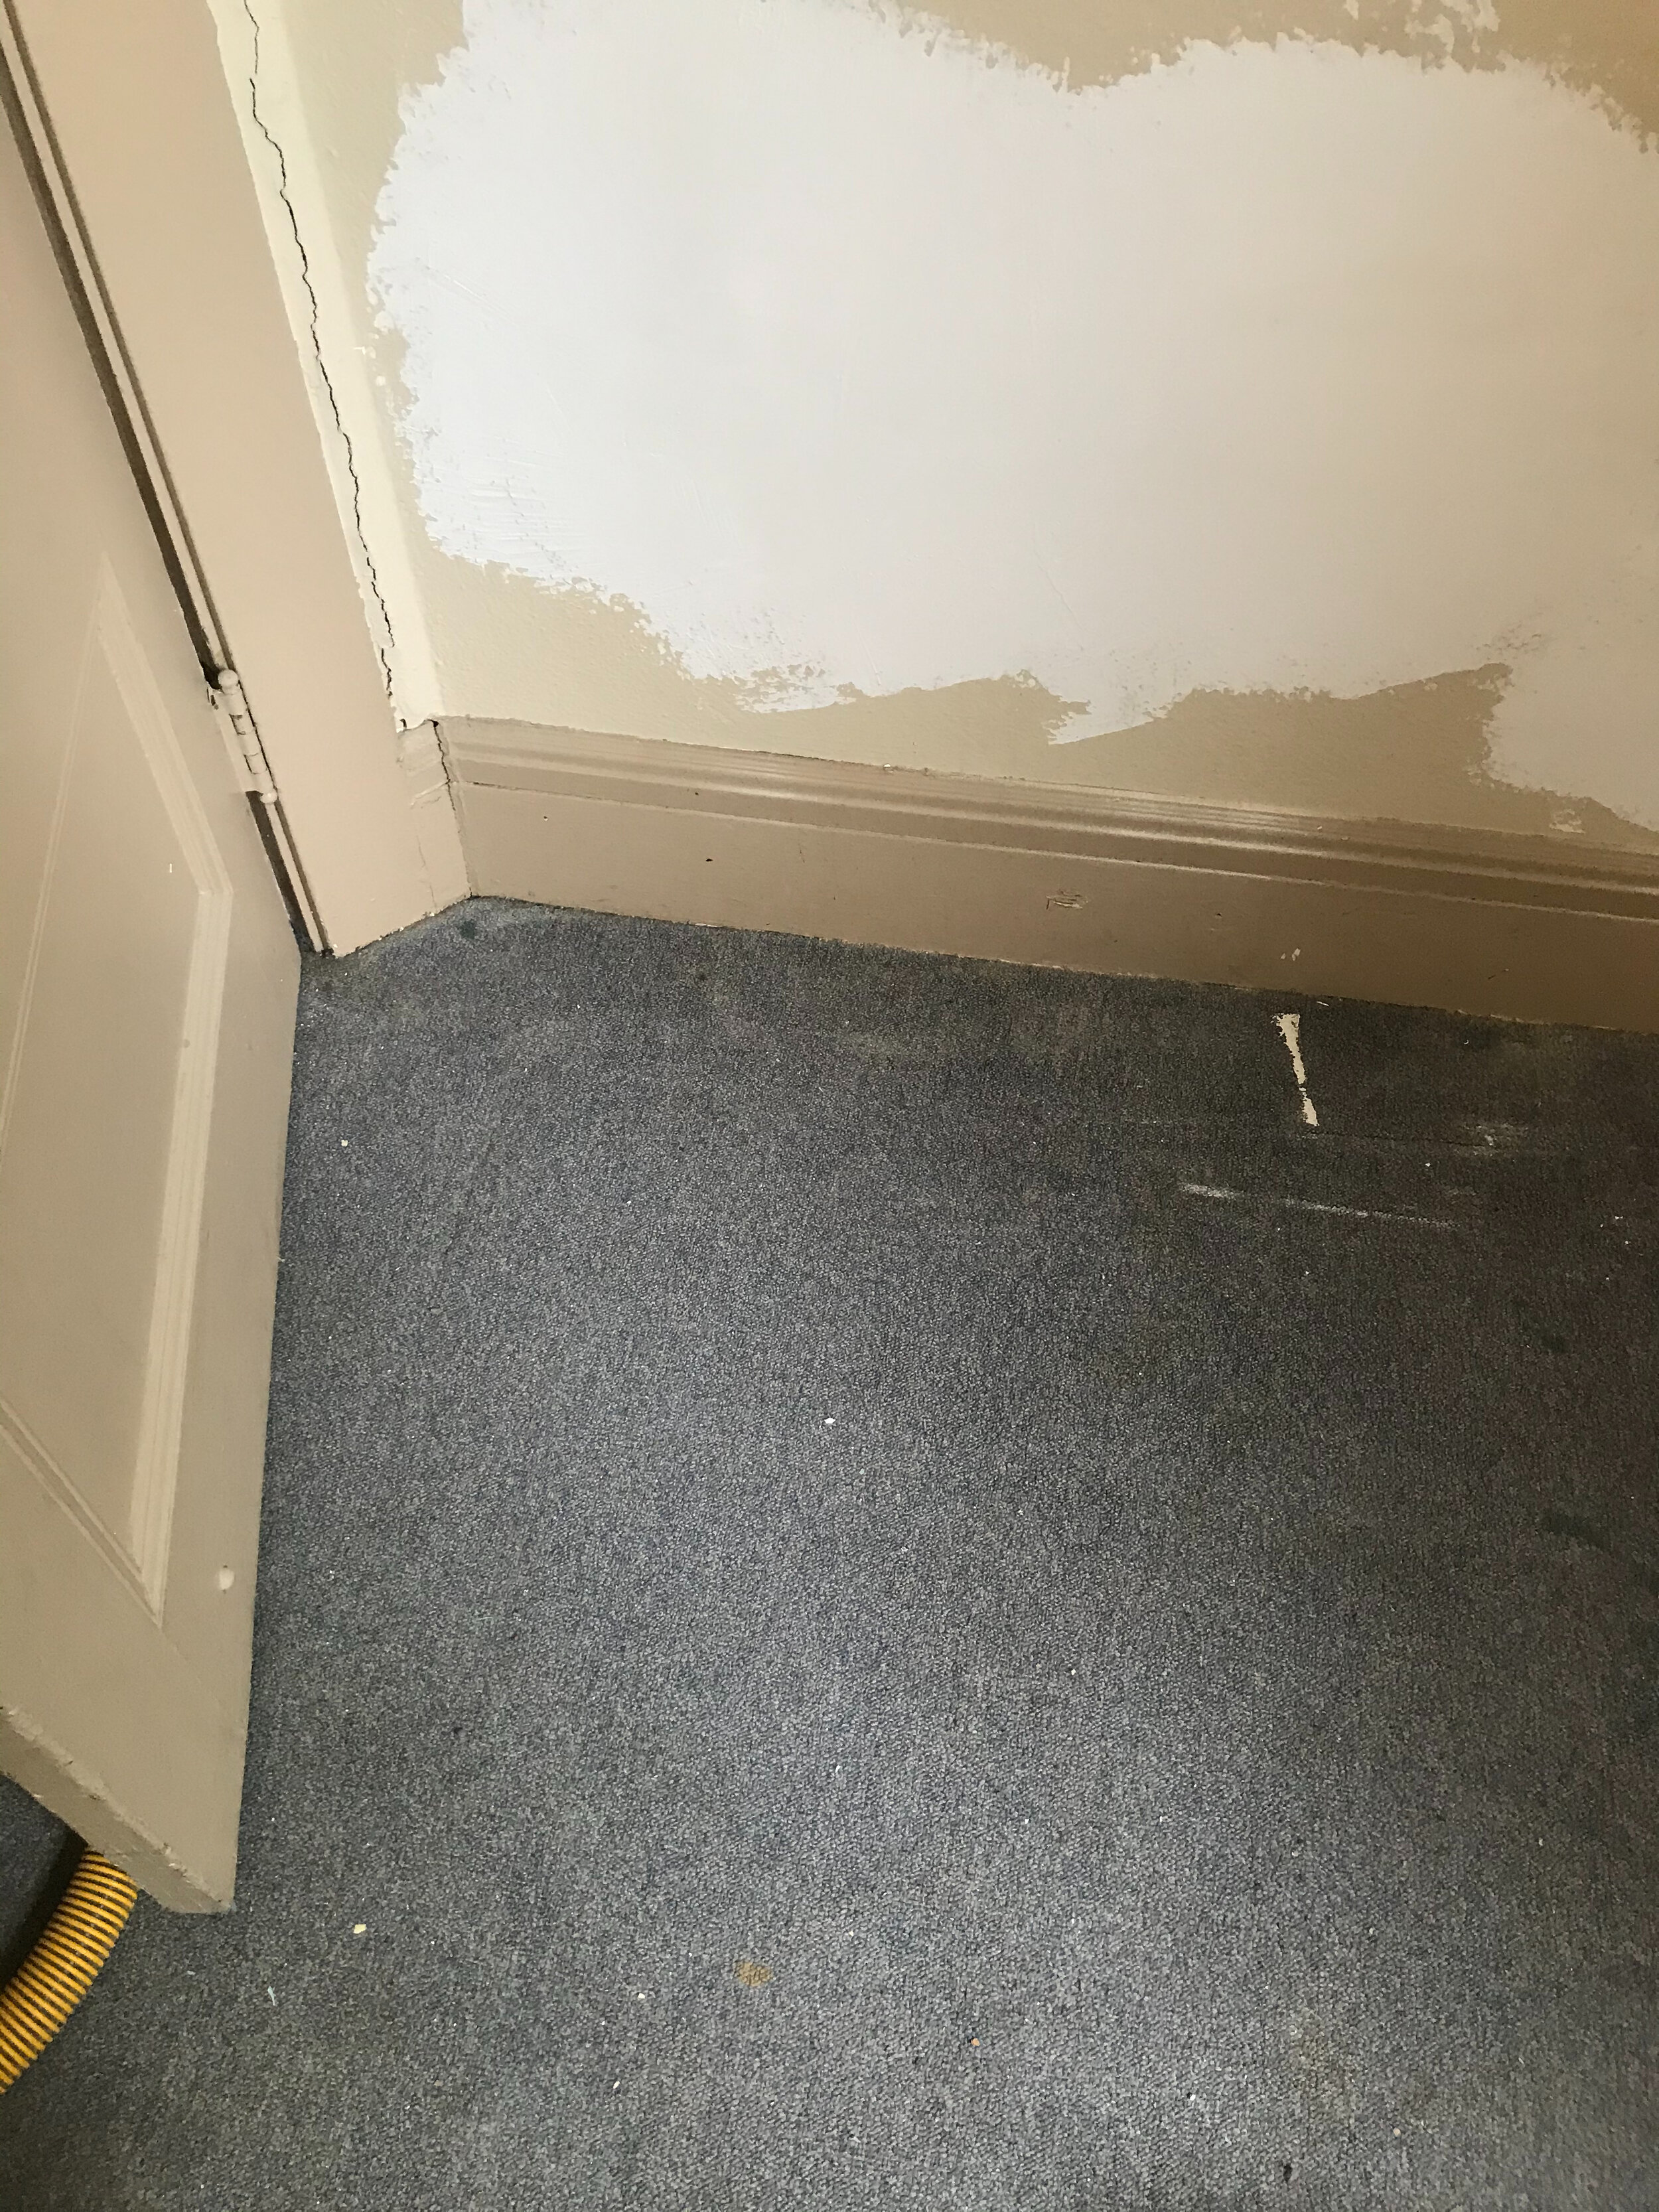
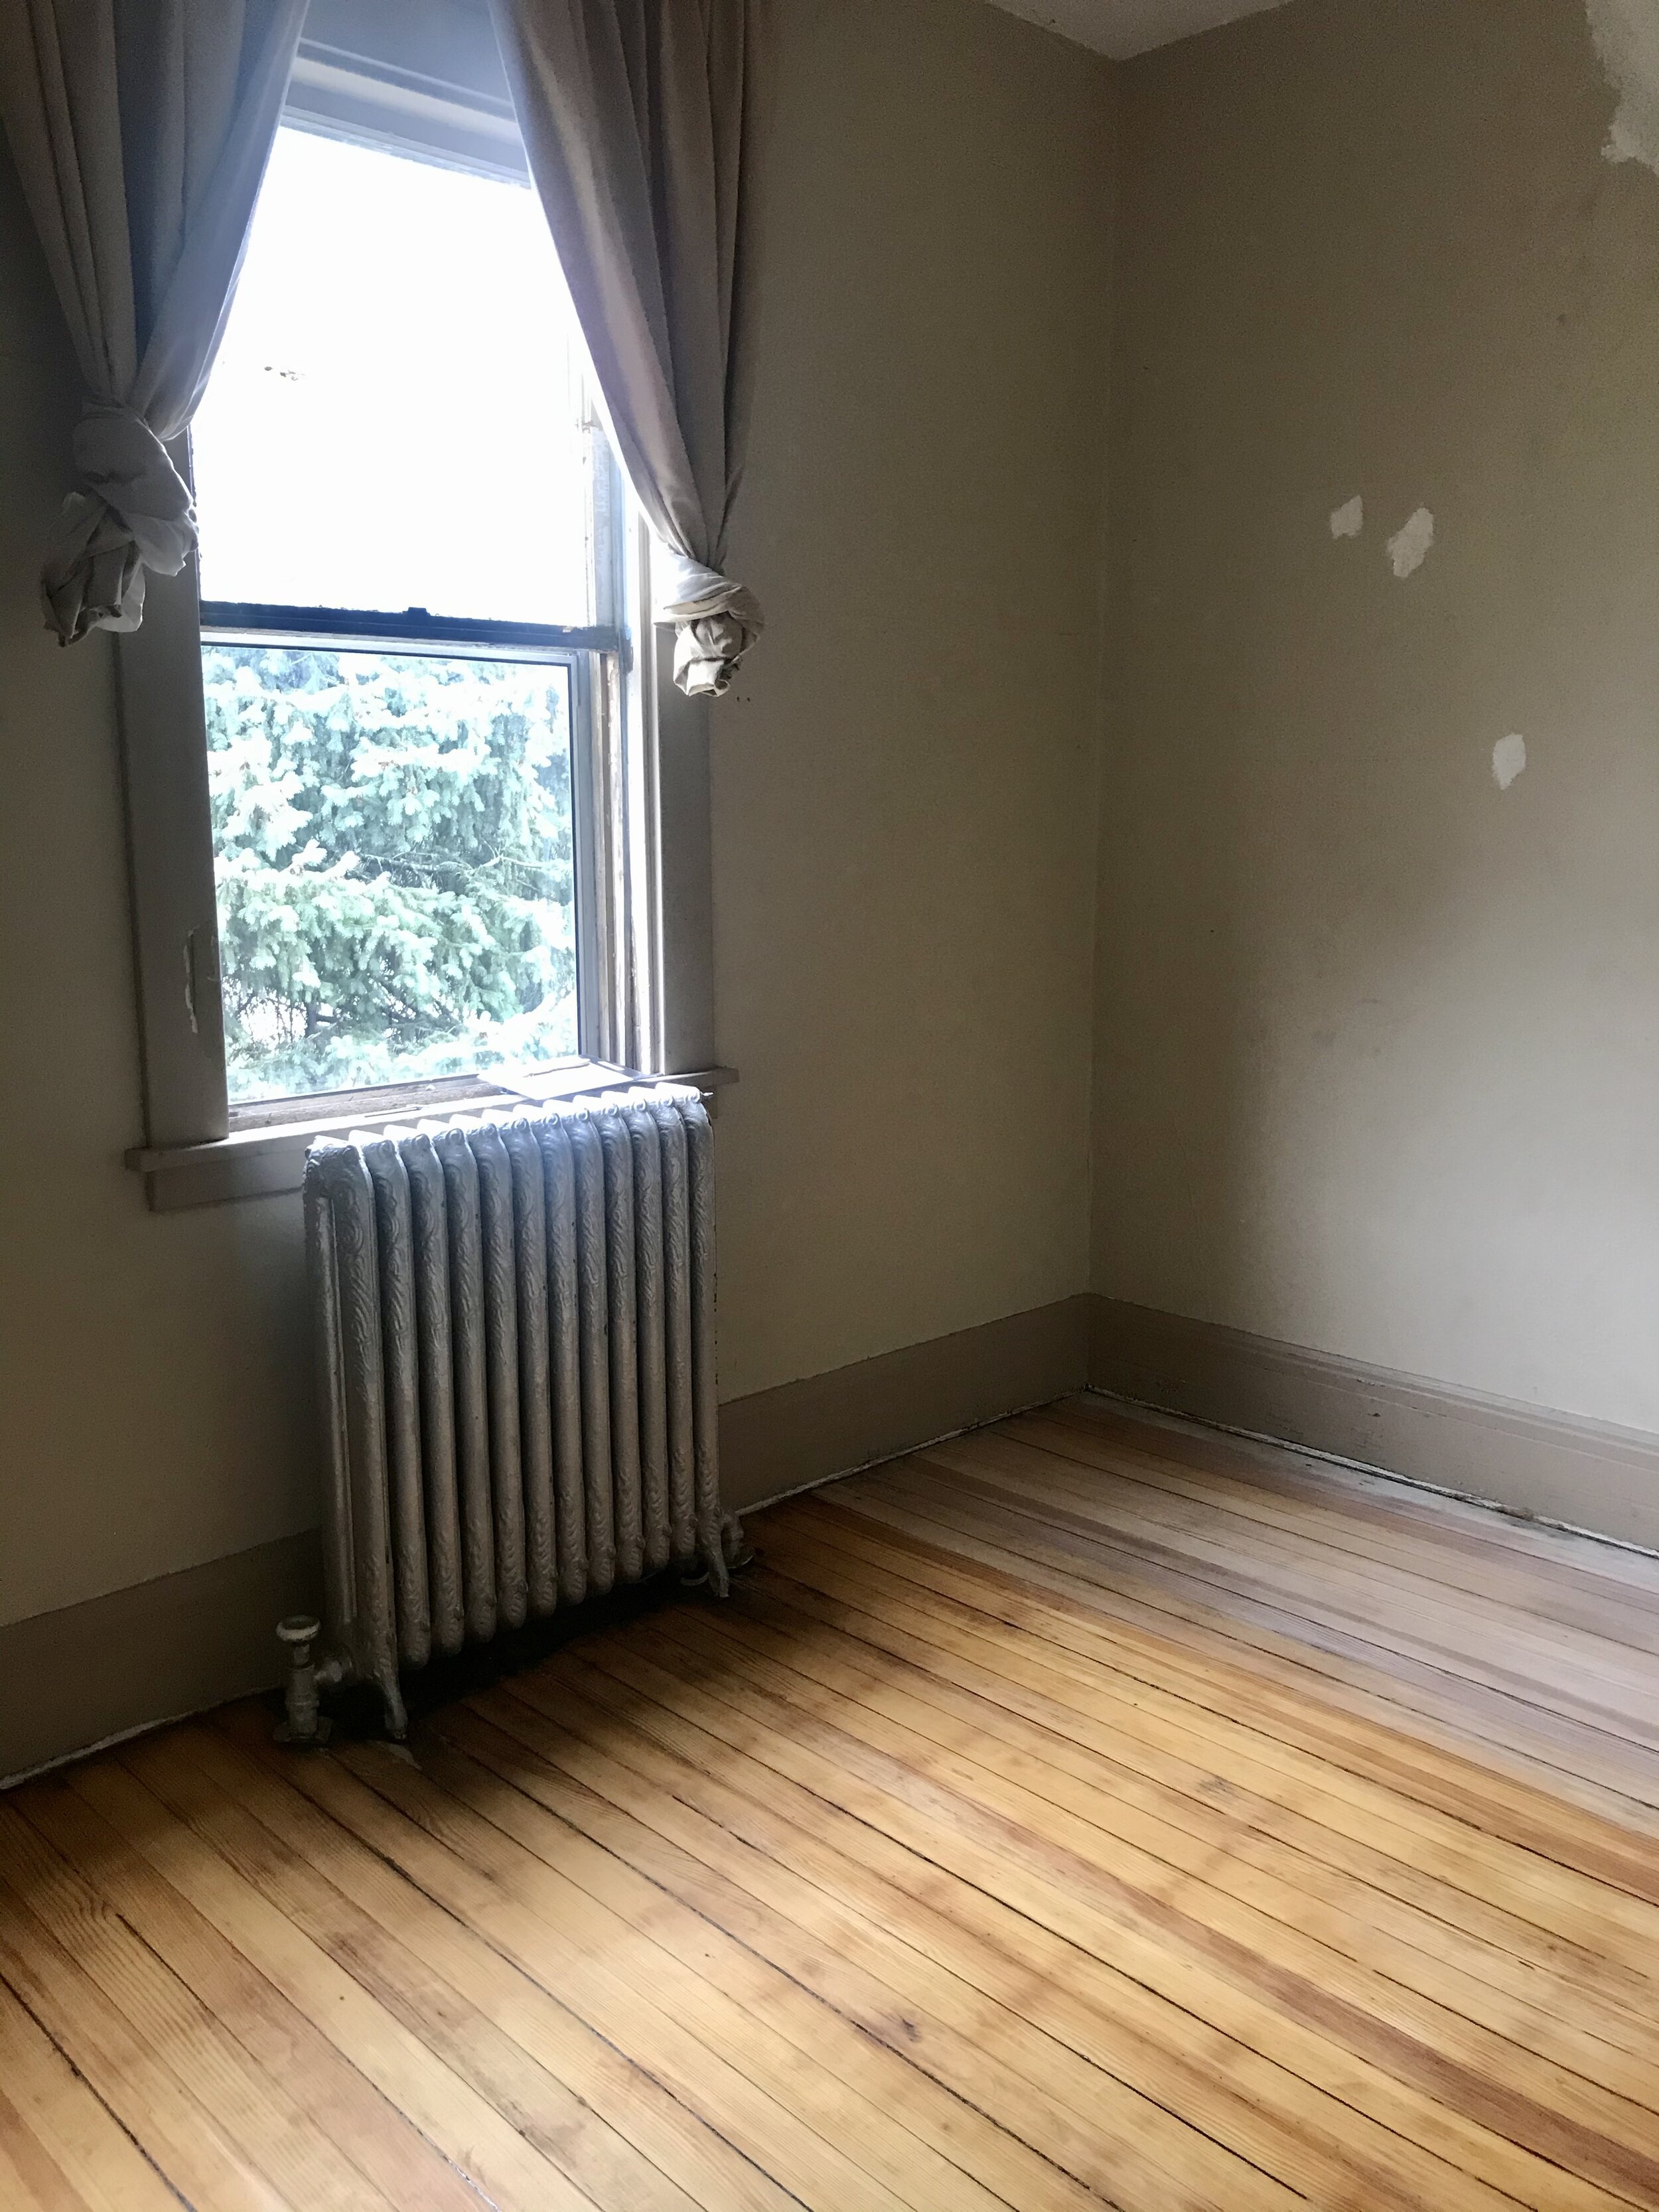
Breakfast Room
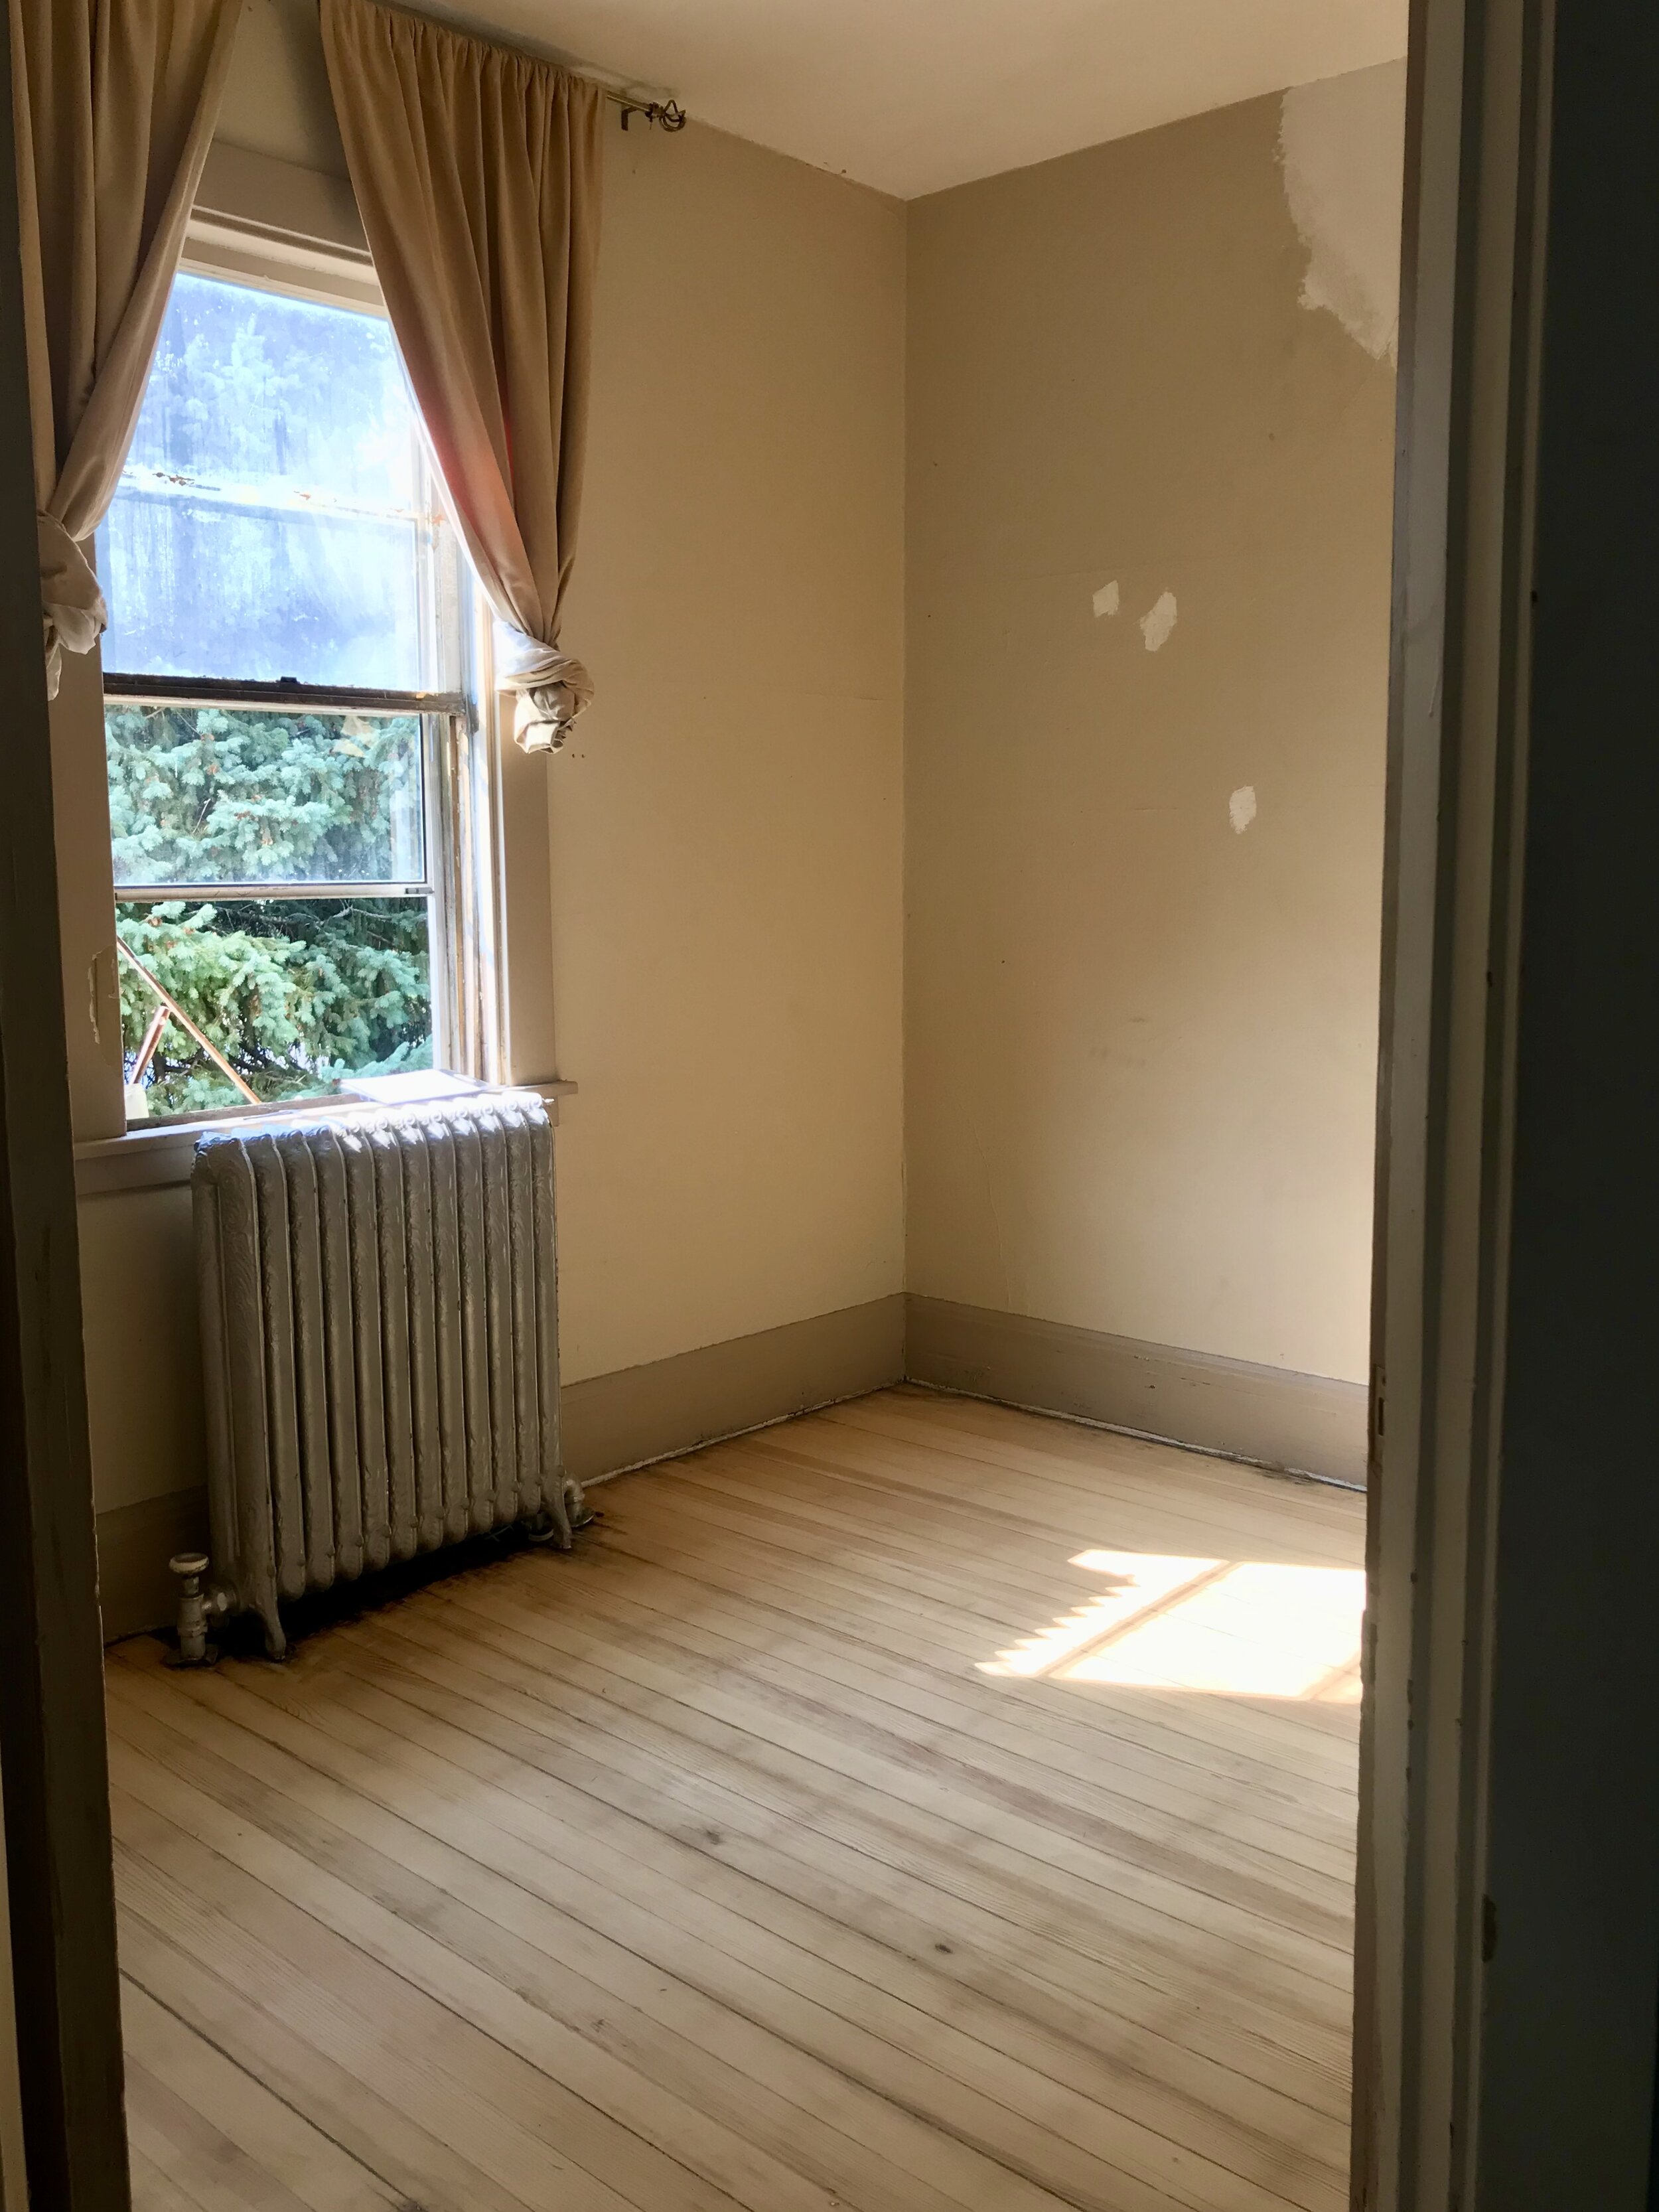
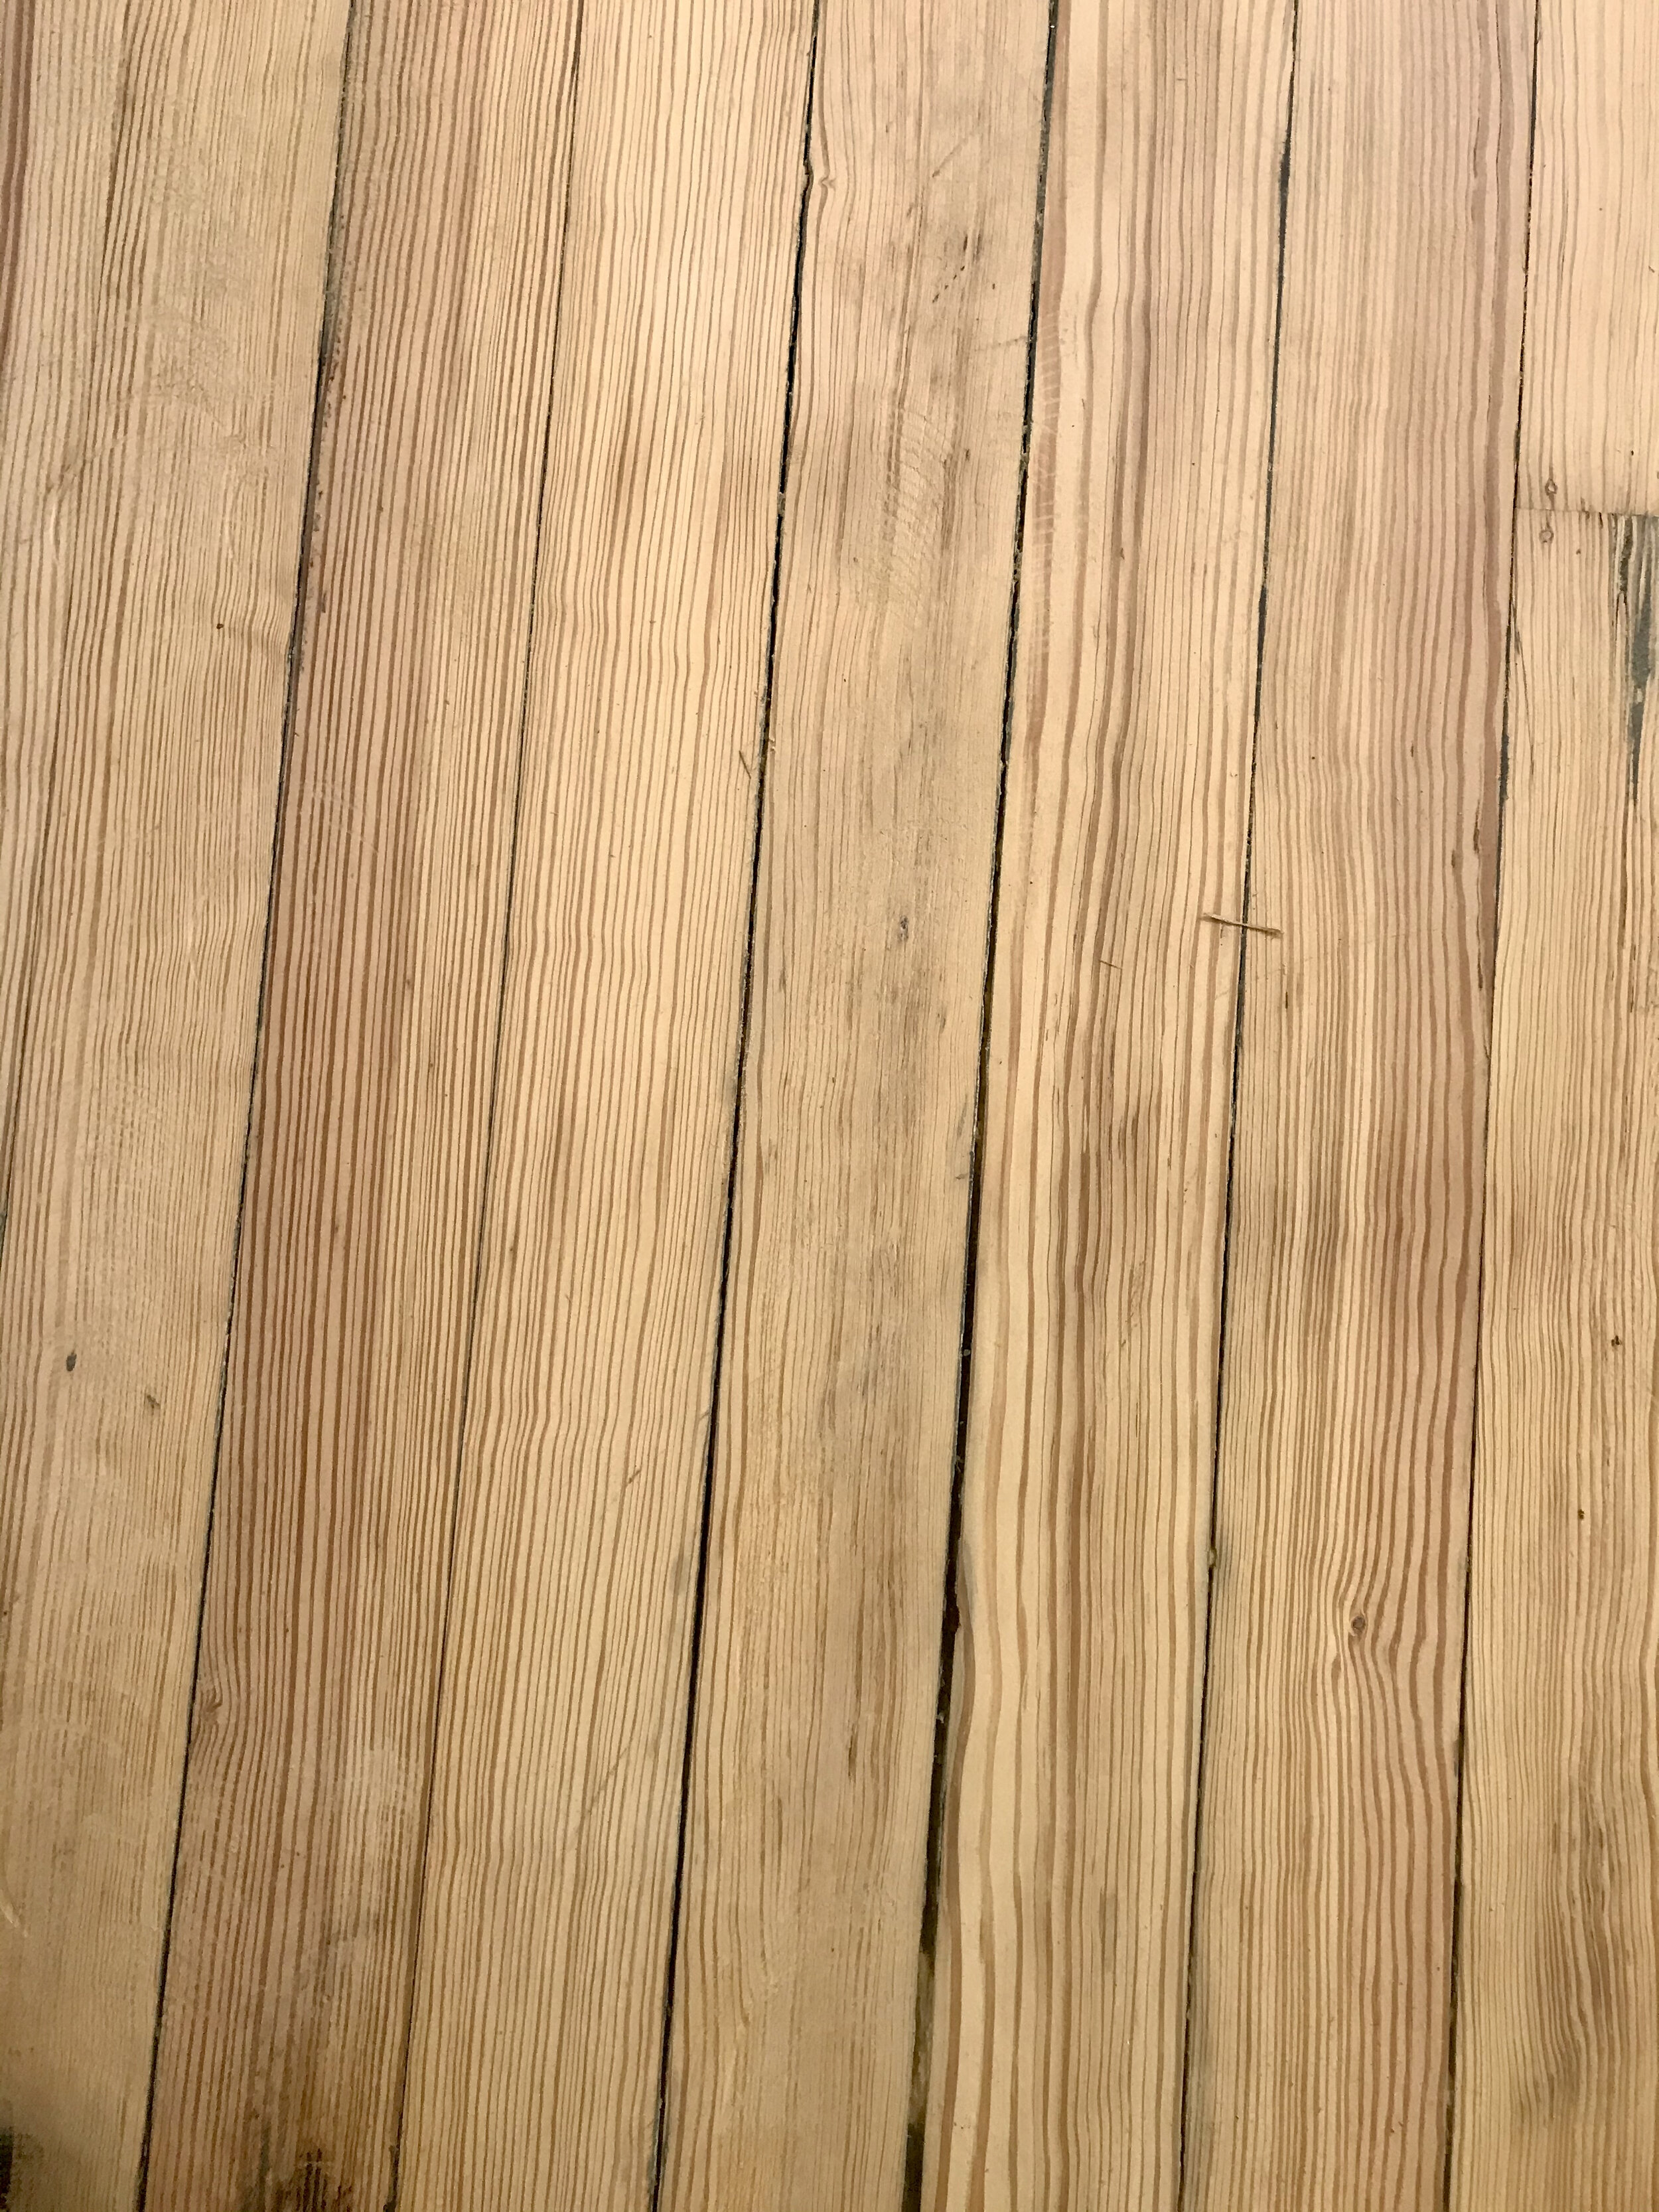
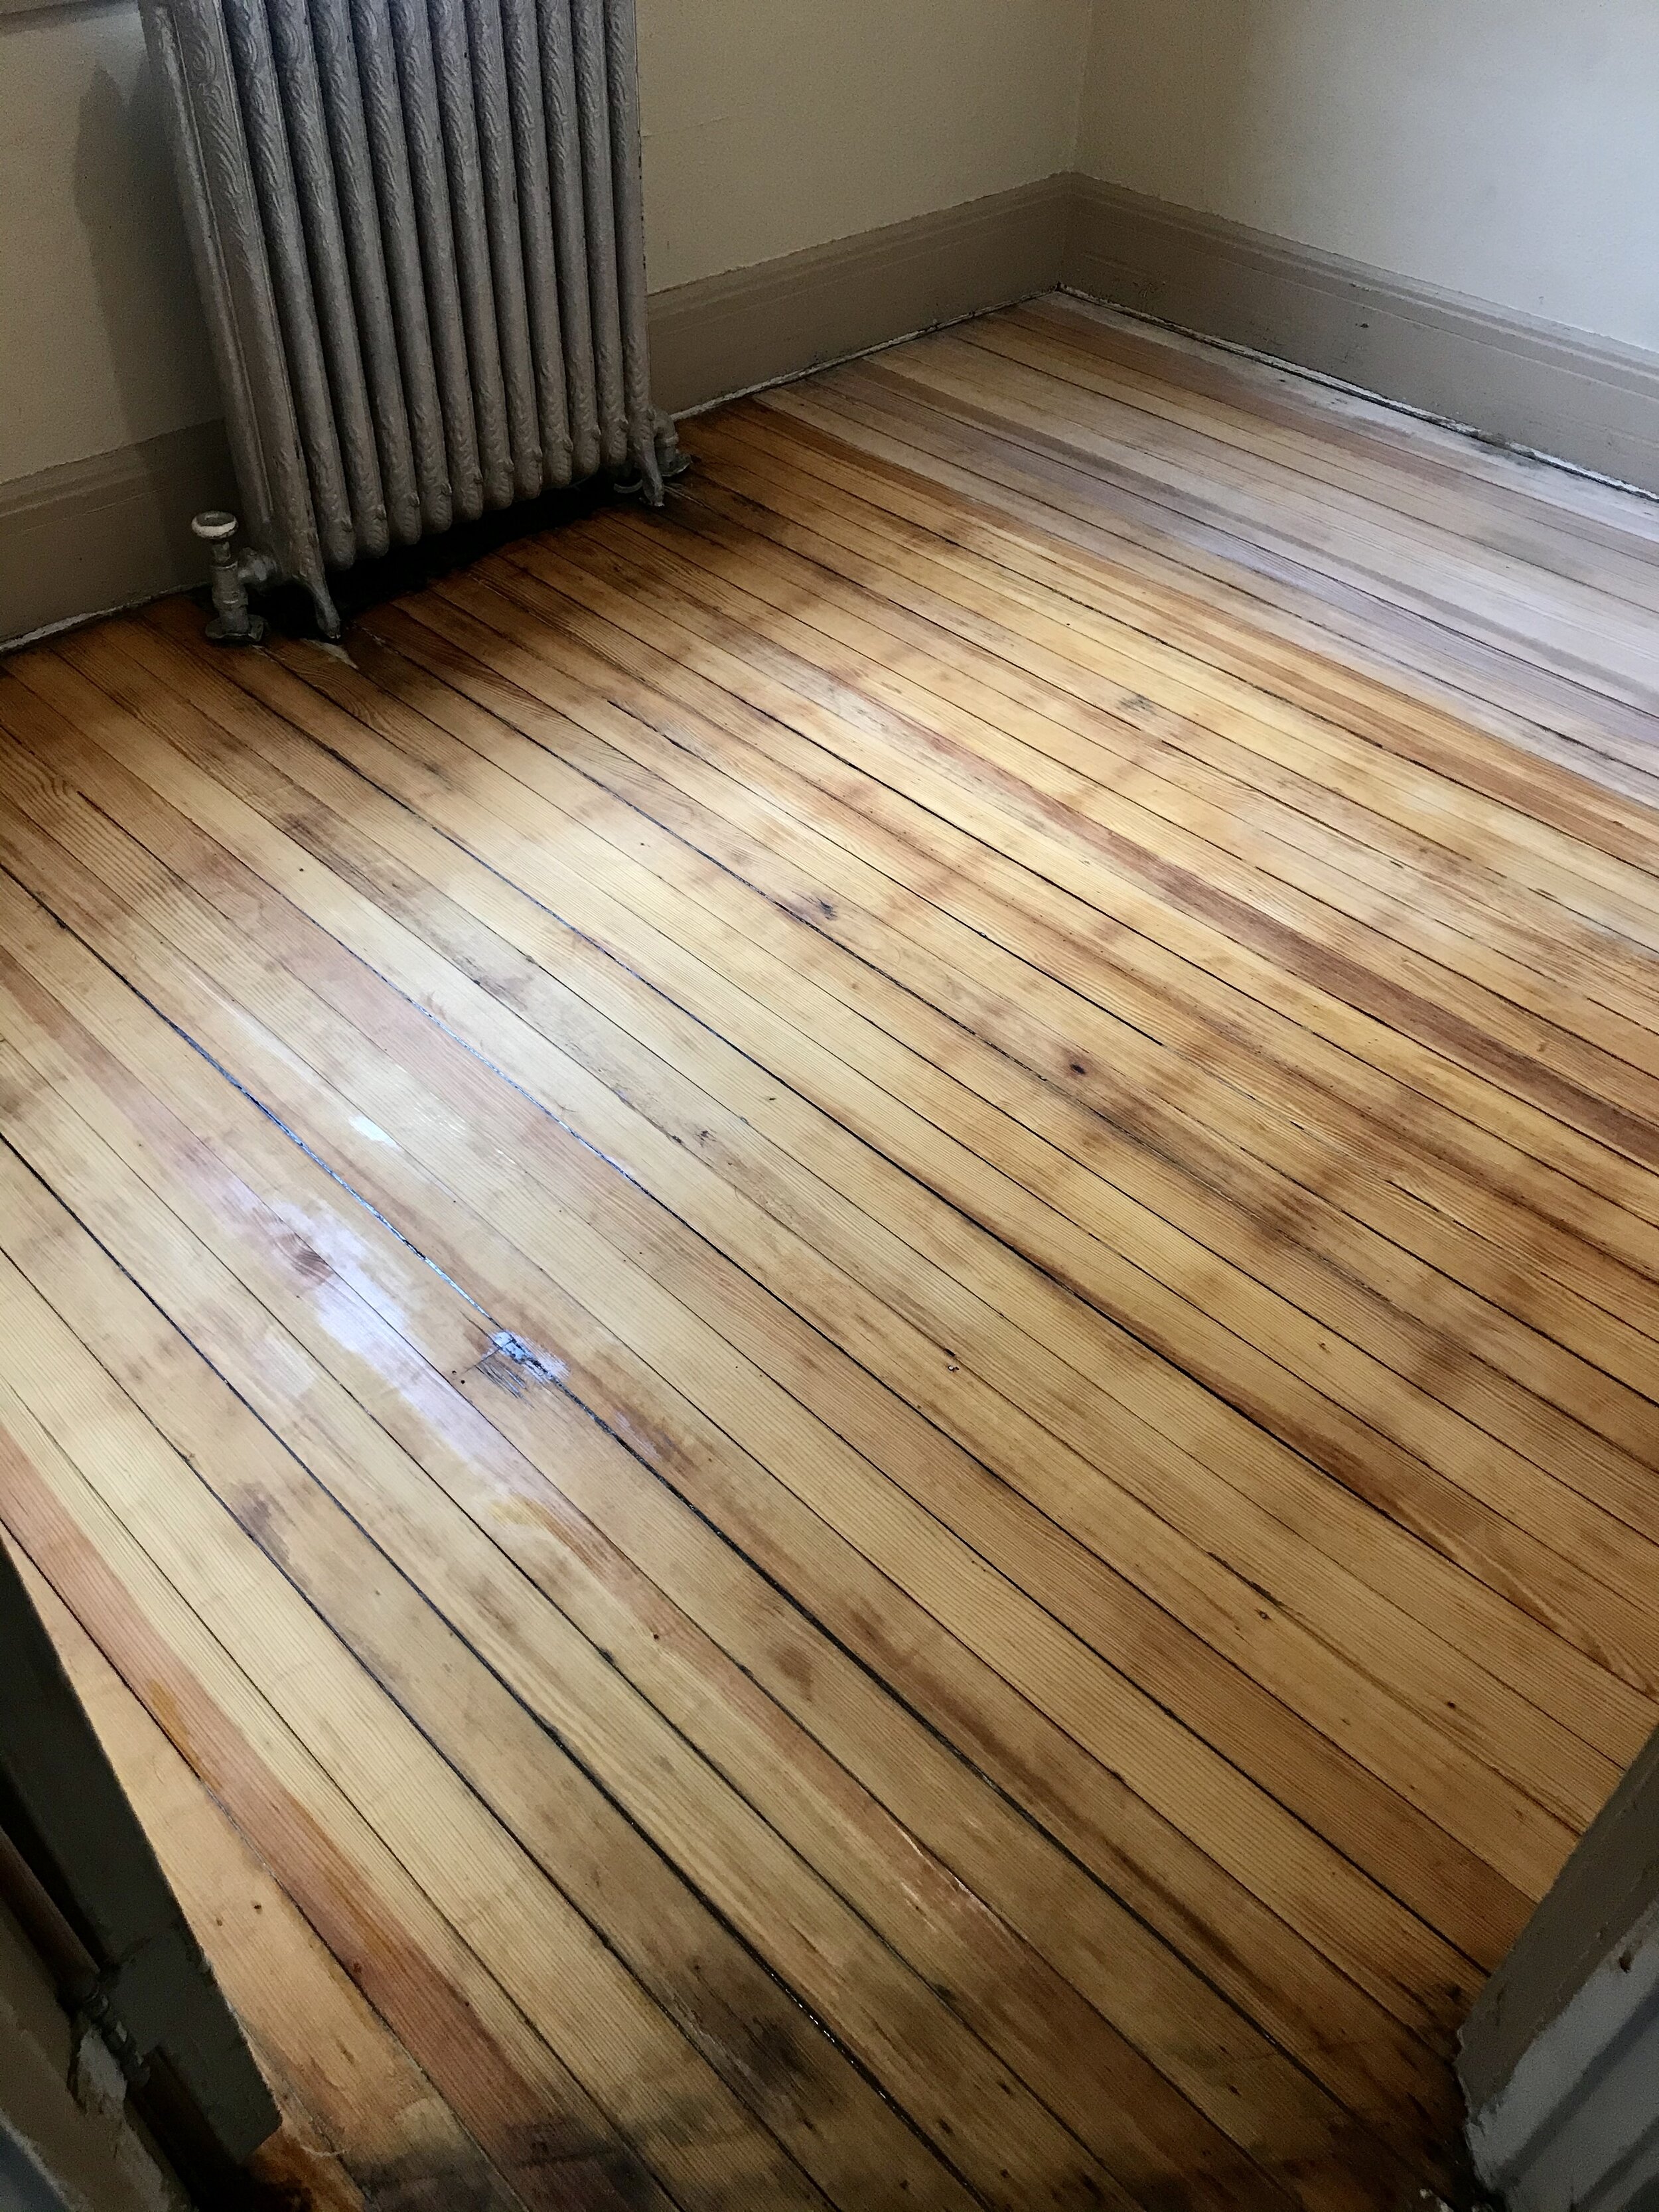
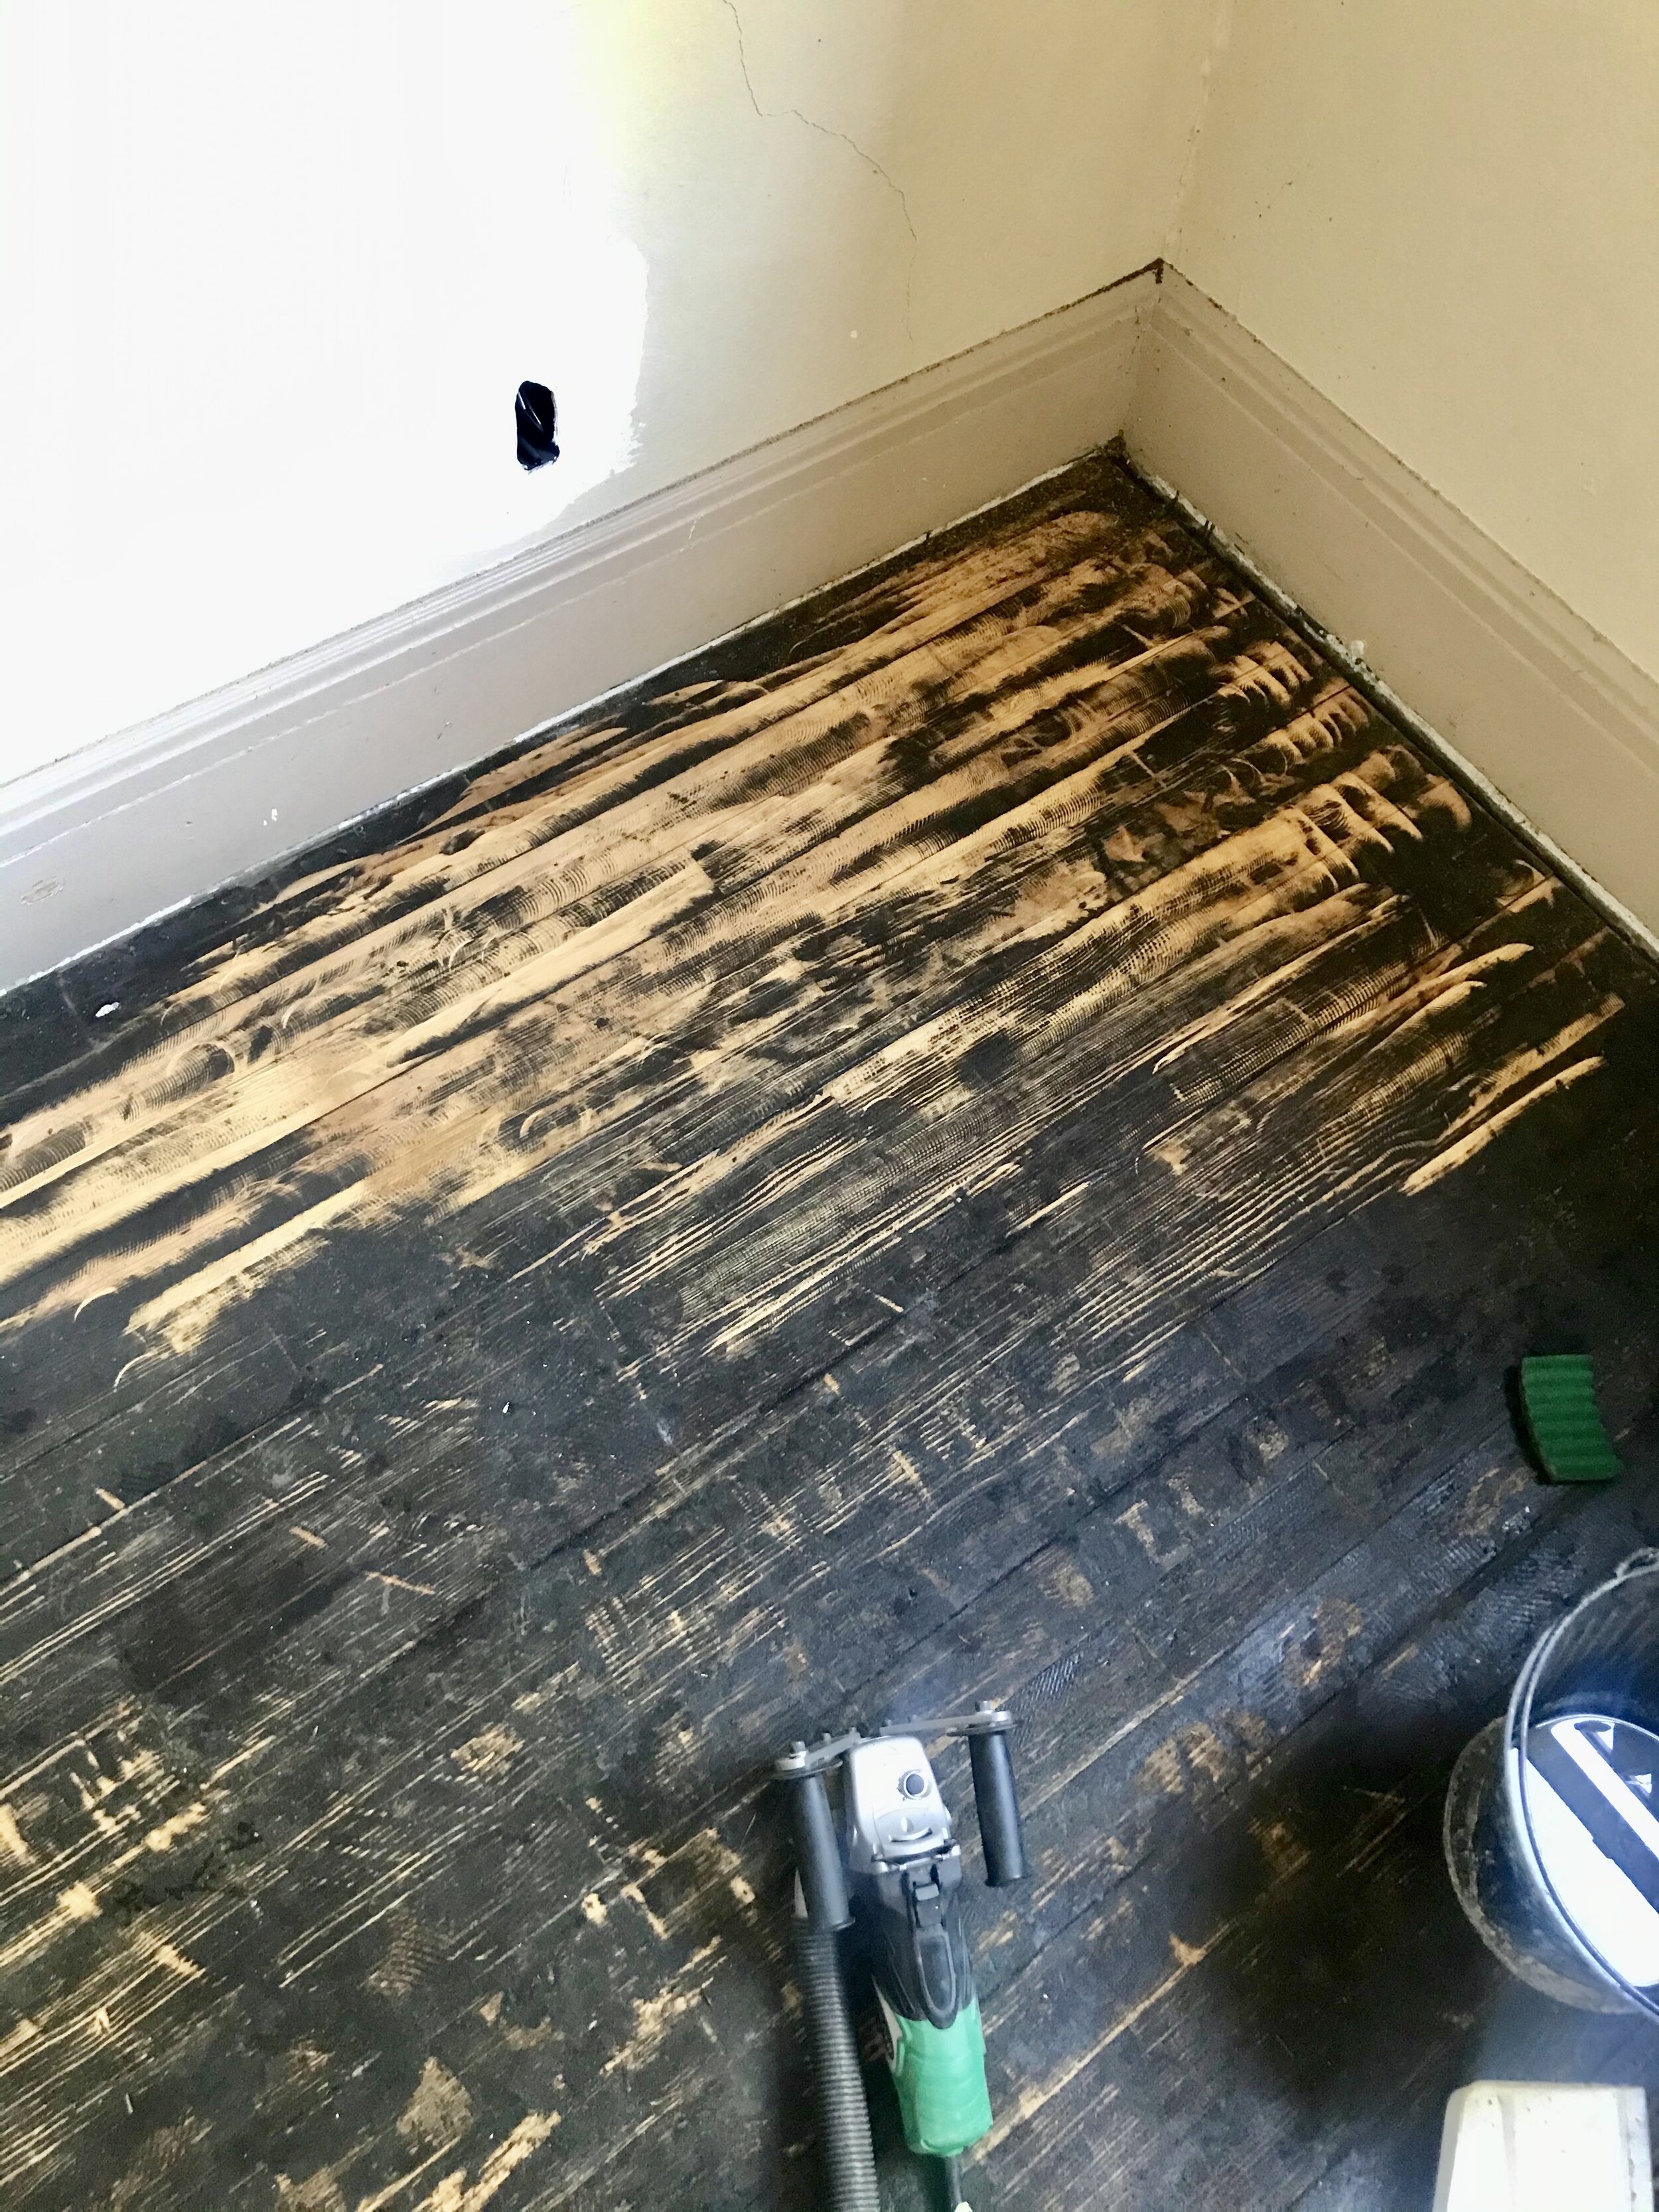
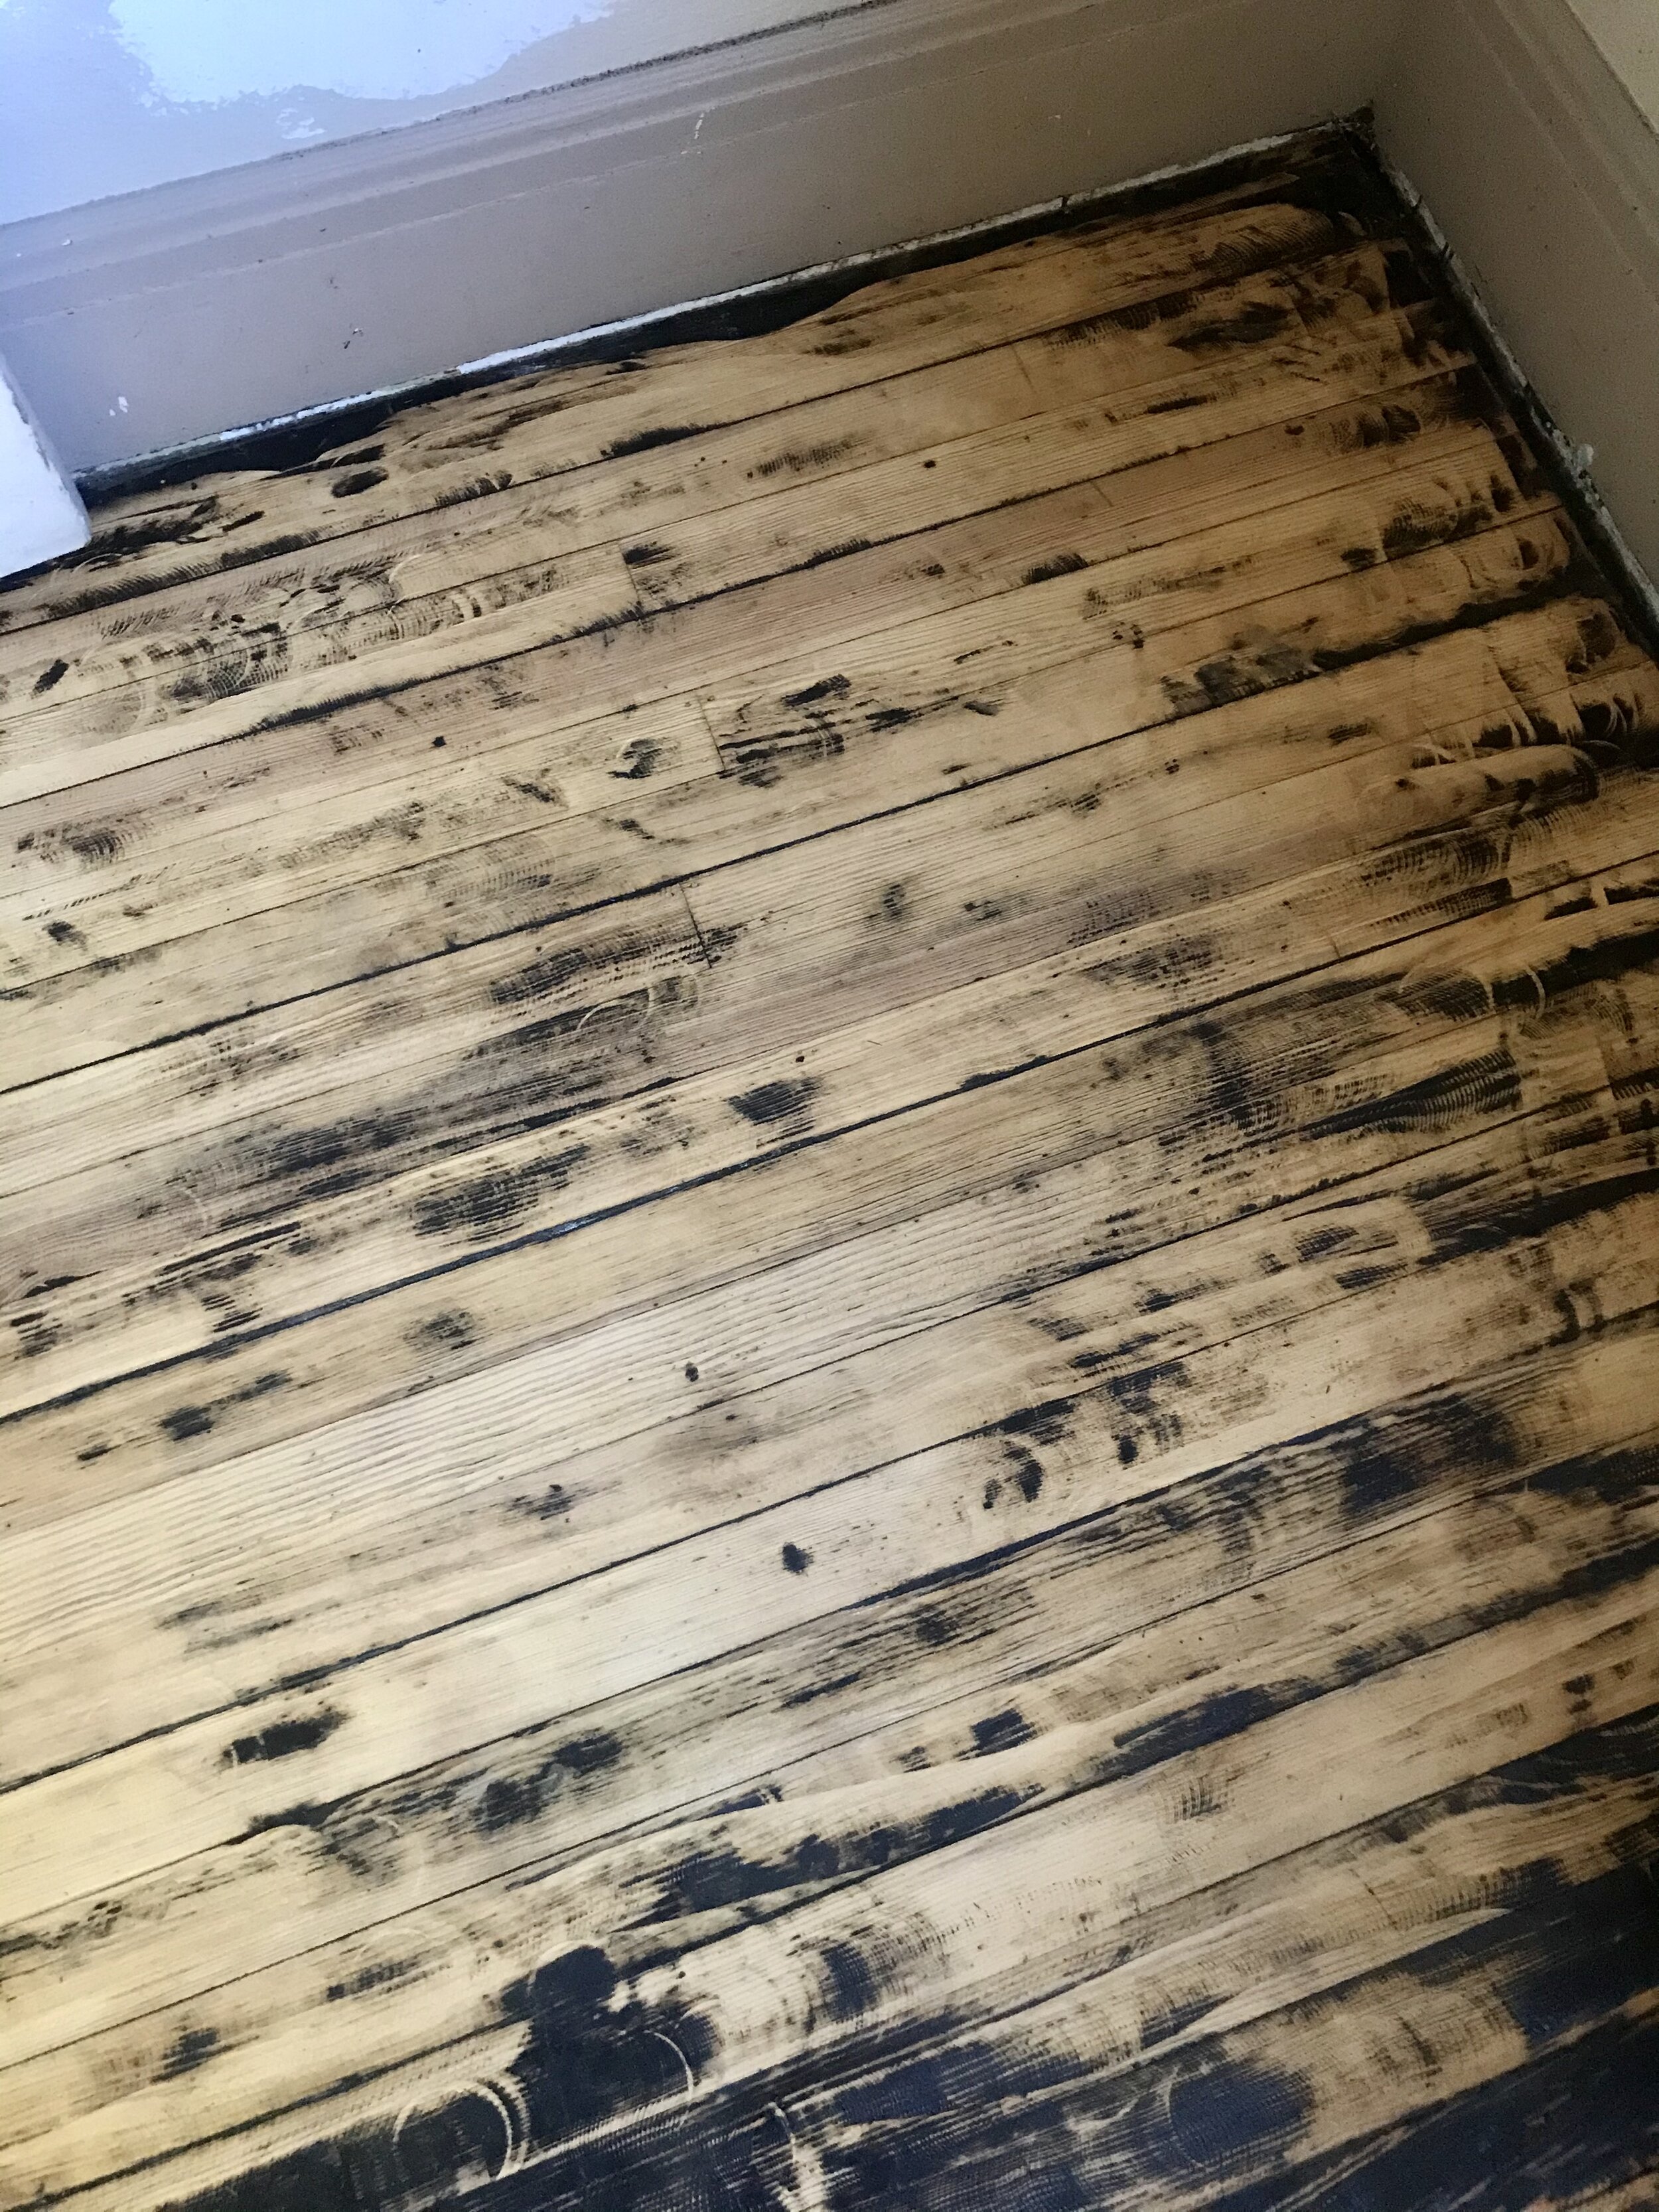
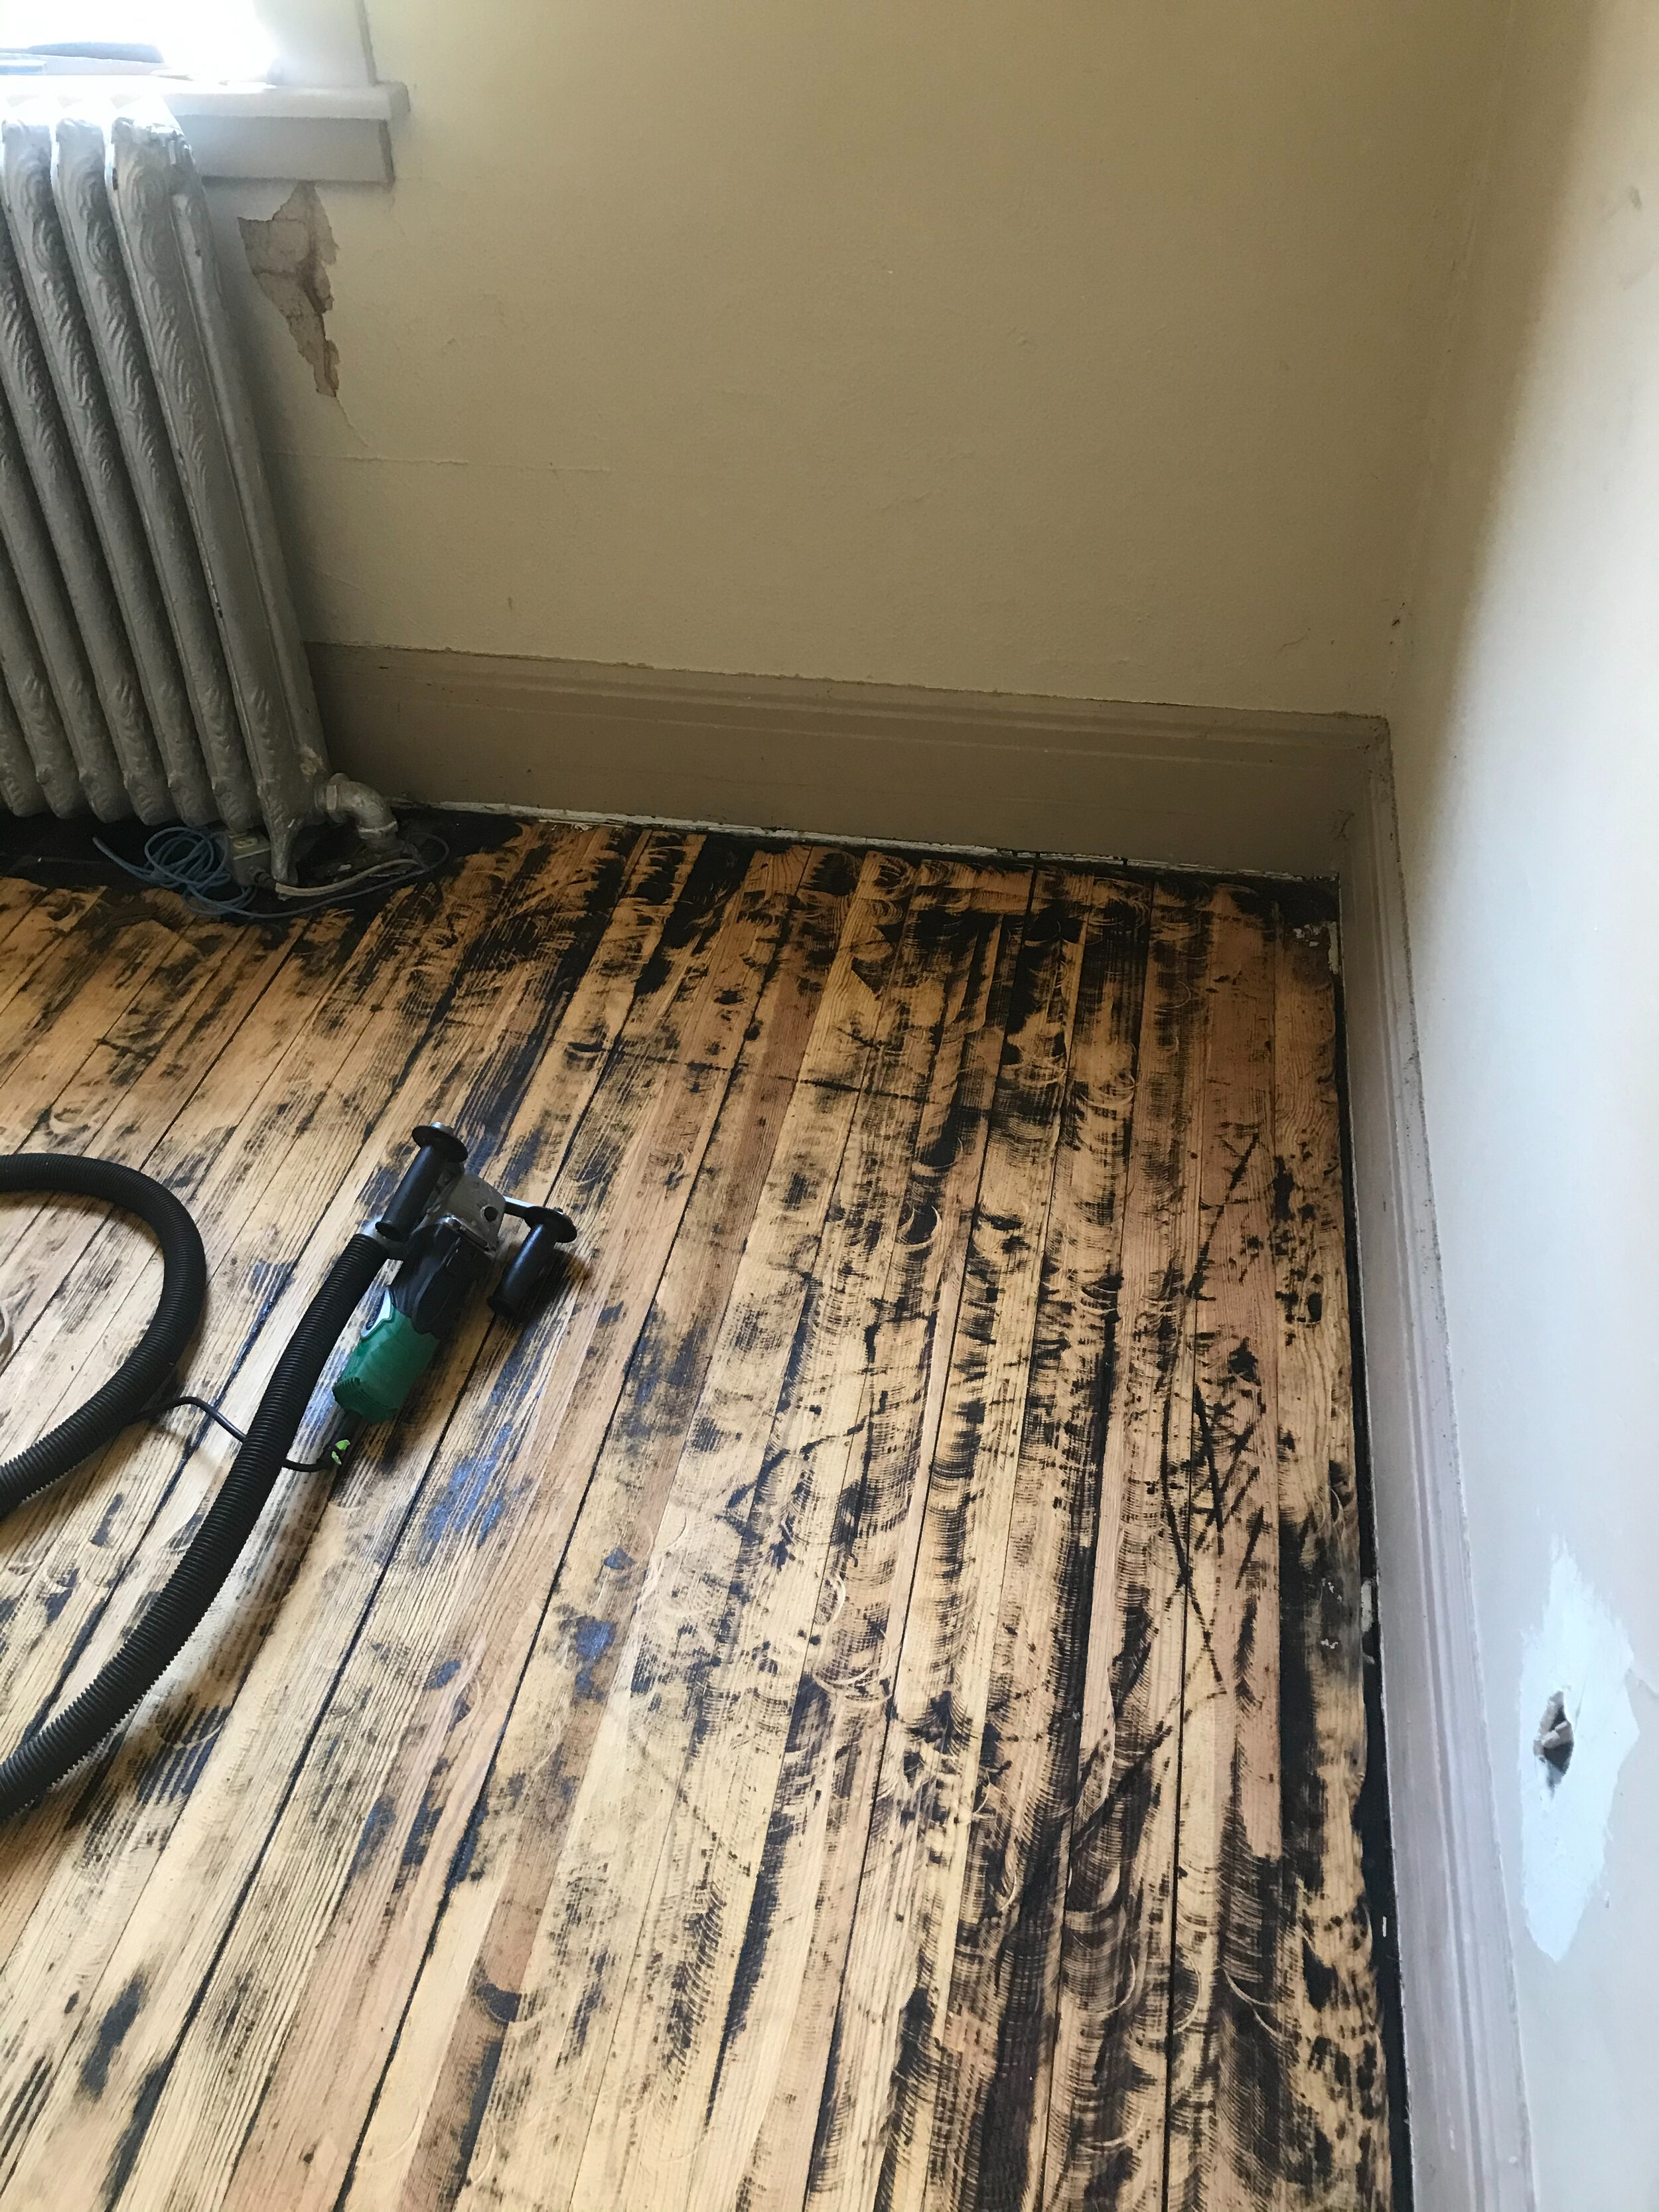
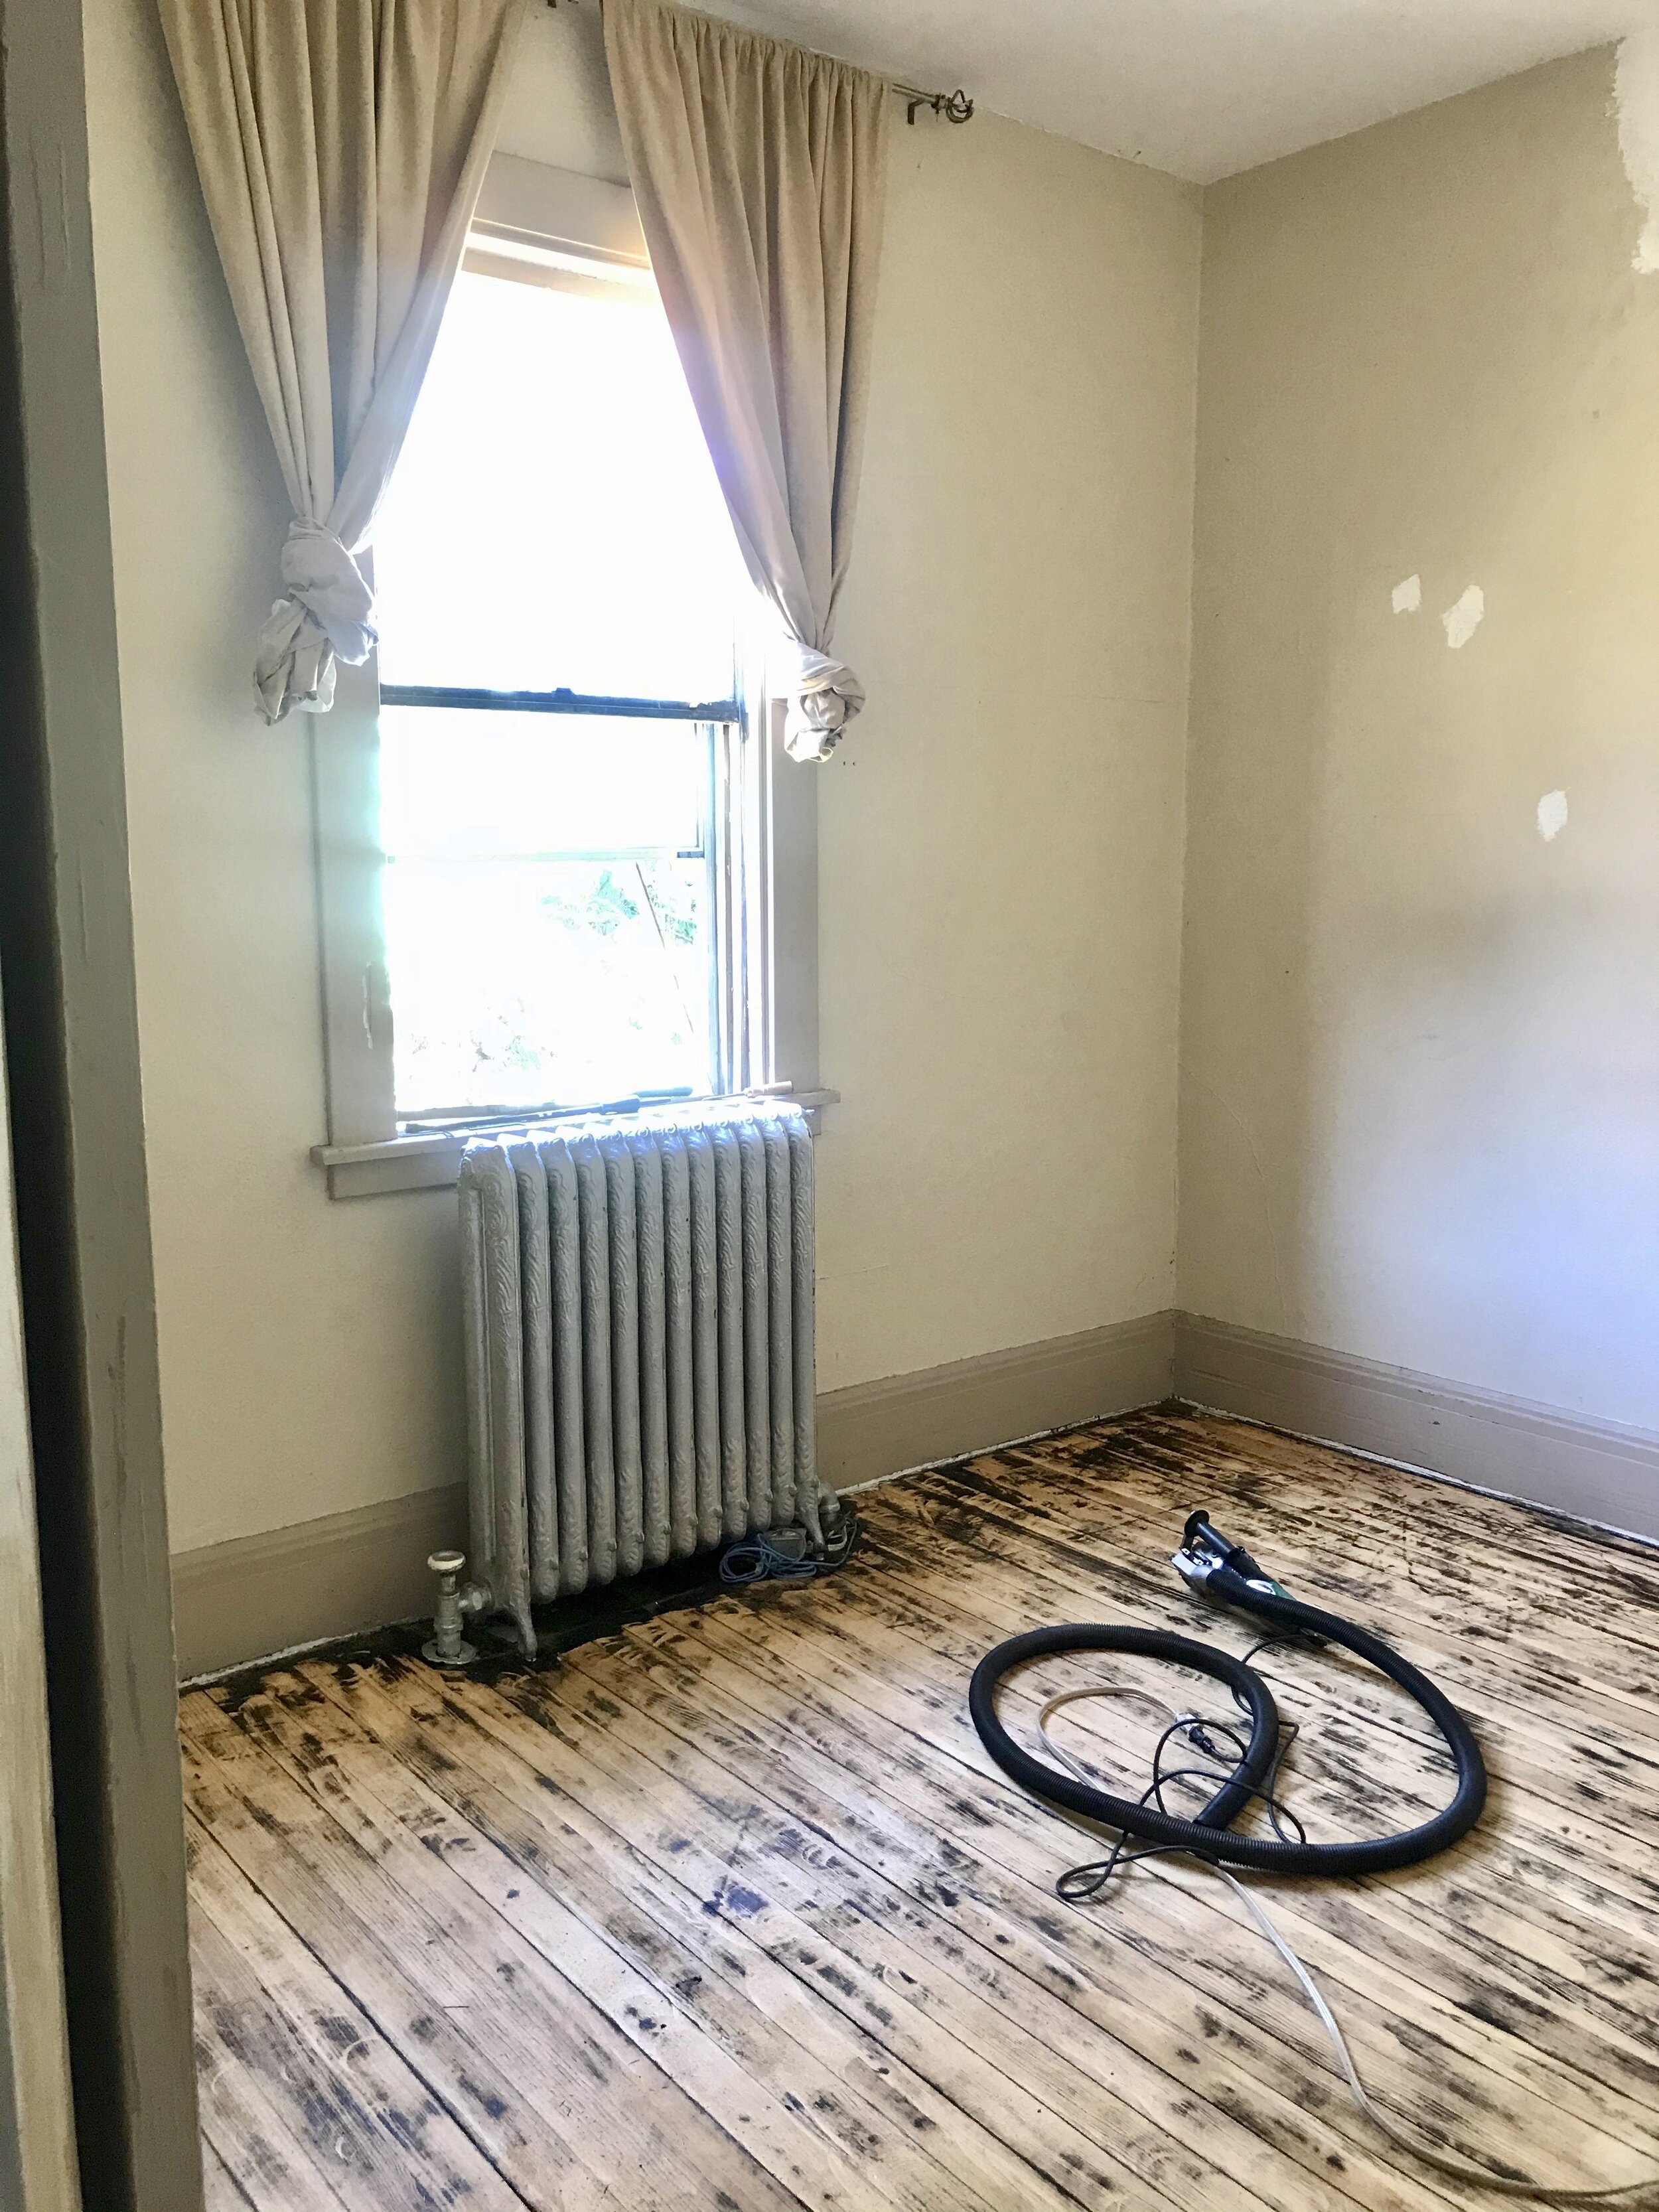
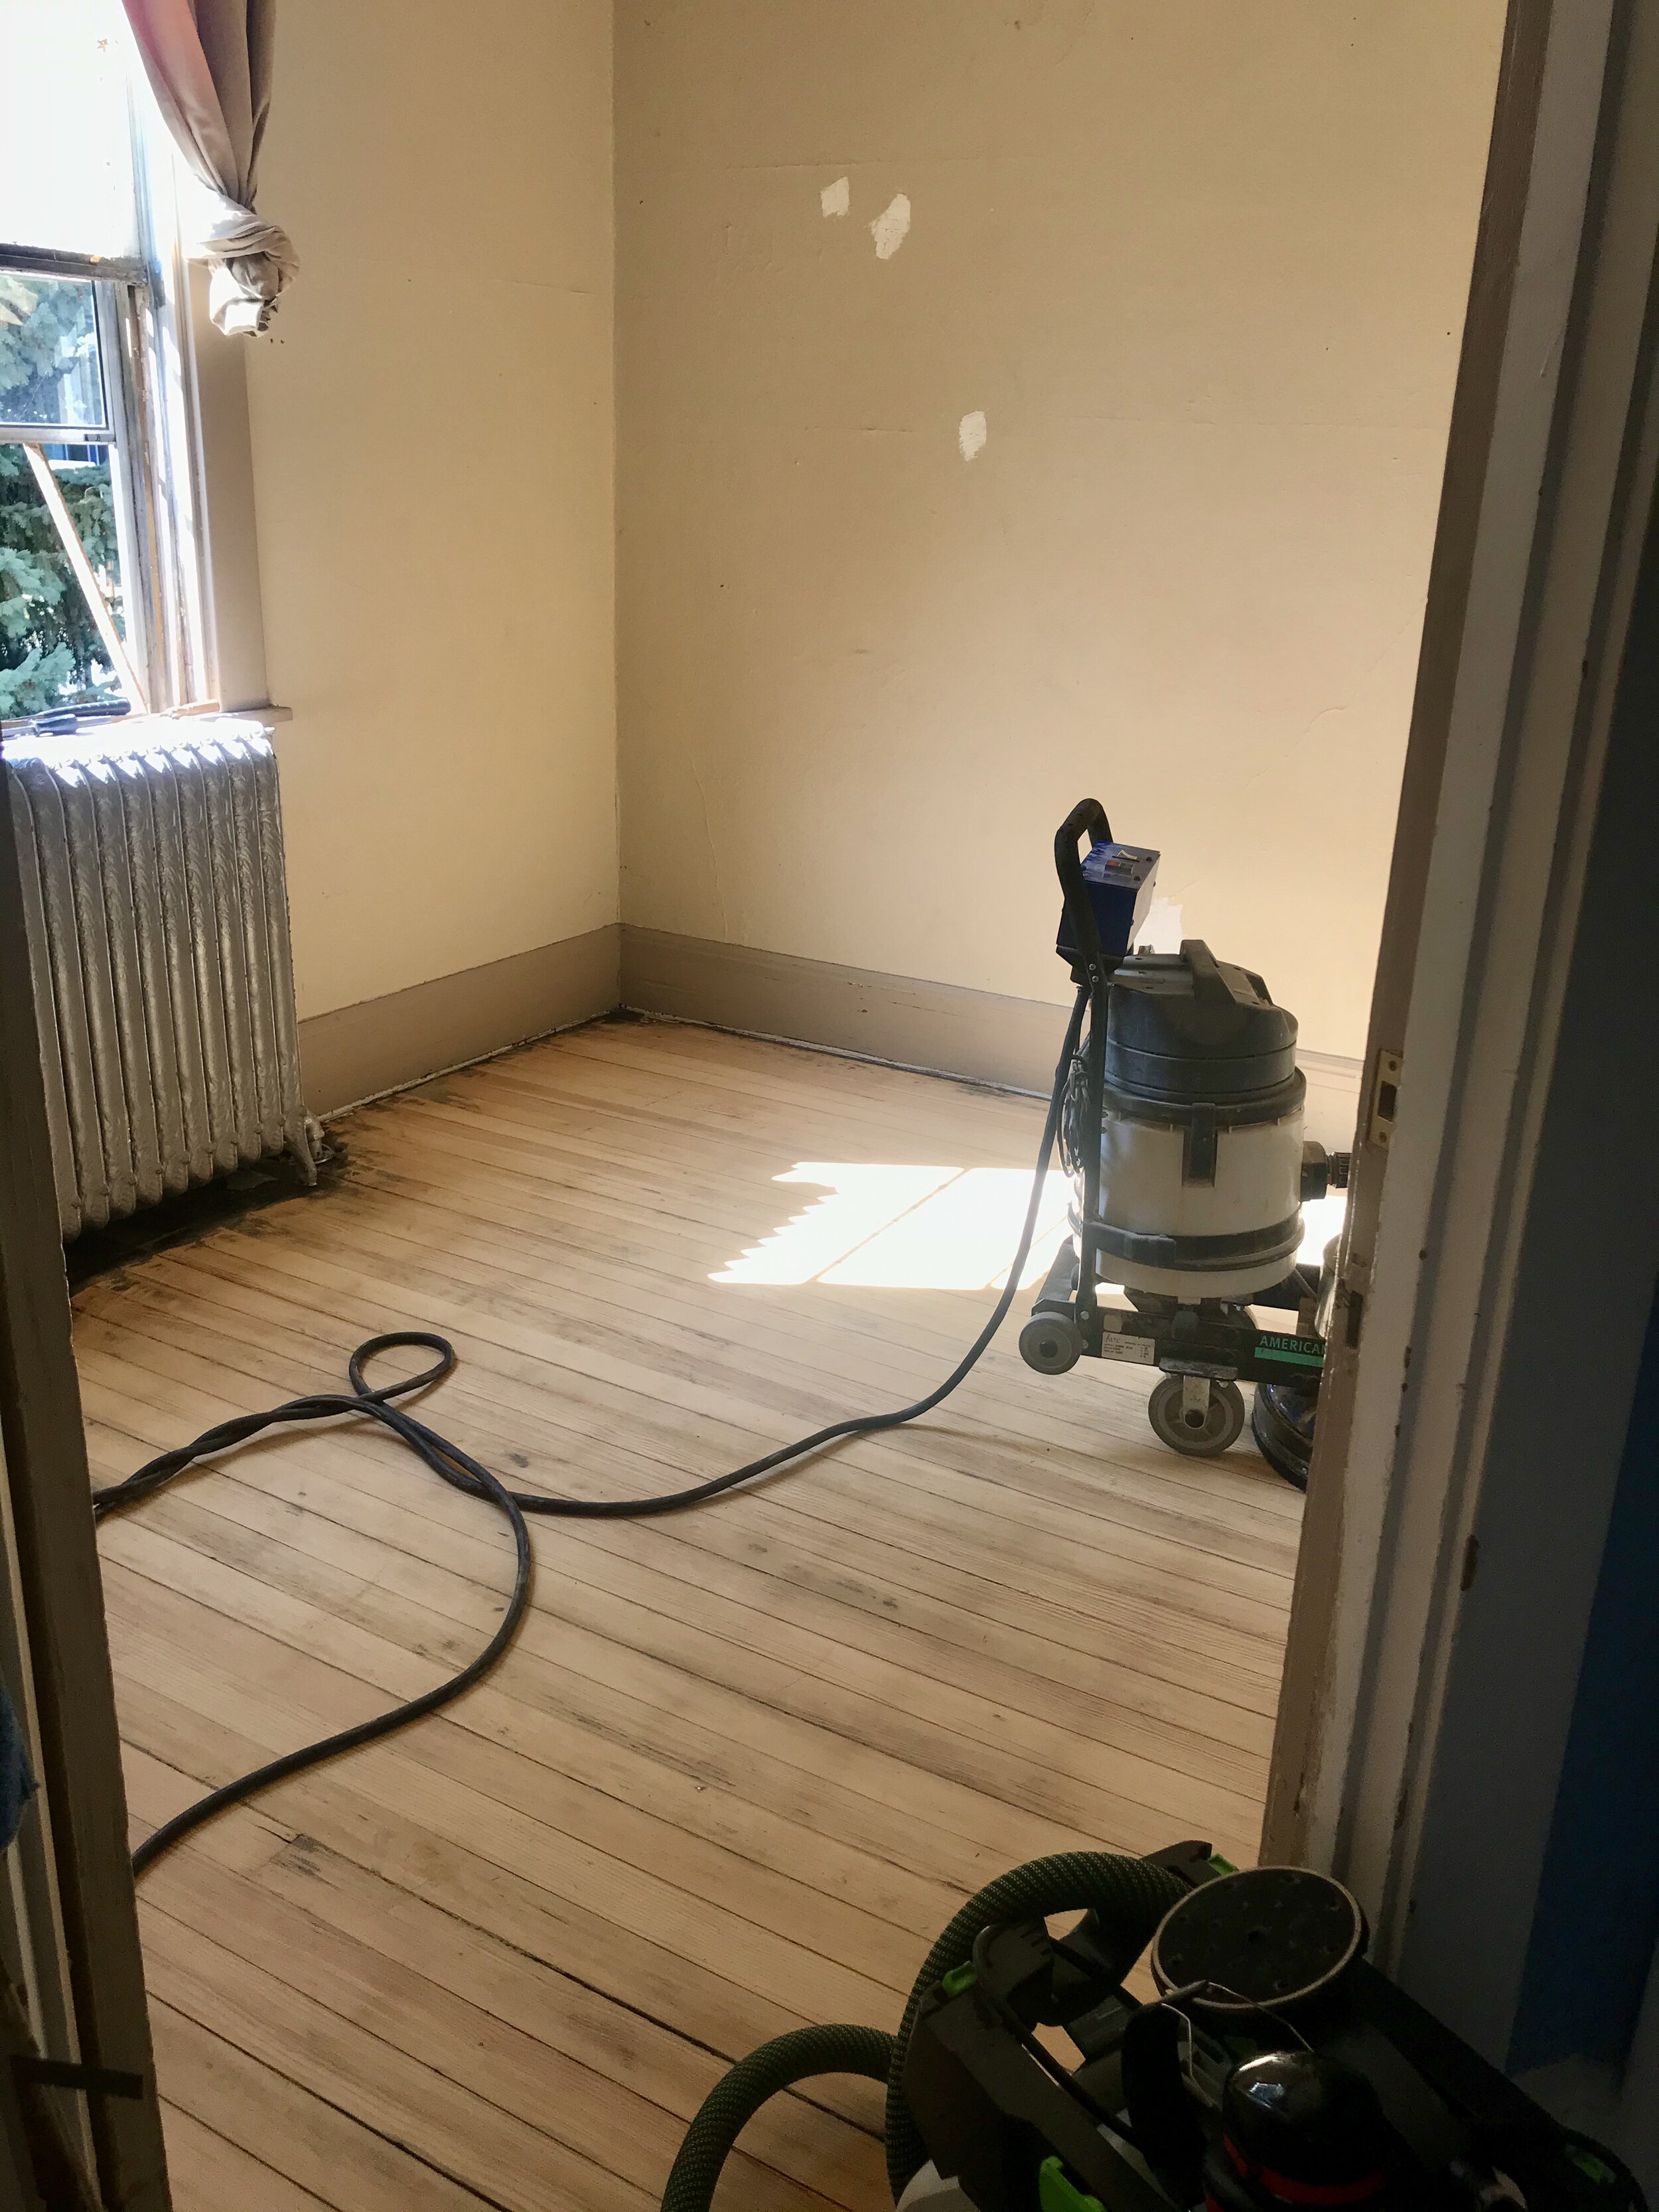
This room is attached to the kitchen in an 1886 manse. This post shows the process of liberating beautiful ancient pine floorboards from layer upon layer of blight and filth. They are not perfect, but that is part of their beauty and charm, I’m just happy the sun shines her golden rays on them, once again. It was quite a feat to get them to the sanded state you see in the first photo block. I’m thankful I did not give up, and I’m thankful to a friend for letting me borrow her handy “paint shaver” tool, which was indispensable in the triumph of this project.
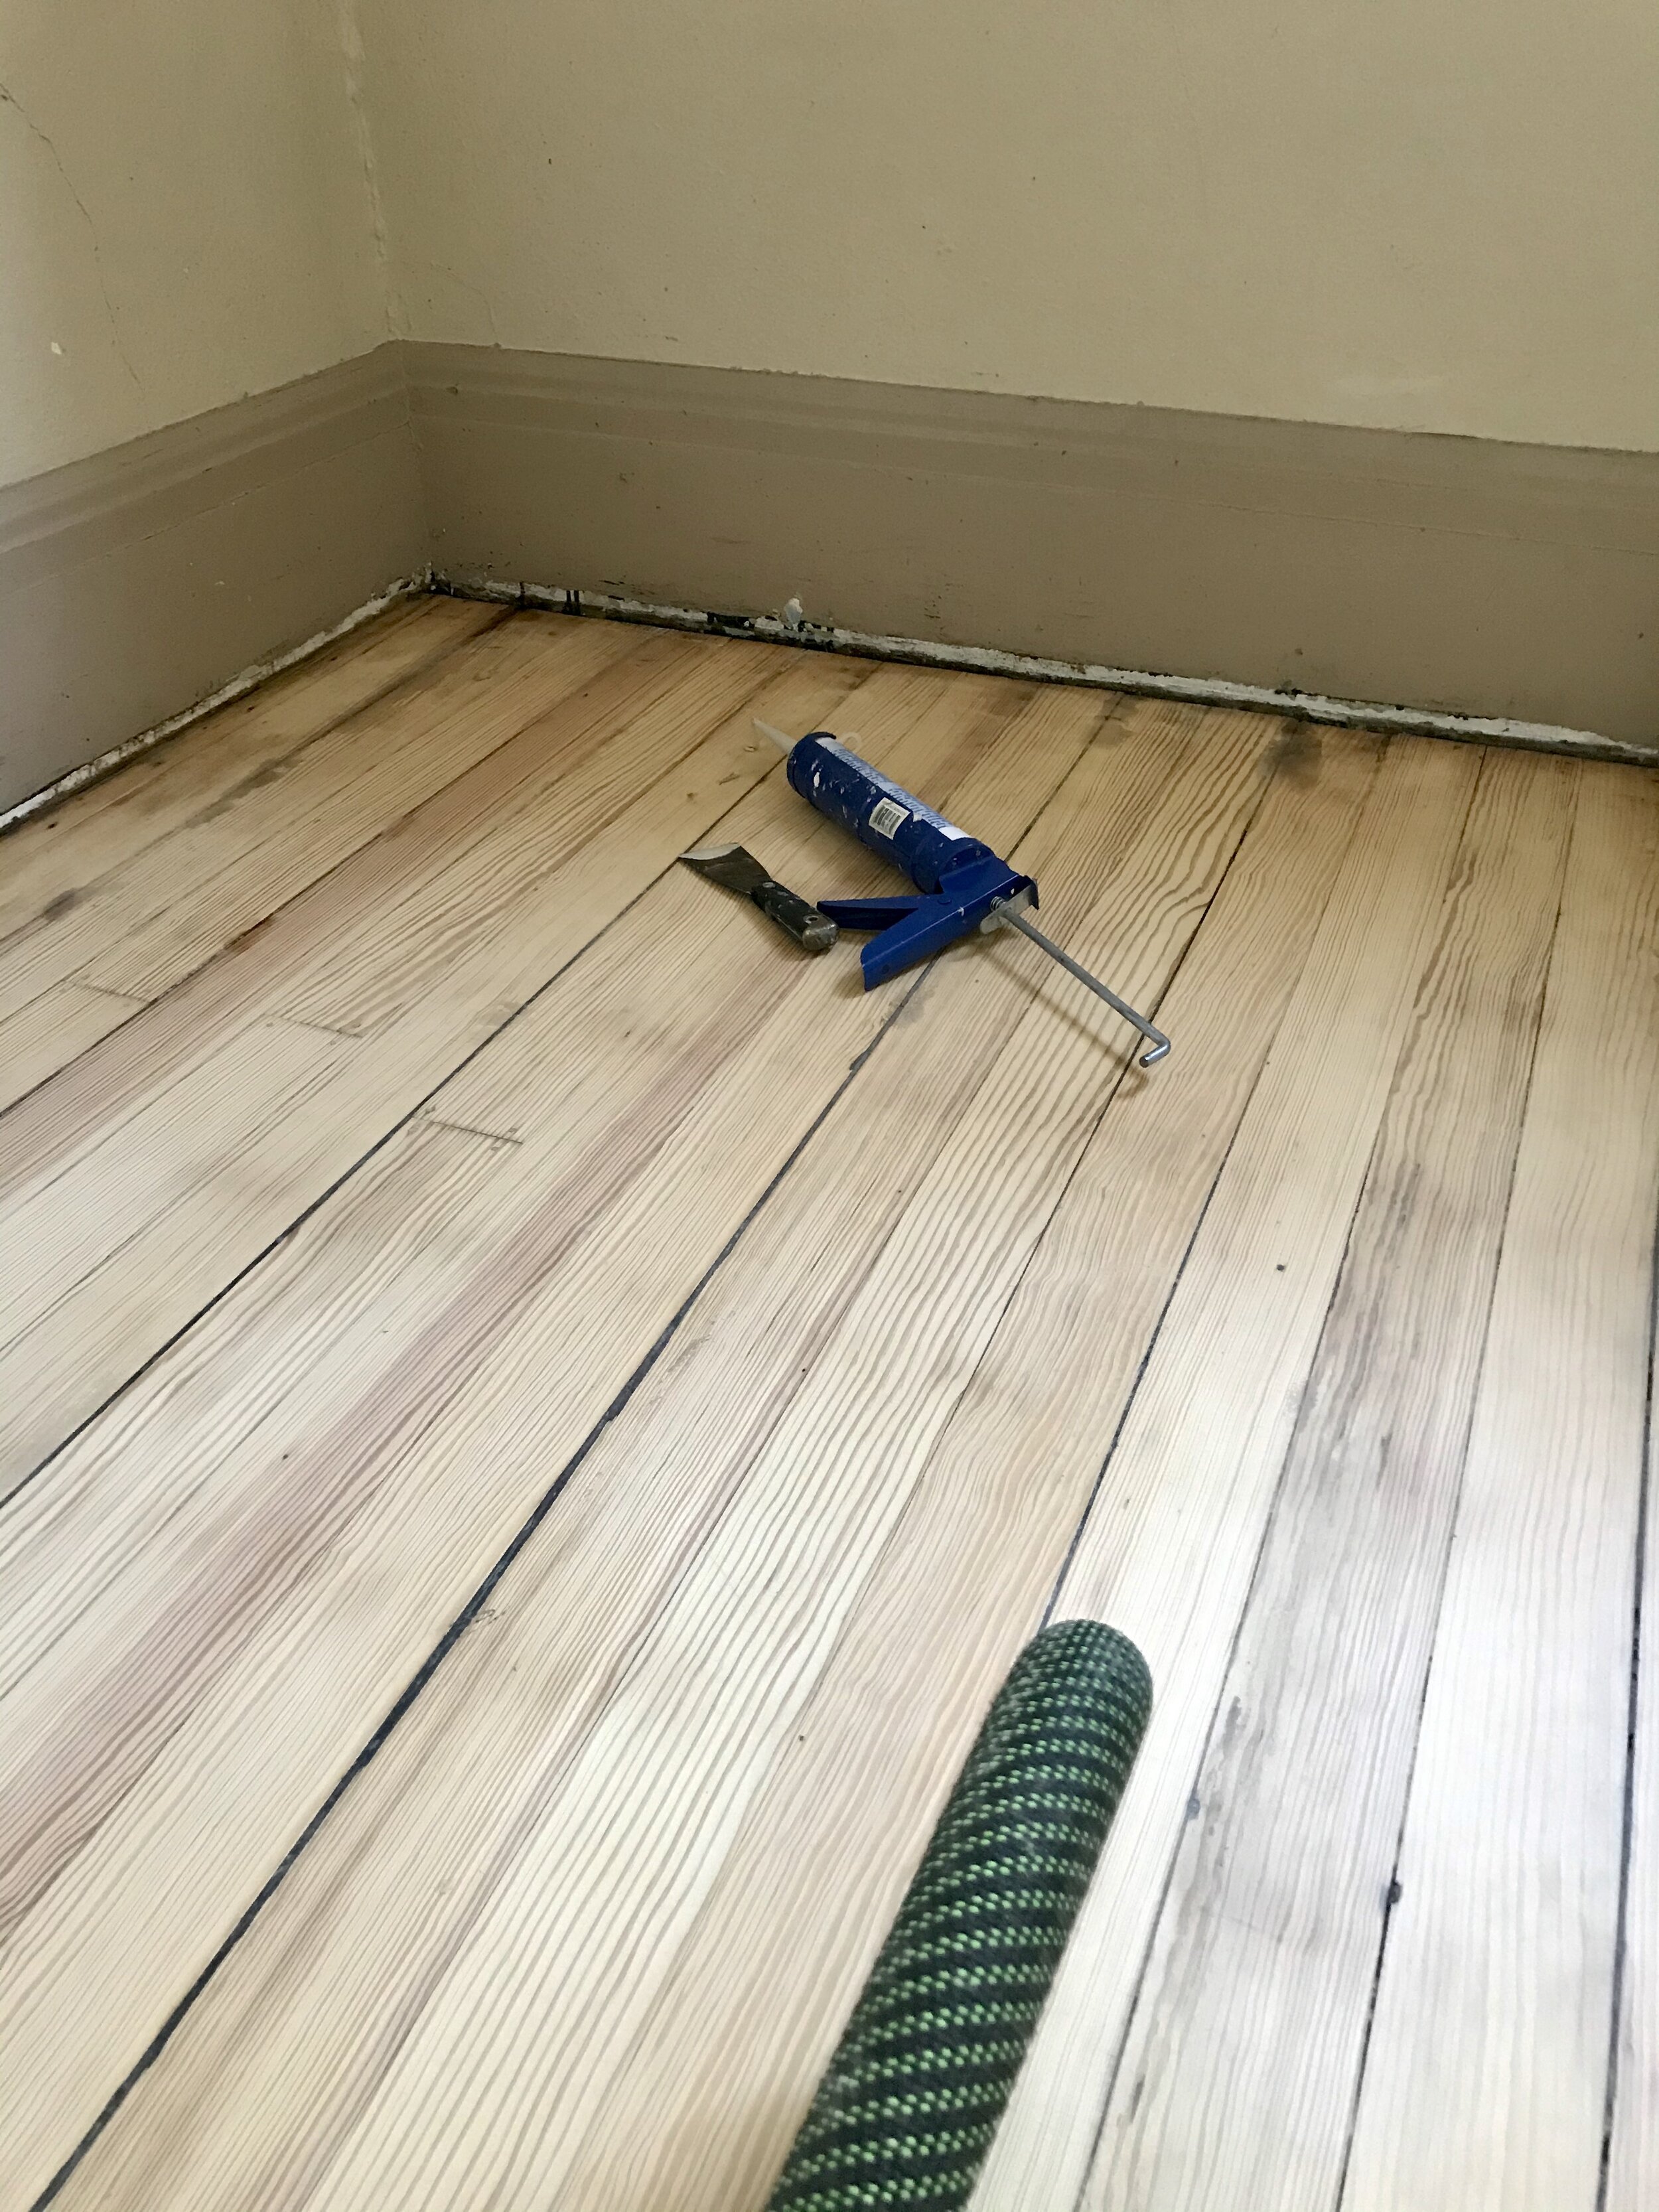
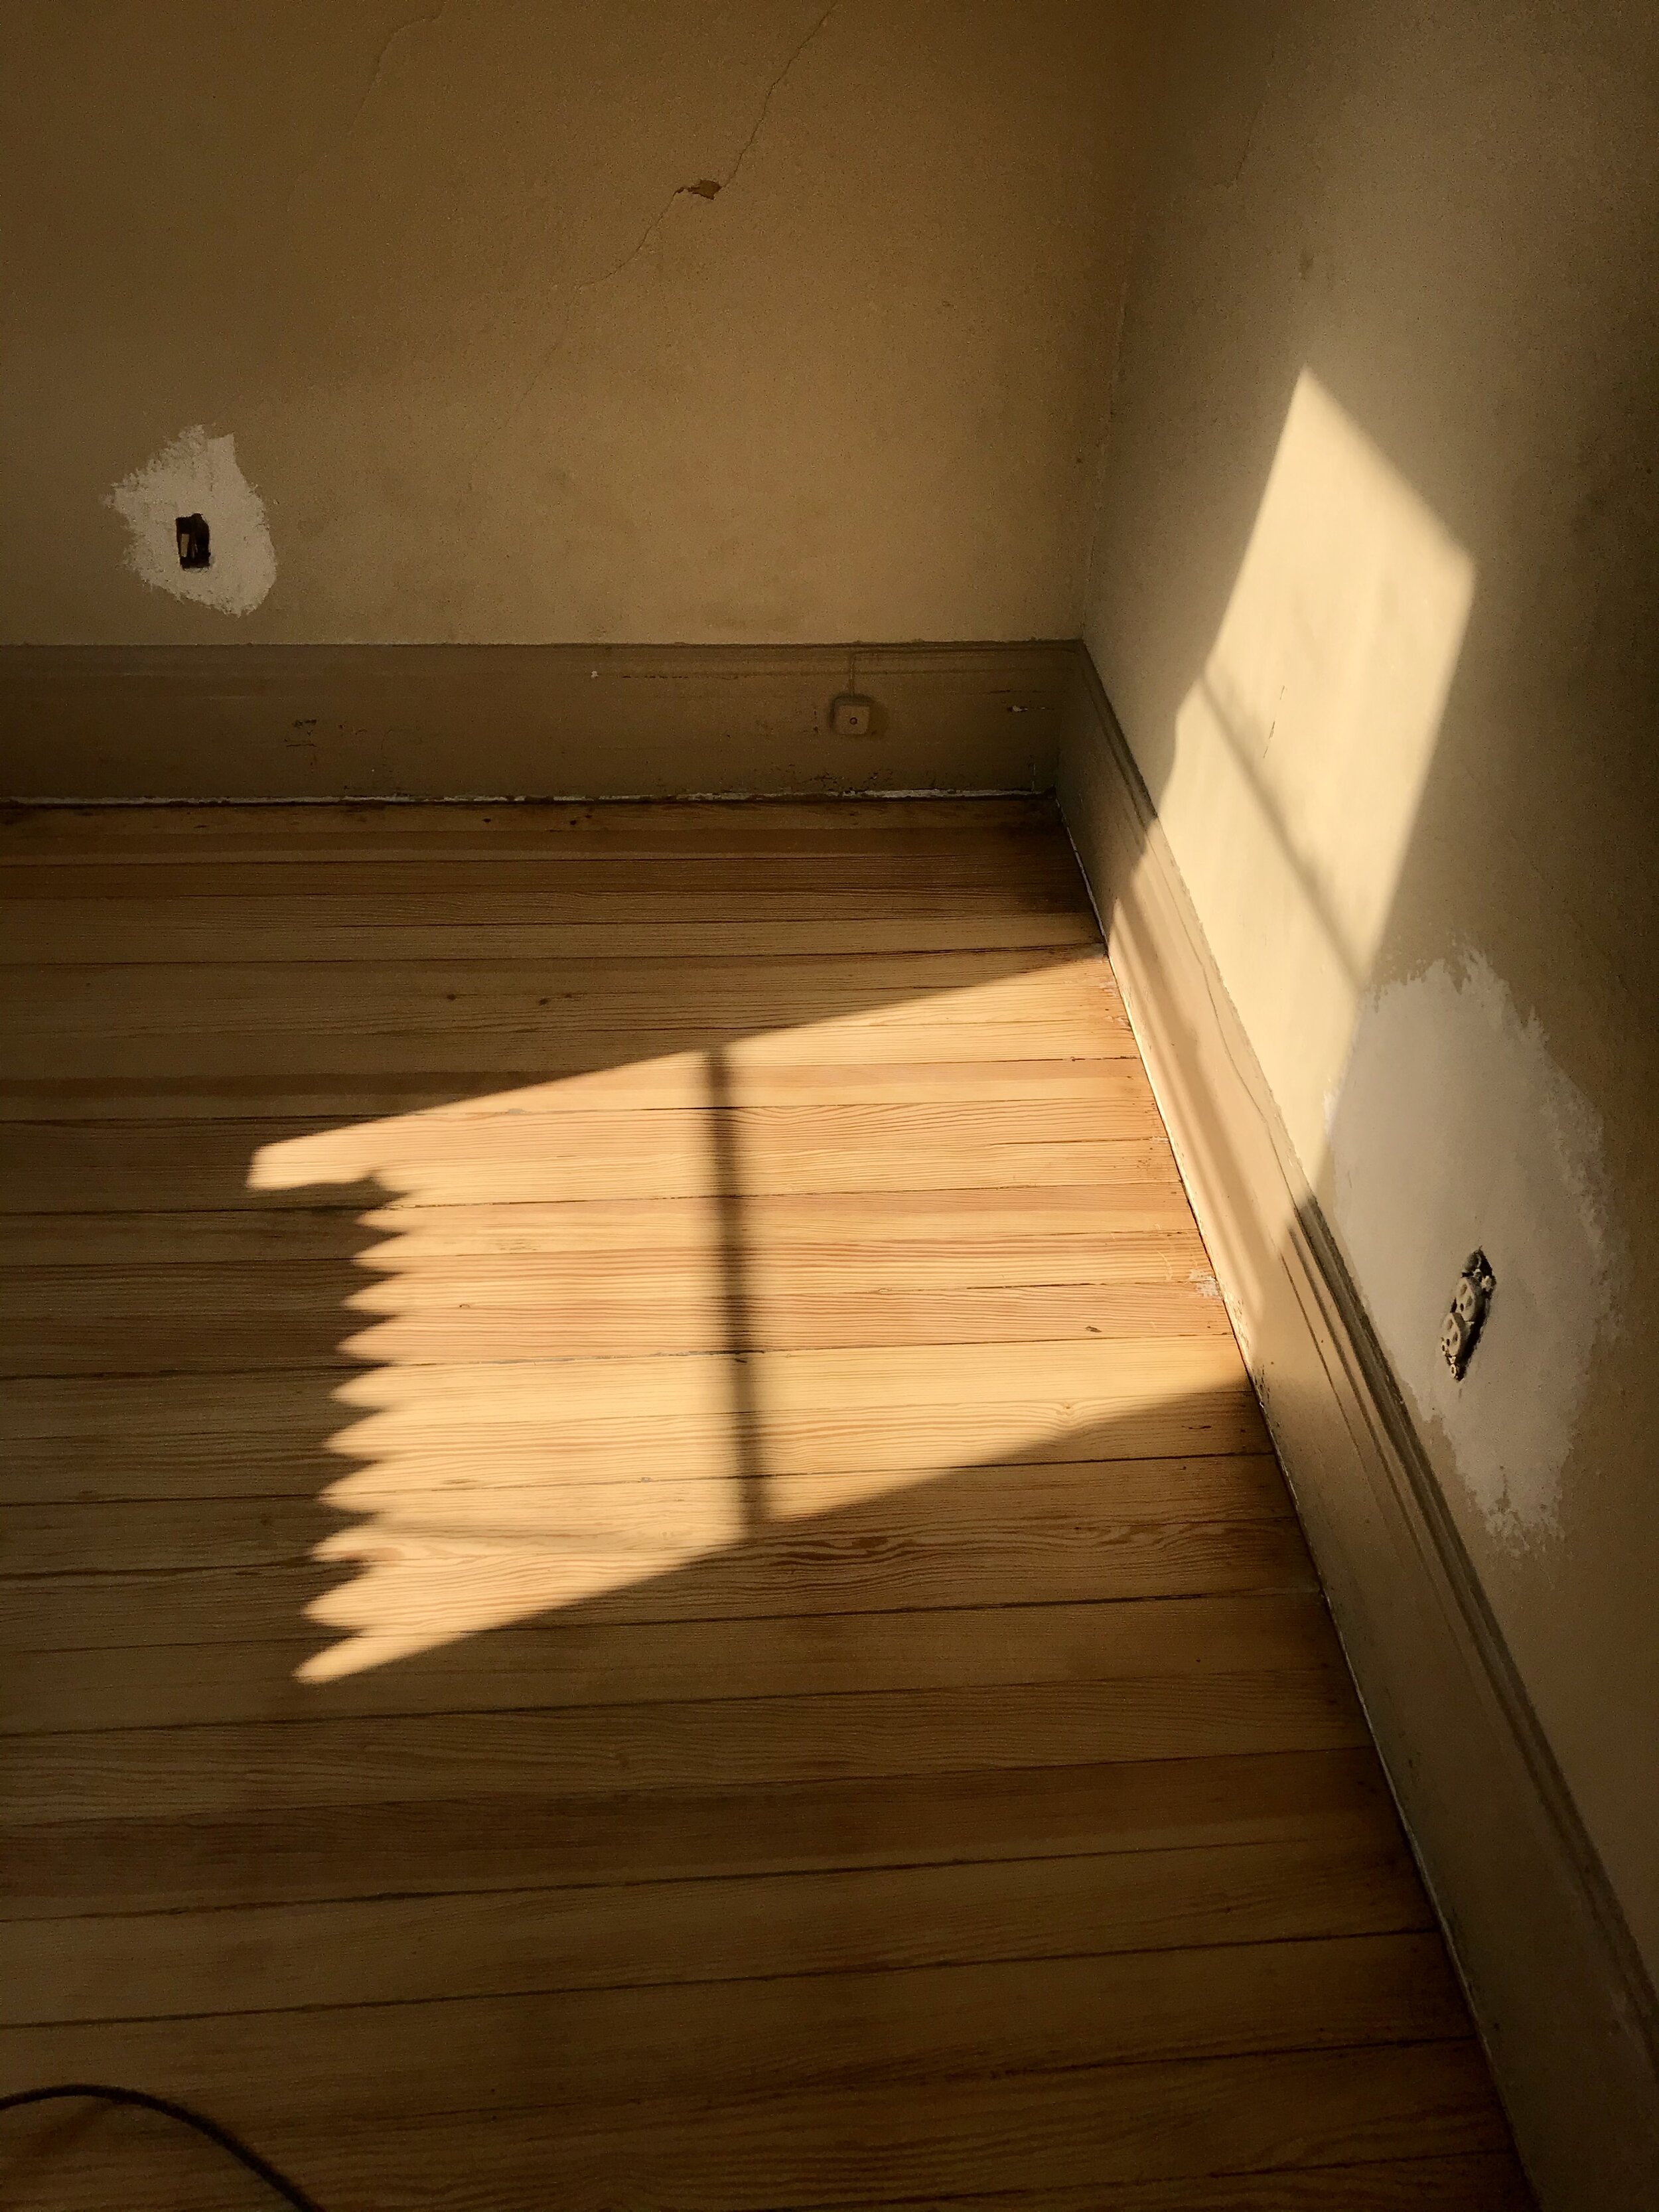
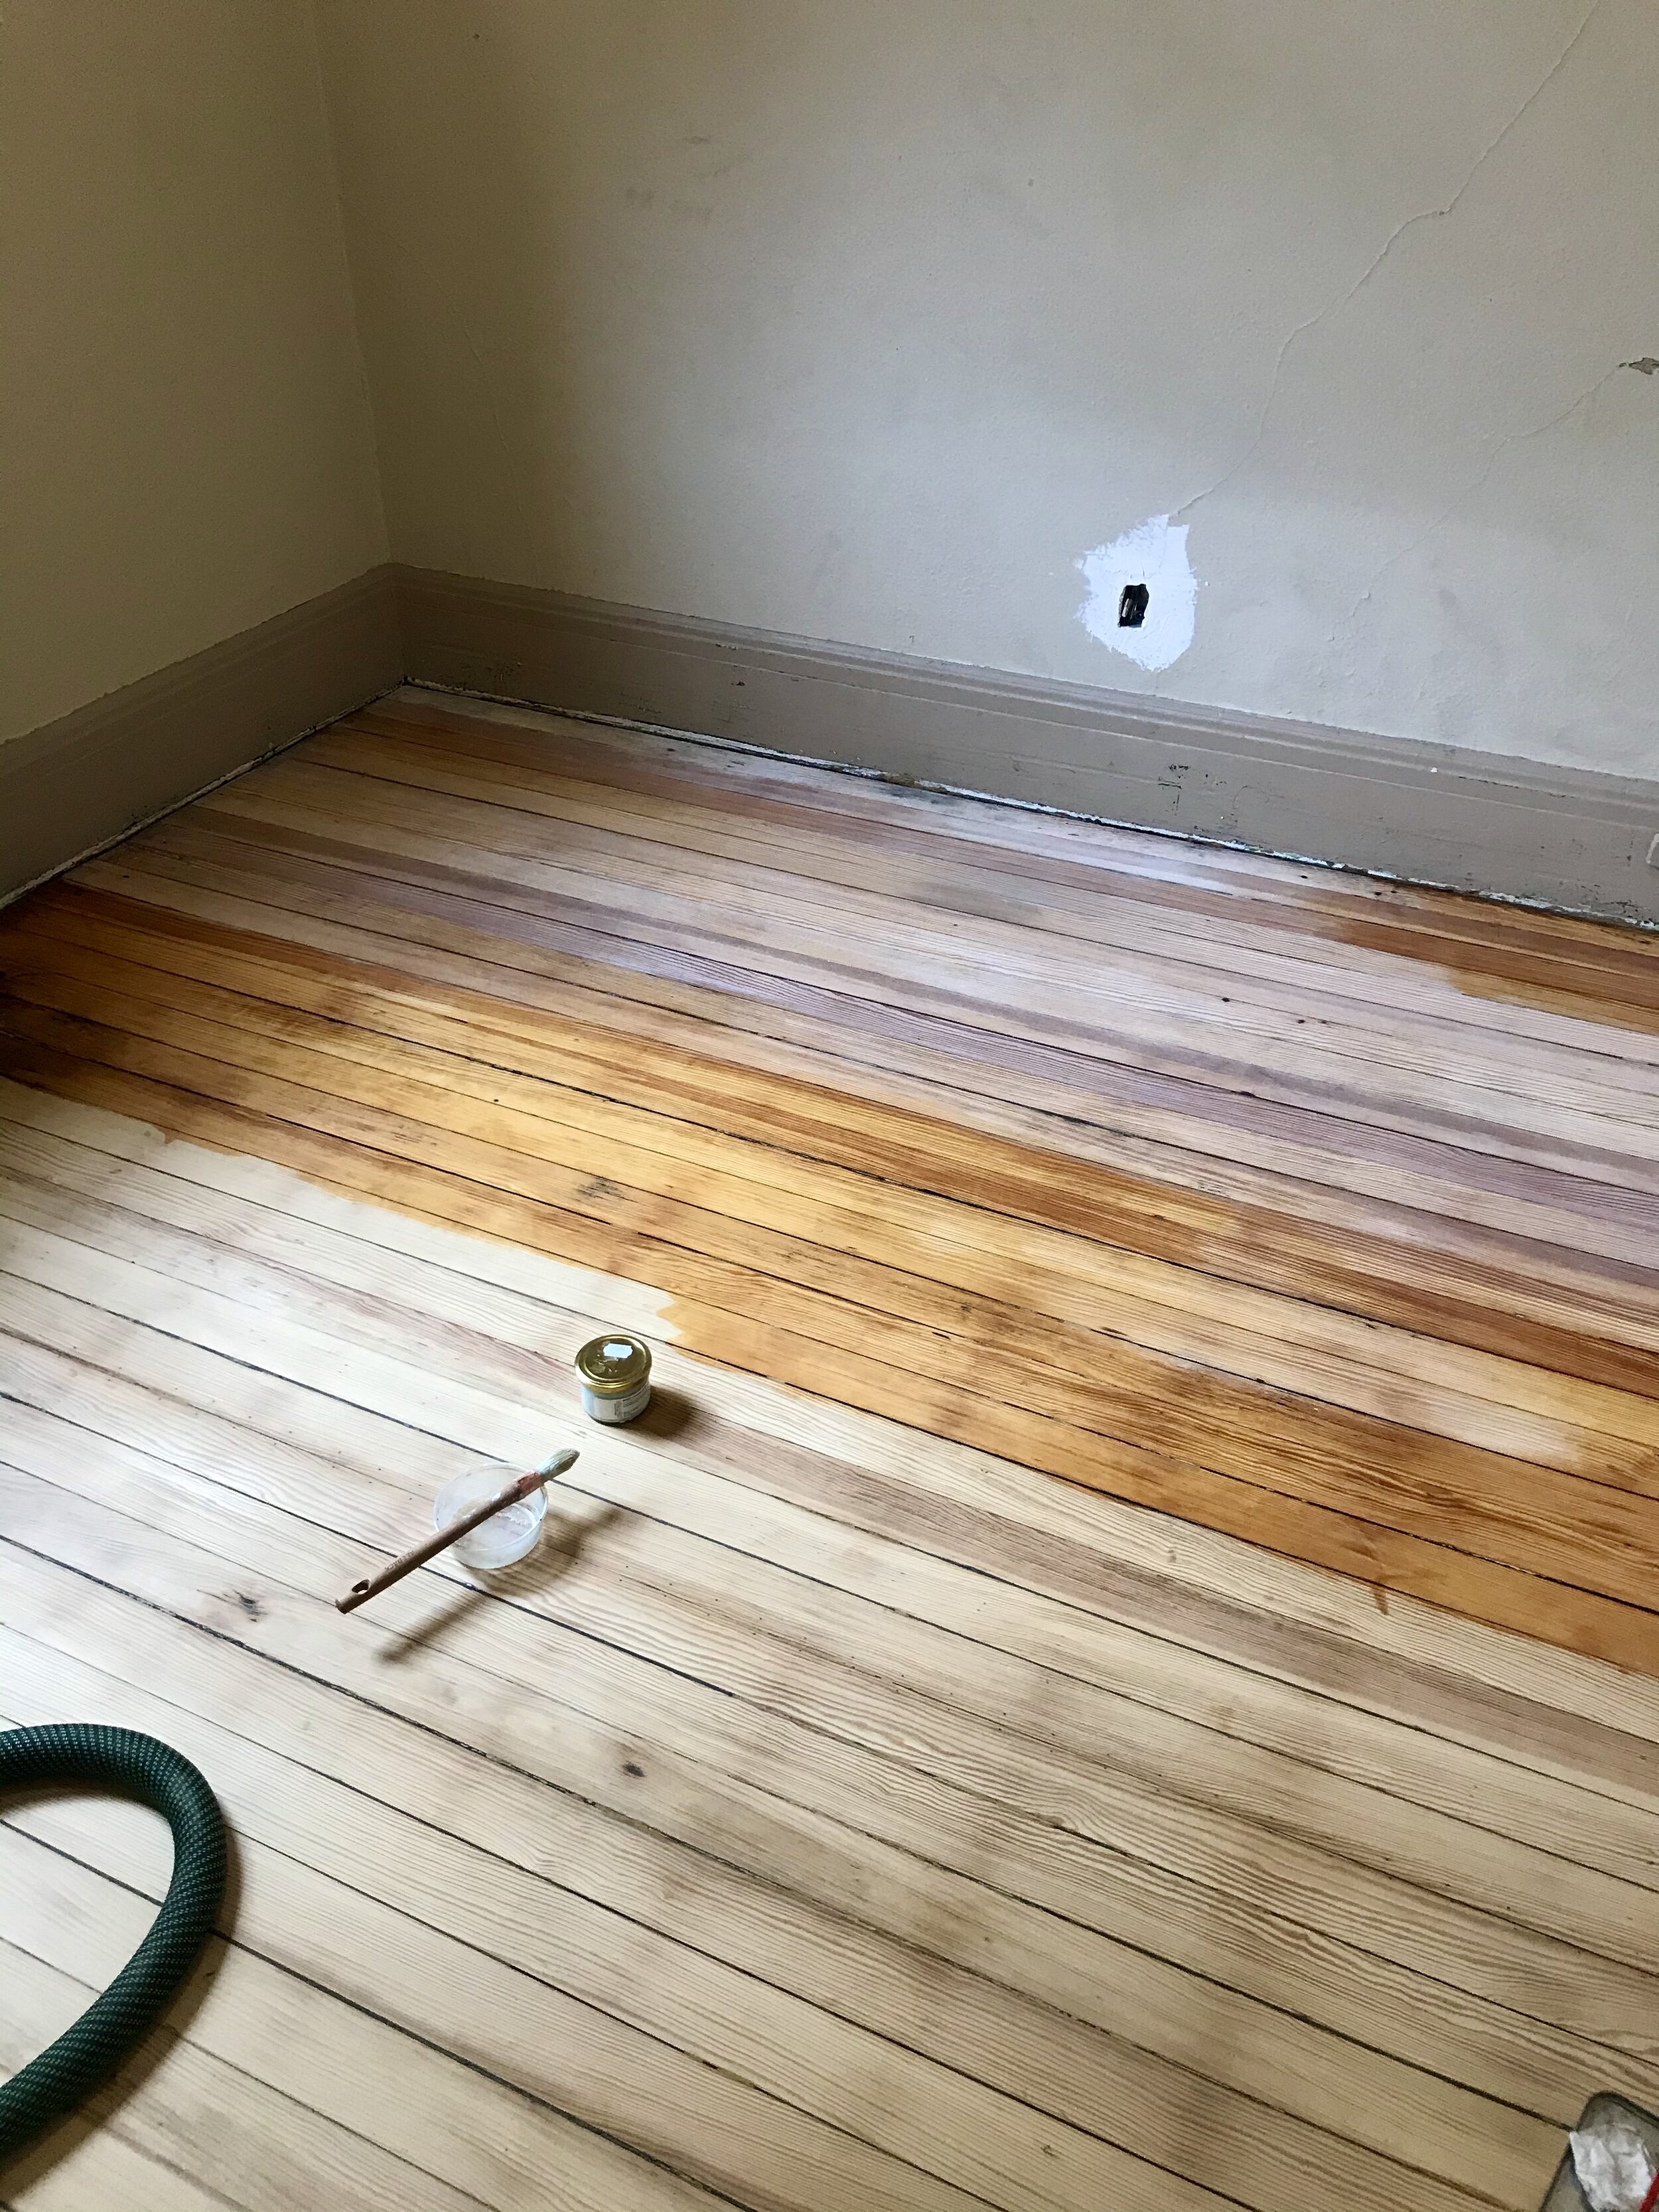
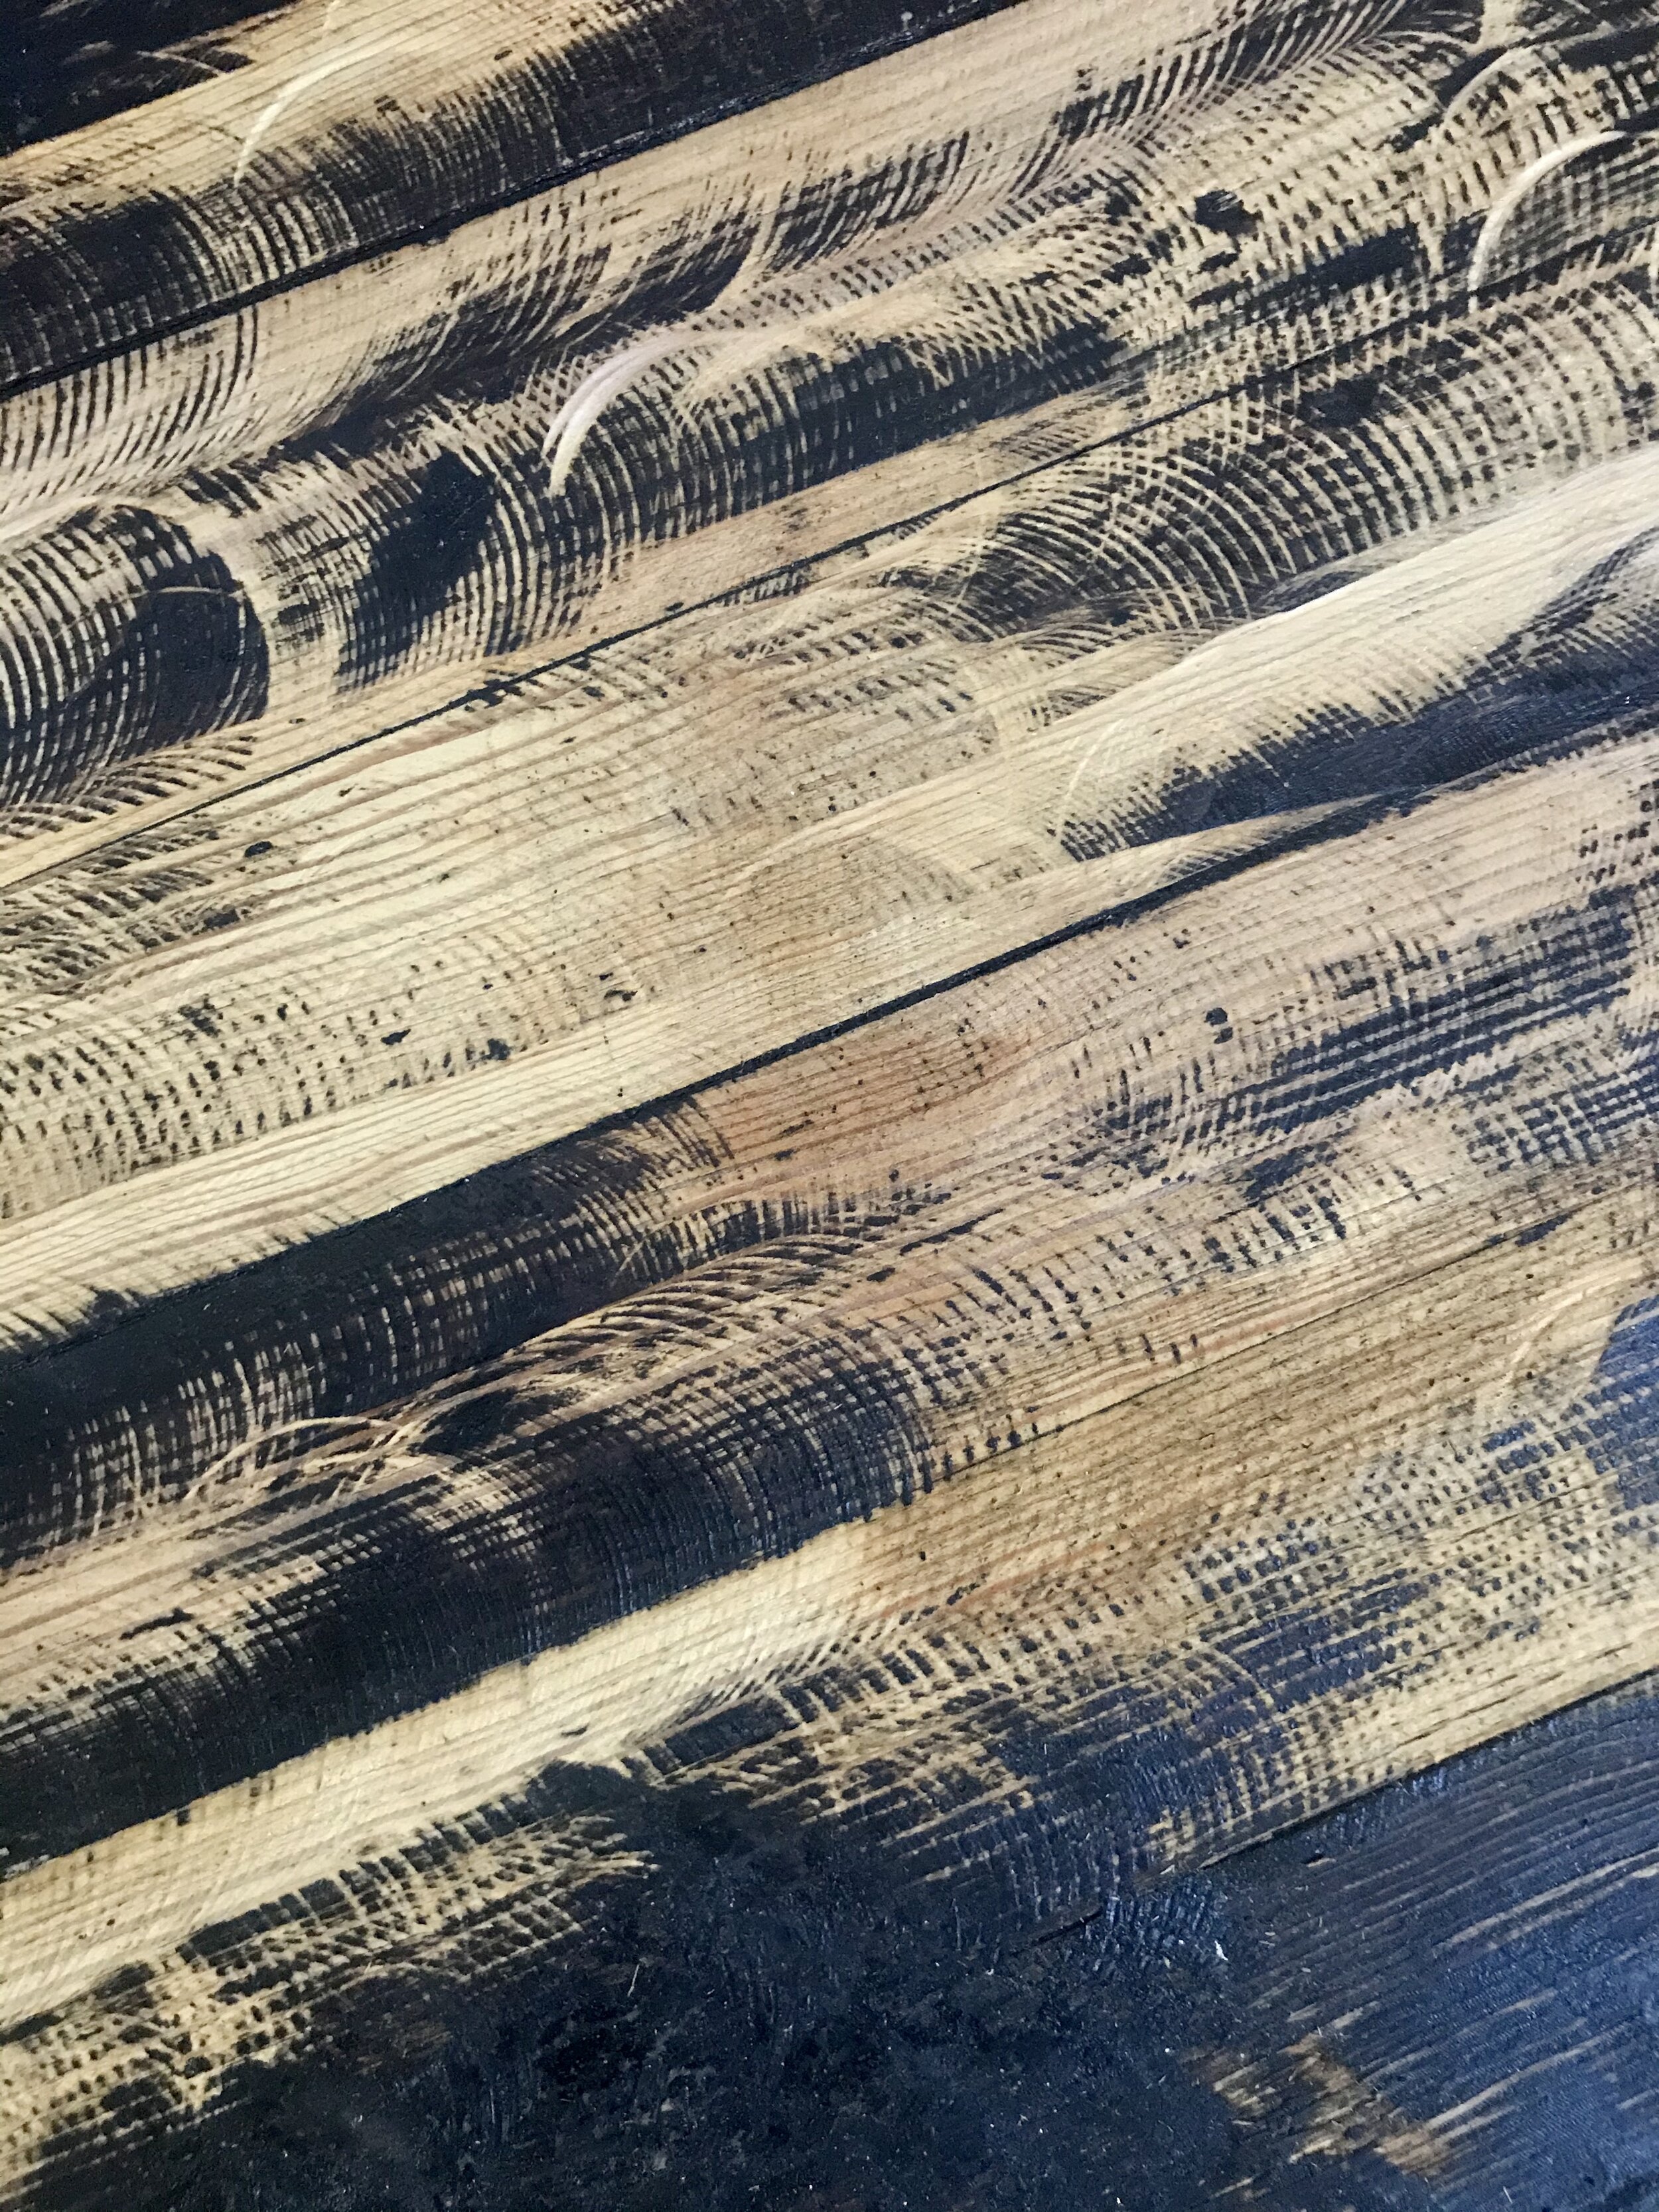
Old growth pine sanded to 80 grit. Ready for stain / linseed oil / varnish. Thirsty and dry, ready for the floor finish of your dreams. There is a light shadowing from the tile as I didn’t want to over-sand. The shadow is part of her.
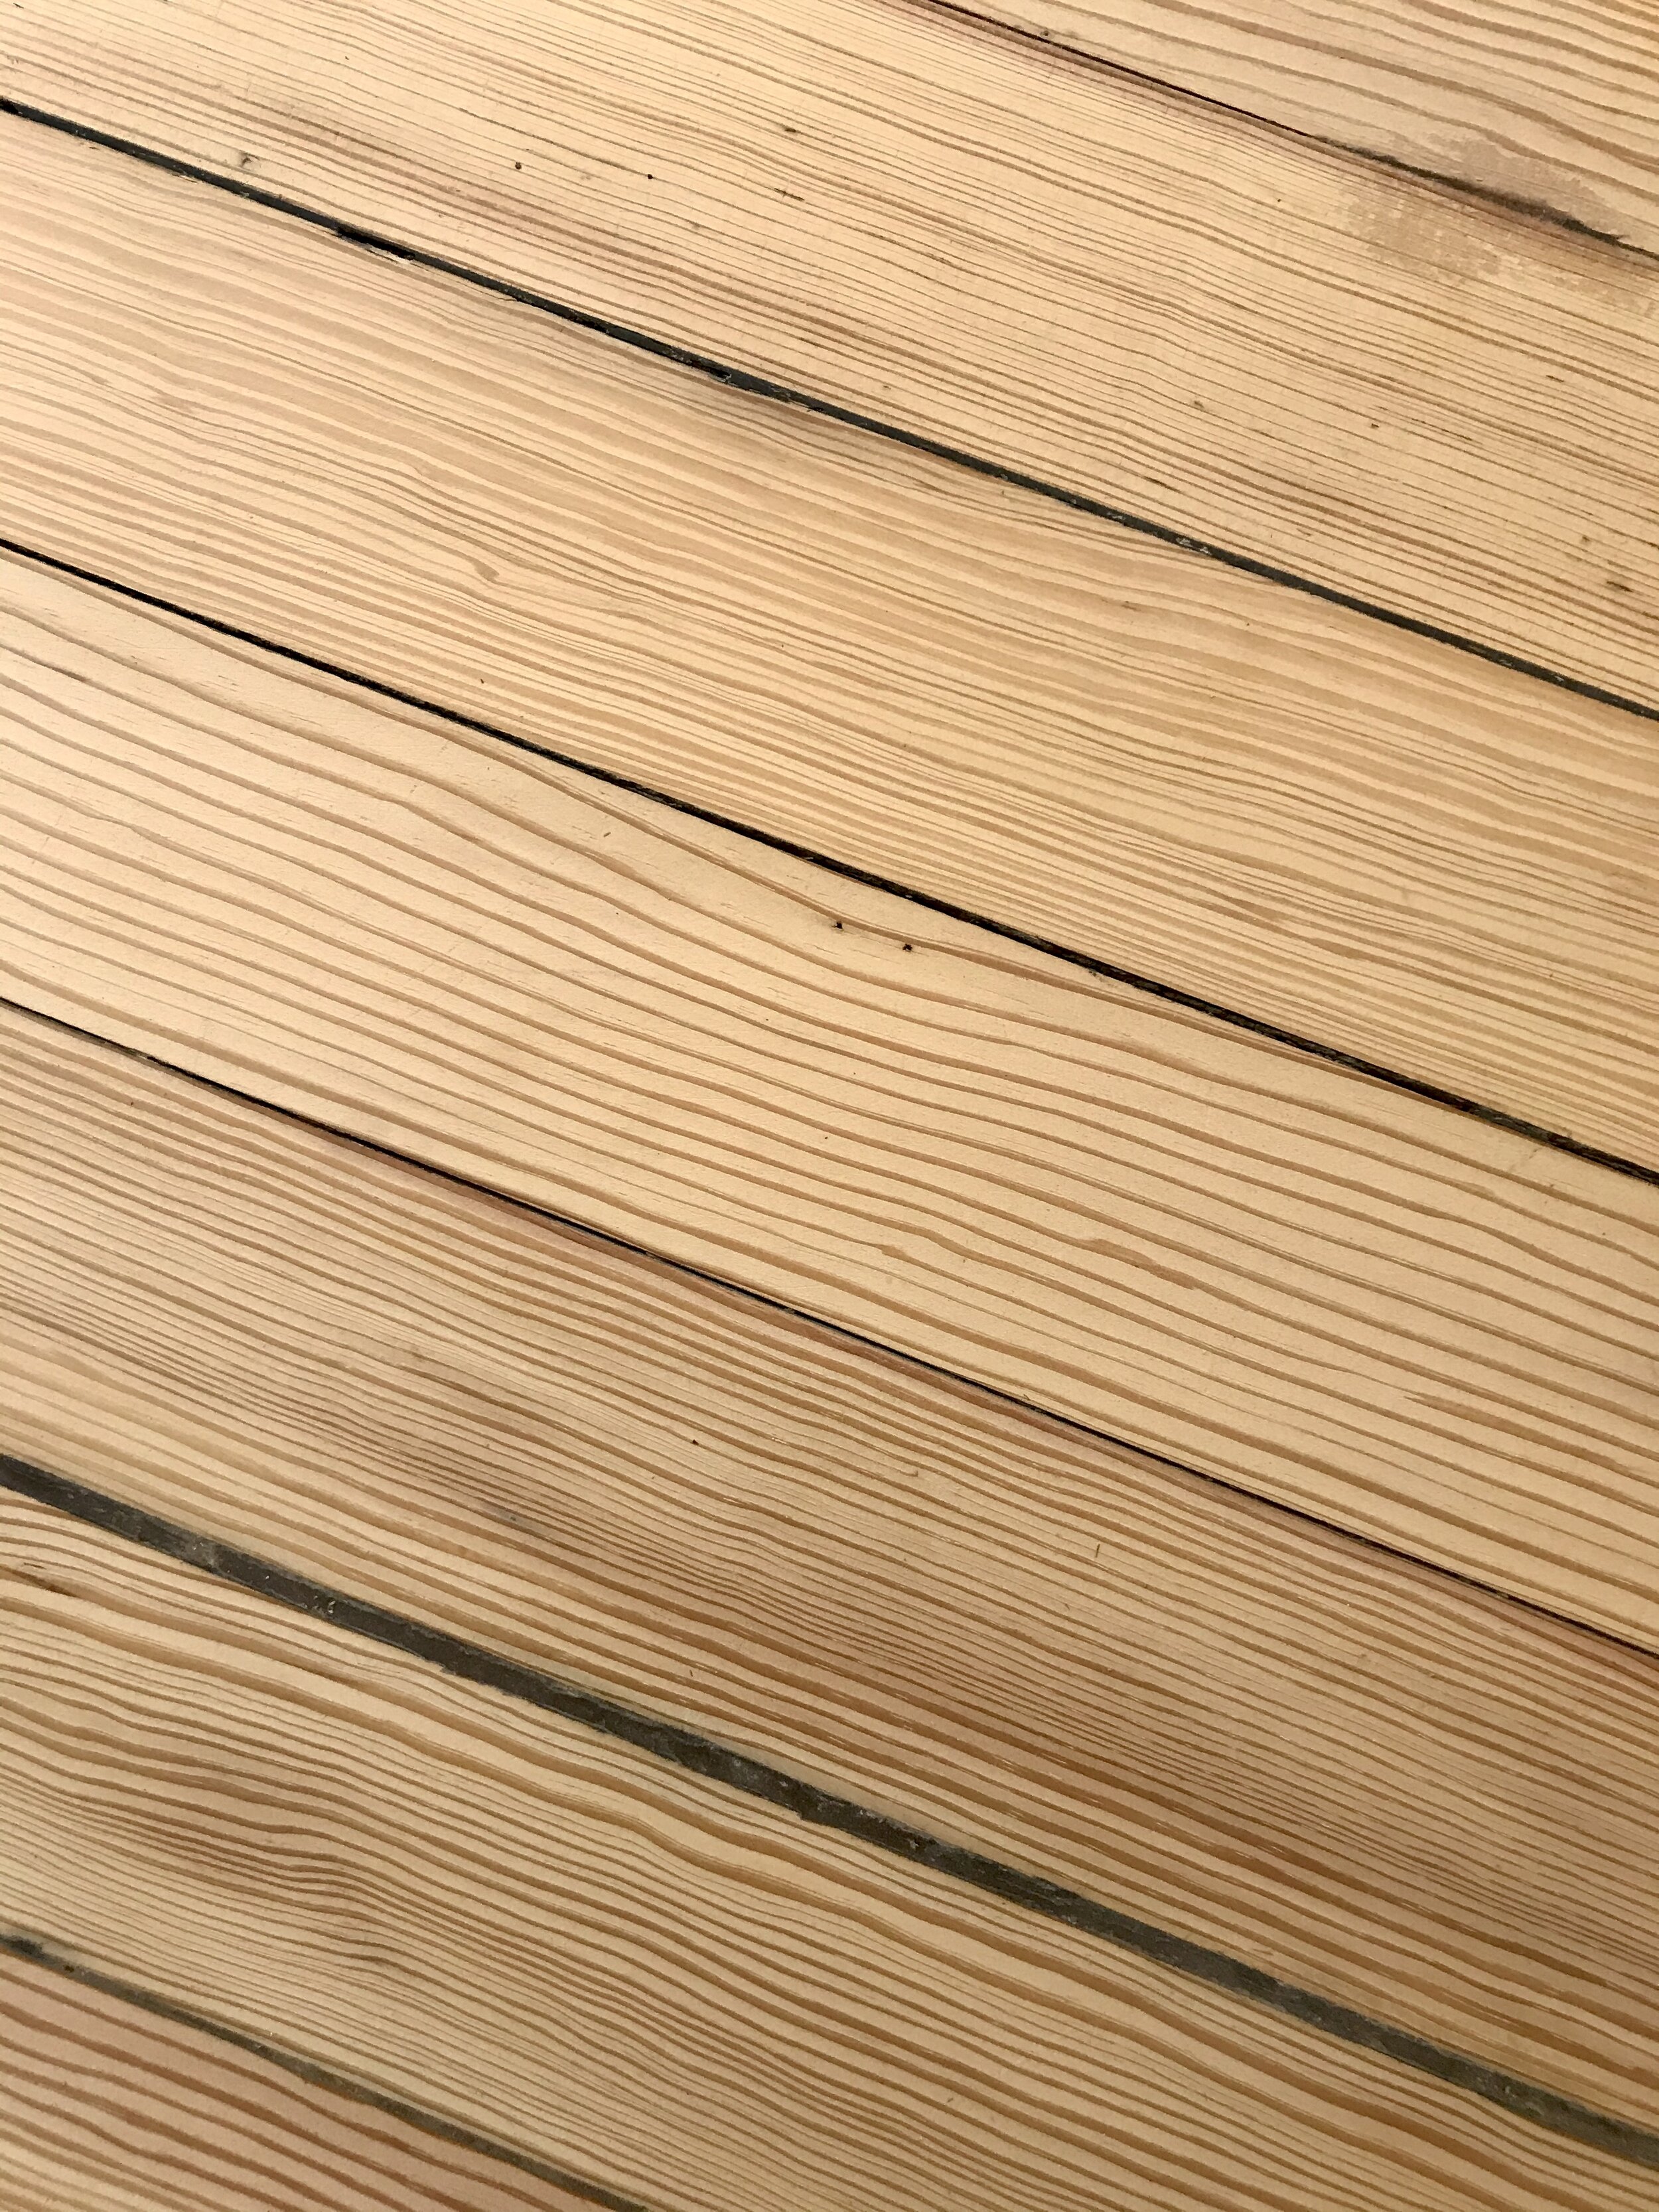
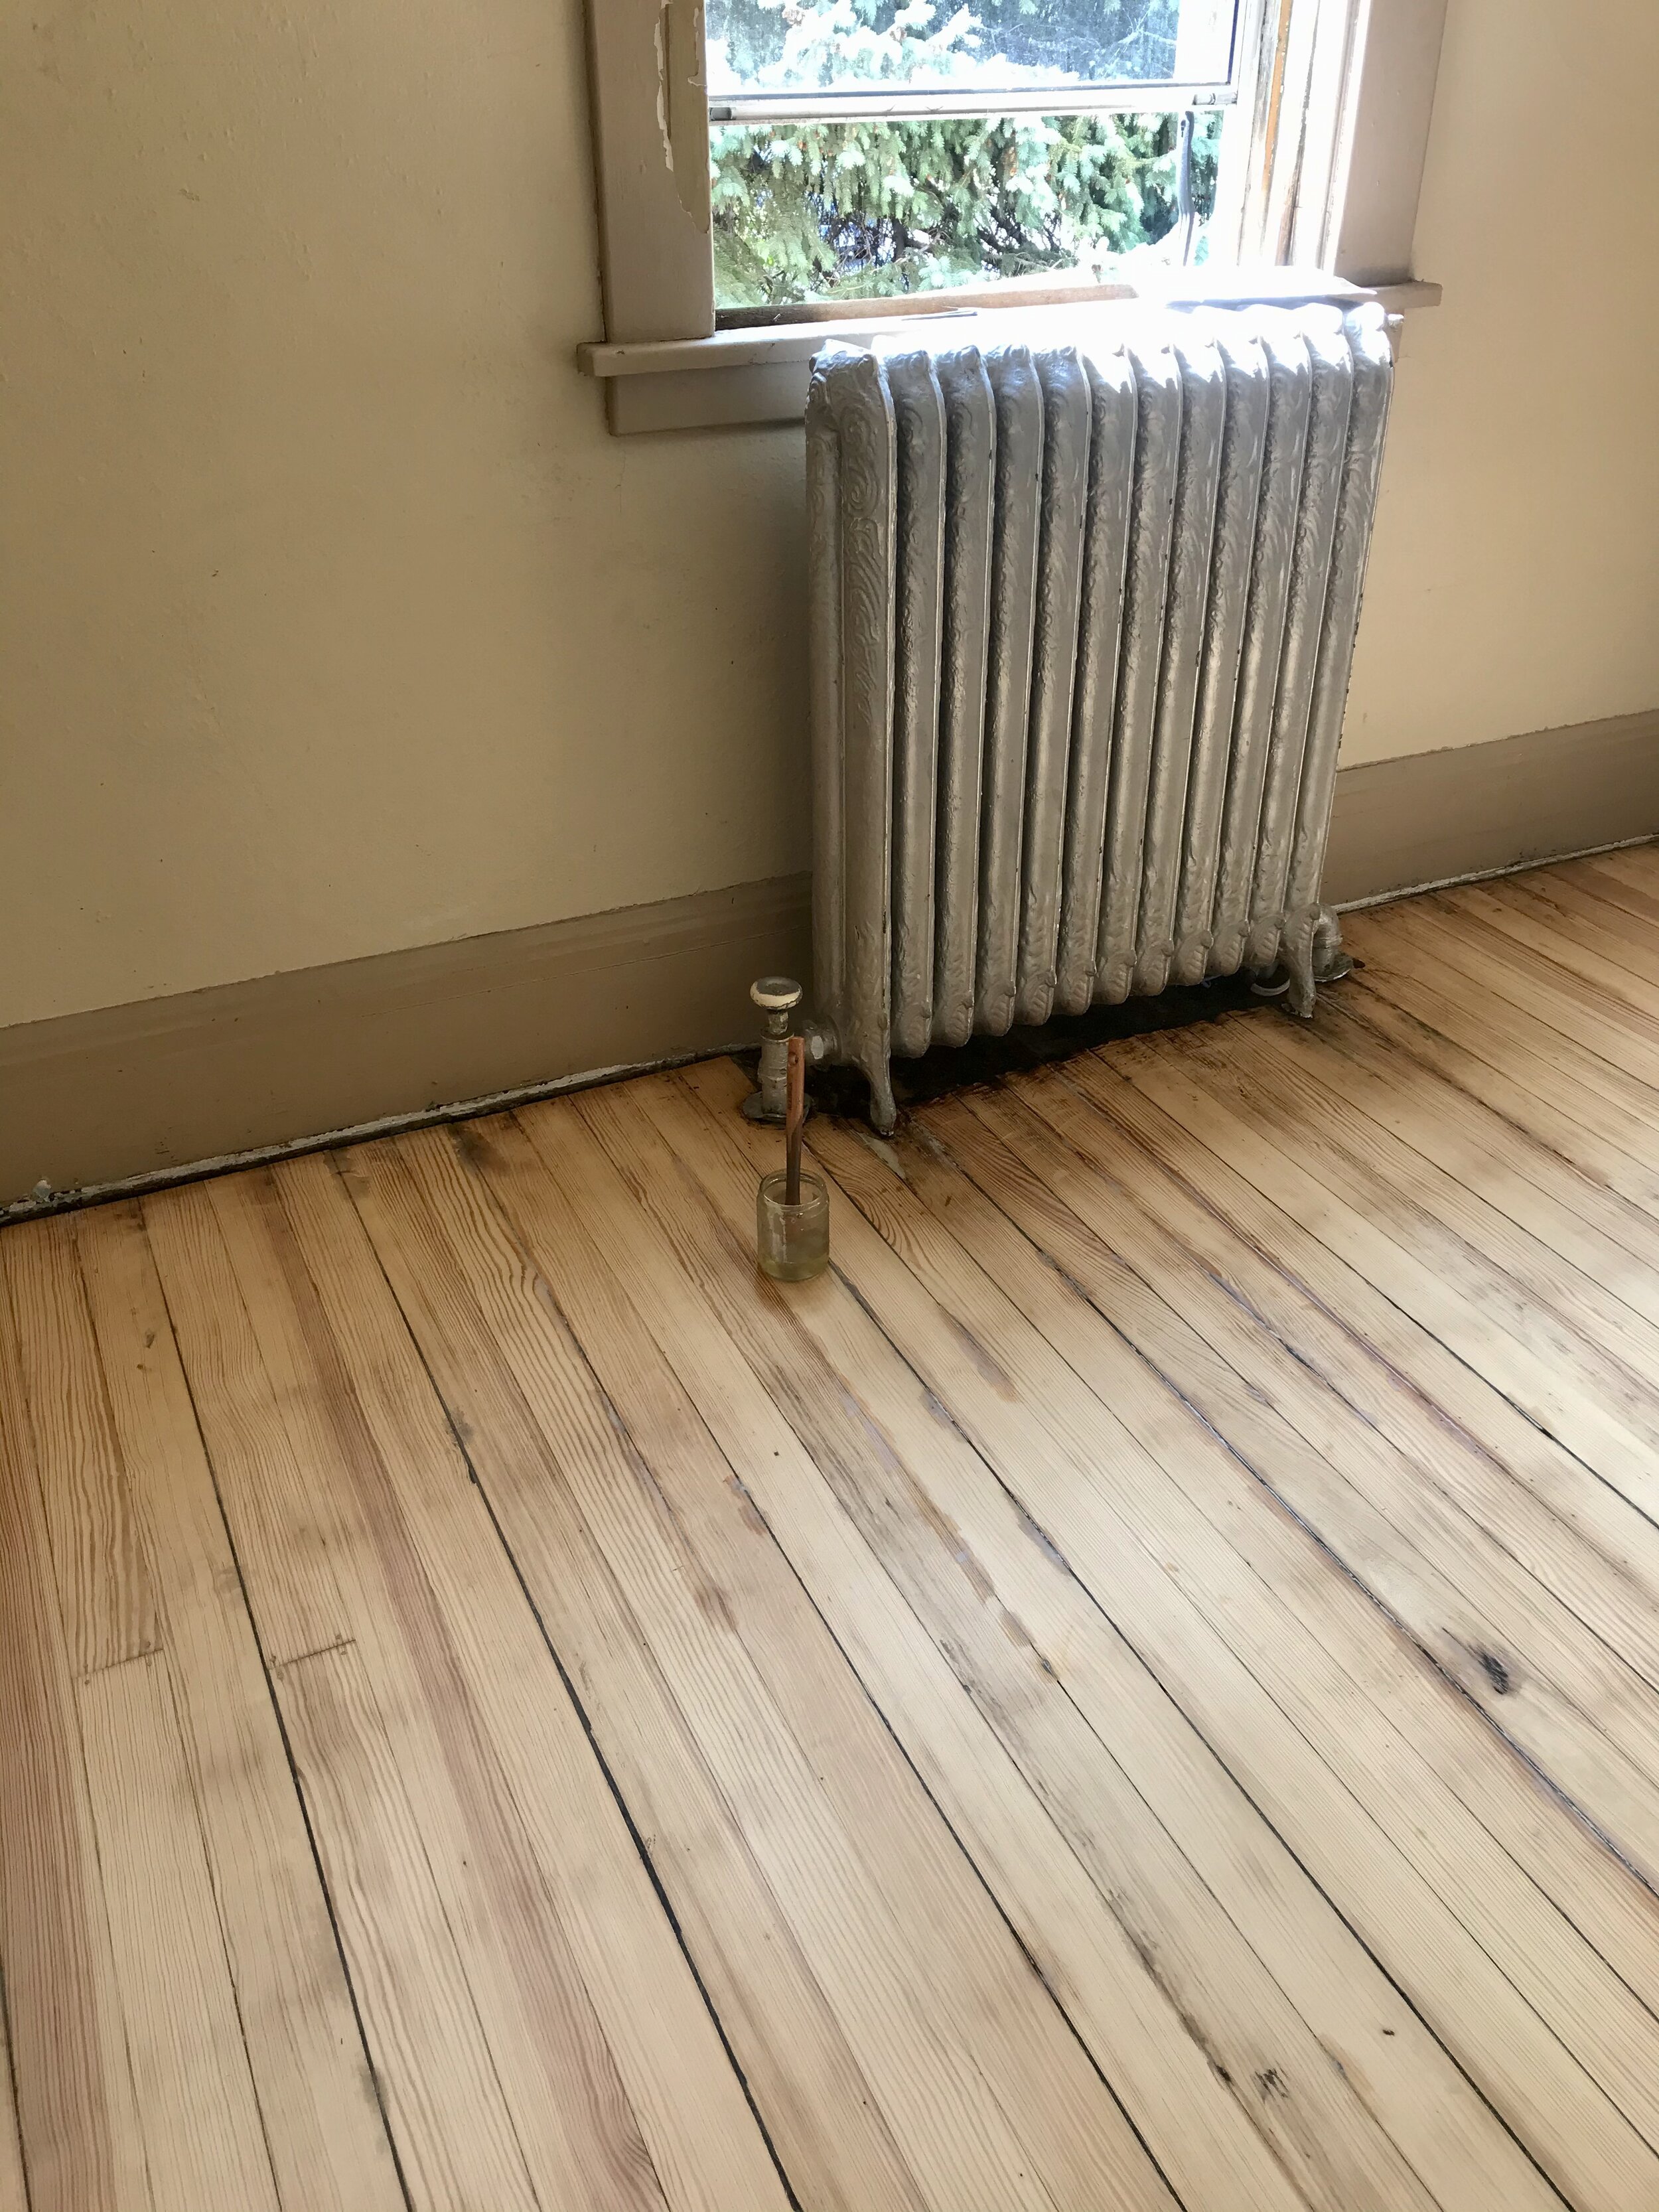
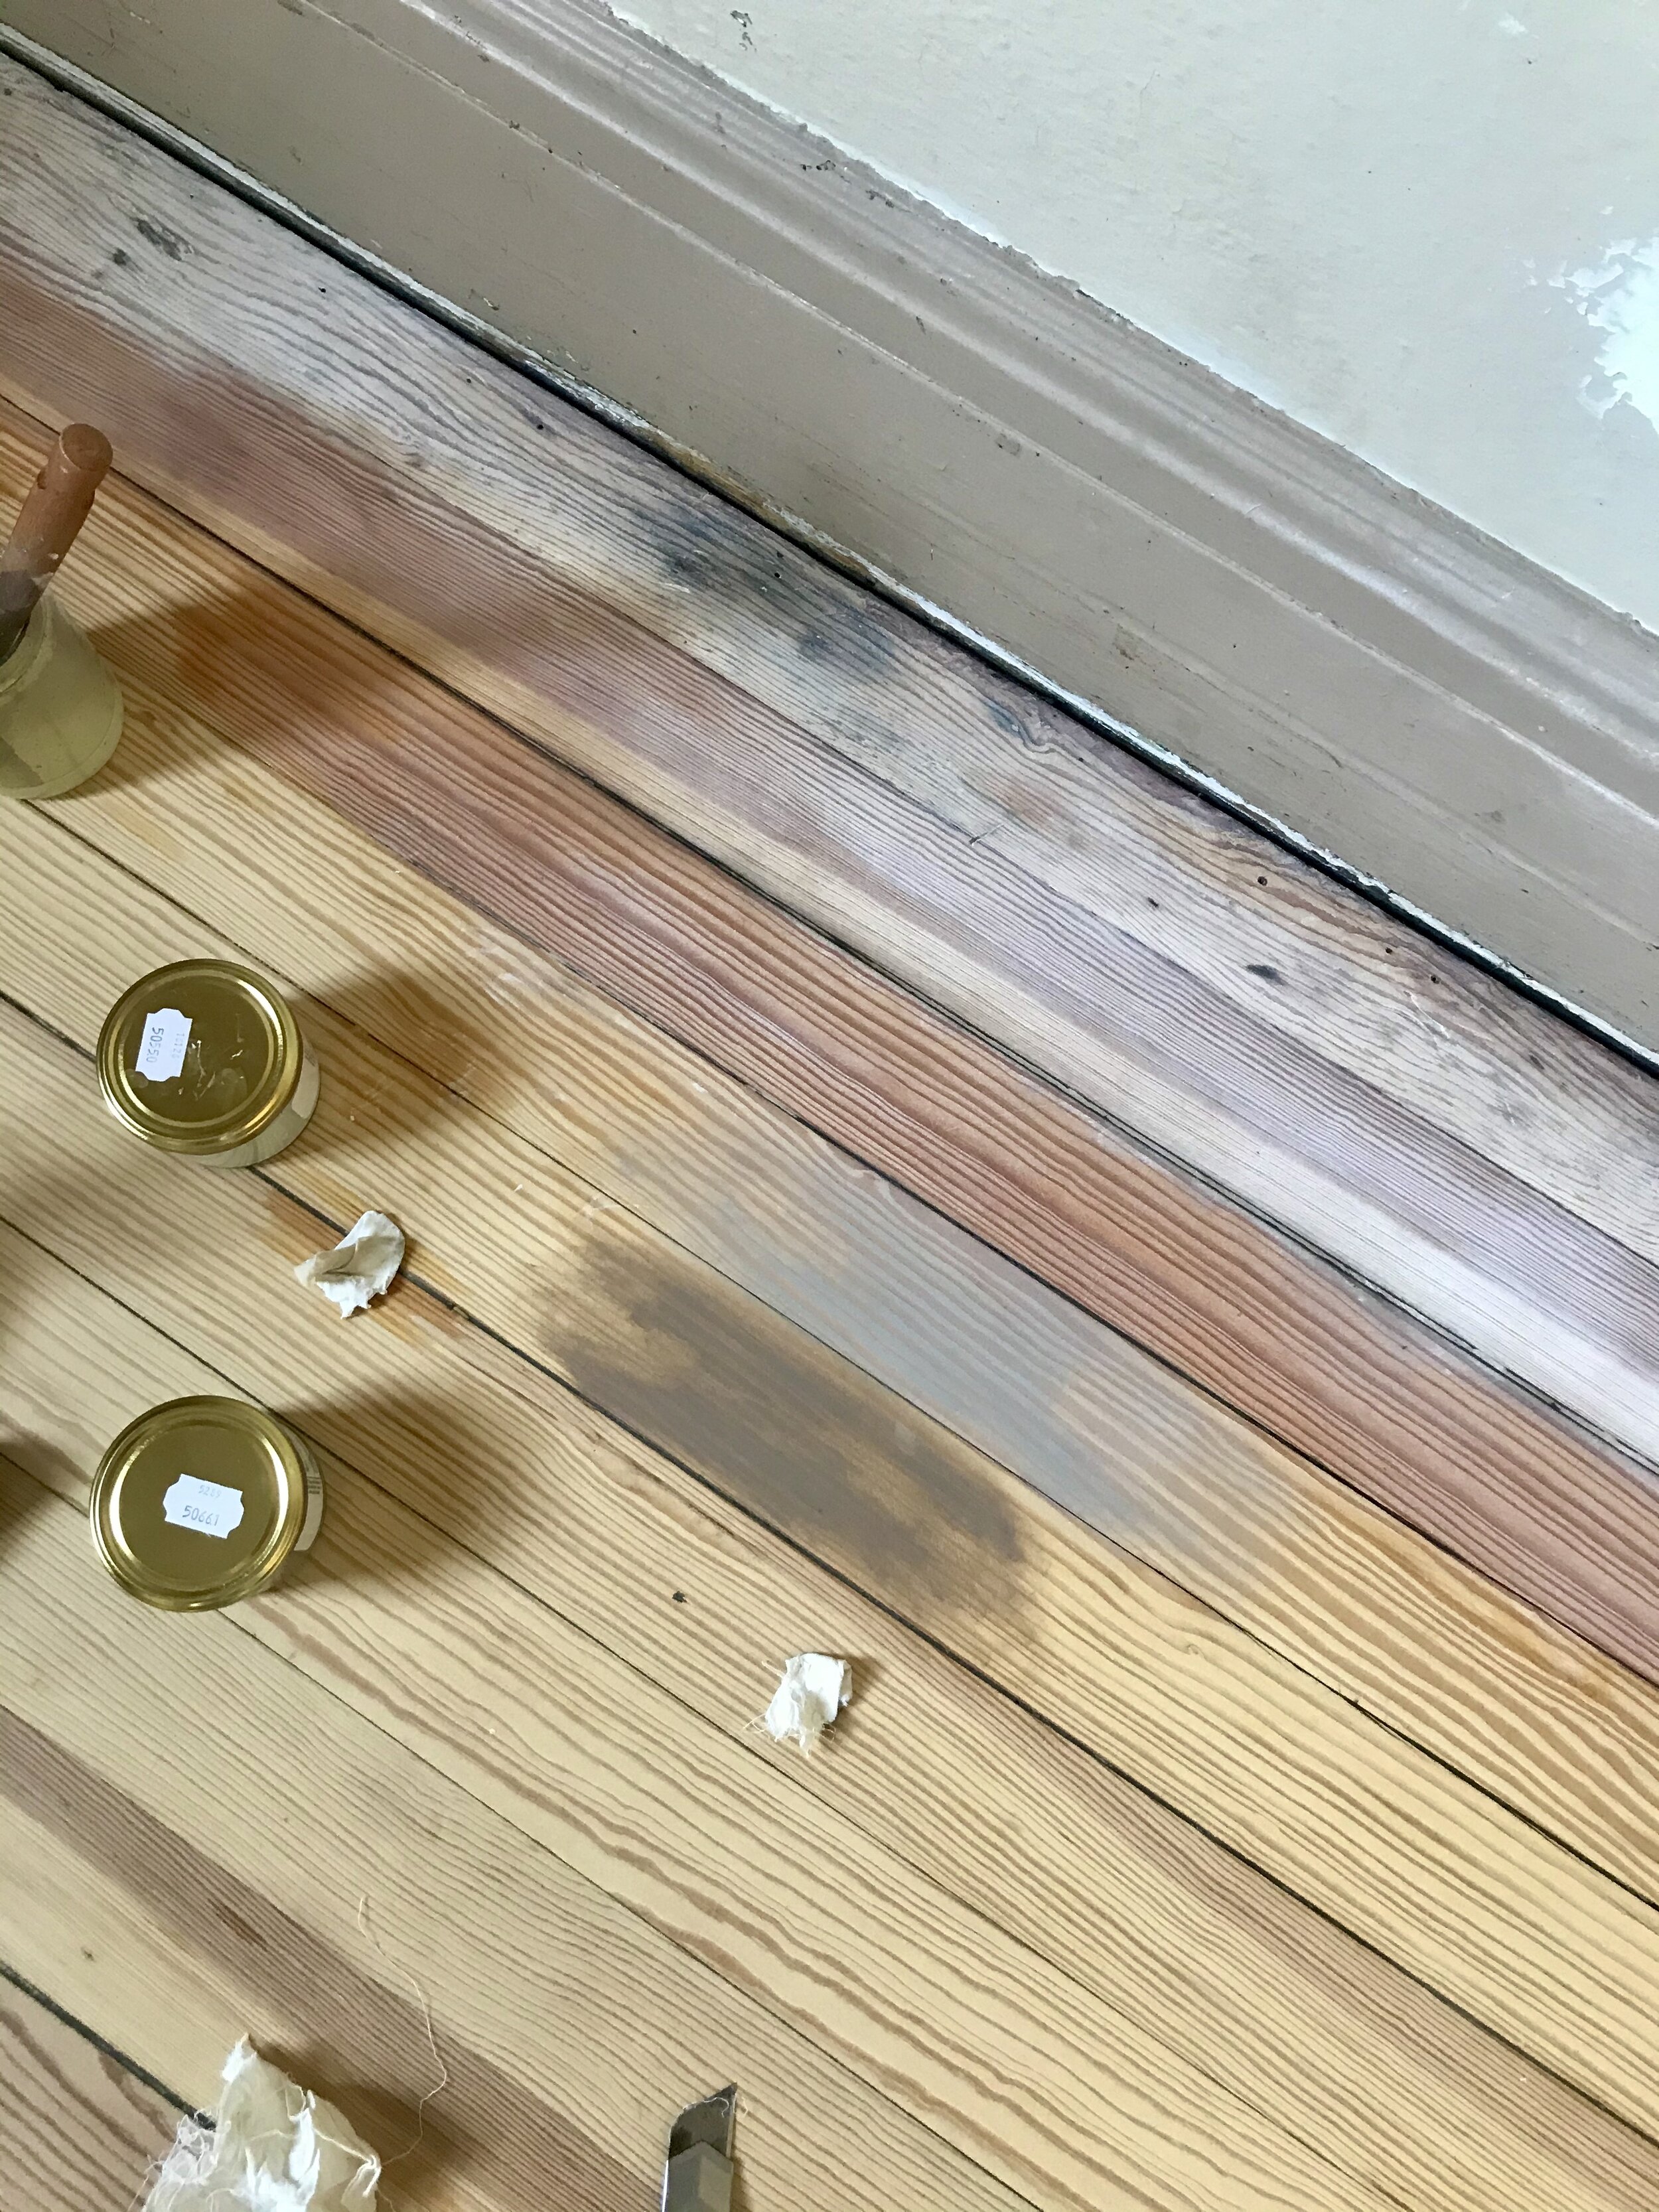
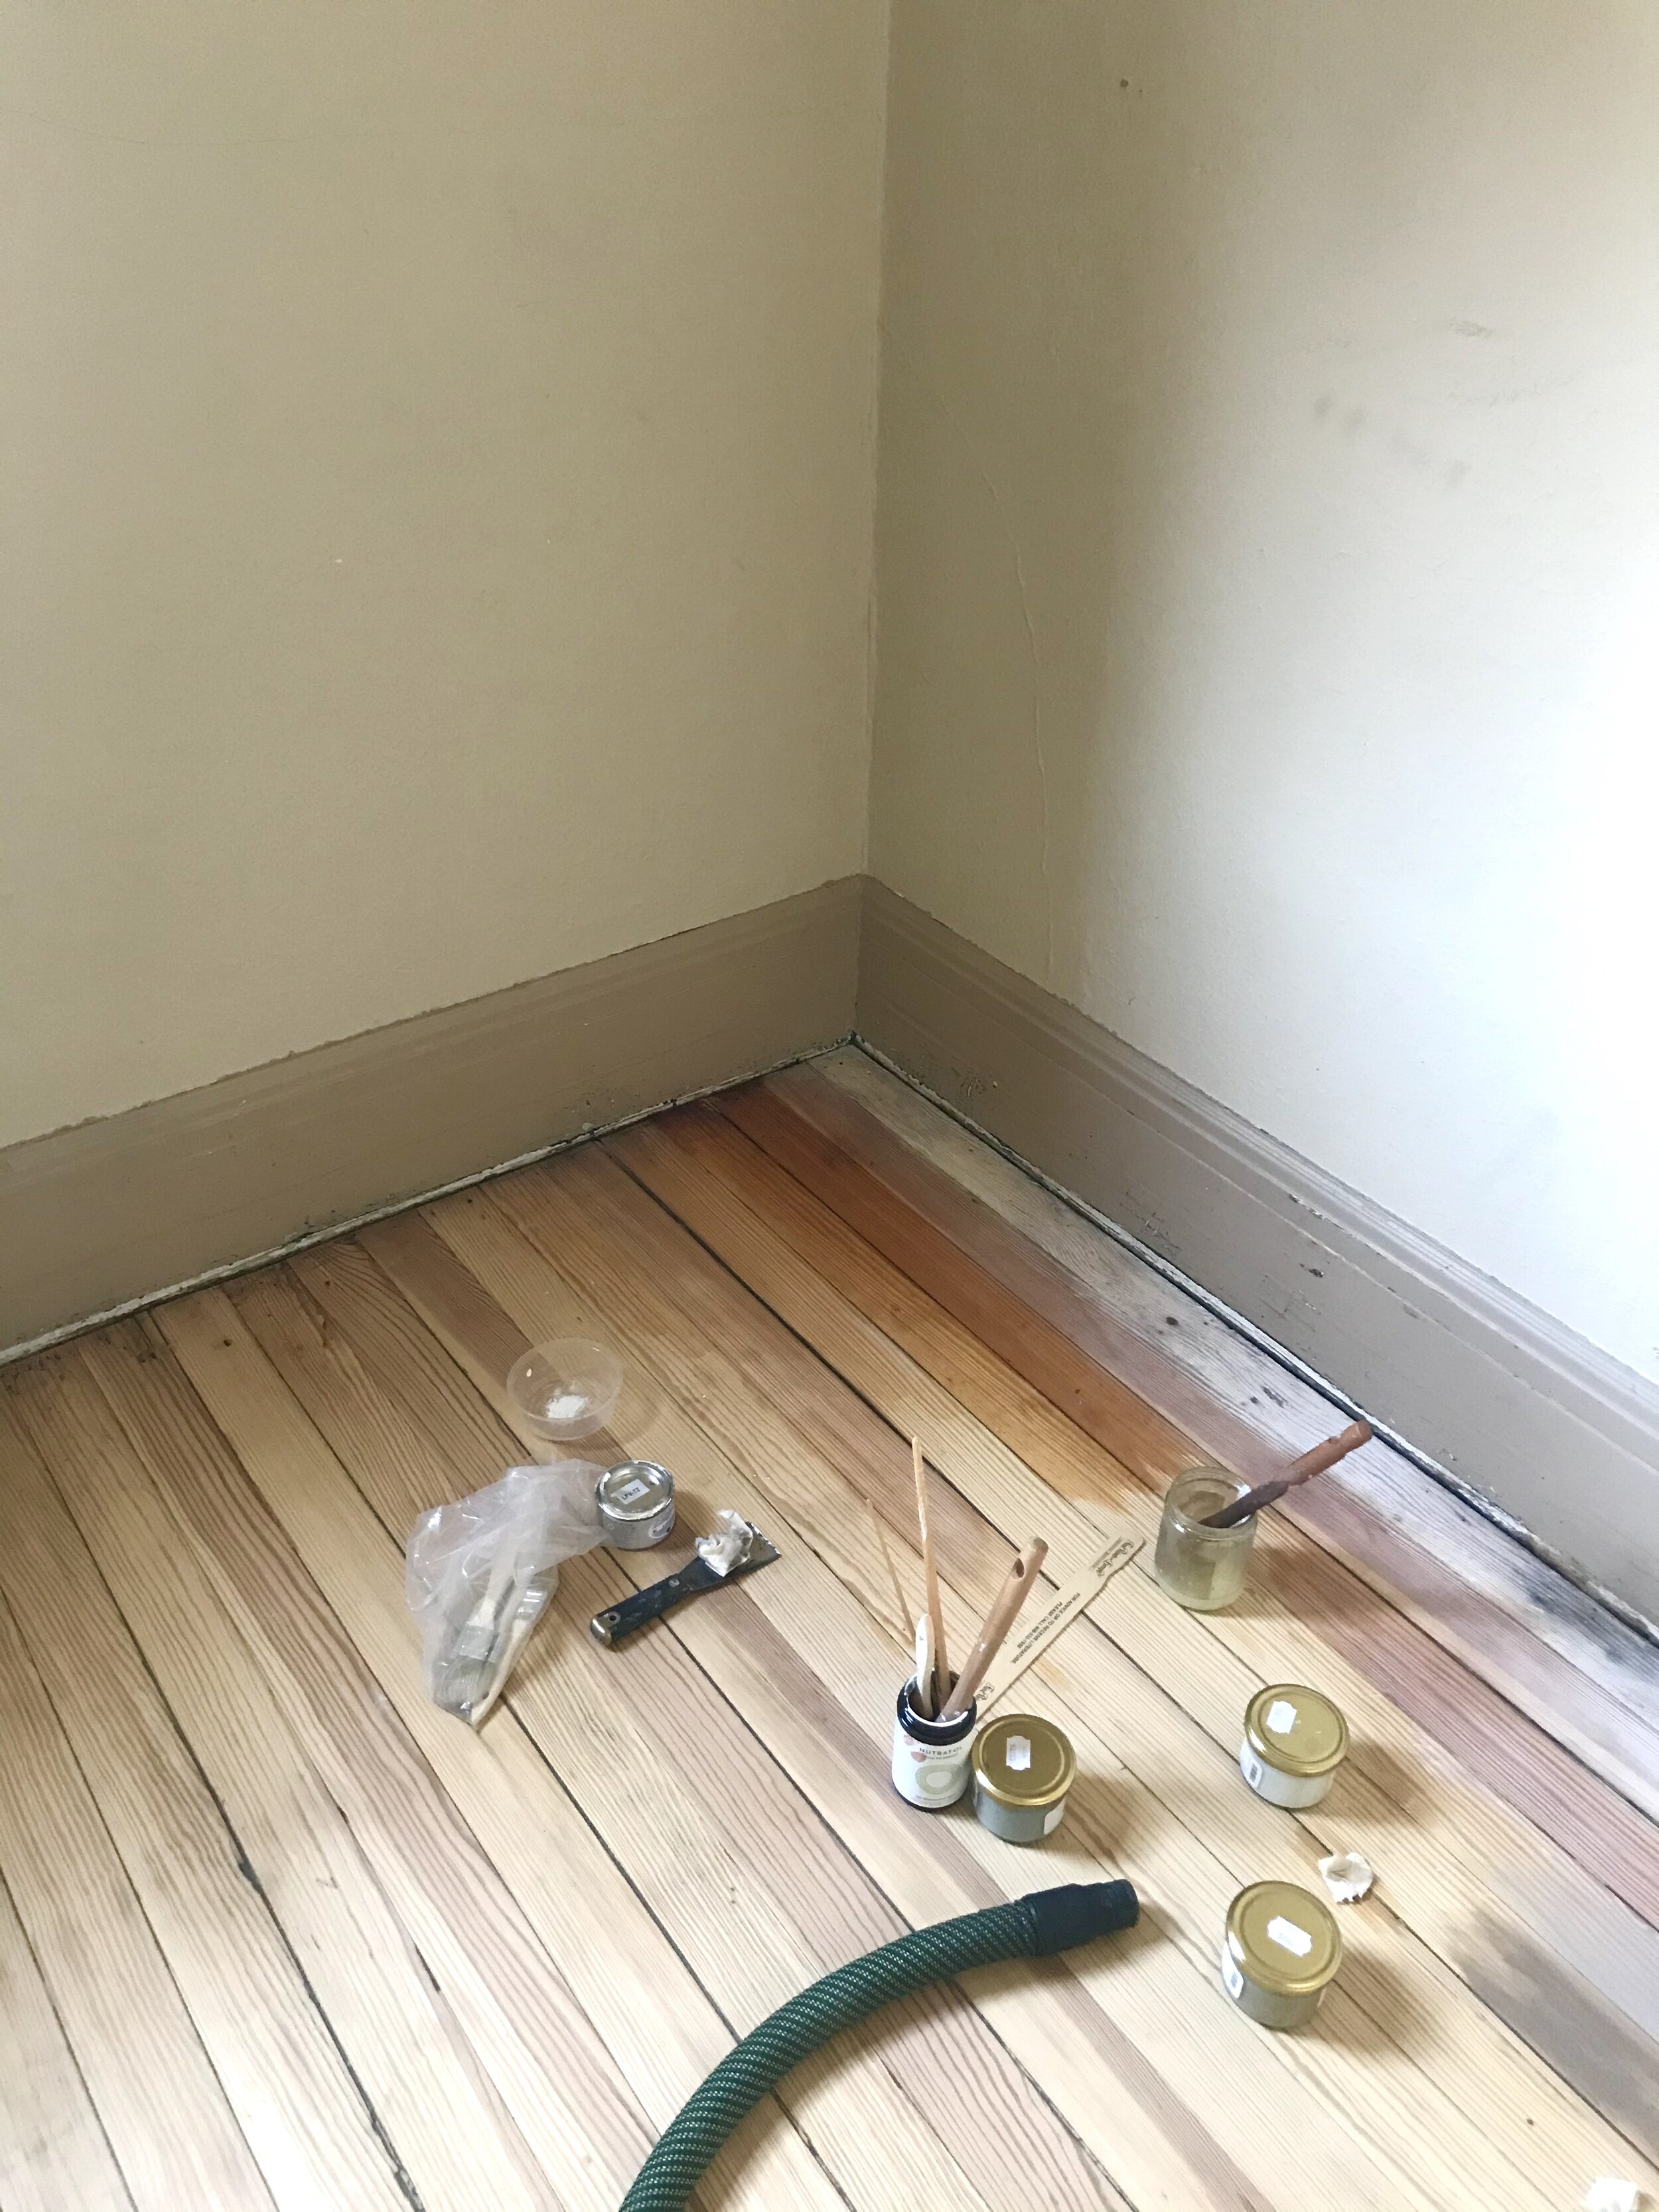
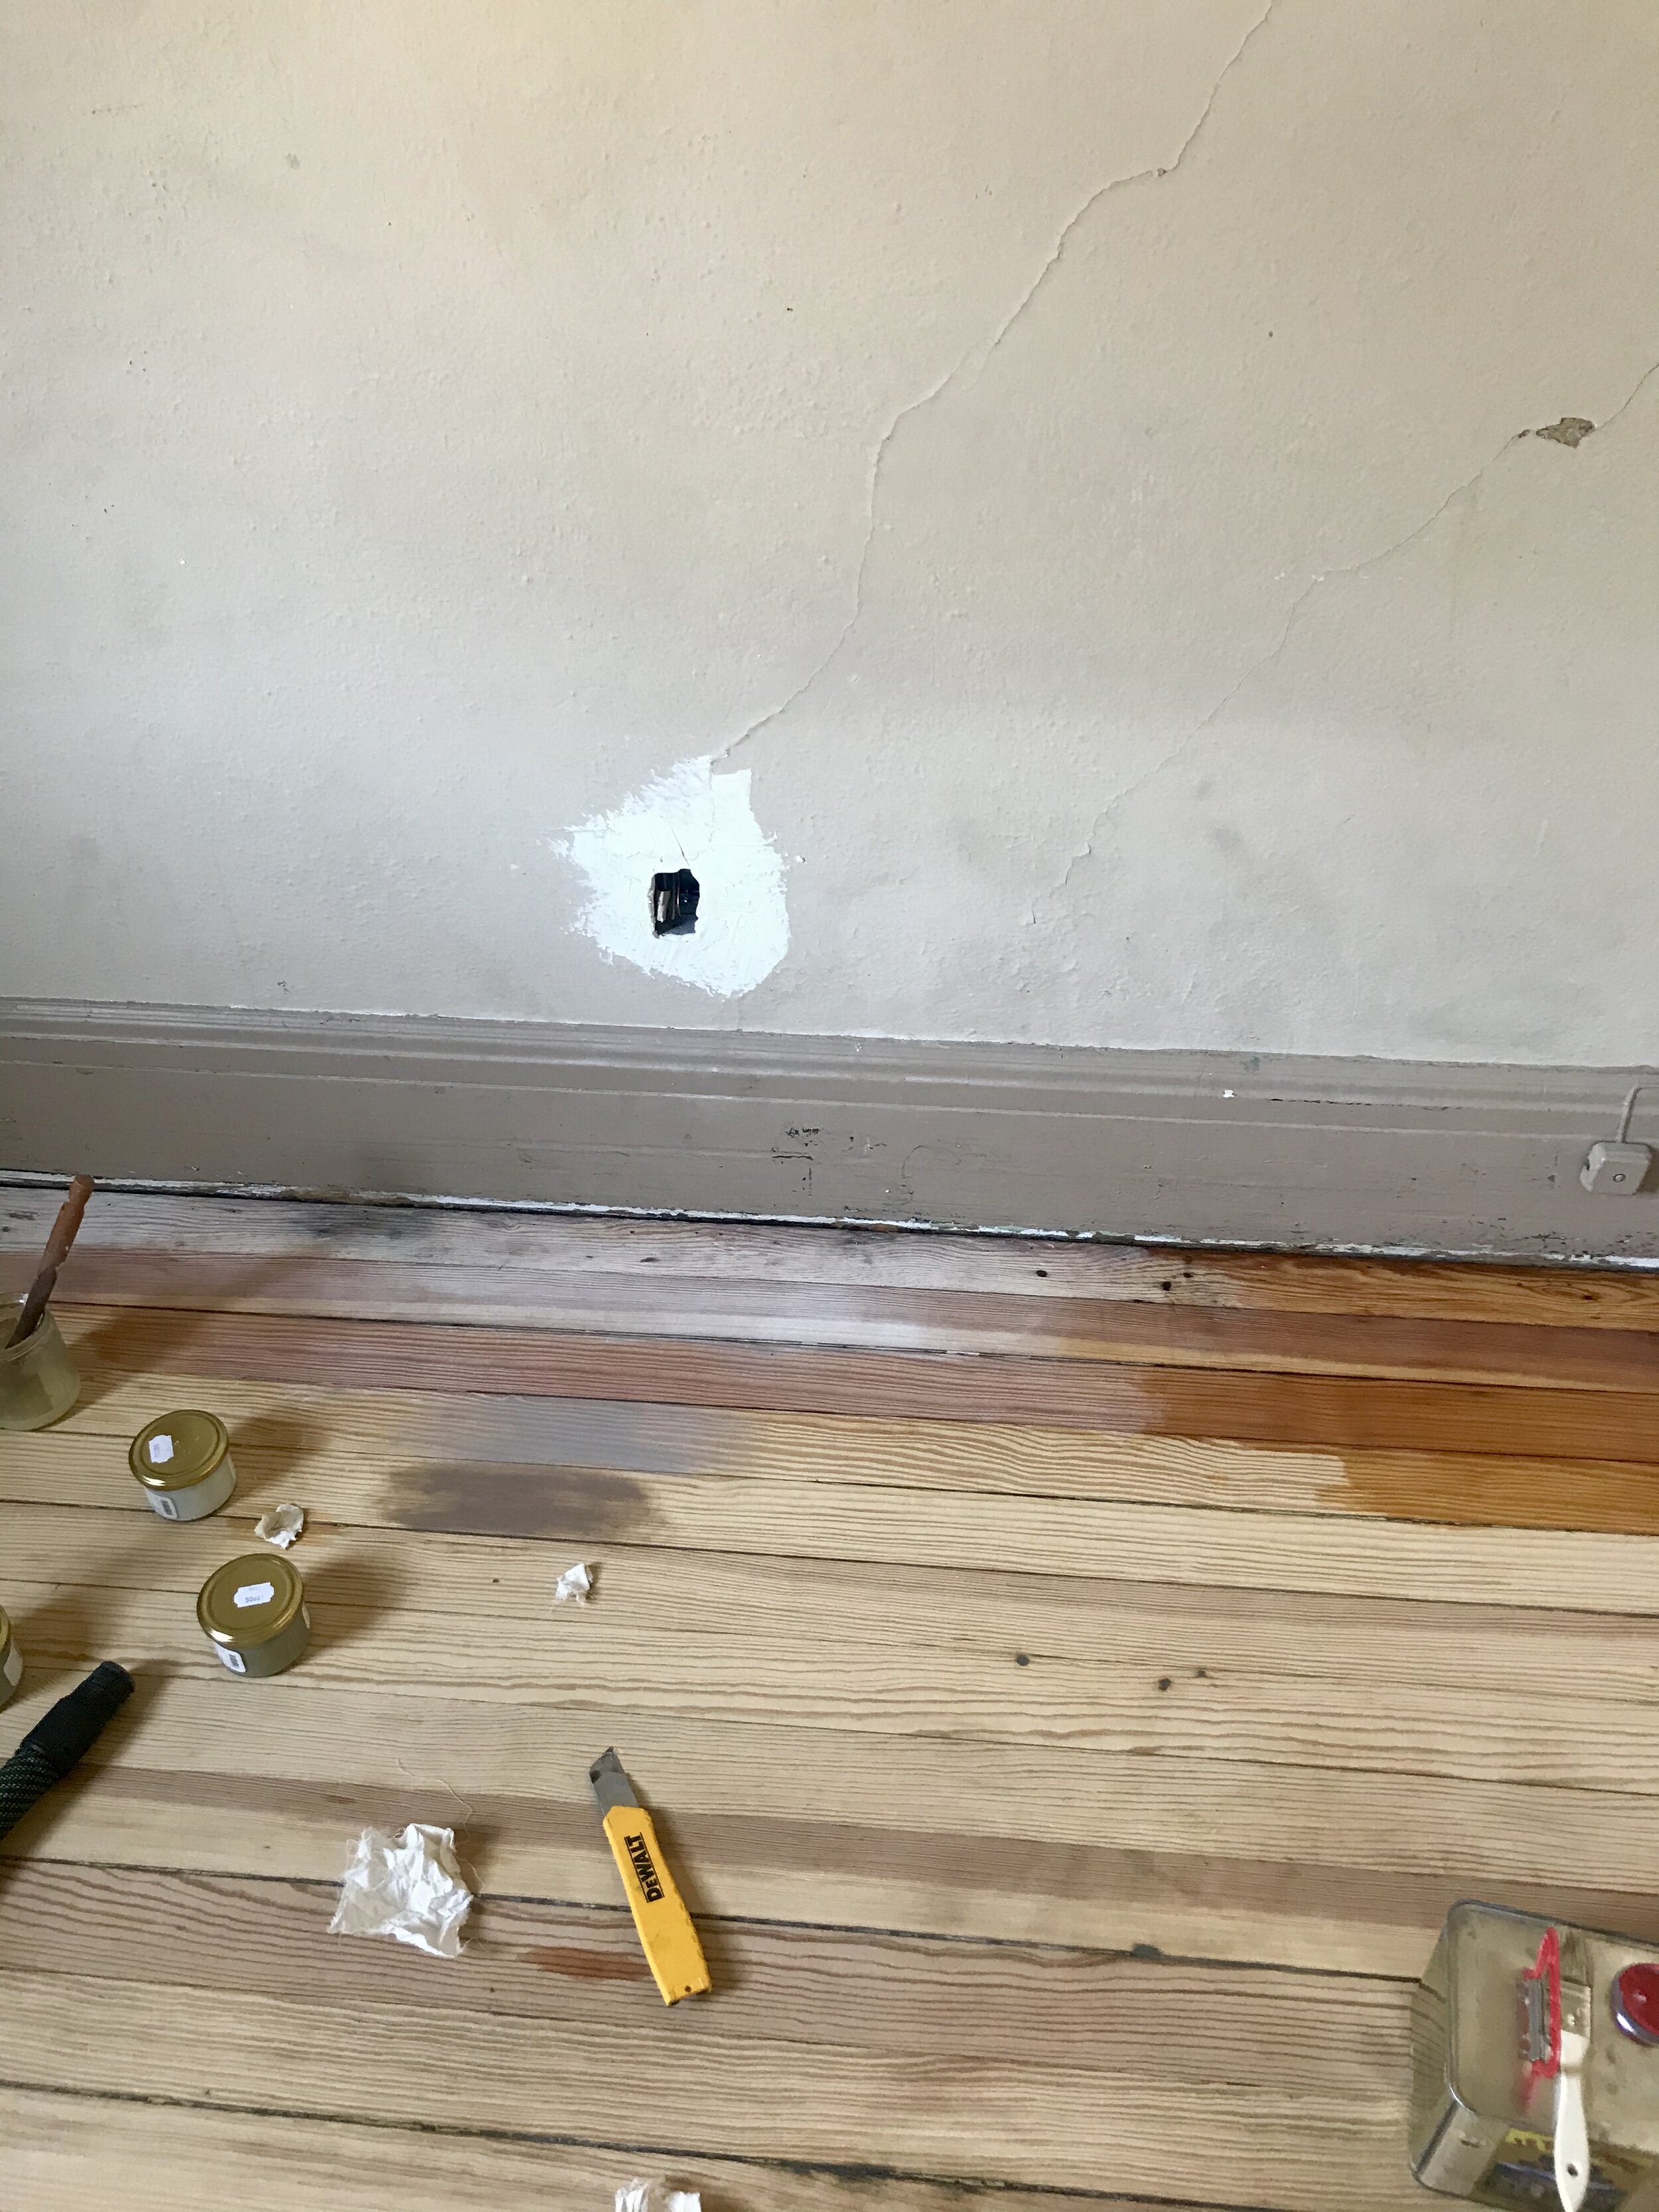
Testing linseed oil stains and linseed oil varnish on the freshly sanded pine.
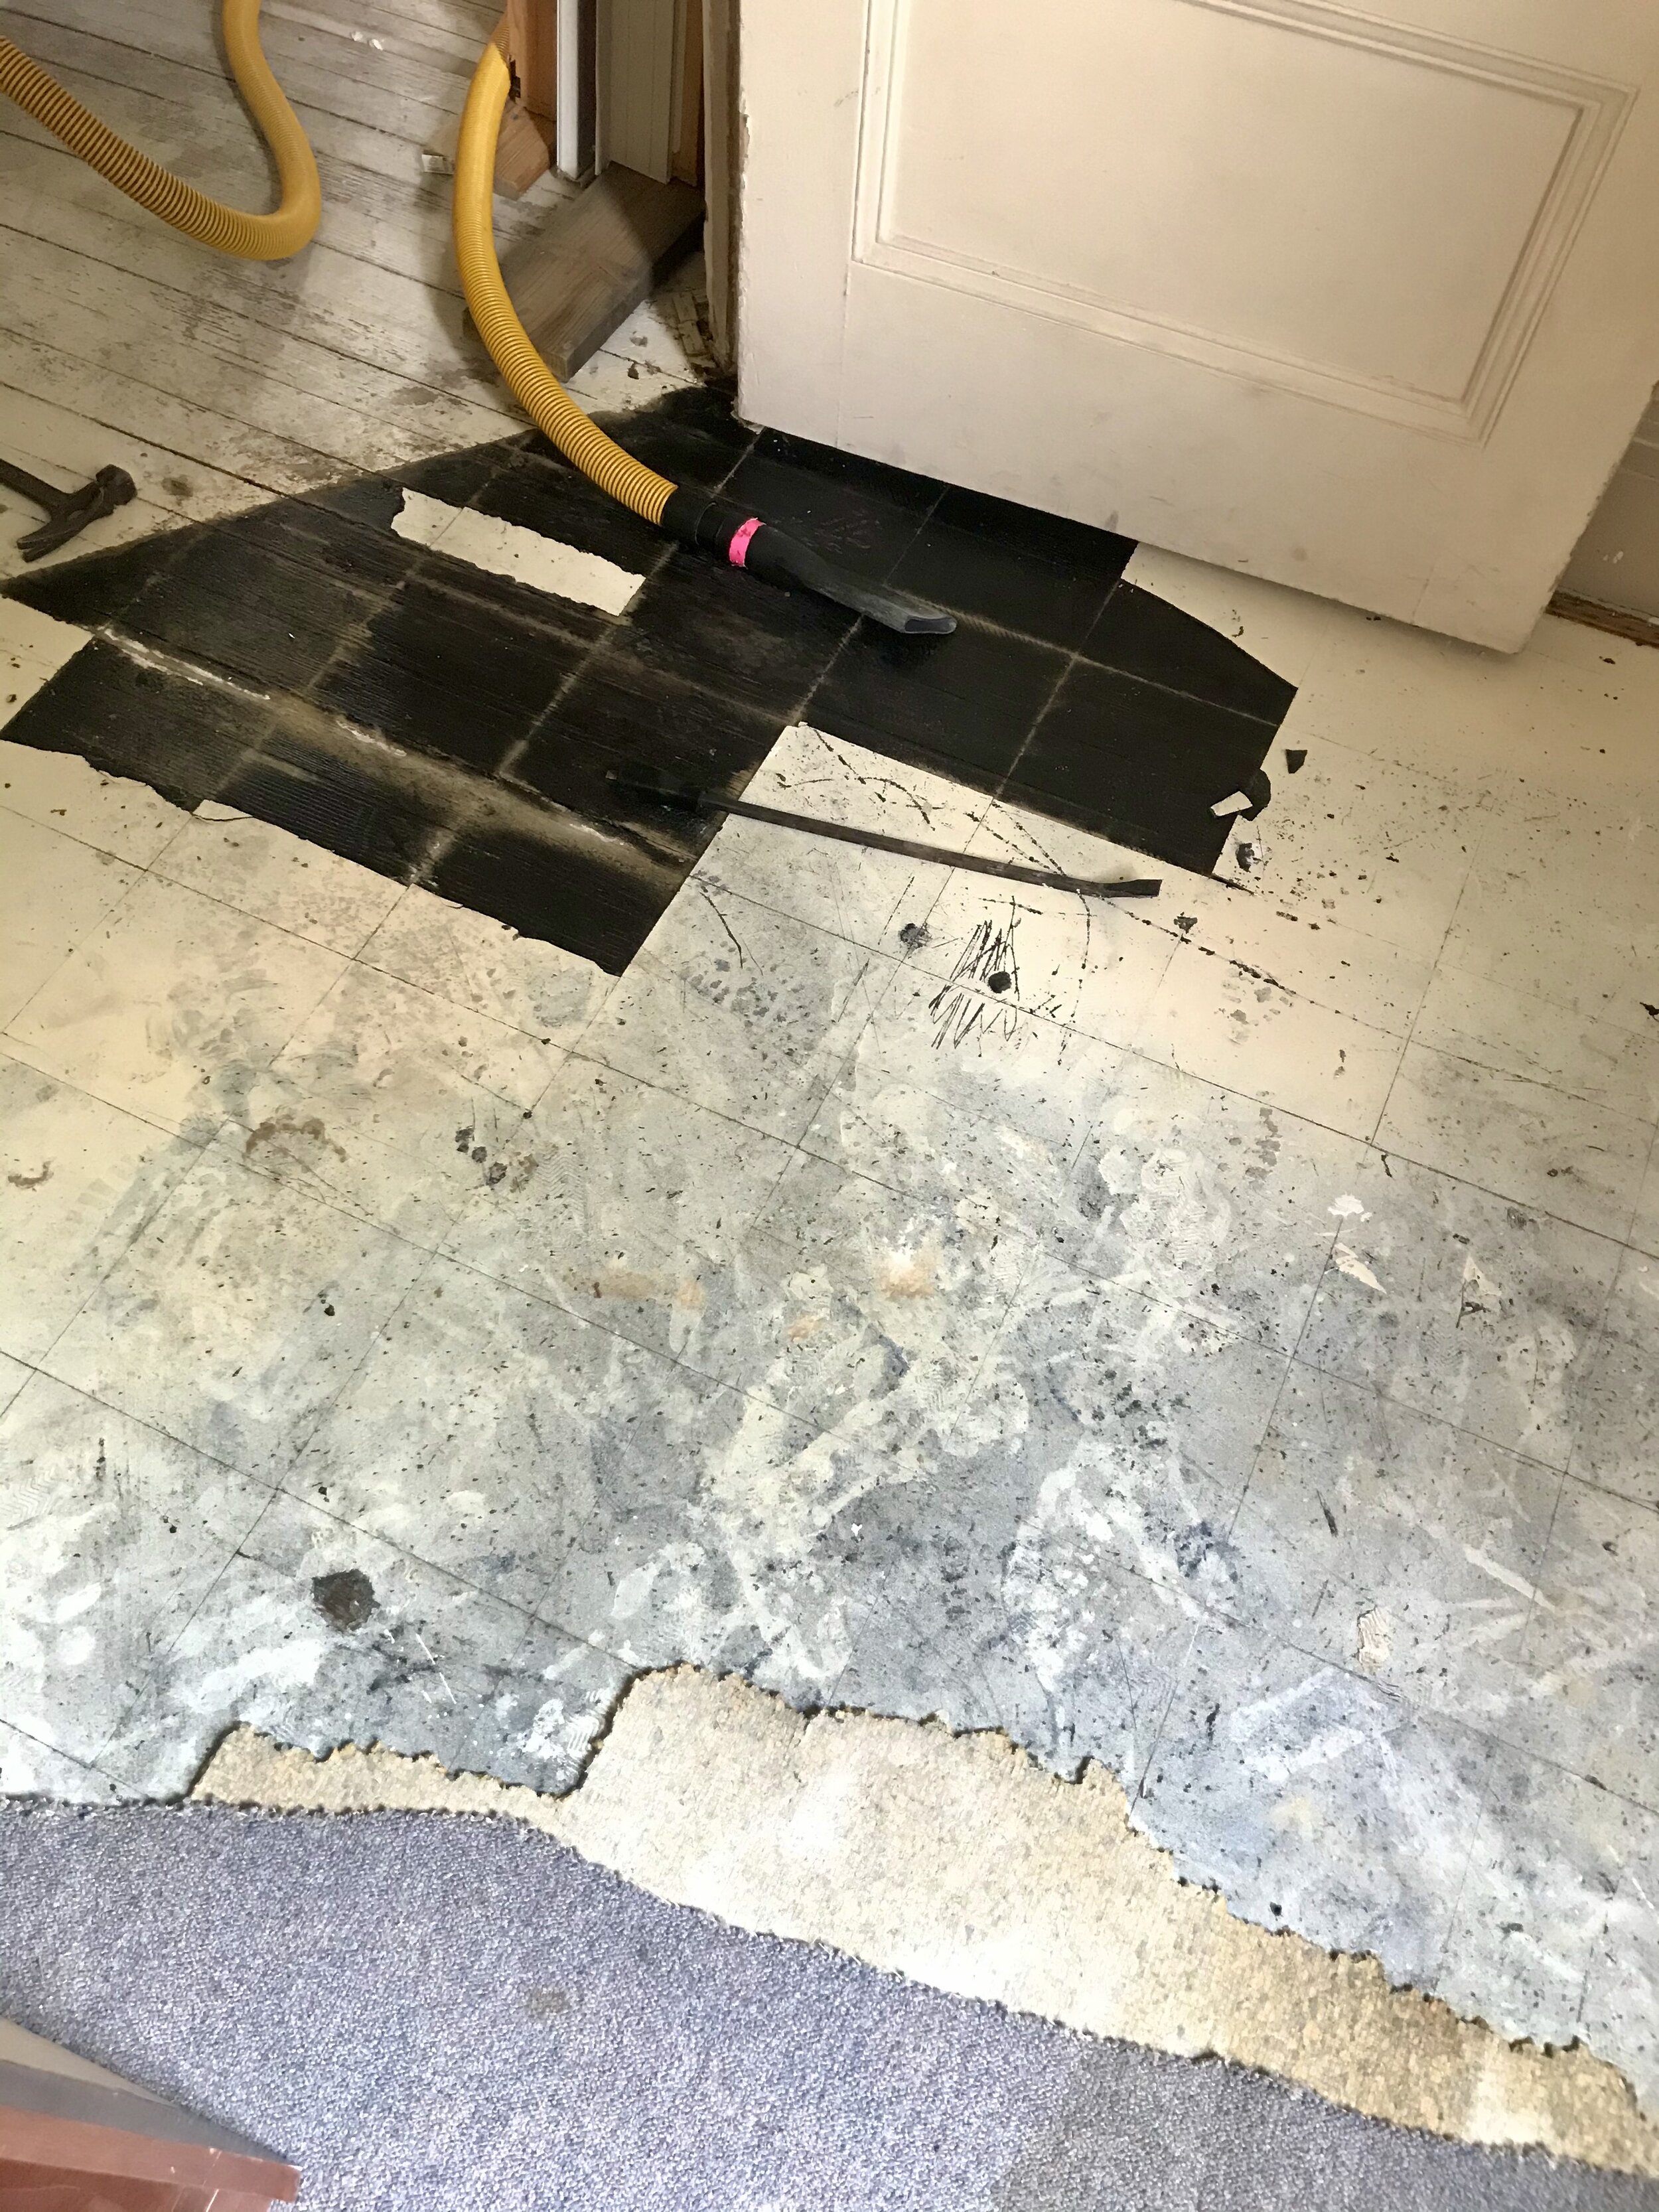
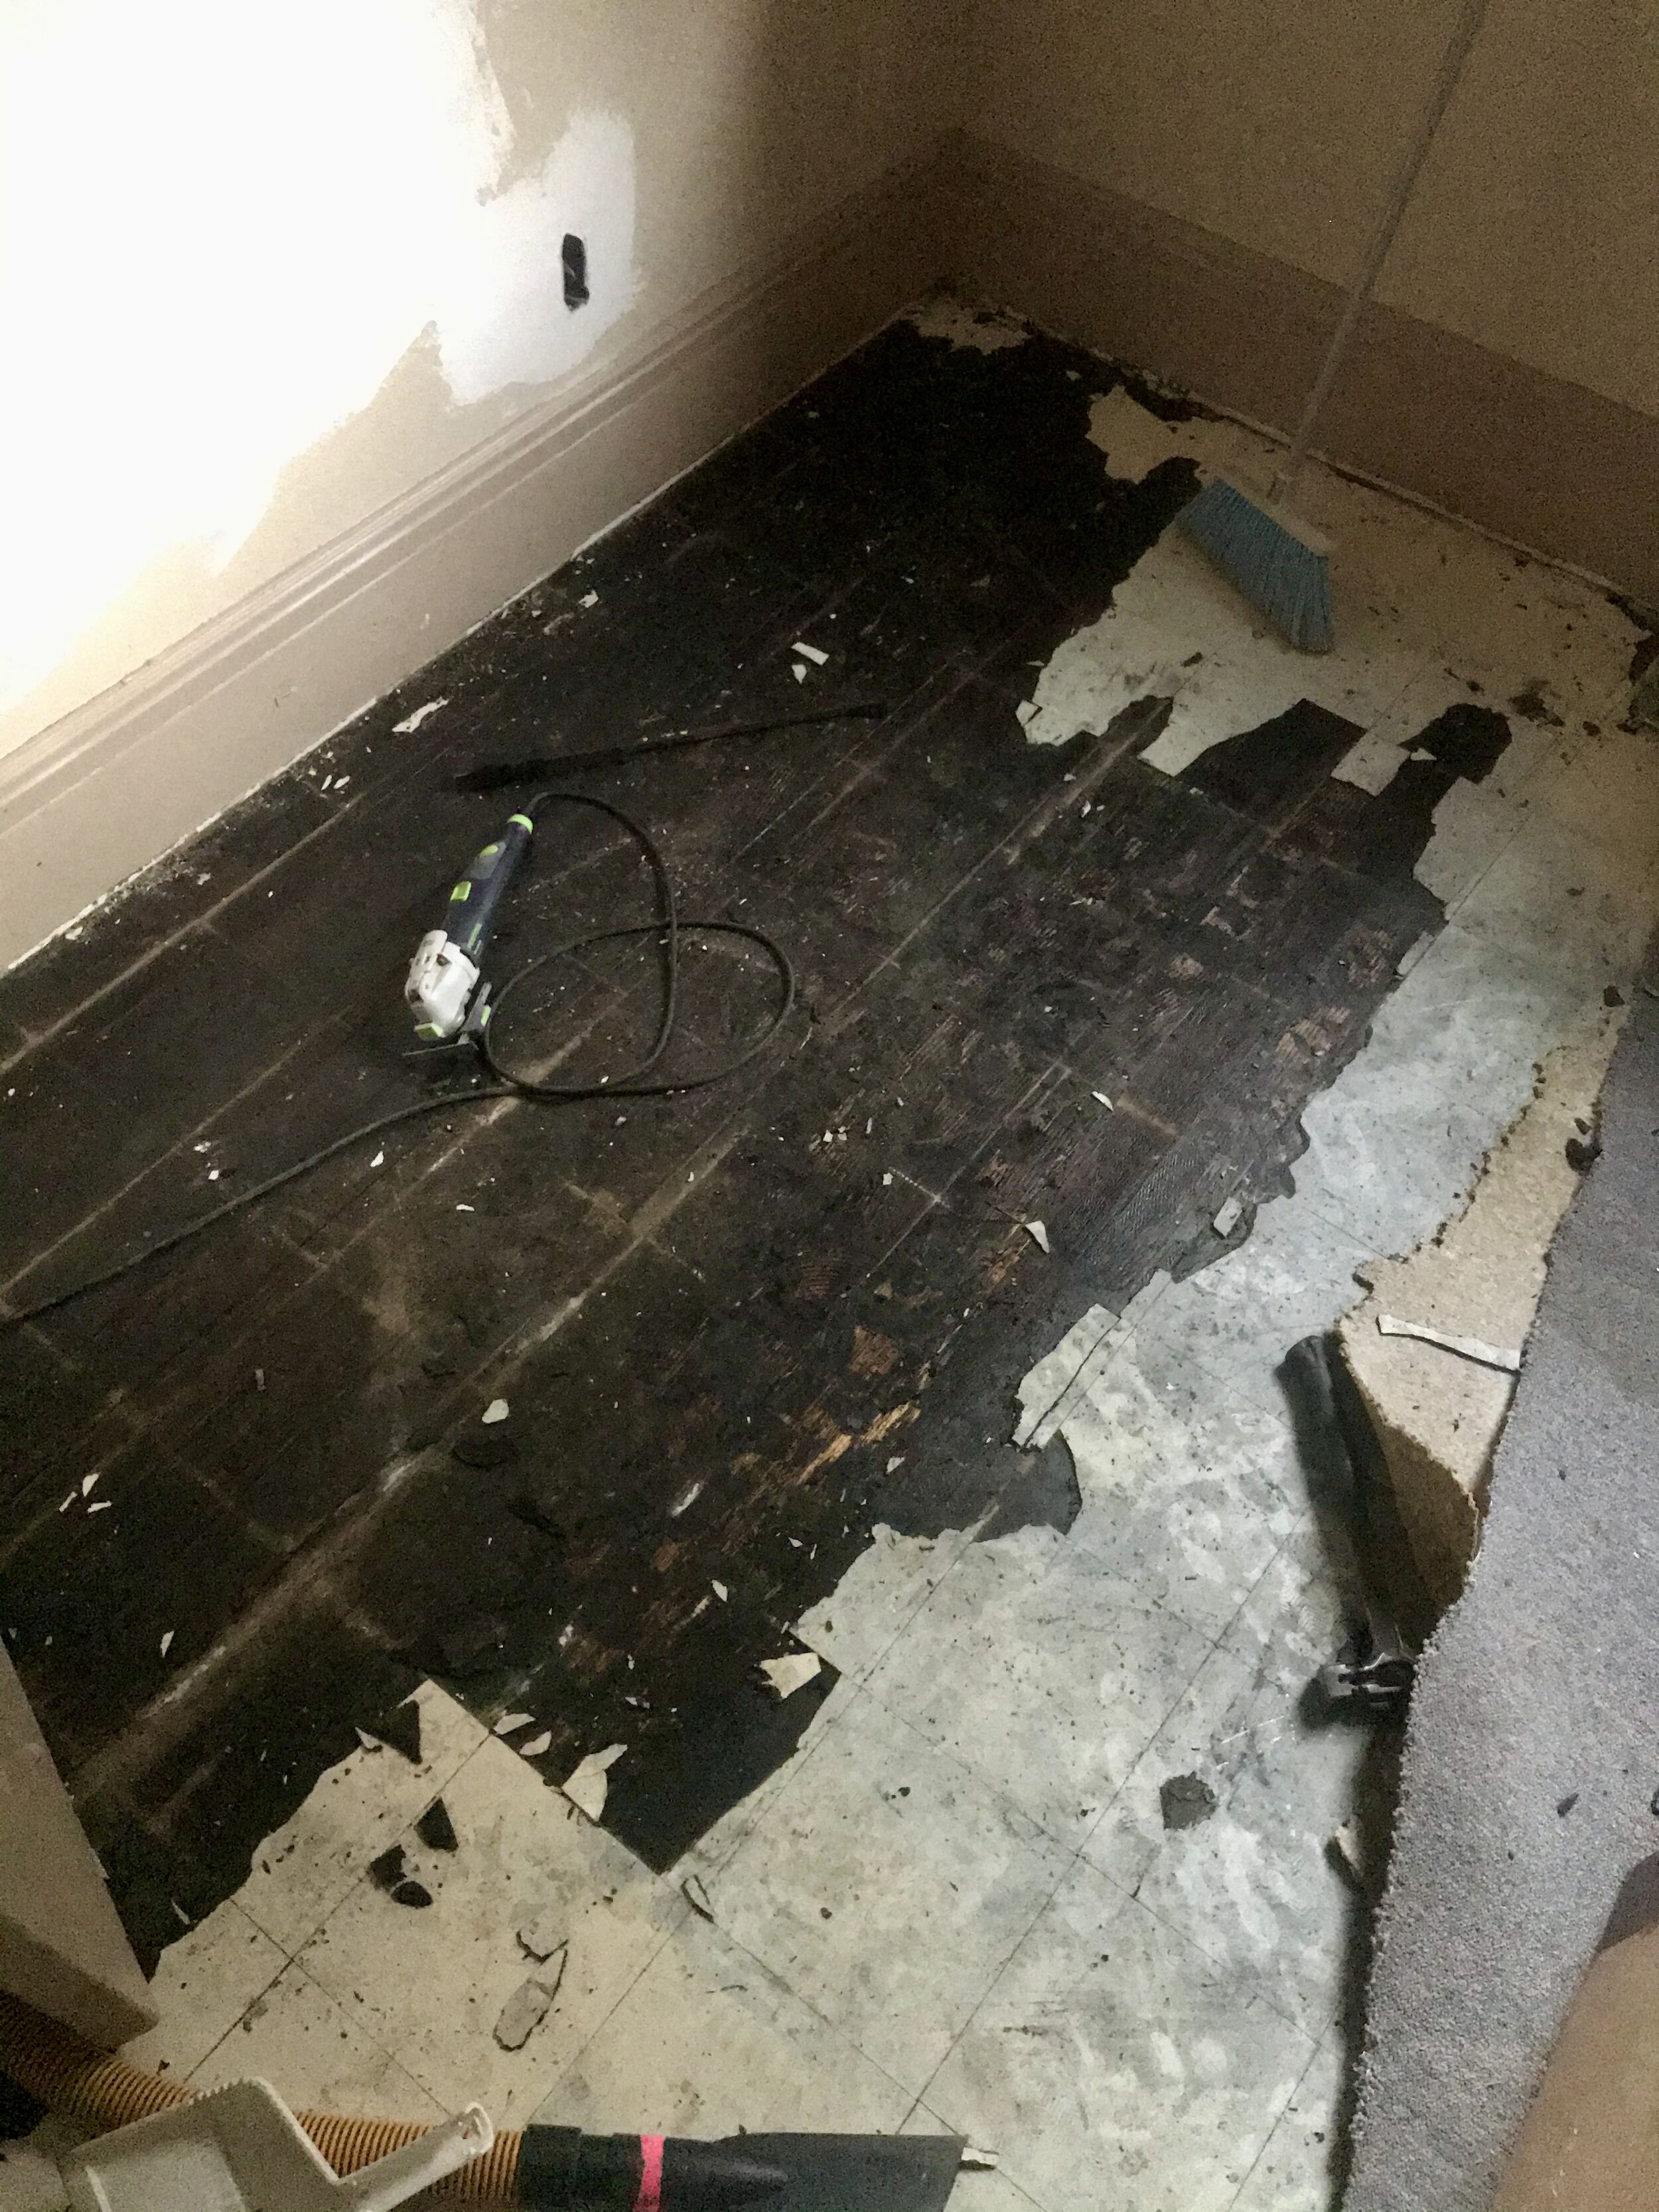
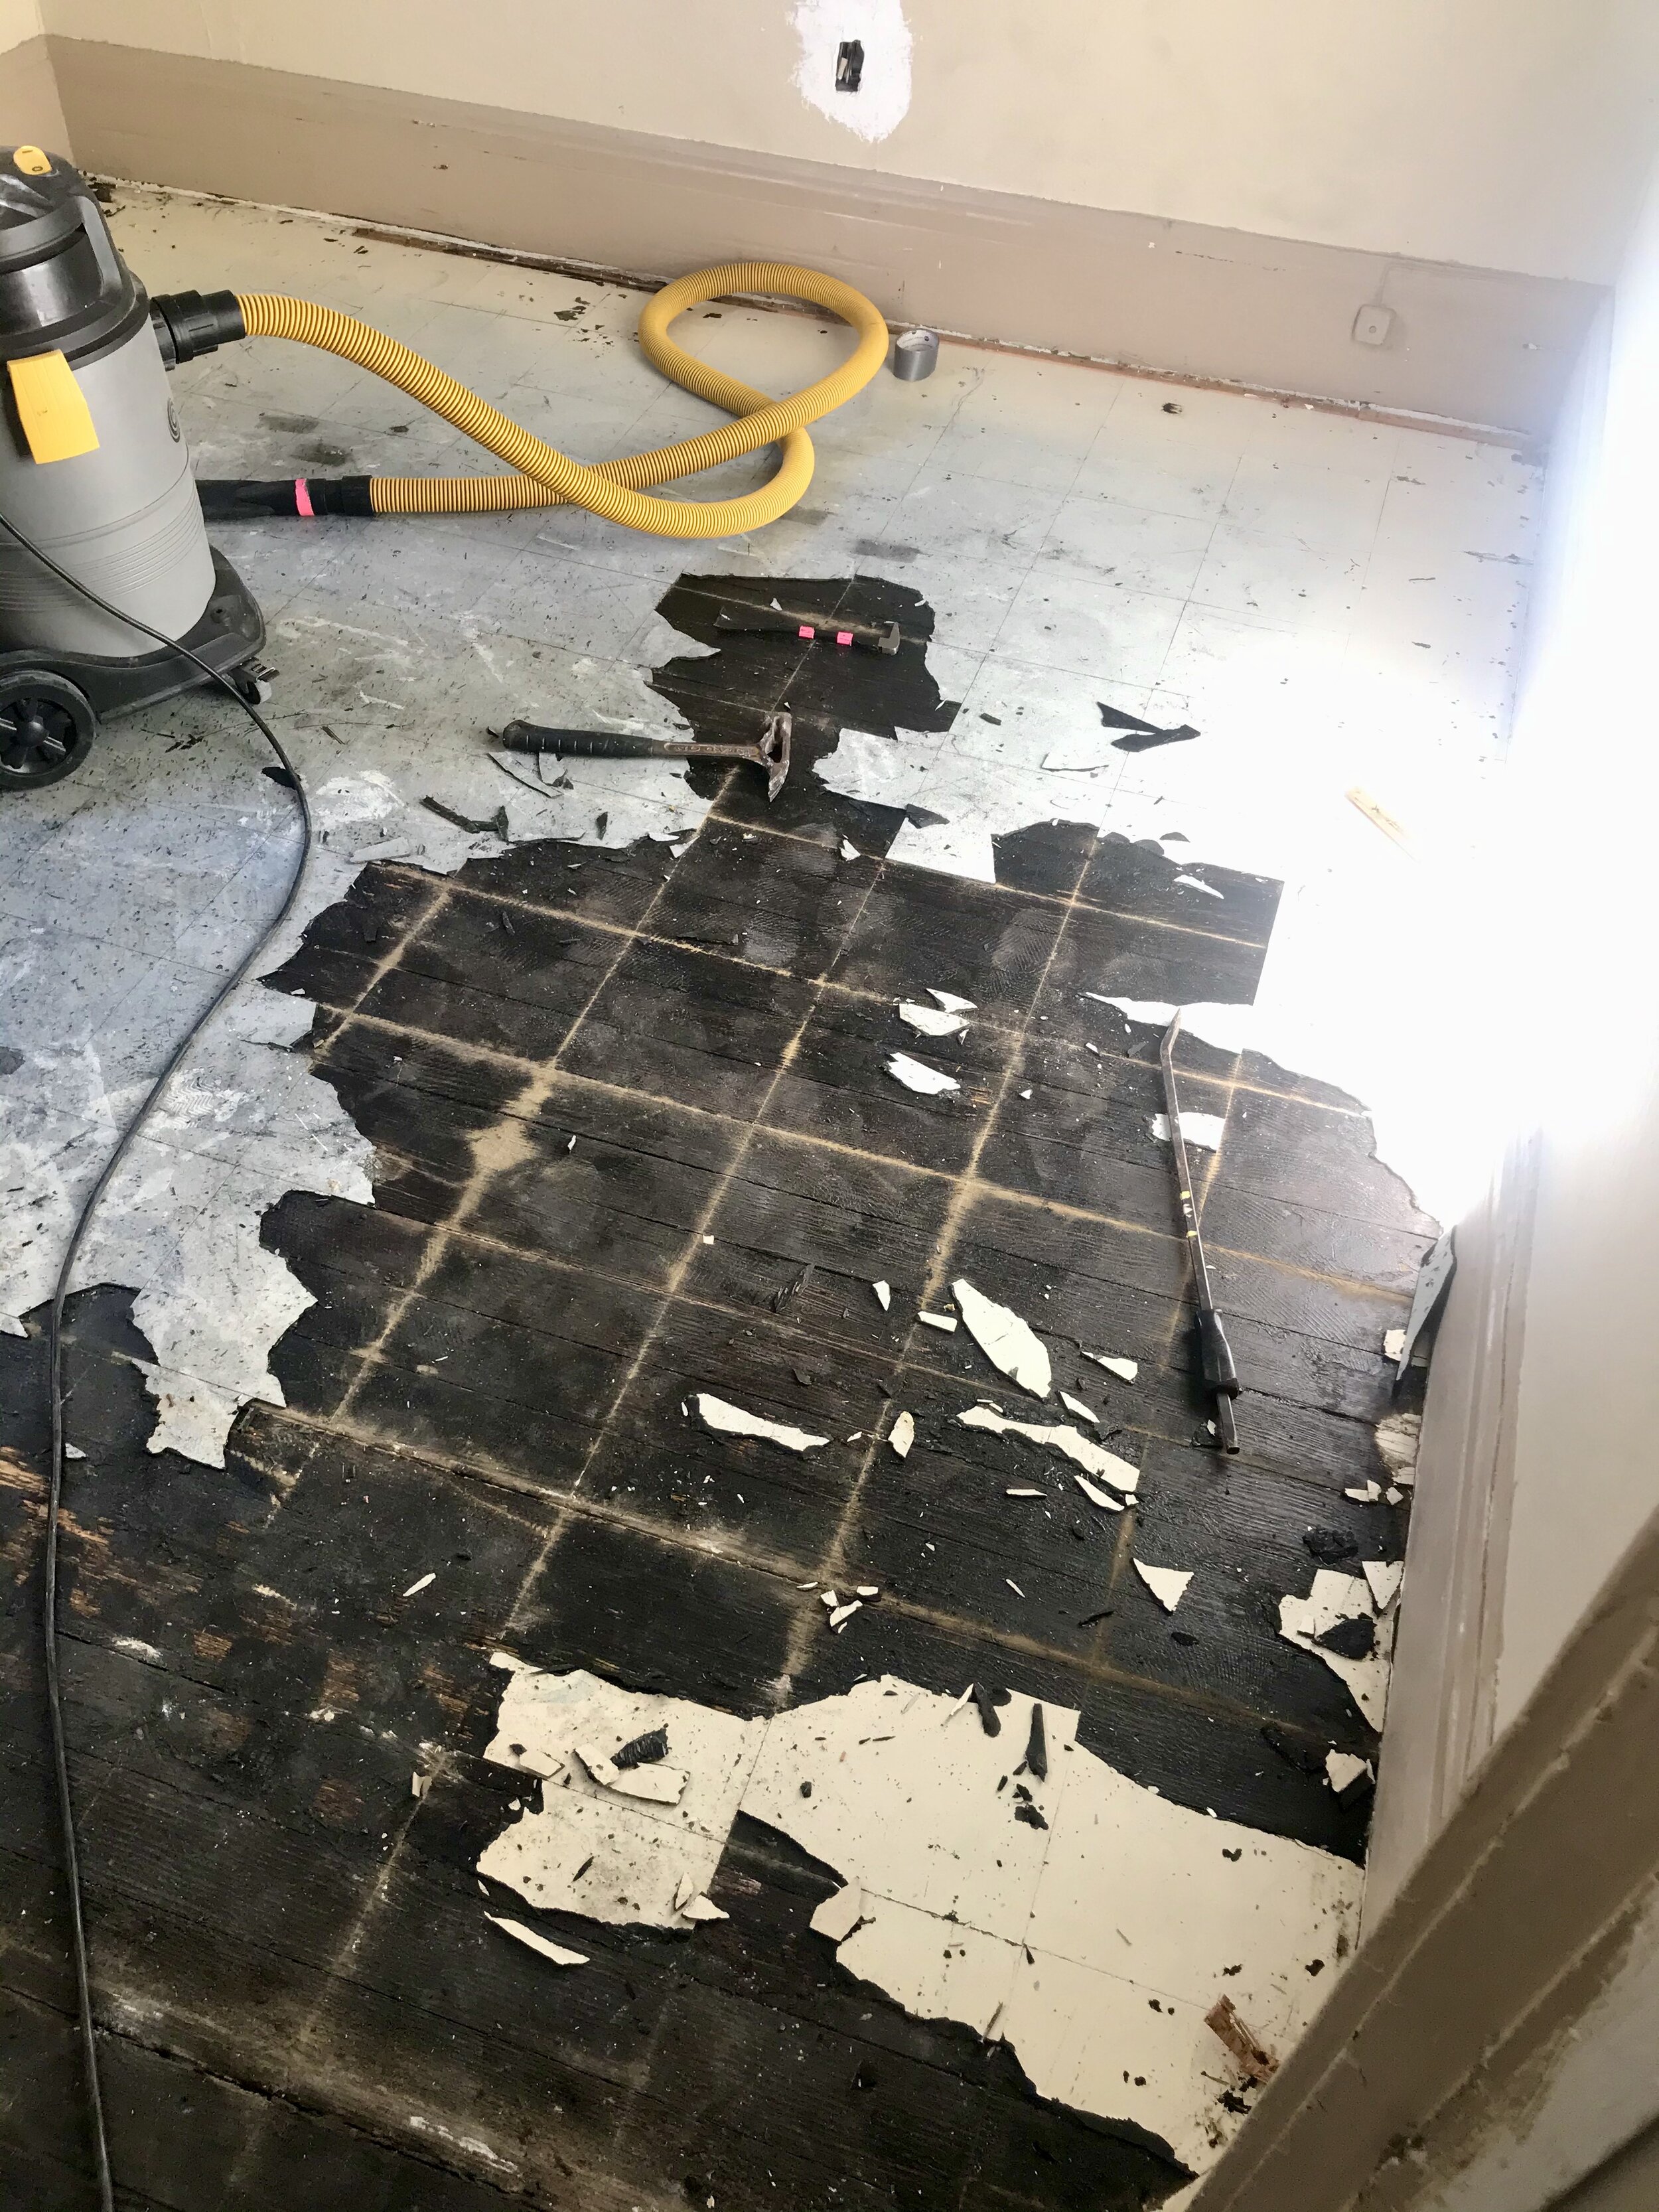
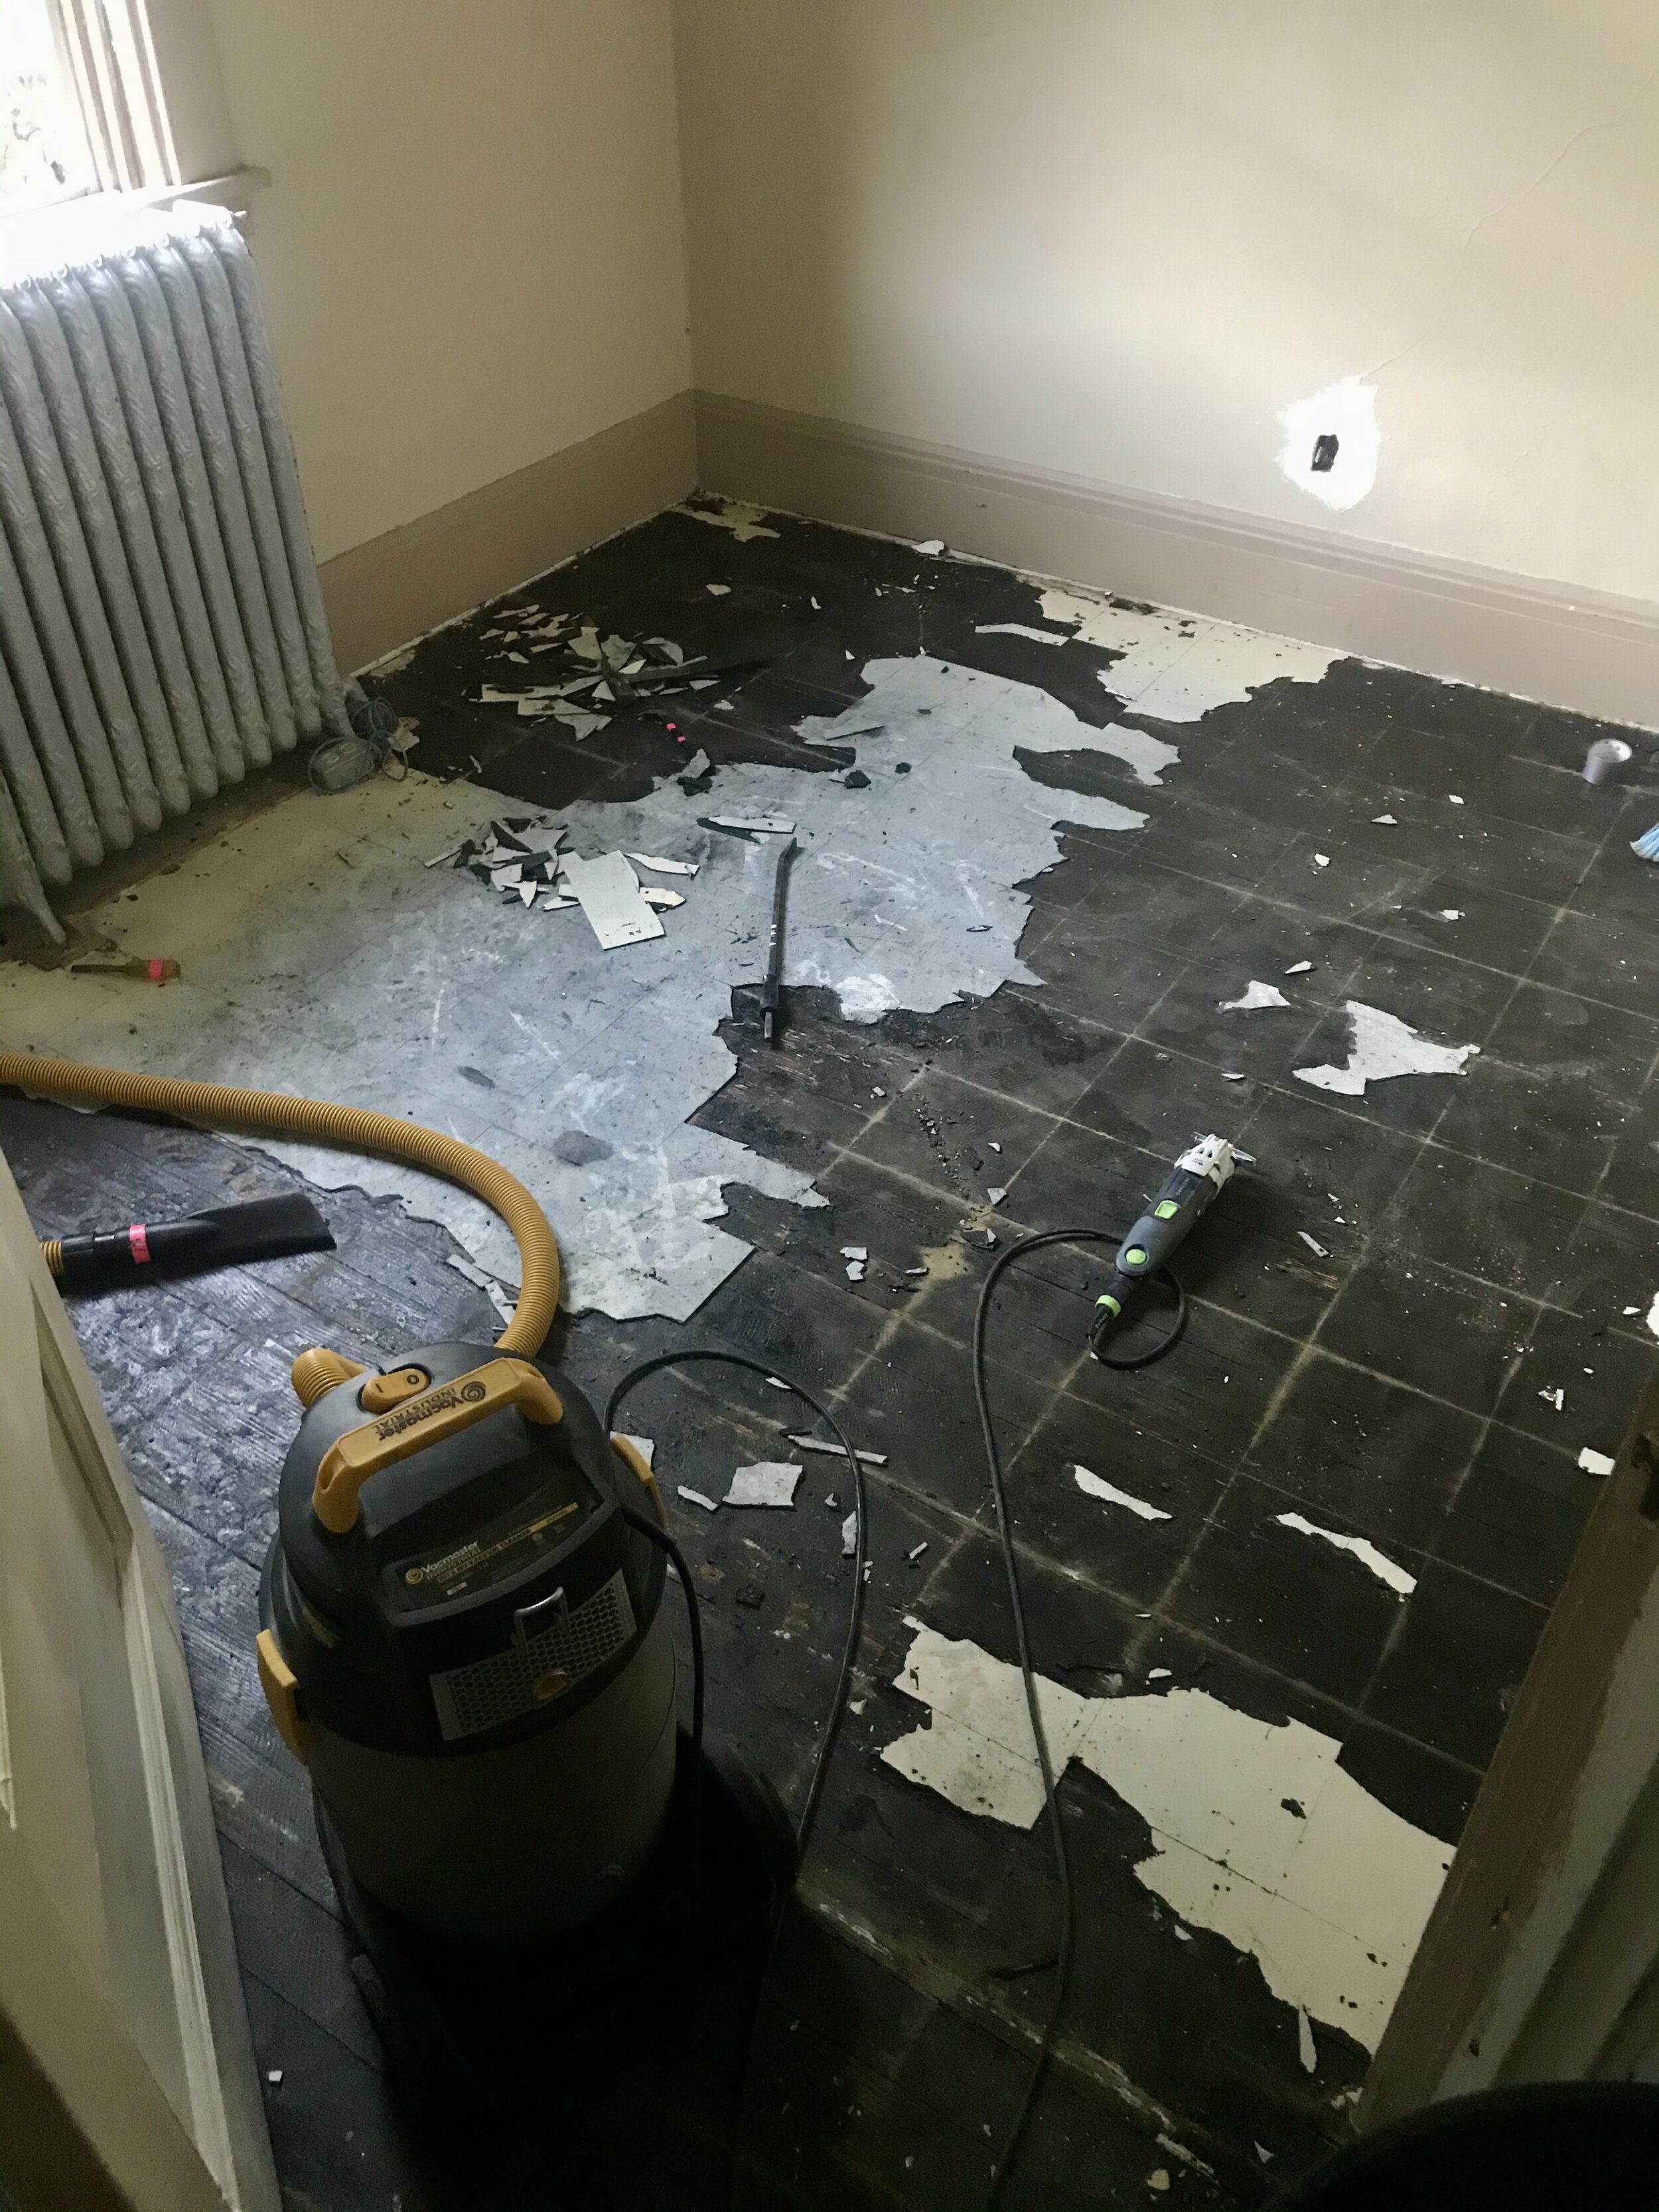
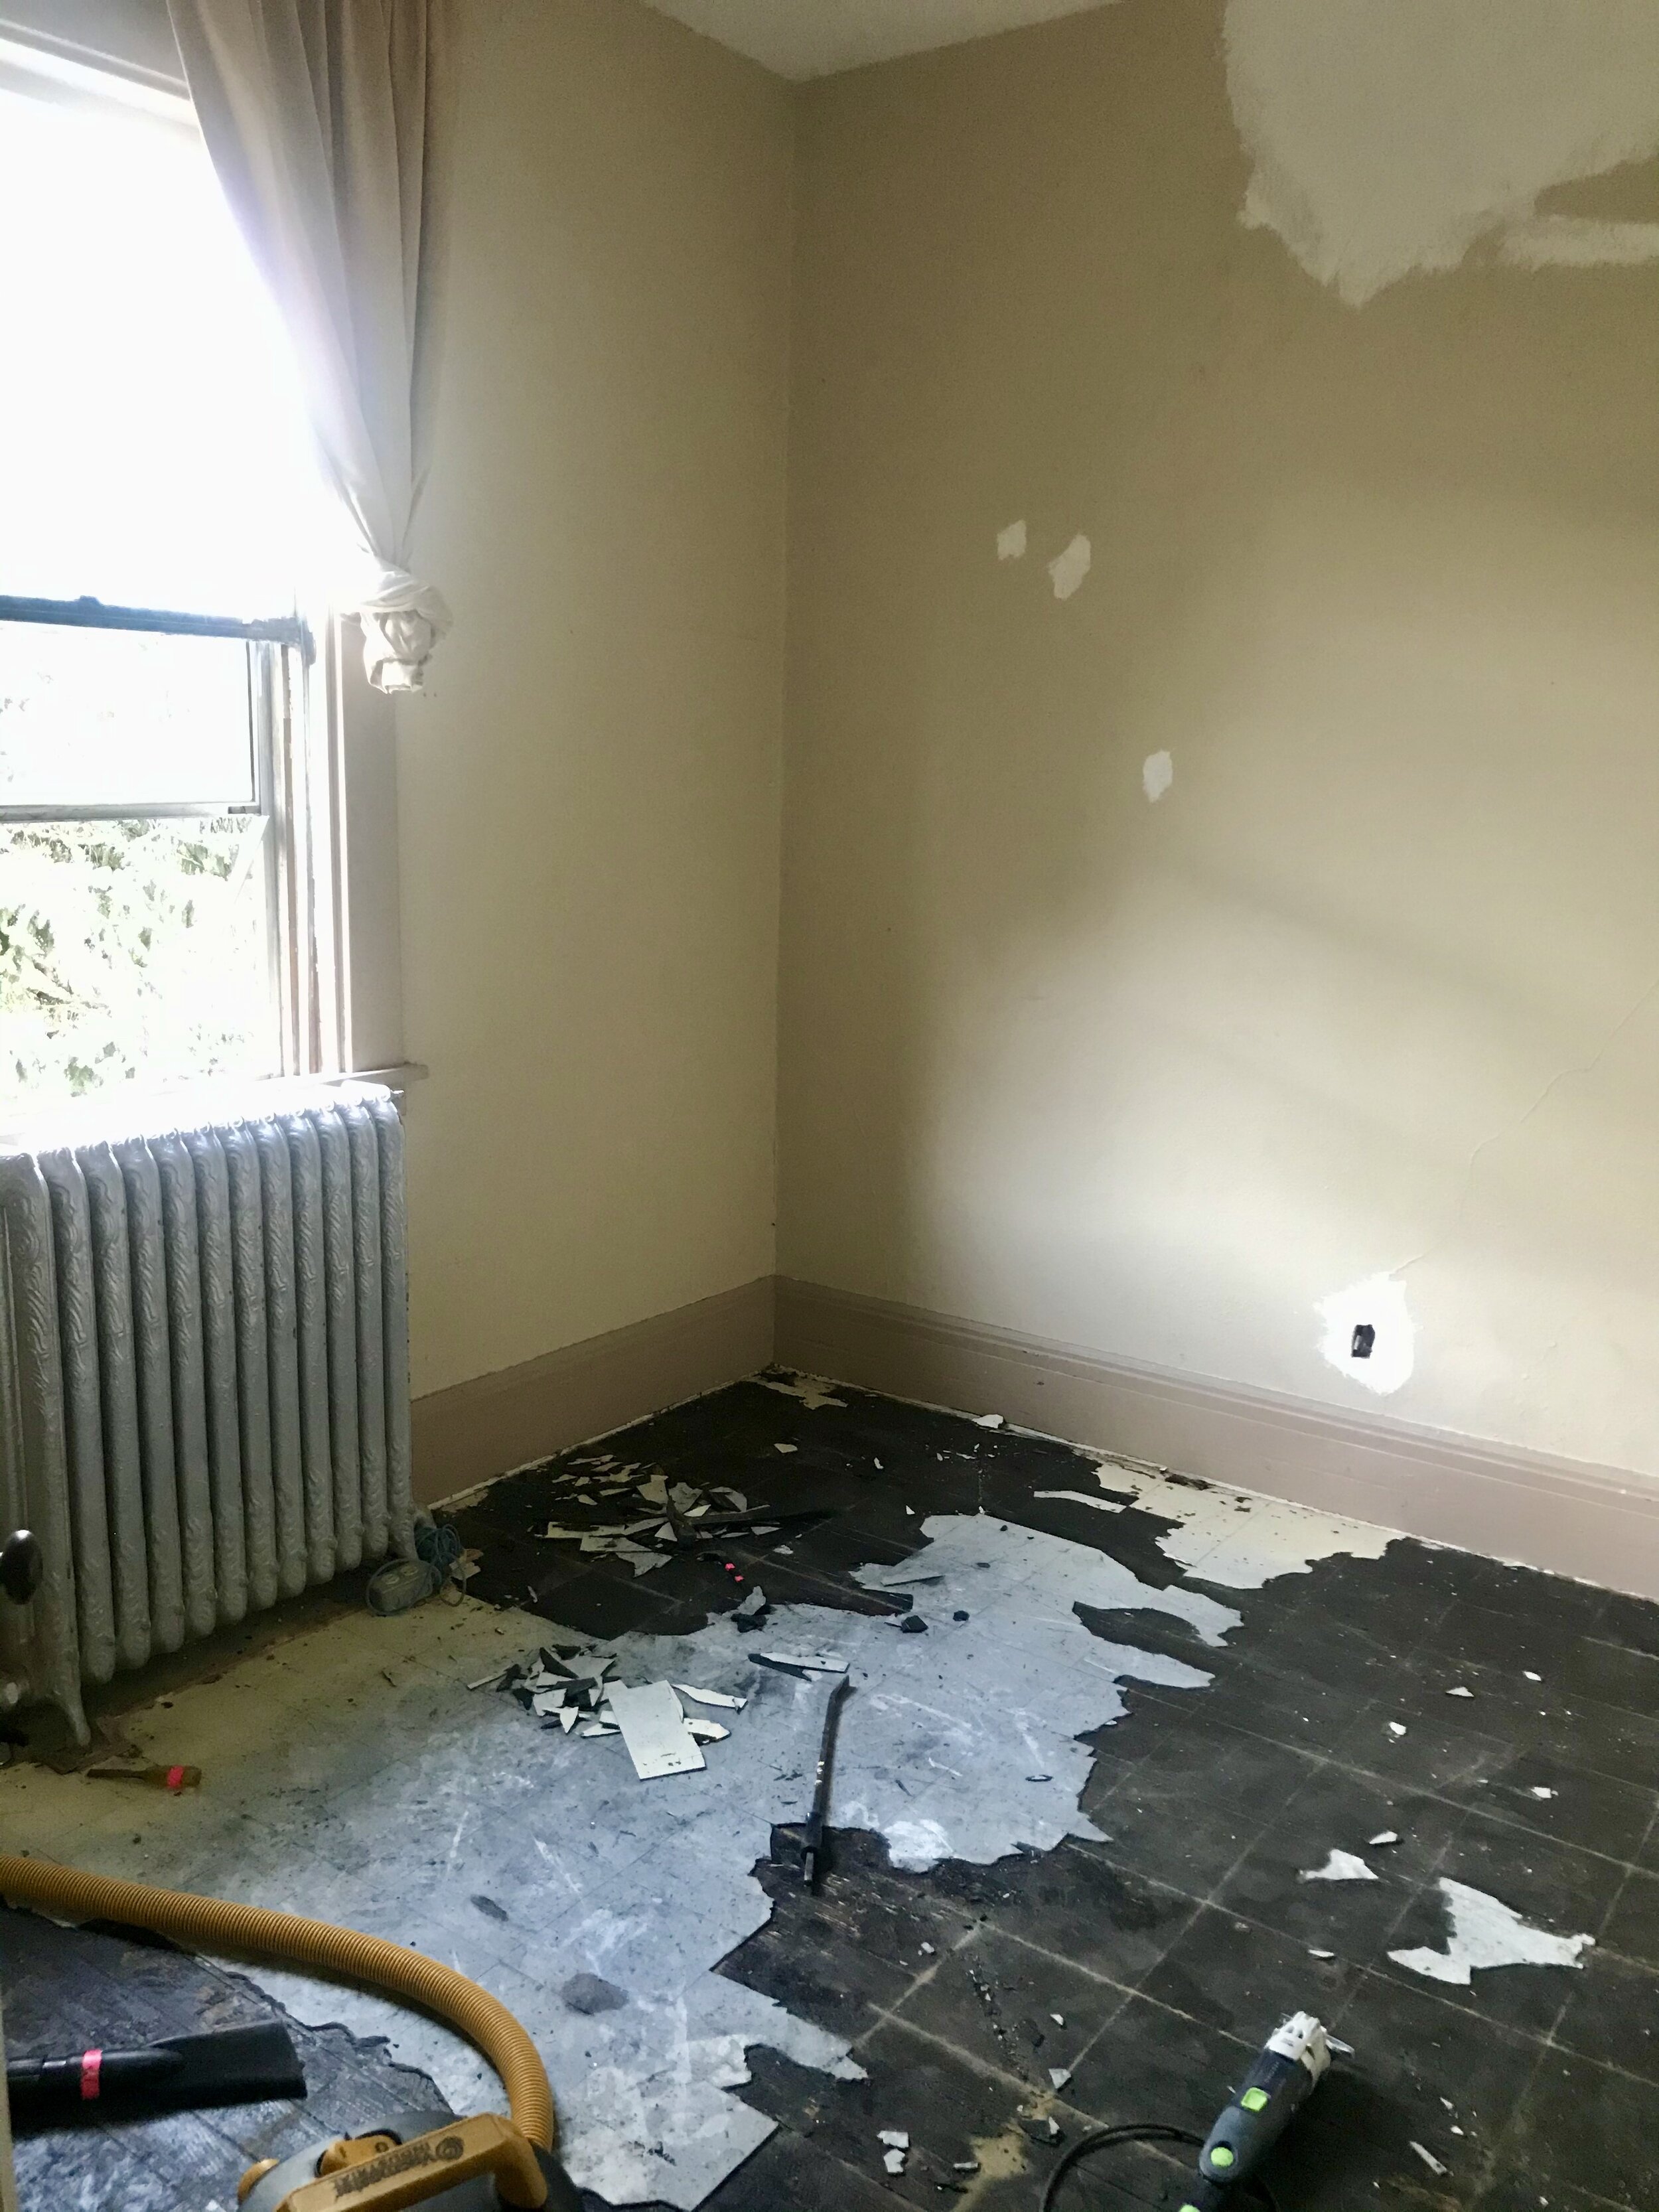
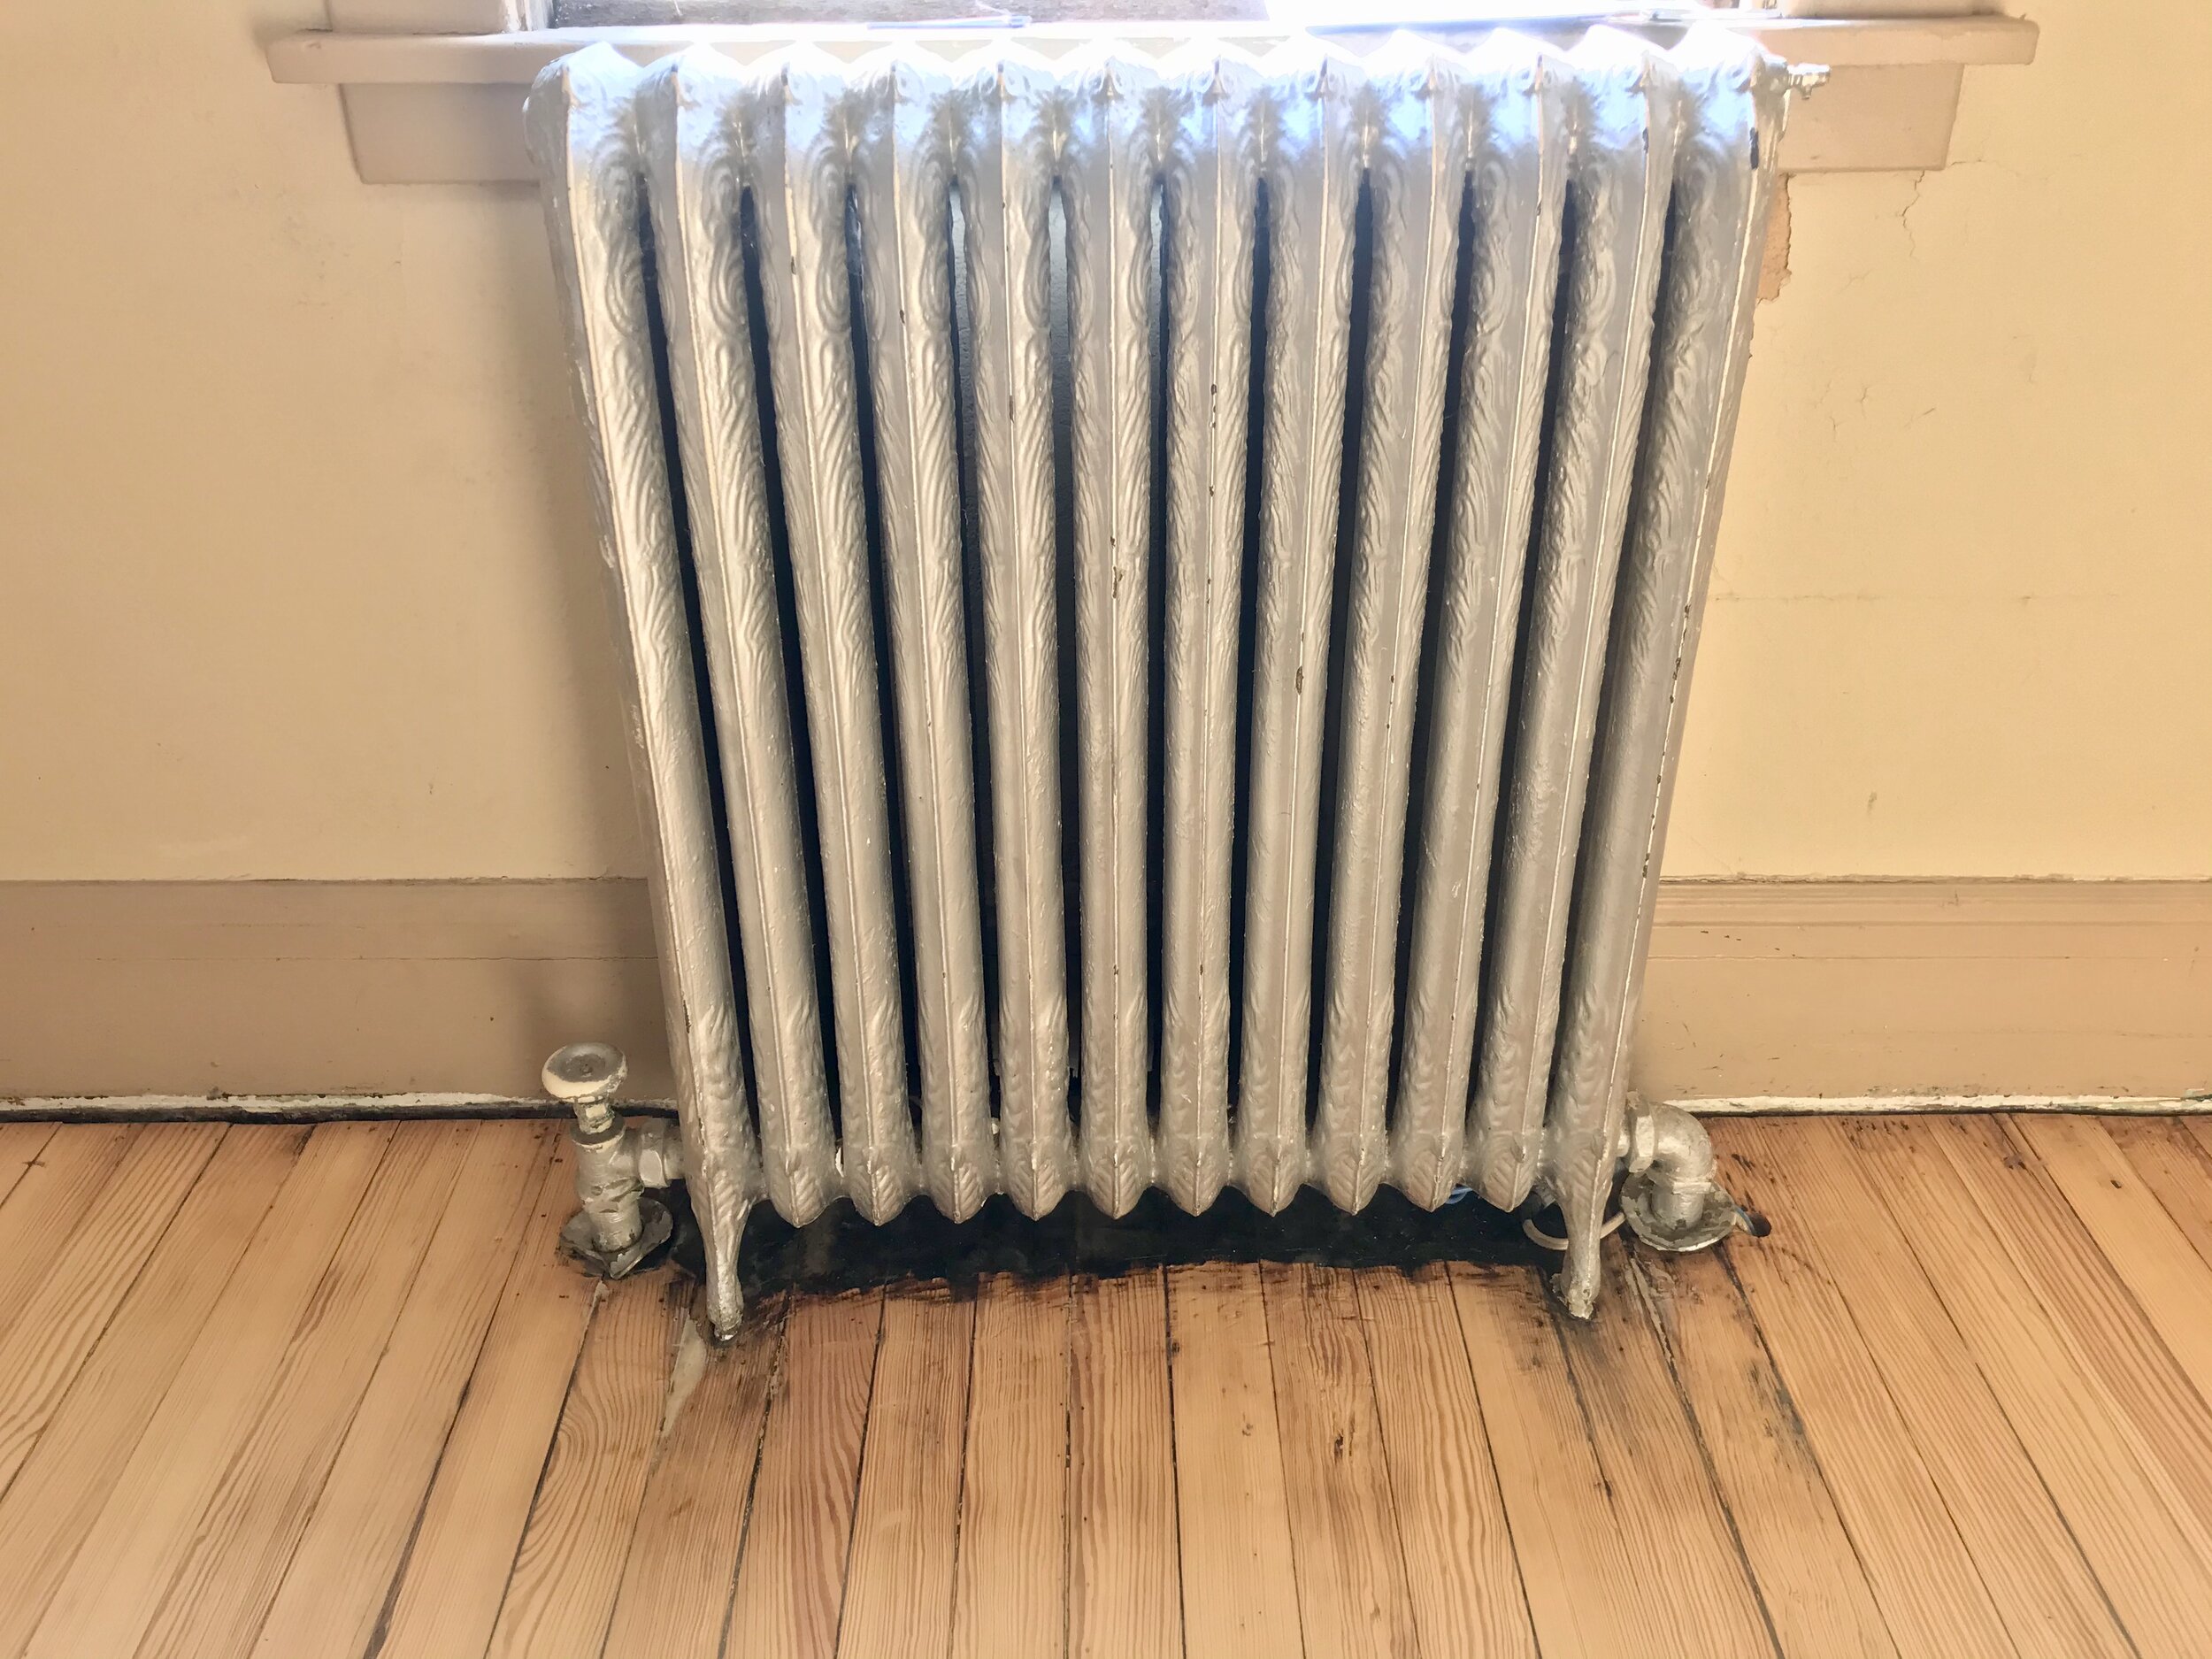
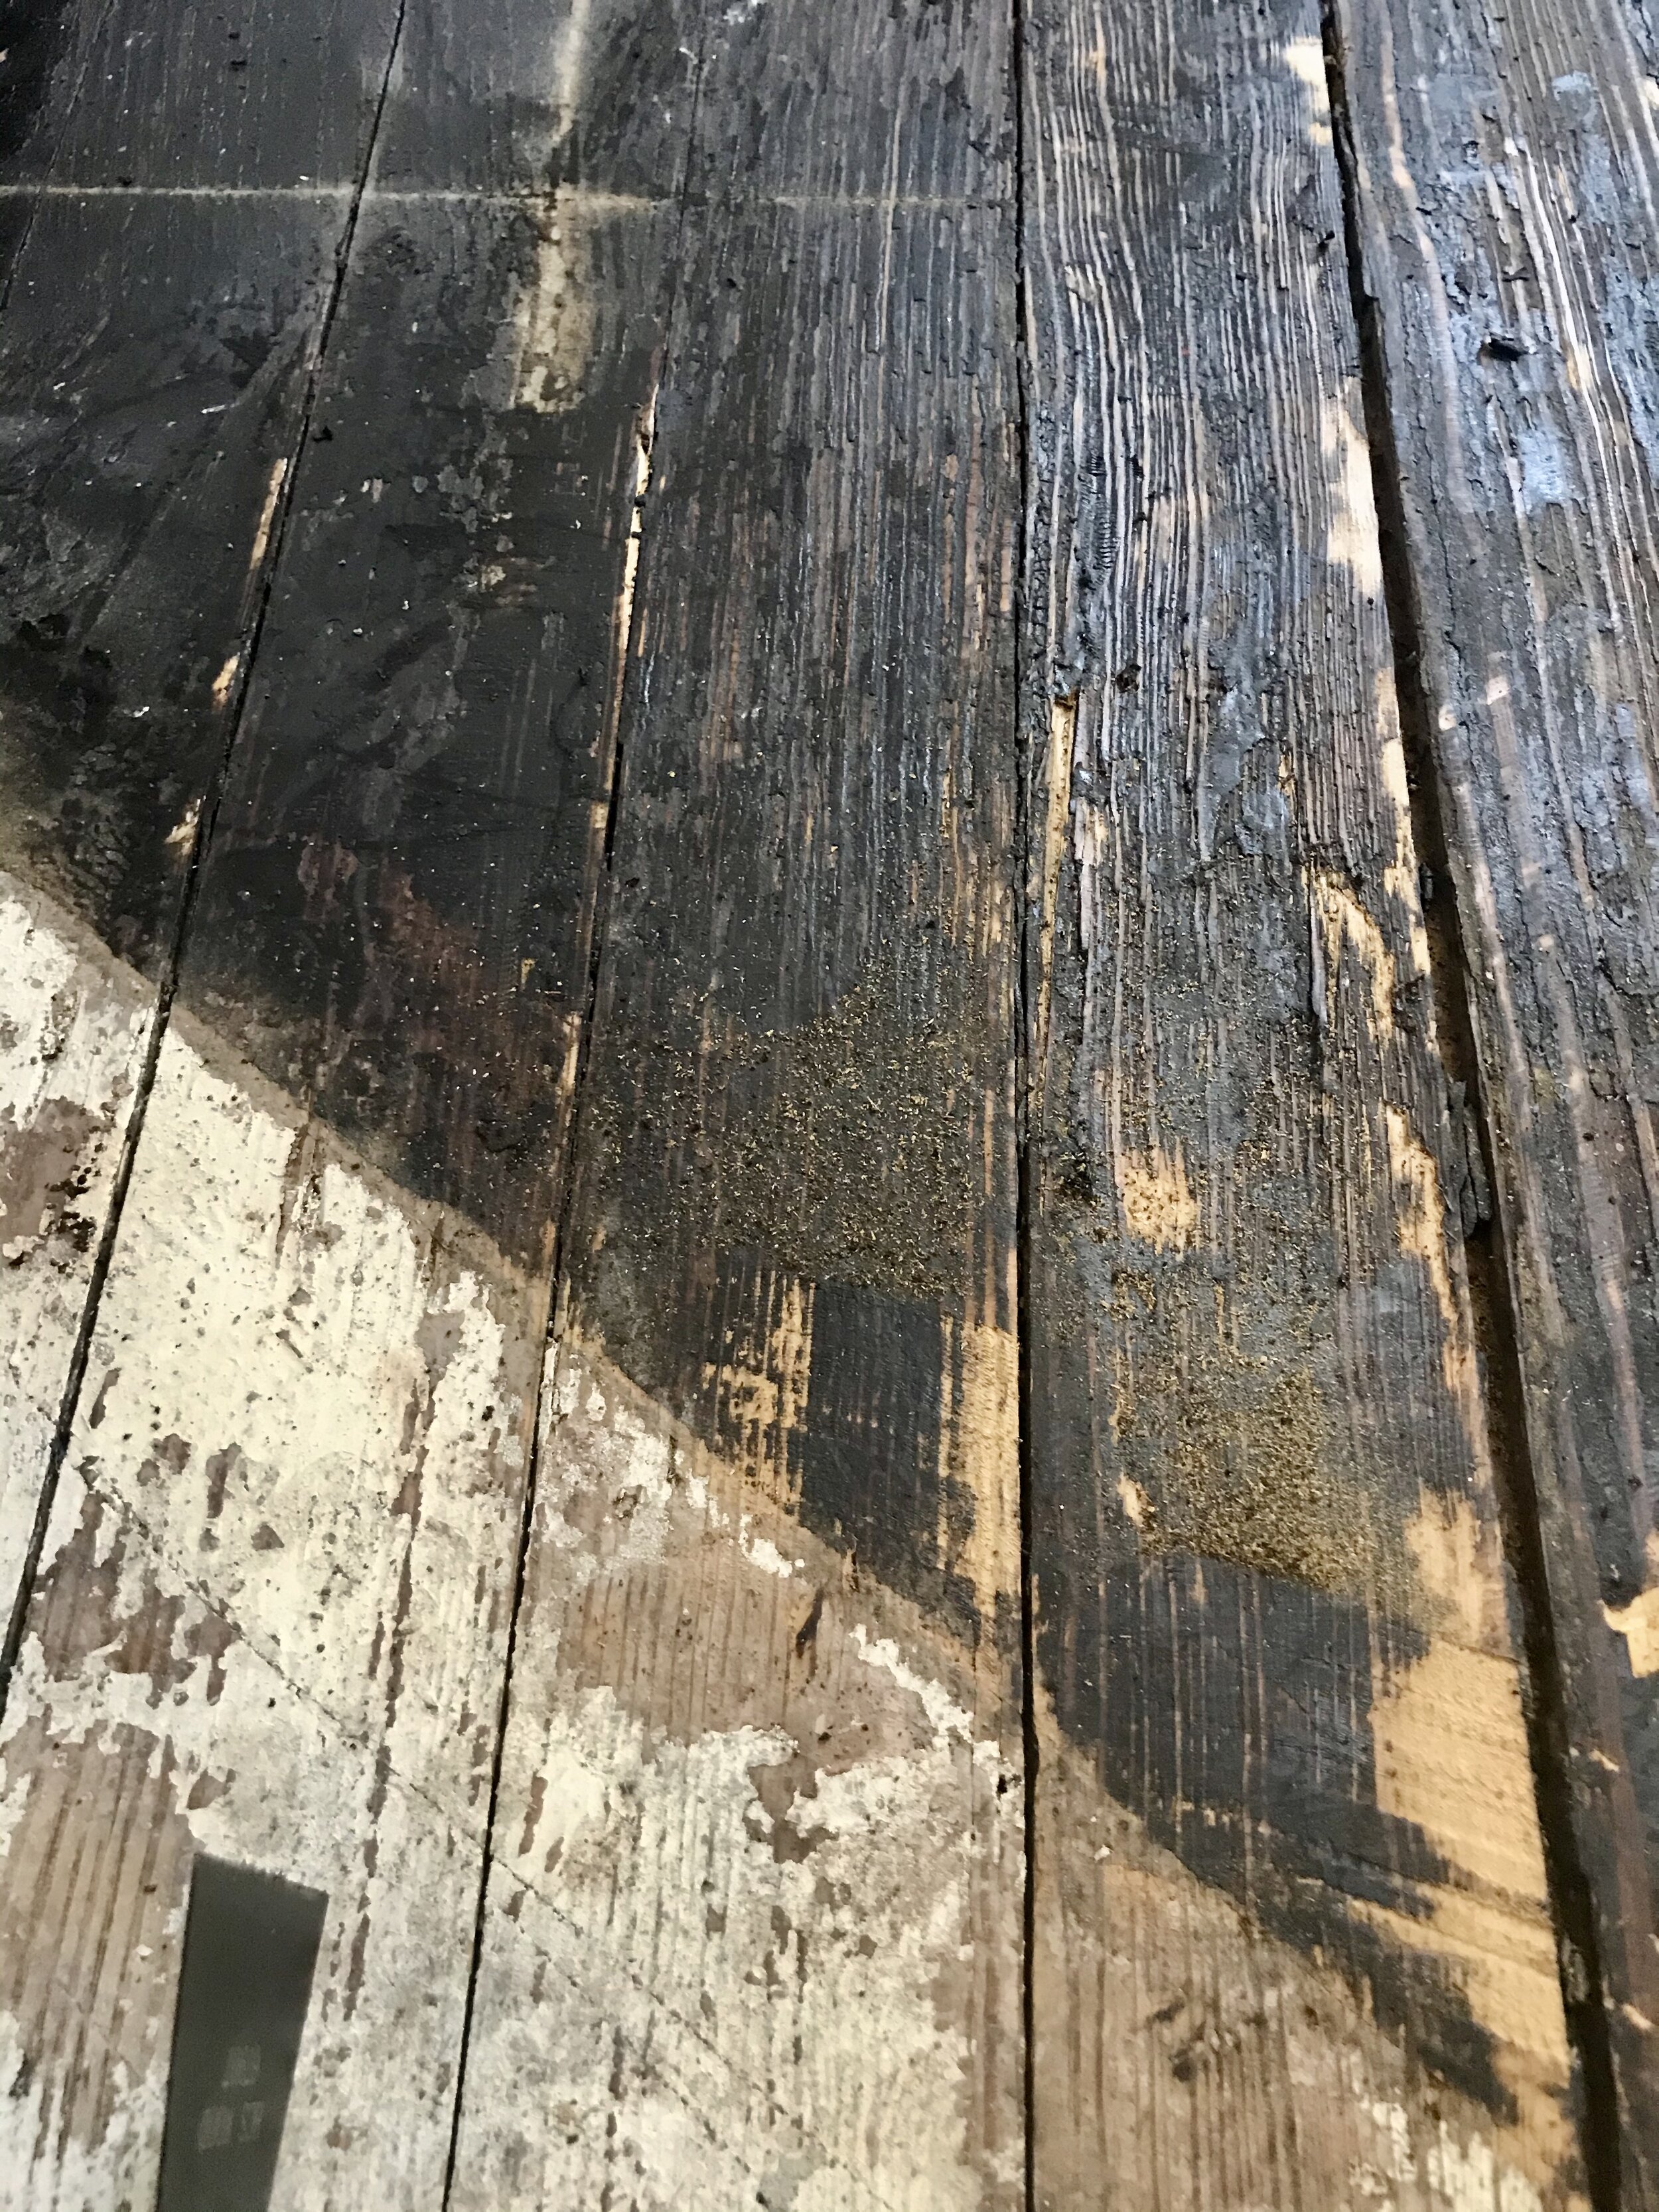
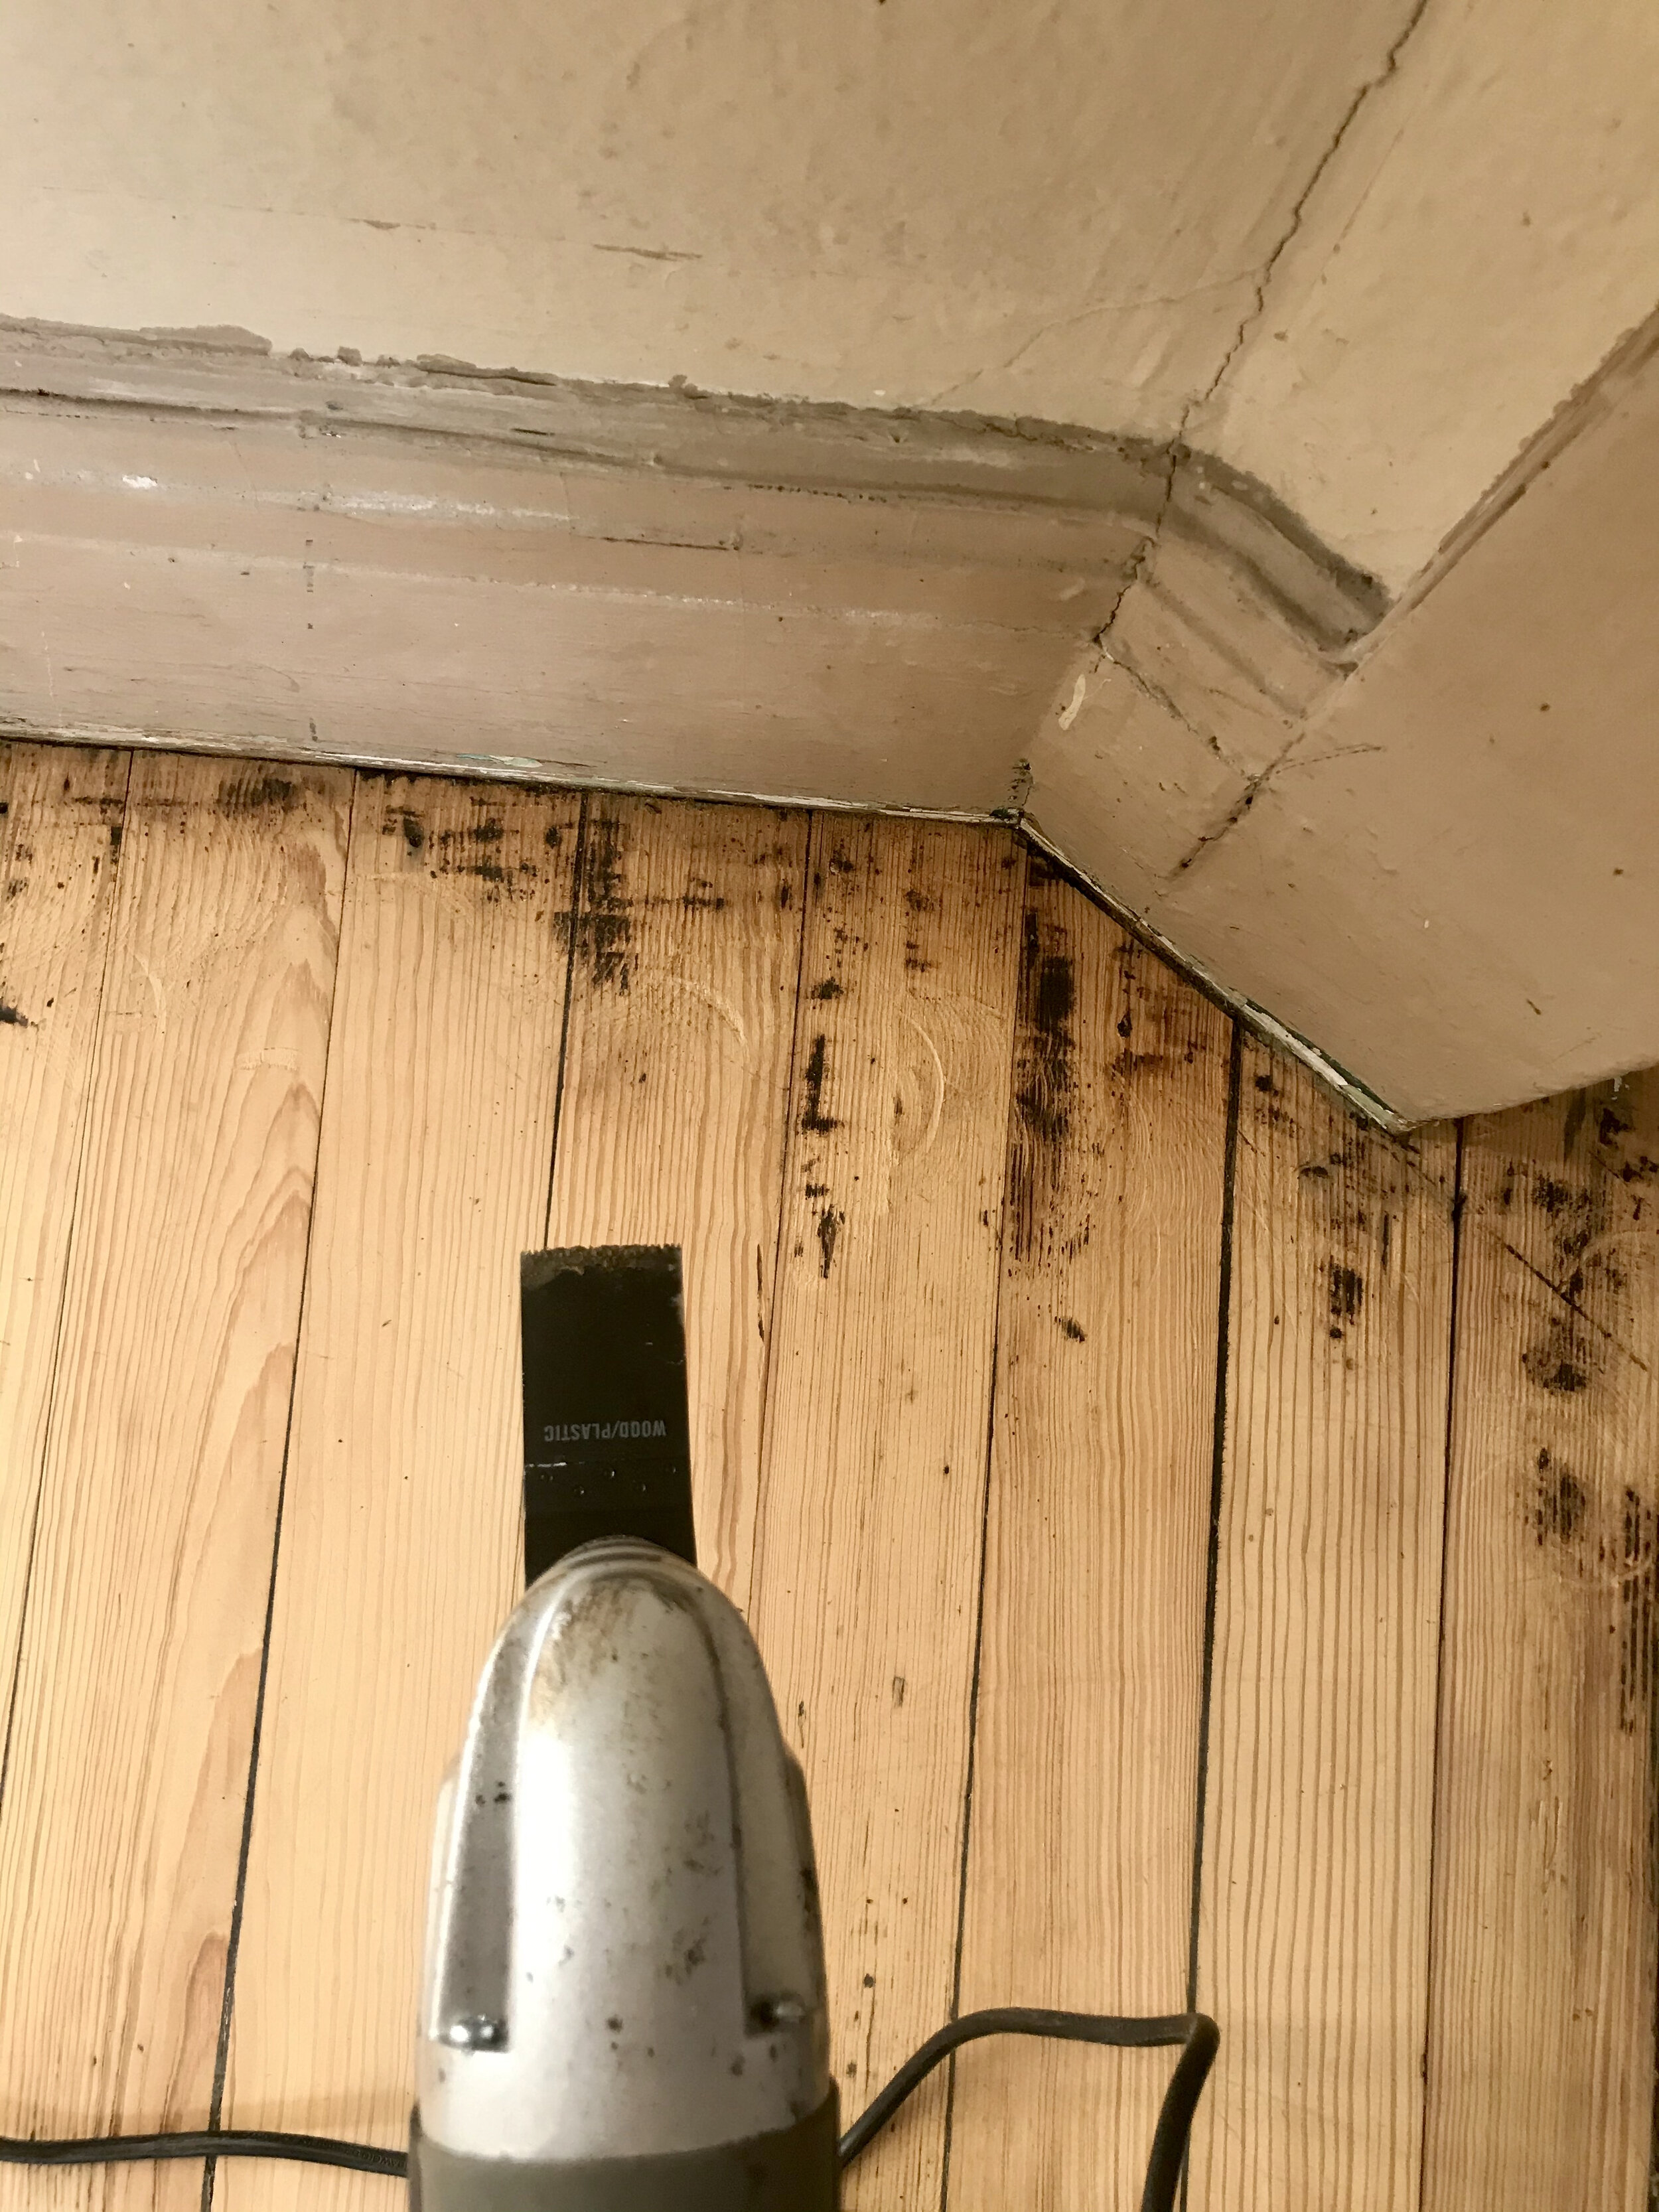
Removal of black tar that lay beneath the tile. A paint shaver tool is absolutely vital to remove the malign black adhesive. A multitool was used to expunge black around the perimeter of room and under and around the radiator.
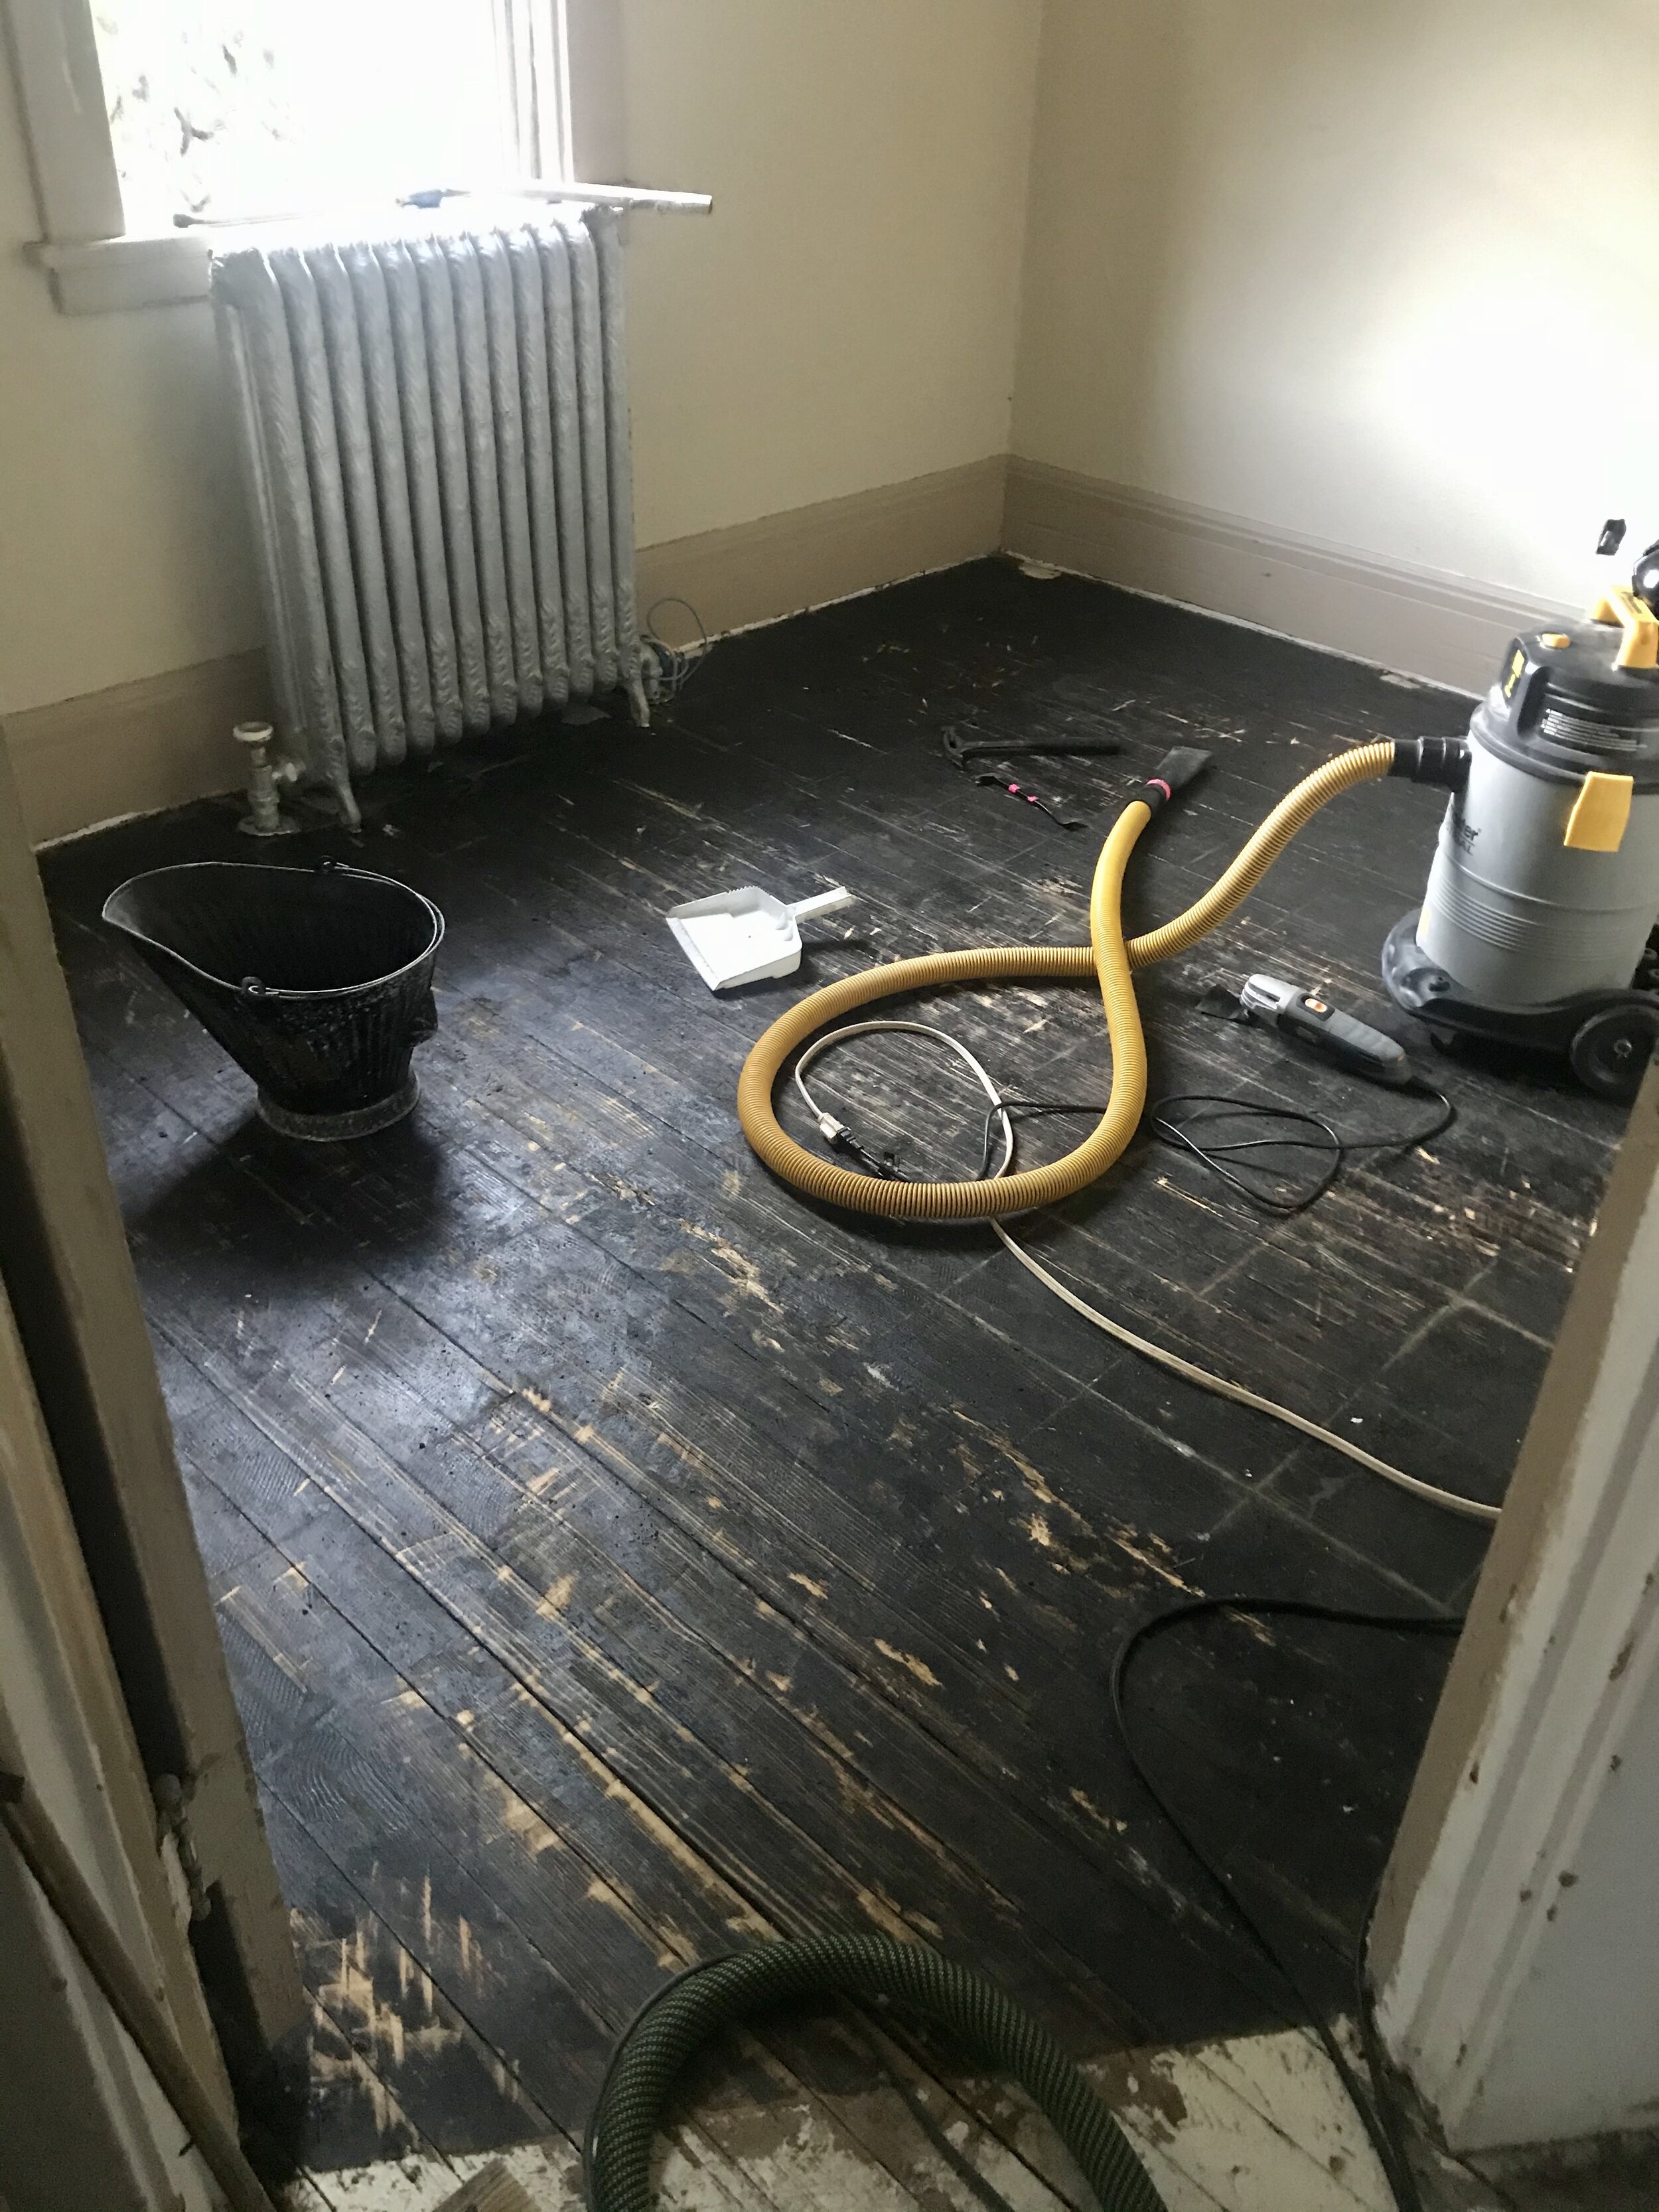
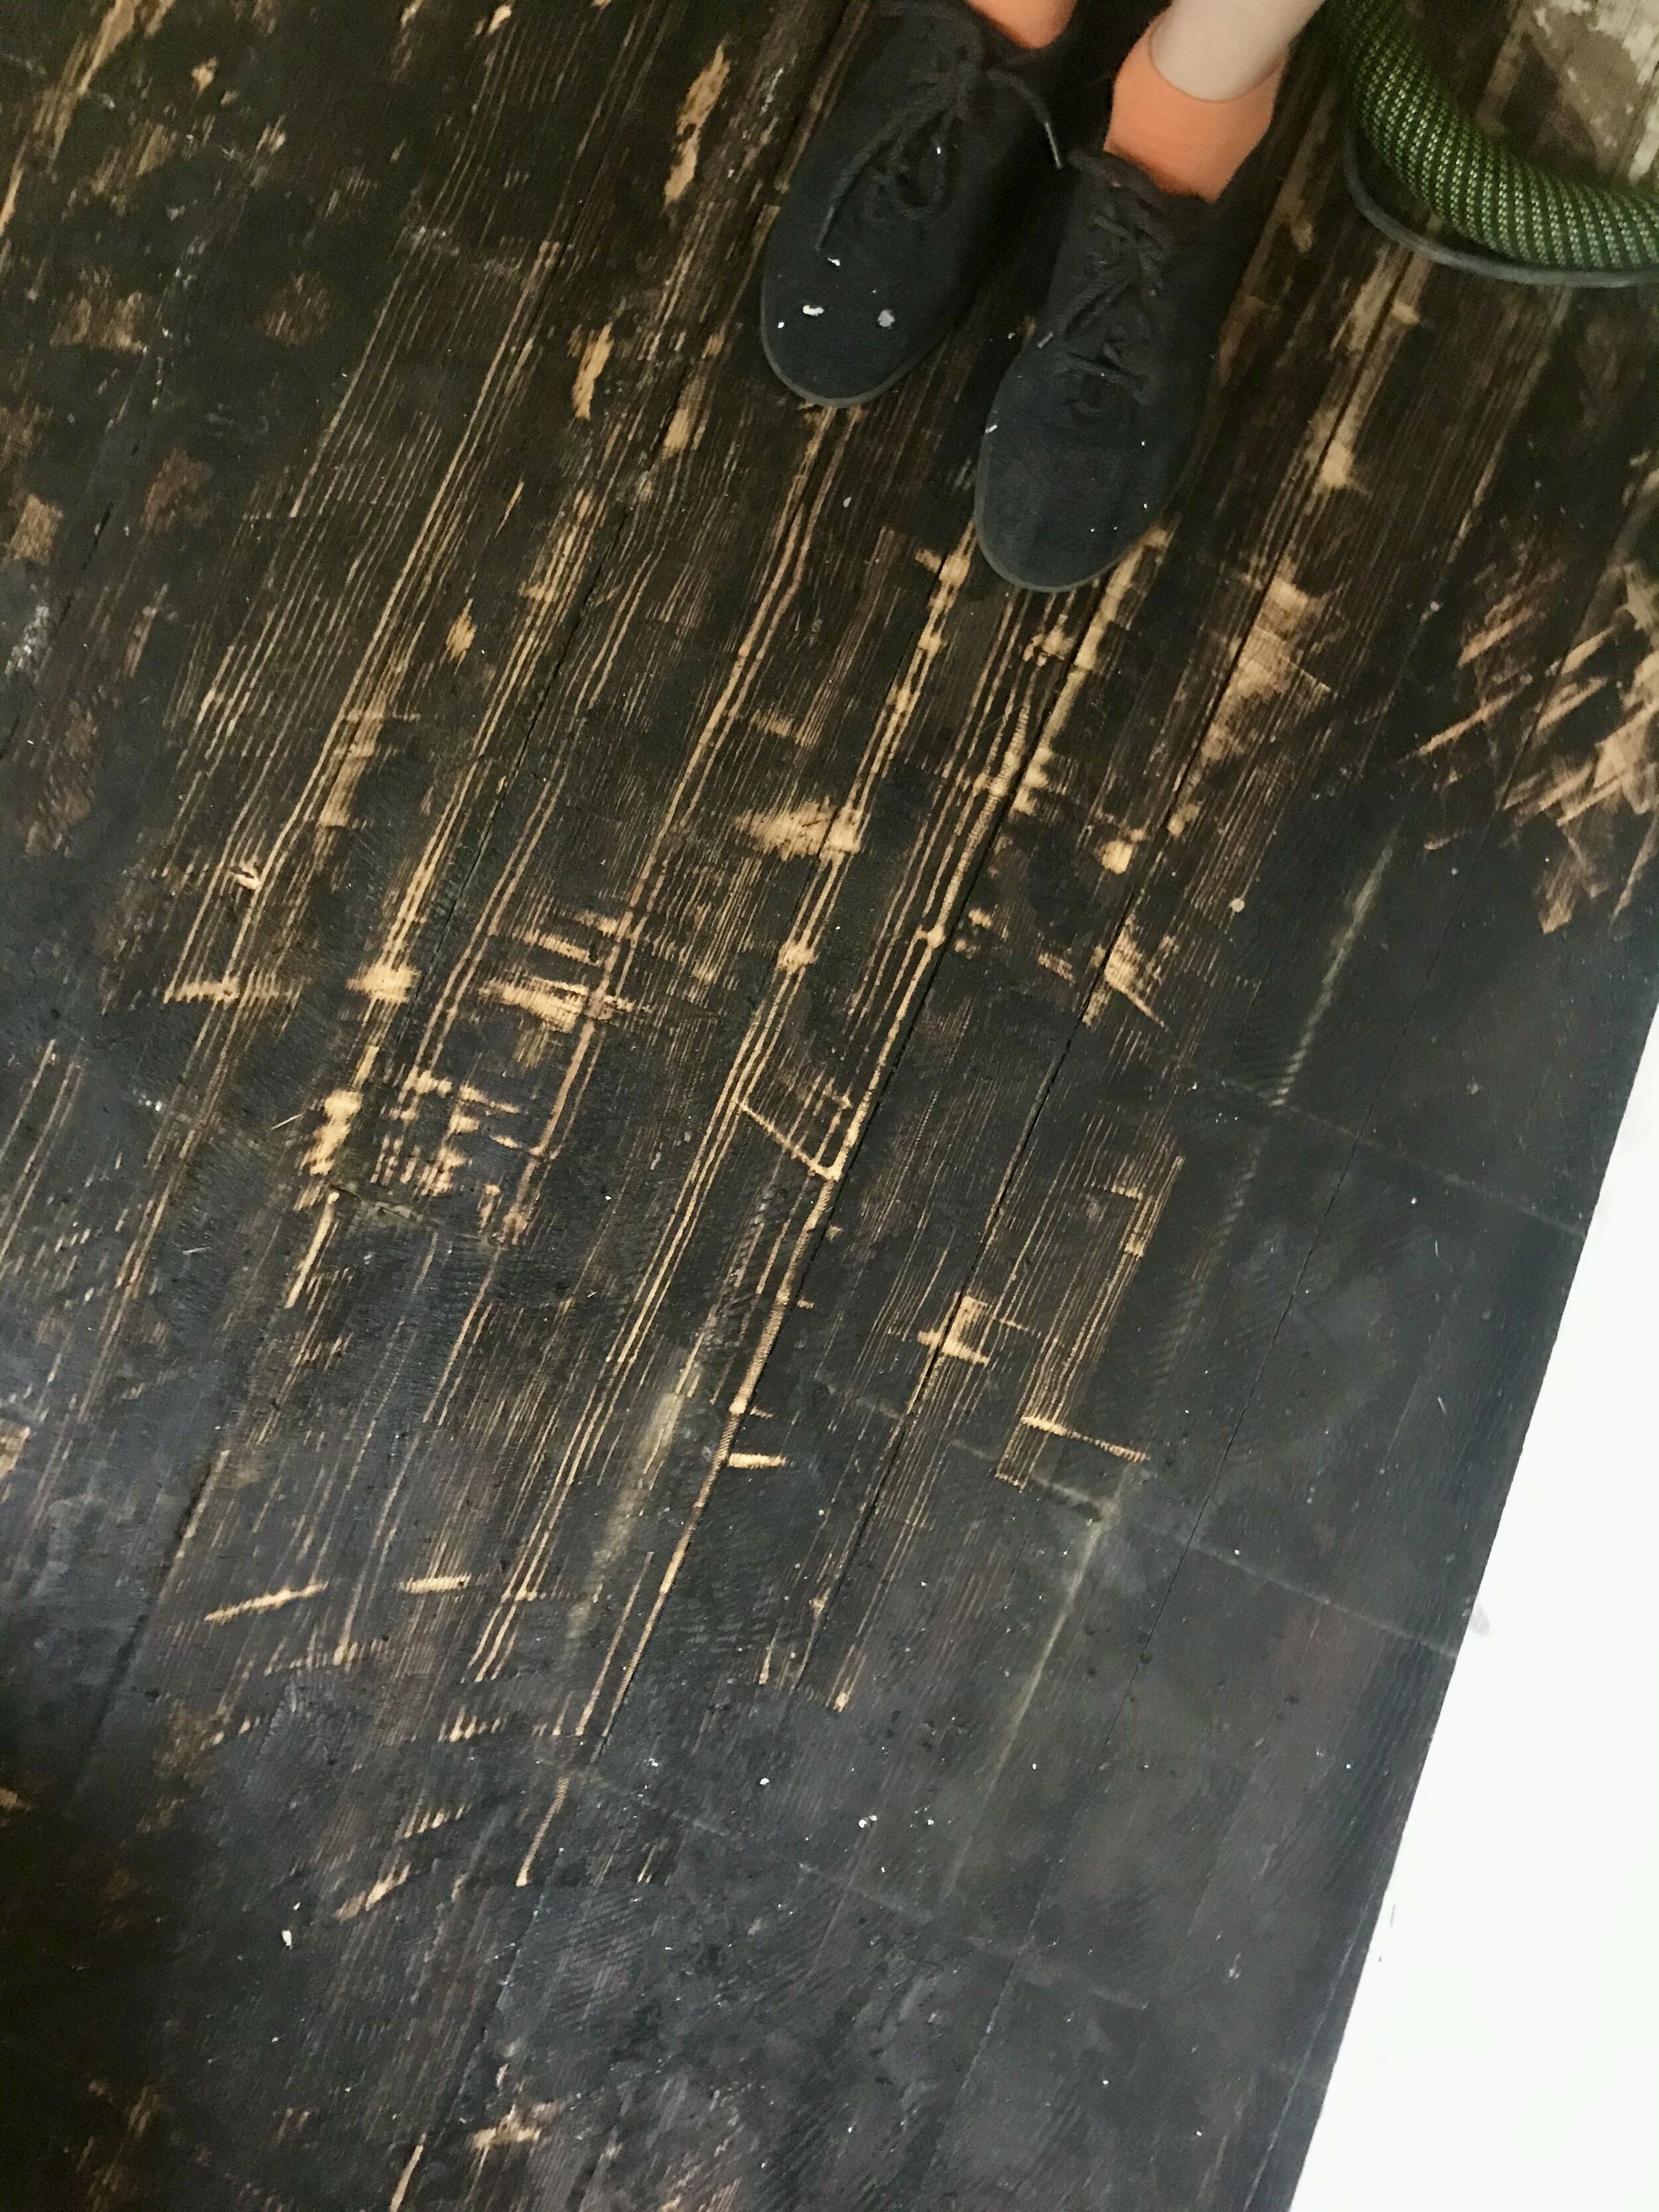

Tile underneath carpet and carpet pad. I suited up in my marshmallow outfit (a protective, white-as-fallen-snow Tyvek zip up coverall, contiguous from boot to crown) for this job and wore a full face respirator with 3M asbestos small particle cartridges. I used a hammer and chisel to remove the tile and nails. I pulled out a multitool to pulverize difficult areas. I did spray with water to minimize dust, but I’m not sure this is necessary. You can also use dry ice to break the adhesive bond of these tiles; I recommend this method and have had great success with it in the past. I did not use dry ice for this room as the work was completed during COVID-19 lockdown, and I figured why not just use what I have in my tool room.